Once you press the power button on any laptop, multiple things need to function simultaneously for it to turn on. The battery, RAM, processor, and in some cases, even the charger needs to be working. The laptop will not turn on if even a single component suffers from damage or malfunctions.
However, there are other reasons your Acer laptop might not turn on. This article lists most of these reasons and aims to fix the problem with your Acer laptop that is not turning on.
Why My Acer Laptop Won’t Turn On?
A battery is the power source of any laptop. If it is not turning on, there is a high possibility that the battery or the charger is the culprit. But, things like damaged RAM modules and bent processor chips may also stop the laptop from turning on.
- Dead Battery along with problematic charger
- Issues with internal hardware
- Dried-up thermal paste
- Static charge buildup
How to Fix an Acer Laptop That Won’t Turn on?
Before we jump into fixing the issue, you need to know what is stopping your laptop from turning on. Above, we listed some common issues that any PC might run into that can stop the laptop from turning on. Below we have explained the process to pinpoint the parts causing the issue for your computer.
Discharge Static Buildup
Capacitors on your laptop draw energy from the battery and store it. Excessive Static charge buildup on a laptop’s capacitor may stop the laptop from turning on. To fix this, you need to discharge static buildup.
To do this, first, remove the charging cable from the laptop. Now, you need to remove the battery.
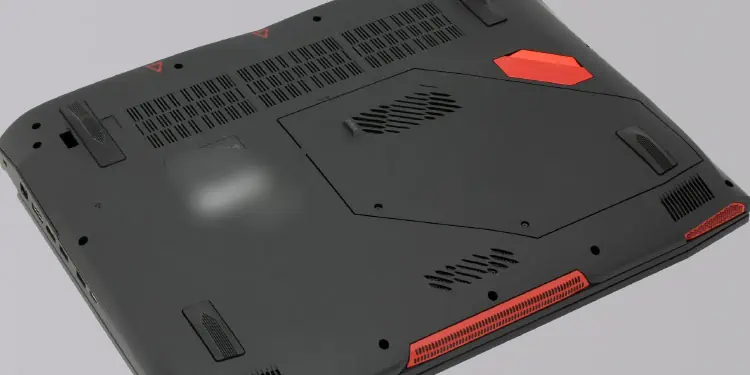
Removing the Back Plate
Removing the battery on an old laptop is fairly simple as the battery is easily accessible. However, the battery is inside the laptop casing on the newer Acer model. Therefore, you need to remove the back casing to remove the battery.
Follow the steps below to remove the battery on newer Acer laptops.
- Remove all the screws on the back panel of the laptop.
- Take a thin-flat screwdriver and wedge it between the gap between the back plate and the laptop.
- Slightly turn the screw. You should hear a click.
- Repeat this on all sides of the laptop. The back panel should come right off.
Removing the Battery
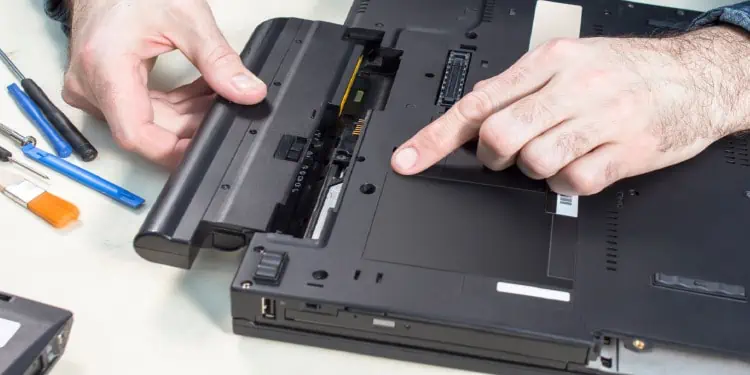
Once you remove the back plate, you need to locate the battery. The battery is usually located on the bottom side of the laptop. It is flat, rectangular, and pretty huge. So it will be hard to miss.
To remove the battery from the laptop, remove the cable that connects the battery to the motherboard.
Discharge the Laptop from Static Buildup
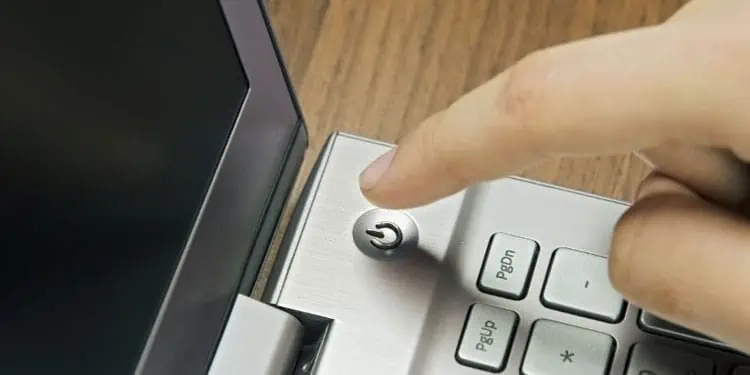
Now that the battery is out of the laptop, it is now time to discharge the laptop. To discharge static buildup, press and hold the power button for one minute. Once completed, reassemble everything, plug the charger back in and turn on the laptop.
Turn On the PC Without a Battery
Discharging static charge from a laptop may not work at all if the issue is with the battery. To check this, you can try turning on the laptop without a battery to see if it starts. However, you will need a working charger to test this theory.
By following these steps below, you can determine whether a battery is dead or not
- To do this, you first need to remove the battery from the laptop.
- Remove all the screws that connect the back plate to the laptop.

- Once removed, you will have access to the batteries.
- Remove the cable that connects the battery to the motherboard.
- Discharge capacitors by pressing the power button for one minute.

- Connect the charger and turn on the laptop.
If the laptop turns on, you must change the battery to fix the issue. However, if the laptop does not turn on, there is a possibility that the charger is faulty.
Change Battery Charger
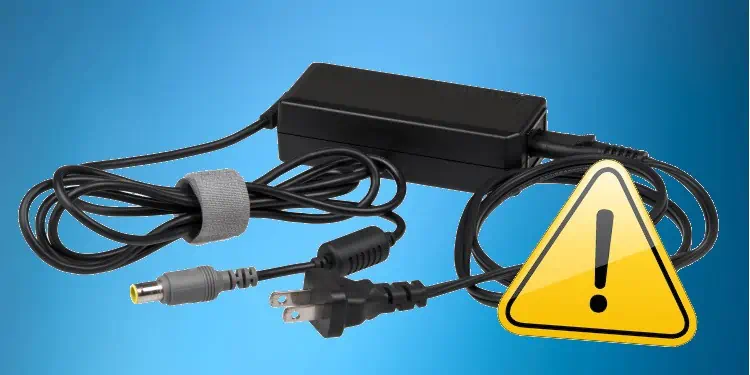
Your laptop will not allow the laptop to charge if the voltage sent to the laptop is not the recommended amount. If this happens, the laptop may not turn on to stop the PC from damaging.
If both of the steps mentioned above do not work, try using a new battery charger to recharge your laptop’s battery.
Reset BIOS
The BIOS (Basic Input Output System) is responsible for changing settings for hardware connected to the PC. Wrong changes to the BIOS settings can stop your laptop or PC from turning on. These settings include changing the boot drive, fan speed, and overclocking the GPU or the CPU.
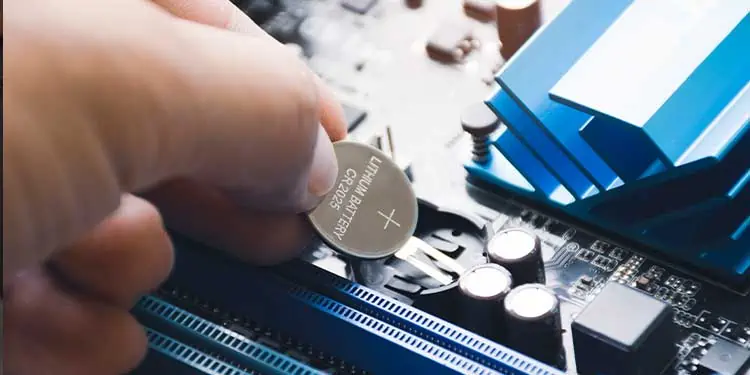
If you have recently changed these settings, you can reset them to restore settings to default. In order to reset BIOS on ACER laptops, you need to remove and reseat the CMOS battery. The CMOS battery holds the settings in the CMOS chip, which holds all the BIOS settings.
Follow the steps below to remove the CMOS battery.
- Unscrew all the screws on the back of the laptop.
- Using a flat screwdriver, remove the back panel from the laptop.
- Check for a circular battery that is attached to the motherboard. This is the CMOS battery.
- If the battery is directly connected to the motherboard, pull the lever on the battery socket to remove the battery.

- If the battery is wrapped by insulating tape, remove the wire that connects the CMOS to the motherboard.
- Wait for a few seconds before reinserting the CMOS back into your laptop.
- Reassemble the backplate and turn on the PC to check if the computer starts.
Change Thermal Paste
When a processor chip has a dried-up thermal paste, there is nothing to transfer heat from the chip to the heatsink. This results in the processor chip heating fairly quickly. If your laptop turns off automatically after you have pressed the power button, it can be that overheating processor causing the random shut down.
To fix this you need to reapply the thermal paste on the CPU processor.
- First, remove the laptop’s back panel.
- Remove the battery by unplugging the cable that connects the battery to the laptop.
- Unscrew all the screws that hold the CPU fan in place.
- To remove the CPU fans, remove any cables that connect the fan to the motherboard.

- Now, remove all the screws that hold the heatsink to access the CPU.

- Clean previously applied thermal paste from the CPU chip and the heat sink.
- Apply a good amount of thermal paste to the CPU.

- Reassemble all the components you’ve just removed and try turning on the PC.
Check for Faulty RAM
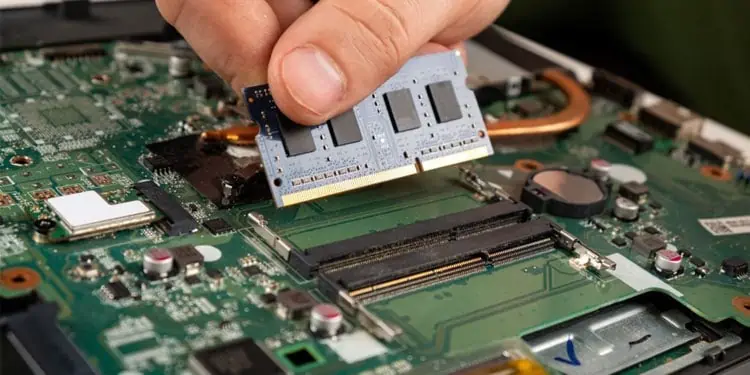
Any PC with faulty RAM will not get past the POST (Power-On Self-Test). When this happens, the PC will turn on for a certain period and then turn off again. If you face a situation such as this, you must ensure that the primary memory is functioning.
To check if you have faulty RAM, you can try using one RAM stick at a time. On using the faulty RAM, the laptop will turn on but will shut down once it cannot get past the POST test. If the laptop runs smoothly on both RAM, you can rest assured because the RAM is not faulty.
All Acer laptops may not use dual channel memory. In that case, you can try running it with a fresh set of RAM sticks. If the PC does not turn on at all, it can either mean that both the memory stick is faulty or something else is causing the issue.
Repair Your Laptop
If none of the steps mentioned above work, check if your laptop still has a warranty. If it does, you can contact the shop you bought it from and repair your laptop for free. However, if you do not have a warranty, you can take it to a local laptop repair shop to fix the issue.

