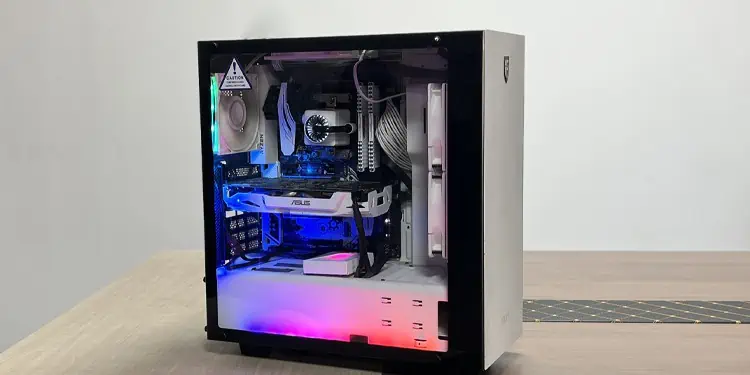
Love it or hate it, RGB lights have become a must-have element for most of the gaming setups today. These lights not only make your PC look cooler but also make your gaming sessions more immersive and improve the overall computing experience.
To add RGB to your PC case, first get some LED strips and a RGB controller. Then attach the strips around the edges of your PC case and connect it to the controller. After that, plug its data cable into the USB header on the motherboard. Now power on your computer, and see how these lights bring life to your PC case.
While these are just the summarized steps, let’s simplify the process further with a detailed step-by-step guide for adding RGB lighting to your PC case.
Getting Things Ready
Before doing anything, let me ask you what kind of RGB setup you want. Are you planning to install only a few LED strips or multiple strips that run through the entire PC case?
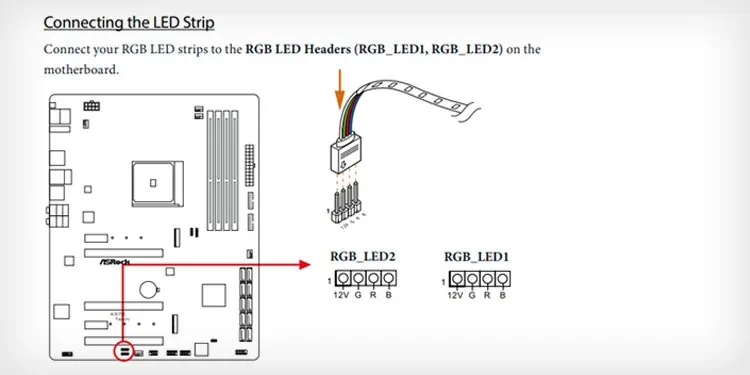
If you are thinking of using only one or two of them, simply check if there is an RGB or ARGB header on the motherboard. Below is my GIGABYTE TRX40 AORUS MASTER that comes with both headers.
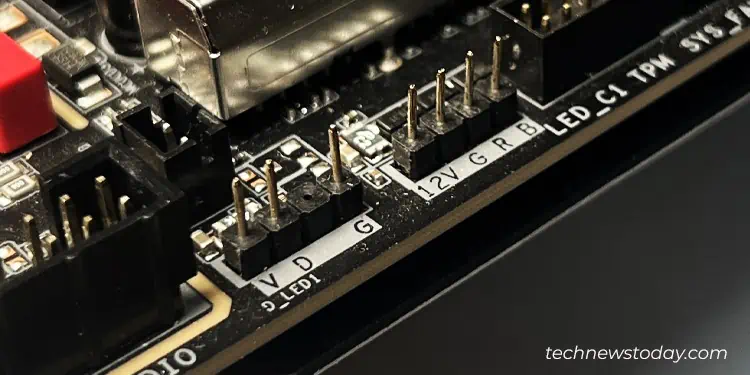
Briefly speaking, the 4-pin RGB header is used to power static LED strips that consume +12V. Here, static means you can not fully customize its lighting effects.
On the other hand, the 3-pin ARGB header is used to power addressable LED strips that consume +5V. The addressable LEDs allow users to fully customize the lighting.
If you are not sure about these headers, I strongly advise you to check the motherboard manual. Provided that your motherboard has one of them, you don’t need to use a separate RGB controller to configure the RGB strips.
But to be honest, there are a lot of benefits if you opt for a RGB controller.
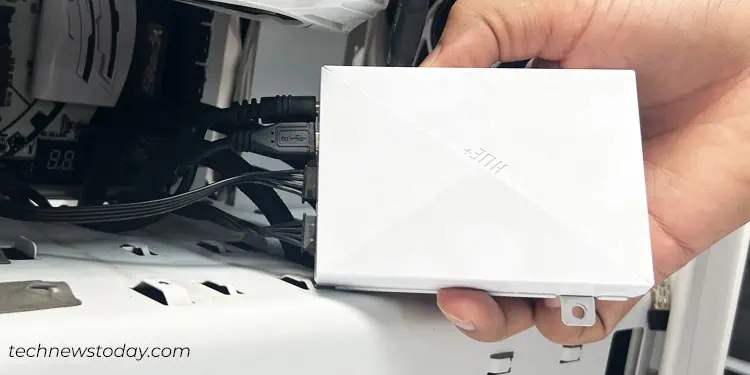
Not only is it helpful for motherboards without RGB headers, but it also offers a multi-strip connection. It extends increased control and customization of the RGB, providing a bunch of color profiles and cool aesthetic effects.
To begin with, grab the RGB strips, controller, a couple of extension adapters, a screwdriver, and a few zip ties or cable ties. You are good to go, then.

Prepare PC Case
Once you have gathered the necessary tools and accessories, let’s prepare the PC case for installing the RGB.
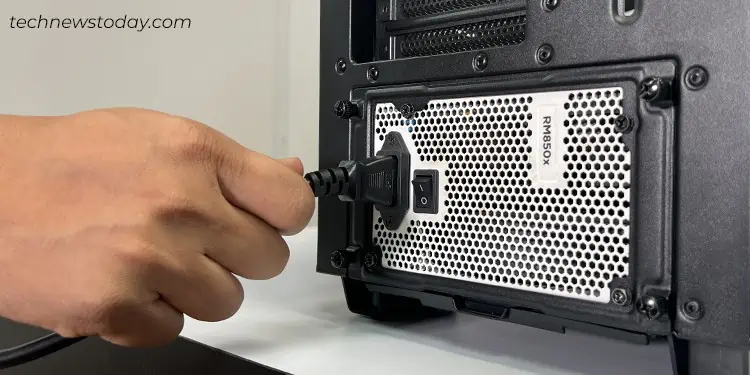
- Turn off your PC and remove the power cable from the PSU.

- I strongly recommend grounding yourself to avoid any damage by ESD. A best bet would be to use an anti-static wrist wrap or touch any metallic object that is in contact with the ground.

- Now open the PC case by unscrewing the screws on the side panels.

- You may also remove your GPU for a while if you think it will interfere with the RGB installation process.
Install RGB LED Strips
Coming to the installation part, it is completely your preference. You can either guide the strips along the edges of the PC case or whatever you prefer.
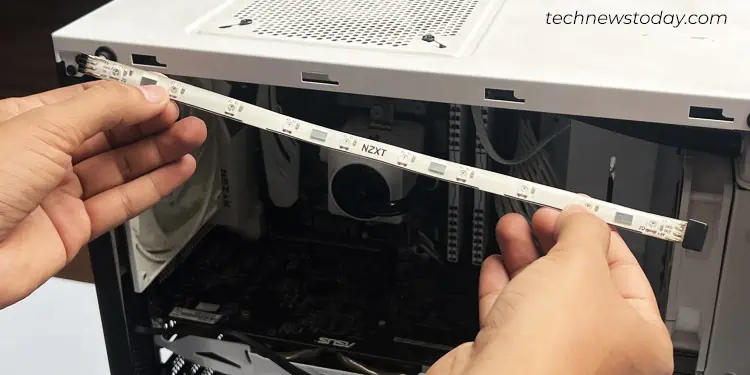
Personally, I prefer a tidy setup. So, I only use four pieces of LED strips and guide each of them through the four edges of the case.
- Peel off the tape on the back of the strip and gently press it to stick on the chassis. If you have a magnetic strip, it will get attached to the case itself. Some cases even provide clips to hold those strips. Check and act accordingly.

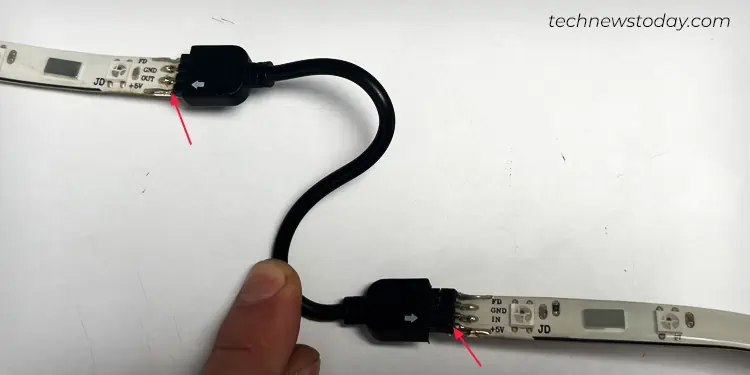
- If you have multiple strips, use extension adapters to connect them together. Since I am using 4 strips of 30 cm length, I will use two extension adapters to connect each two of them. As such, I will only have two strip connectors that will go into the RGB controller later.

- While attaching two strips together, make sure the arrow sign or labels on both the strips match. Connecting strips haphazardly may end up damaging them.
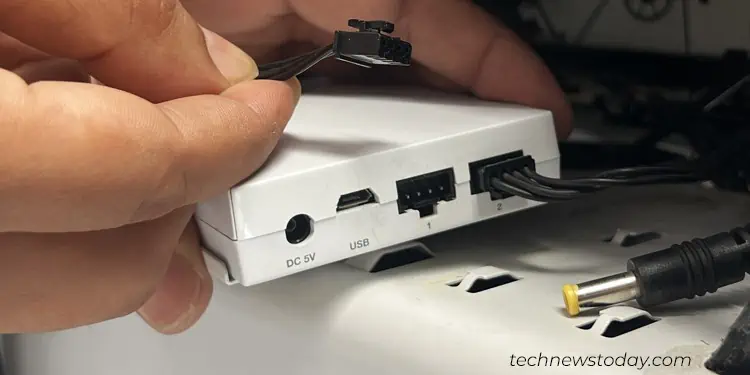
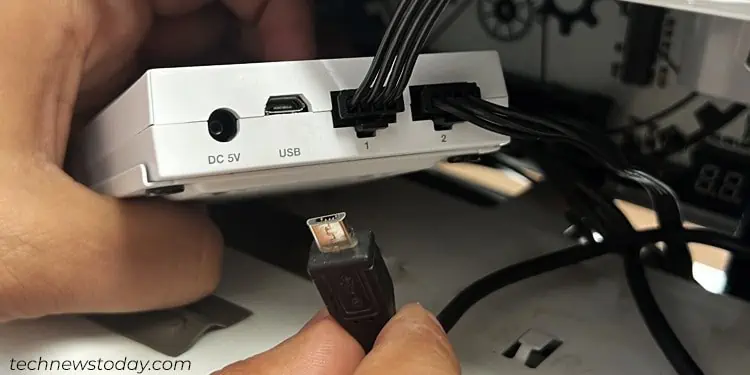
- It’s now time to connect strips to the controller device. Here, I have a HUE+ controller from NZXT that has two ports for plugging the strips.

- Once the strips are plugged in to the controller, attach the power cable.

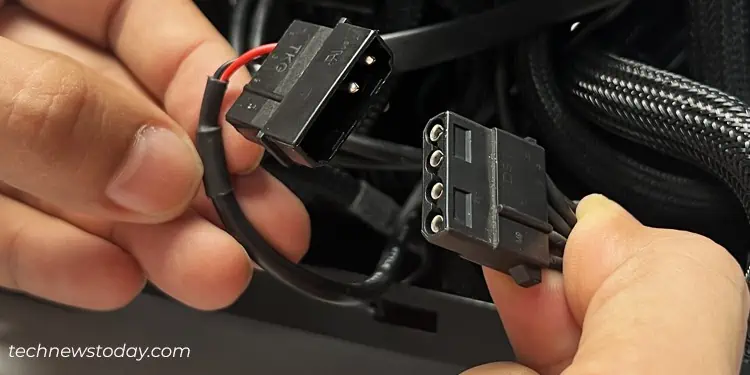
- Connect the other end of the power cable to the Molex or SATA connector, depending on what it has.

- Route the power cable properly so that it won’t interfere with other components.
- Plug the USB cable into the RGB controller.

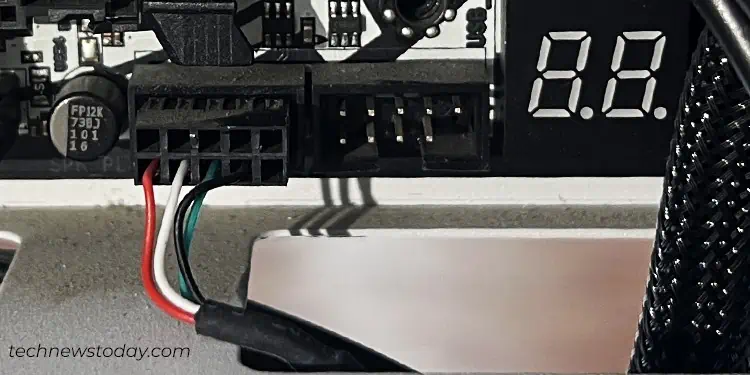
- Then, connect its other end to a USB header on the motherboard.

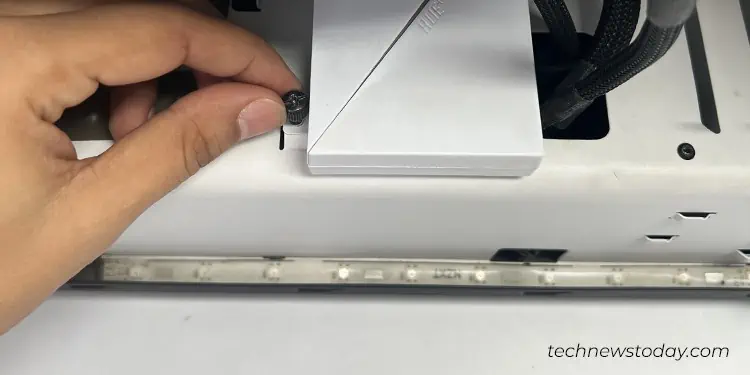
- Screw the controller device to a proper location inside your PC case. I recommend using the 3.5” drive bays for mounting it.

- In case the strip turns out to be longer, you can easily cut it off from the designated locations. They have a “scissors symbol” labeled to let you know about it. If that’s not possible, take a zip tie, bundle the extra strip and hide it inside the PC case so that it won’t ruin the aesthetics of the build.
- Re-insert the GPU if you have removed it earlier.
Finalizing Installation
Yay! We have fitted the RGB to our PC case successfully. It’s now time for testing and finalizing the installation.
Start by double-checking everything. See if the cables are connected to the proper ports and verify if the cable management is proper.
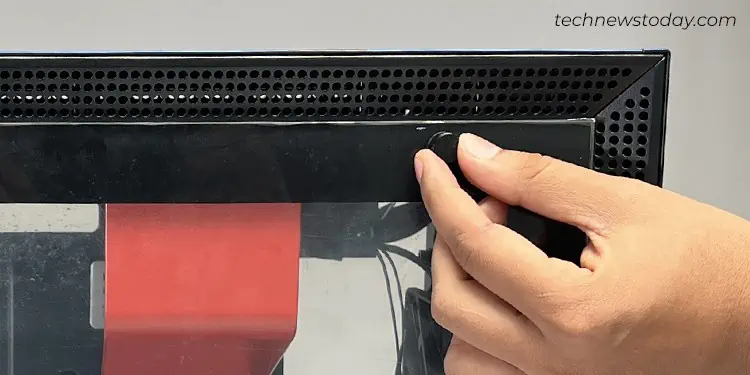
Once the entire thing is set, turn on your PC and check if the RGB glows correctly. If everything is fine, shut down your PC, close the side panels, and restart it.
If the RGB fails to light, shut down the PC and recheck the connection. If you are having problems, maybe you have some faulty LEDs. Contact your seller and ask for support.
Customize RGB Lighting
Finally comes the customization part.
No matter whether you connect the RGB strips to the motherboard or a dedicated controller, you can use the proprietary software from the manufacturer to customize the lighting effects on the strips.
For instance, Mystic Light application for MSI, iCUE for Corsair, RGB Fusion for Gigabyte, AURA SYNC for ASUS, RGB SYNC for ASRock, and NZXT CAM for NZXT devices.
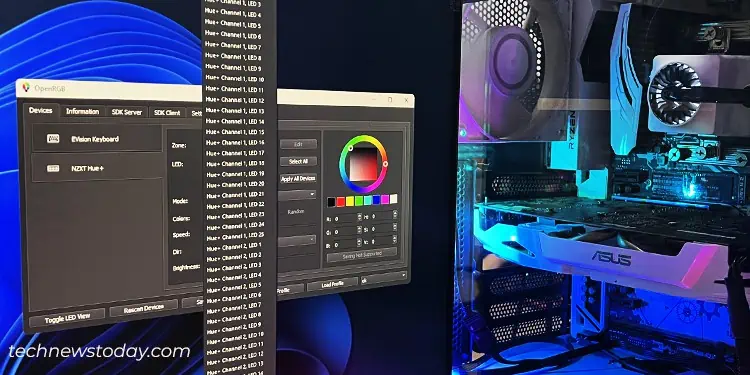
Upon testing, I found that some of these apps failed to detect their own RGB controller. Additionally, they did not let me customize all my LED strips together.
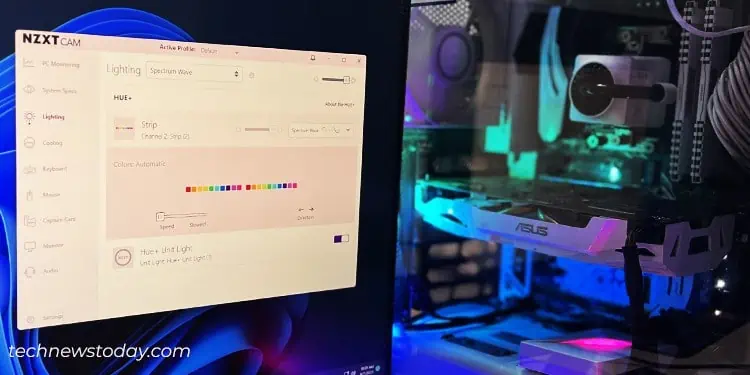
So, I opted for OpenRGB which worked without any issues and helped me easily customize the lighting on the strips.
