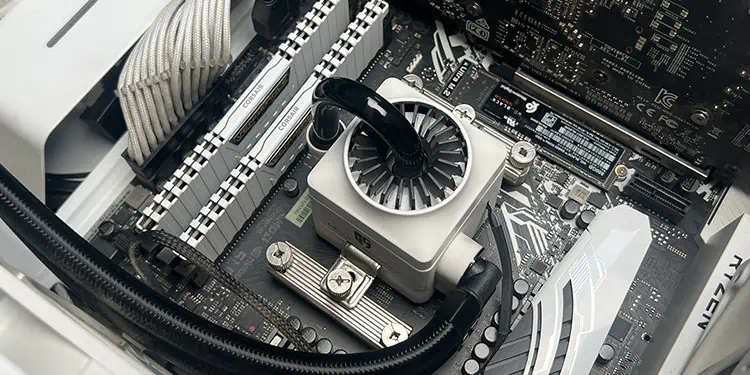
AIO Pumps are designed to pump water through the connected tubes. If any air bubbles get trapped in the pump, you will hear a gurgling or rattling noise. Additionally, you will also notice a sharp decline in the cooling performance if you regularly monitor your CPU temperature.
This issue usually happens when you don’t orient the AIO properly when installing it. During my first time setting up an AIO cooler on my PC, I mounted the radiator on the lower two fan slots on the front panel with the tubes going below the radiator.
The pump didn’t show any issues at first, but after a few months, it started making a rattling sound. I had to move my radiator to the upper two slots and ramp up the pump to full speed for an hour to resolve the issue.
How Can I Fix AIO Pump Noise?
Since the noise is occurring due to air bubbles, you need to get rid of the air from the pump to resolve the issue. Try out all three solutions I have mentioned below to do so.
Have Proper AIO Orientation
While assembling an AIO, it gets filled with as much coolant as possible. However, it’s not possible to fill it completely with the coolant, so some small percentage of air will still remain.
Also, the soft tubes on the AIO cause the coolant to deplete over time due to micro-evaporation or permeation. As you keep using the cooler, it will gradually get filled with more air.
Since air is lighter than the coolant, it will go to the highest point in the loop. So, you need to orient the AIO in such a way that the top of the radiator stays at a higher level than the pump. This way, any air bubbles that are present will stay on the radiator and not reach the pump.
You can mount your AIO in three different configurations to achieve this.
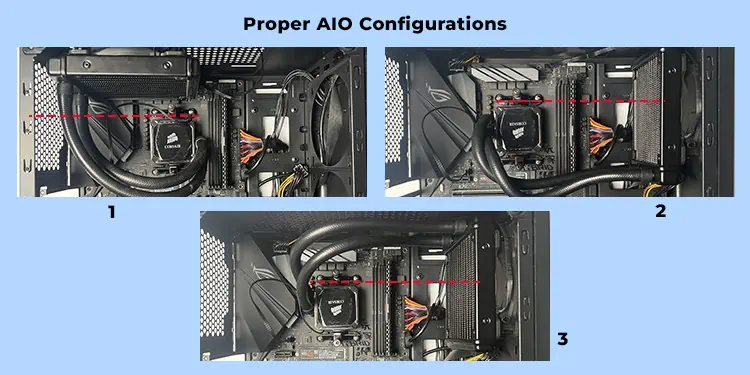
I prefer configurations 1 and 2 as there’s a very low chance of air bubbles getting back to the pump from the top of the radiator. Having configuration 3 is not wrong, but since the bubbles remain near the tube, the pump can sometimes pull them towards itself.
Also, most manufacturers do take the air bubbles into account and will put some room on the other end of the radiator (opposite to the tubes) to gather the air.
Try Moving the Air Bubbles to the Radiator
If the air bubbles are already at the pump, they might stay there even if you set up a proper orientation. In that case, you need to move them to the radiator so that they don’t come back. You can try out one or both of the ways below to do so.
- Gently tilt the PC case forward and backward or sideways to have the pump at the lowest point. This will make the air bubbles move away from the pump naturally.
- Open the side panel and lay your PC on its side while ensuring the pump is at the lowest height. Then, gently tap the pump and the tubes several times to move the air to the radiator.
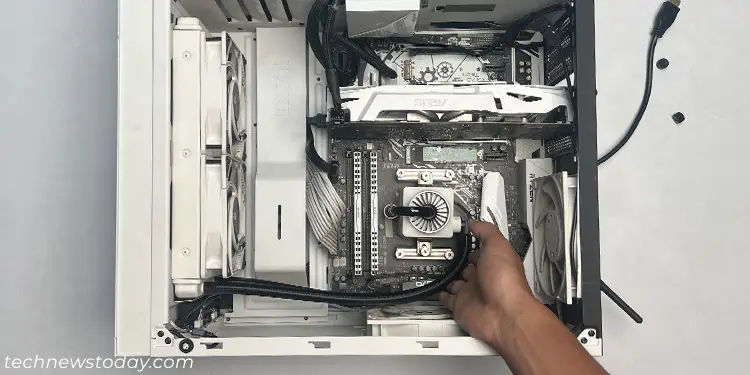
It’s better to move the air bubbles while the computer is running and the pump is working at full speed. It fastens the process. Otherwise, you may have to wait a lot of time, depending on your AIO orientation.
Run the Pump at Full Speed
Another thing you can do if you have a proper AIO configuration is to run your pump at full speed. This way, it will push all the bubbles out so they can actually get to the radiator. If your radiator is at a higher point, the bubbles will stay there, and this will resolve your issue.
You might also need to connect the pump to an appropriate header to do so. Some motherboards come with dedicated AIO_PUMP headers that are set to provide max speed for all temperatures from the get go.
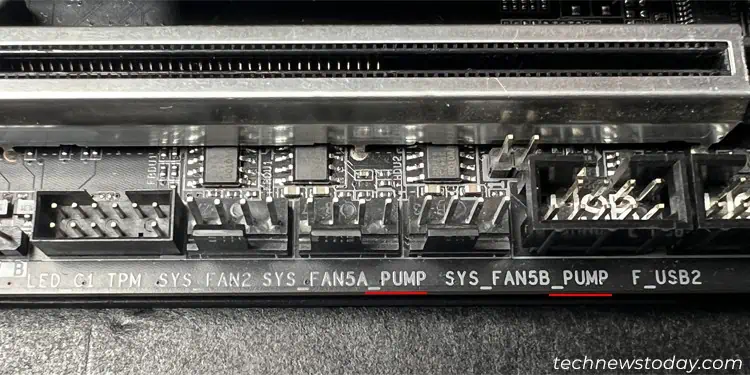
However, some come with integrated pump and chassis fan headers. You will need to set their mode to AIO_PUMP or W_PUMP and enable full speed through the BIOS in such cases.
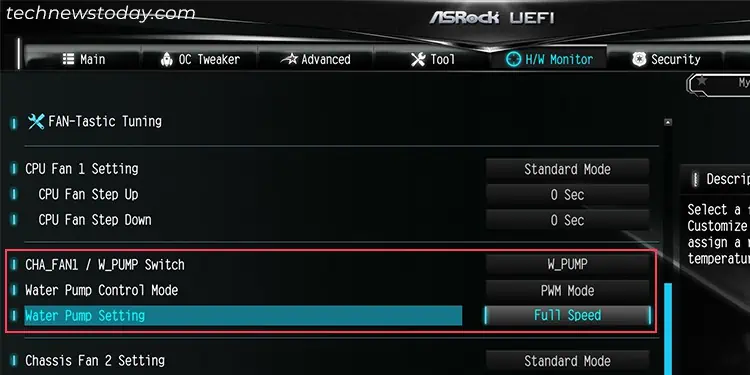
If no such headers are there, you can use the CPU_FAN header. You have to go to the BIOS and set it to DC mode and enable full speed for all temperatures.
