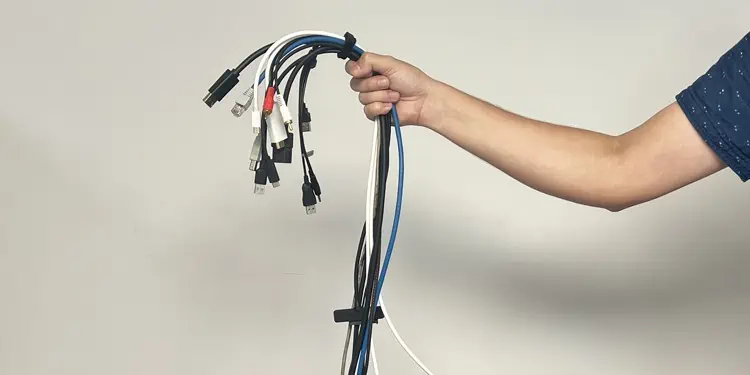
Whether you’re a gamer, programmer, or heavy computer user, it’s likely that you prefer working in an organized workspace.
Managing the cables under your desk not only provides you with an aesthetically pleasing workspace but also helps prevent tripping and falling over cables. Furthermore, troubleshooting hardware becomes much easier in a clutter-free environment. However, managing messy cables in your existing setup can be a daunting task.
In this article, I will discuss the 8 best ideas to tuck all the messy wires and create a tidy work environment.
Plan the Setup
If you initiate the cable management process without proper planning, you run the risk of it failing miserably. So, I suggest you first make a proper plan for your cable management goal.
Before you begin, power off all the devices and unplug all the wires from the respective devices. Check if the length of the cables is sufficient enough to reach the devices as per your new setup. Also, verify if the cables can pass around your workplace easily.
Similarly, another thing to consider is how often you move your devices around. If you frequently move around, you need to make your setup more flexible. The accessories used for cable management vary depending on whether you want a temporary or permanent setup. More on this later.
For now, let’s dive into some of the cable management tips for the tidiest setup.
Categorize Cables Using Labels
Labels are simply stickers made of paper, plastic, or fabric that provide additional information about the product. When it comes to cable management, labels give you information about the type of cable and the device connected to your system via a cable.
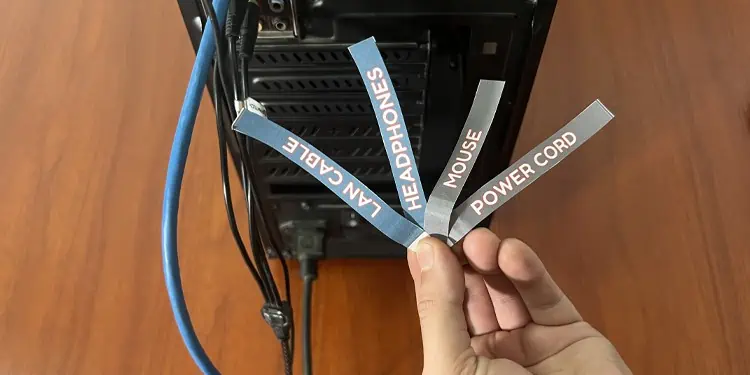
Not only do they provide information about the devices, but it also makes troubleshooting devices a lot easier as you can easily rule out the faulty device.
For instance, if you use labels to categorize your display cables, power cables, and printer cables, you can simply unplug the printer cable without disturbing the other ones whenever the printer runs into a problem.
You can simply purchase the labels and stick them midway through the cable. Make sure you get a high-quality label with strong adhesive so that it does not fall off easily.
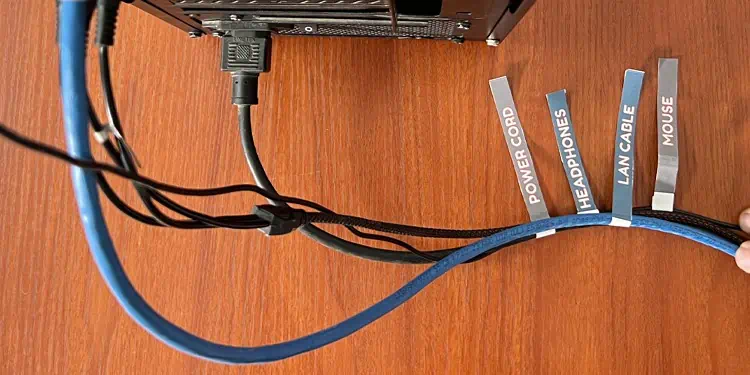
If you don’t find the proper label, you can get blank labels and write over them with a marker. Or, you may even use the color-coded tapes as well.
However, if you have a label printer, you can even print the labels by yourself or use standard printers.
Tie Cables Using Fabric Interlocking Tape
Fabric interlocking tape, also called hook and loop fastener, is a great way to tie cables together.
The tape consists of a hook side and a loop side. The scratchy or rough side is called the hook side while the soft side or fuzzy side is called the loop side. Both sides get interlocked making your cable secure.
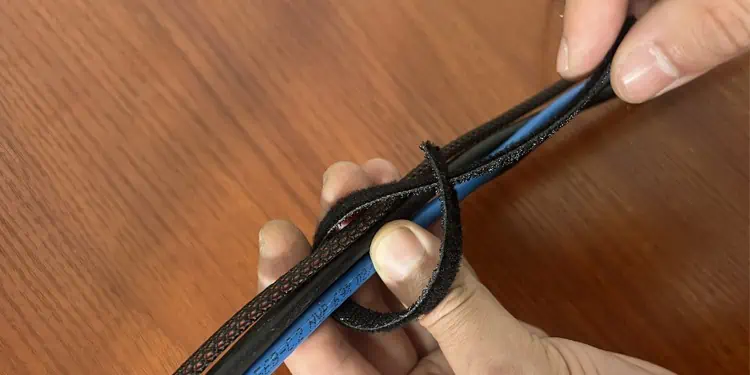
I suggest you get fabric interlocking tape from Velcro, which is high-quality and durable.
To begin with, measure the combined thickness of the cables. Then purchase a suitable size Velcro and tie the cables facing the hook side upwards and the loop side downwards.
While you are at it, make sure you attach both sides firmly. You may try pulling the loop side to see if the tape is attached firmly.
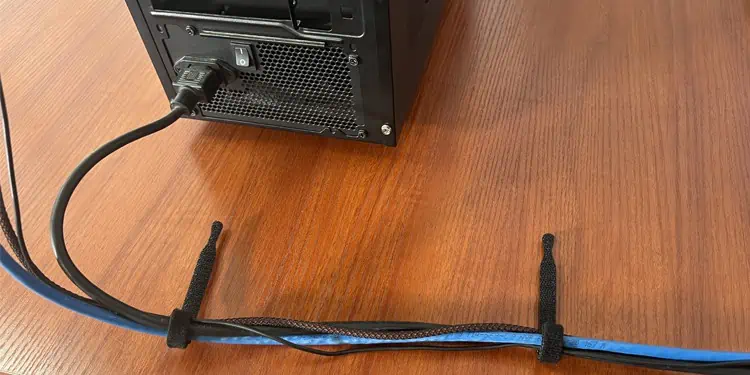
Furthermore, you can make the cables look more streamlined using multiple interlocking tapes at varying distances.
As the tape can be easily removed and reattached, it offers higher flexibility for troubleshooting.
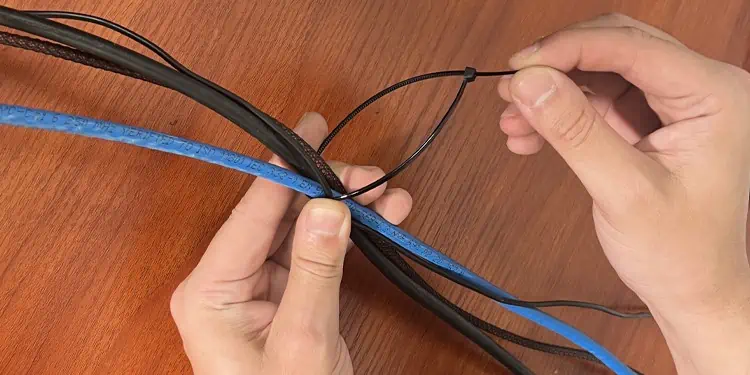
You may also use Raffia Ribbon or zip ties easily available in your home in case you don’t have a fabric interlocking tape.
Bundle Multiple Cables With Zipped Cable Sleeve
Similar to your arm sleeves, zipped cable sleeves are lightweight and easy to handle sleeves made for cables.
These sleeves come with a zipper and help create a flexible cable management system by bundling multiple cables together to make them look like a single cable. Cable sleeves are made of braided polyester that offers flexibility and protection against cable abrasion.
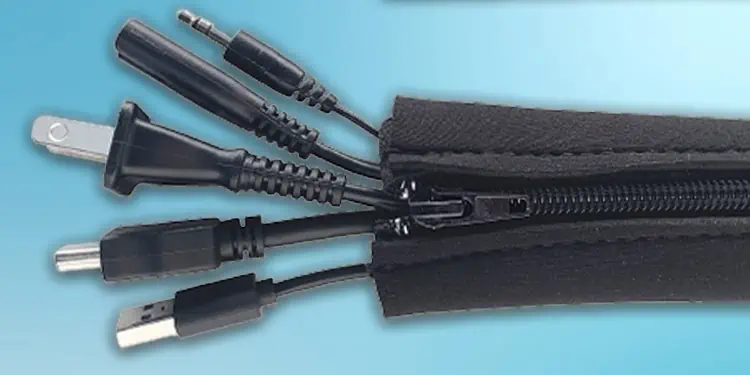
To begin with, get a zipped cable sleeve of suitable length and thickness that can accommodate all your cables together. If the sleeve turns out to be extra large for your cables, you can later use interlocking tapes like Velcro to tighten the sleeve ends.
You should always be careful when you are zipping the cable sleeve. Avoid pinching the cables or inserting cables more than the sleeve can withstand. Consider getting a larger cable sleeve if the current one does not hold the cables.
Pass Cable Through a Cable Clip
Cable clips or clamps are tiny accessories that help route wires and cables safely through a wall, ceiling or a piece of furniture.
Although available in multiple sizes, most of the cable clips are not large enough to route multiple cables through it. In fact, most of the cable clips only allow you to route a cable or two through them.
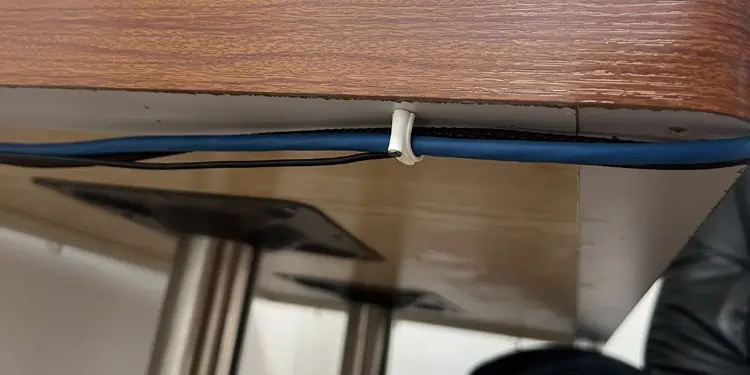
These clips are generally made of plastic and come in two variants, one with the pre-installed nail and the other with the adhesive on the back.
If you plan to use clips with nails, simply plan the path for your cable, insert the clip over the cable and hammer it. However, I don’t recommend using cable clips with pre-installed nails unless you don’t plan on changing the cable path in the future. I suggest the self-adhesive cable clips instead.
Conceal Cables With Raceway Wall Covers
Raceway wall covers, also called cable concealer, is an aesthetically pleasing method to hide messy and tangled cables around the room.
Raceway covers are generally made of metal or plastic and come in two variants, one with the screw setup and another with the adhesive setup. You may get one according to your preference.
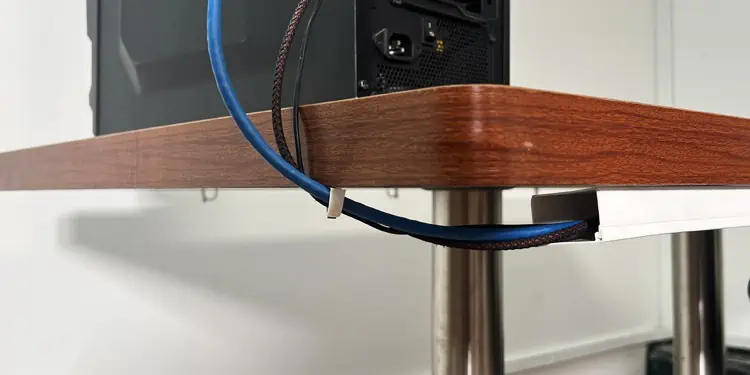
To manage your cables, you should first measure the length and thickness of the cables that you are planning to pass through the raceway cover. Then use a ruler to mark the raceway cover path. If you try to fit the raceway cover haphazardly, you will only end up messing up your wall.
After that, get a raceway cover of suitable length and thickness, then fit it following the instructions on the user manual. You may adjust the length of the cover using a handsaw or knife, if necessary. Then insert the cables into the raceway and shield it from the top using the cover.
If you are unable to adjust all your cables into a single raceway wall cover, you can use the couples, elbows and connectors that help connect multiple raceway covers in bends and long routes.
You can also use Velcro or zipped cable sleeves in between the cables for bundling them together.
You may also get a floor cord cover if you need to pass cables through the floor.
Route Cables Through Desk Grommets
Most of the tabletops have an opening (grommet hole) for cables to pass through it. If you have one on your table, you are good to go. You can simply bundle the cables together and route them through the grommet hole.
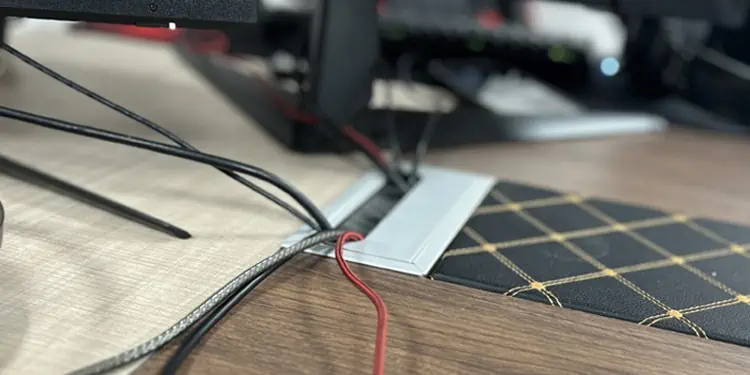
Otherwise, you need to drill a grommet hole on the tabletop using a power drill. To begin with, get a desk grommet and measure its dimension. Then drill a hole on your tabletop to fit the grommet.
While you are at it, make sure the cables from all the devices can pass through the hole easily. Once you drill the hole, you can then fit the grommet.
Collect Cables Using Cable Management Box
Cable management box is typically a rectangular box which holds all the power cables on your PC setup and helps manage the cable clutter.

These boxes generally contain the power strip, where power cables from all the devices enter it from a common inlet and the power cable of the power strip exits from an outlet.
You can fit the cable management box on the side of your desk or underneath the desk and tuck all the excessive cables into it. You may also use Velcro tapes to tie cables inside the box.
Go Wireless
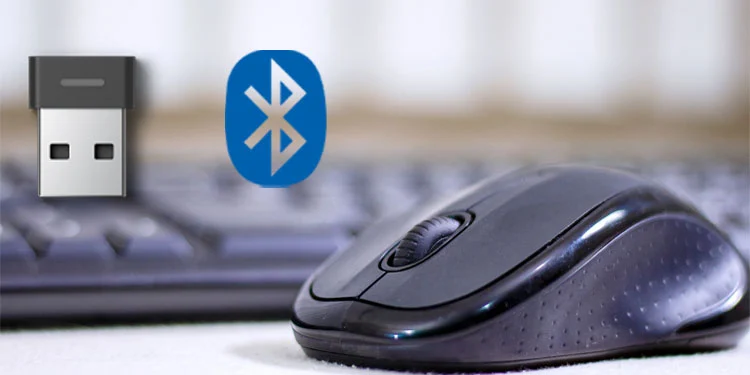
Going wireless is a simple yet effective approach towards your cable management goal. Although it is not possible to replace every device on your setup with its wireless variant, replacing only a few of them can help you reduce tangling cables up to some extent.
First of all, you should identify the devices that could be turned wireless. For instance, input devices like keyboard and mouse, and output devices like speakers and headphones can be easily replaced with their wireless variants.
You can also replace your wired monitor with a wireless one and switch to Wi-Fi instead of ethernet cables, if it’s not going to affect your productivity.

