Simply upgrading your RAM will fix any system lags and choppiness on a system with low memory.
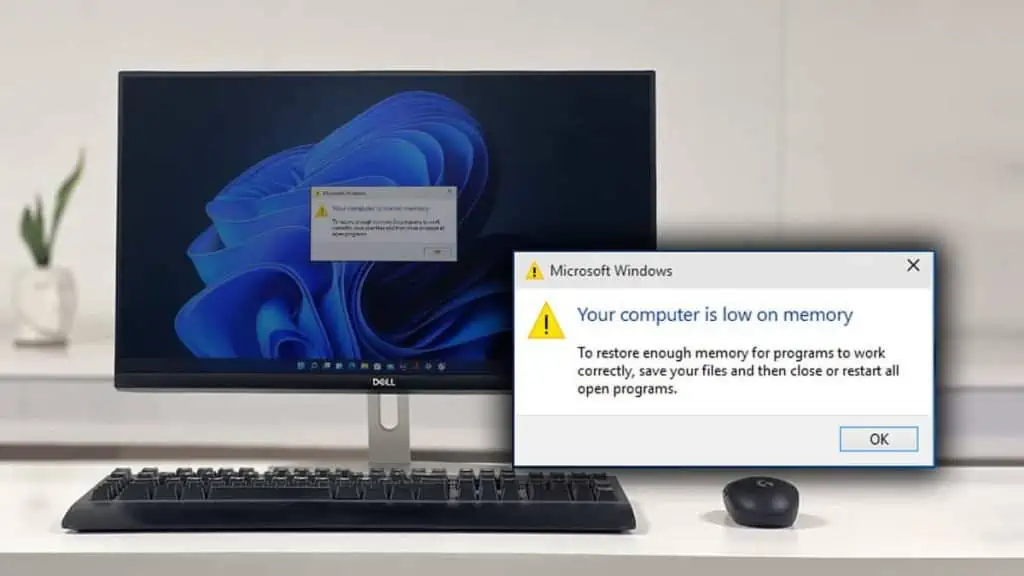
If that’s not possible, you can either limit the number of actively running apps or increase virtual memory size. This will free memory and get rid of the “Your computer is low on memory” error in most cases.
But what if you get the error message even when the system has free memory? This is probably due to memory leaks in your system. Removing these applications from the background or any unnecessary tasks will clear the memory.
Close Applications with High Memory Usage
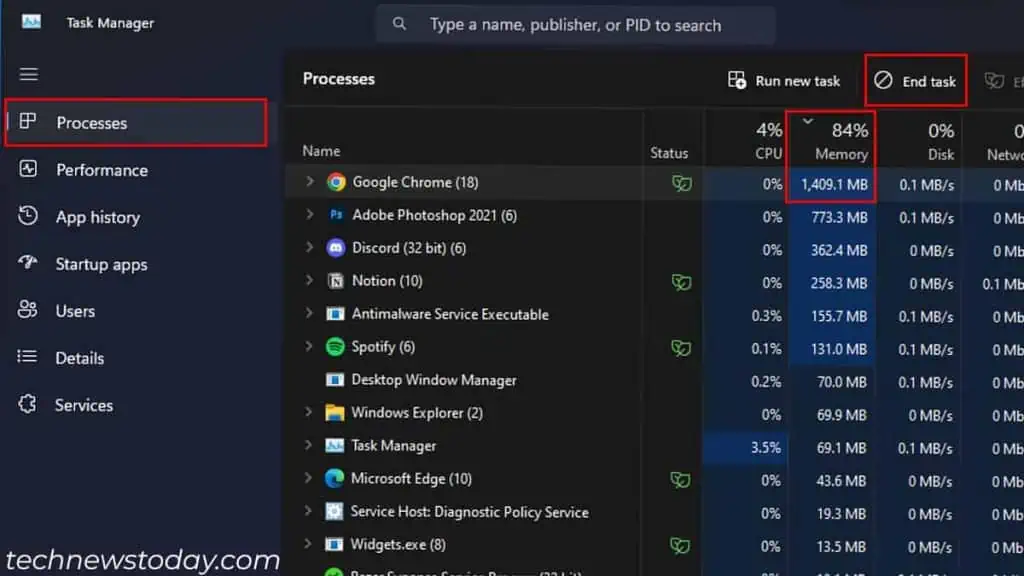
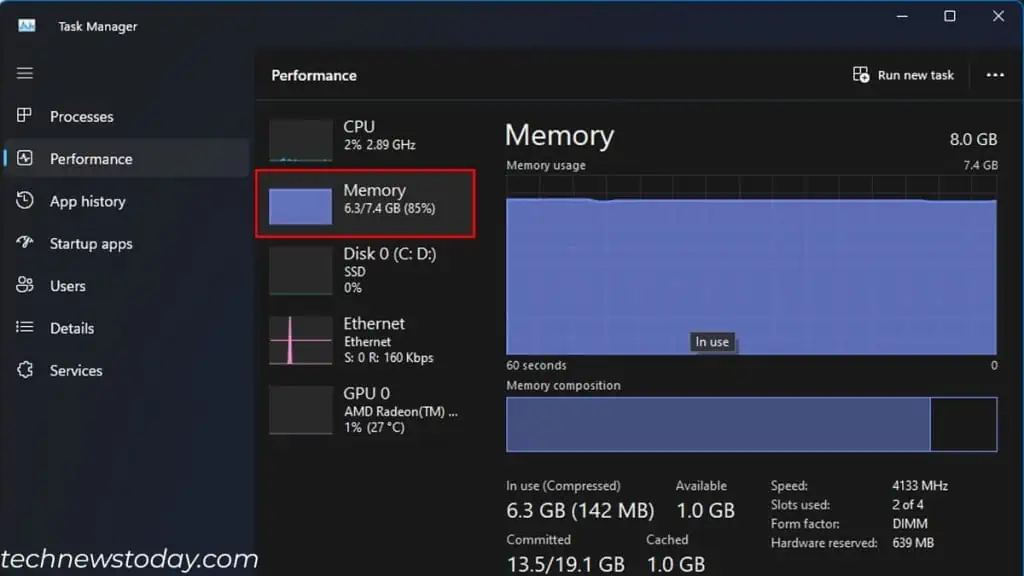
First, I recommend that you check the total memory and its usage via Task Manager.
It shows all the tasks and the amount of system resources that it is currently using. This includes CPU, disk, network GPU, and, most importantly, RAM.
If you see any process that is taking high memory usage, close them right away.
- Press Ctrl + Shift + Esc.
- In the Task Manager window, make sure that you are in the Processes tab.
- Click on the top of the memory column to sort by memory usage.
- Select the process that is taking high memory.

- Click on End task.
- While in task manager, disabling unnecessary startup apps is also a good choice.
If you see a process named System and compressed memory taking high Memory/CPU usage, you’ll need to disable Superfetch/sysmain from Services.
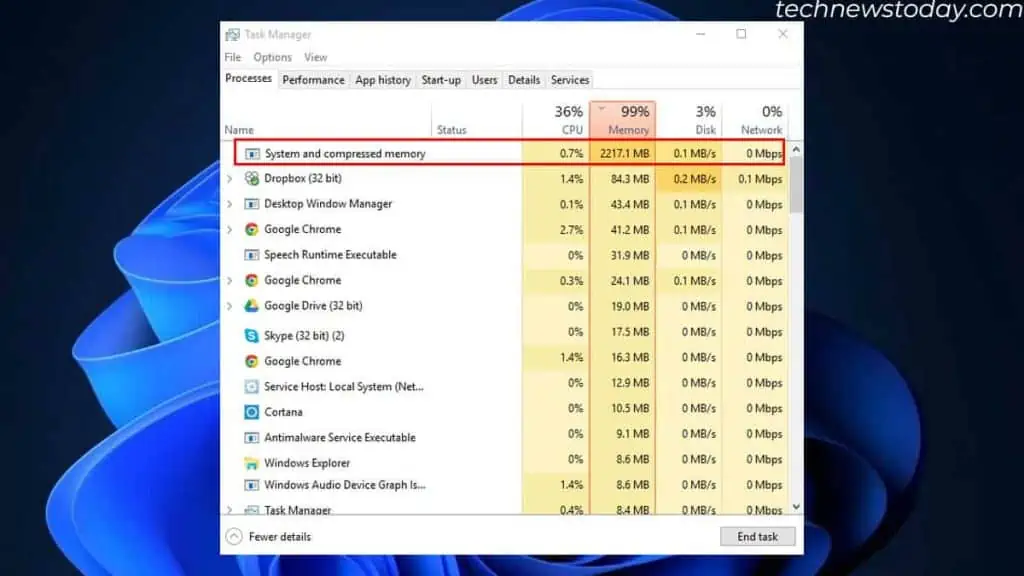
In Task Manager, you might see Chrome or other browsers taking high memory usage. To avoid this, you can uninstall any unnecessary browser extension.
You can also check the total memory in your system. Sometimes, if a memory stick is corrupted, the PC might only run with one functional stick.
Increase Virtual RAM Size
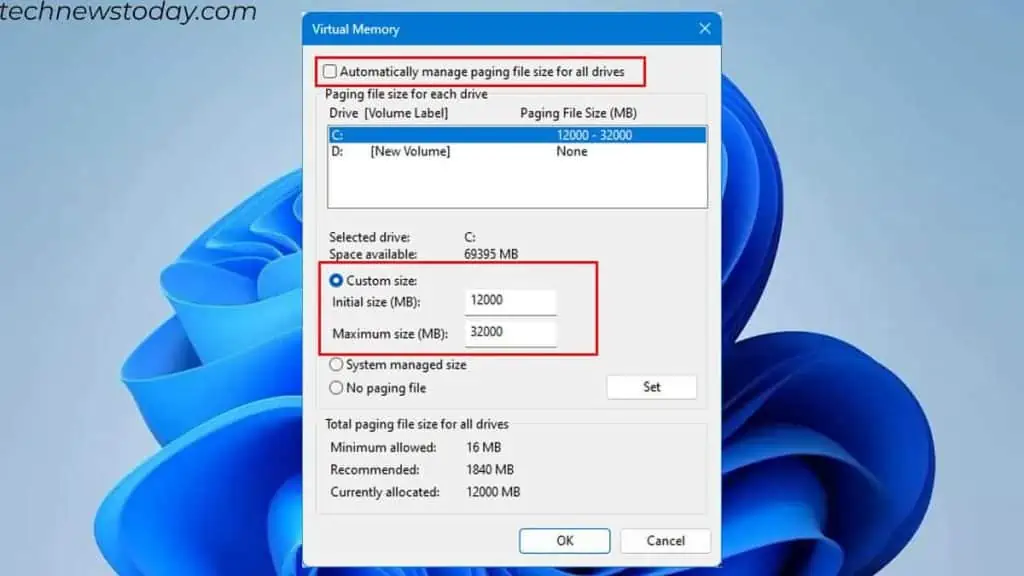
Your system can store memory in the storage device if it ever runs out of RAM. This temporary memory is a virtual RAM.
By default, your system uses a certain storage from your hard disk. However, since this is not enough, you can increase virtual memory.
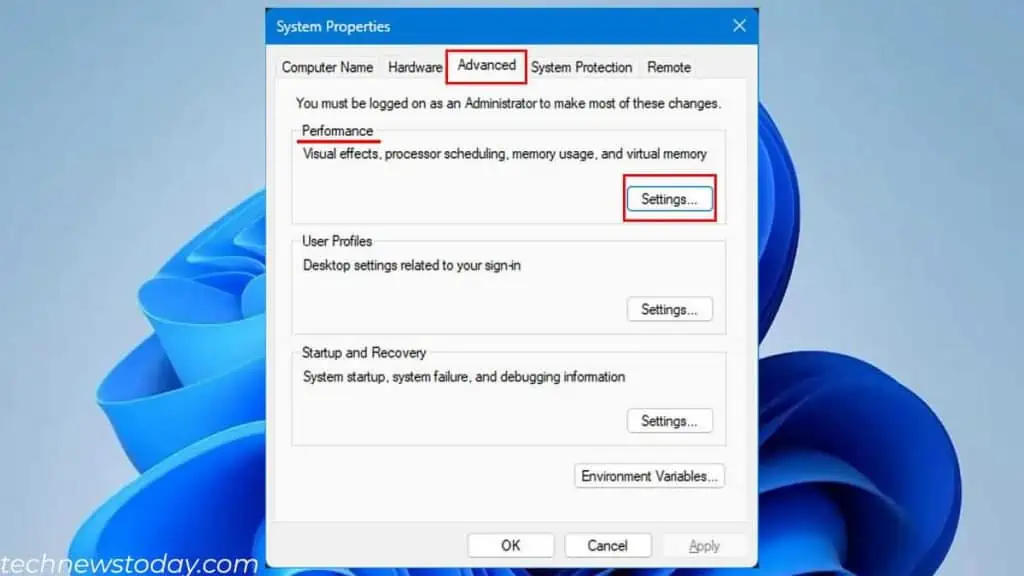
- Press the Windows + R key, type
sysdm.cpl, and press Enter. - Go to the Advanced tab, under Performance, and click on Settings.

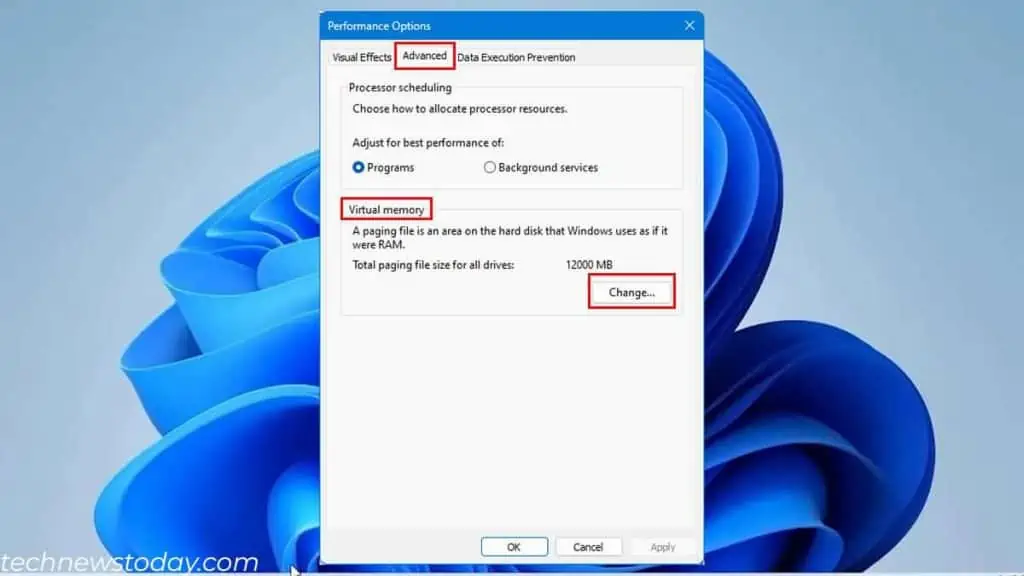
- Again, click on the Advanced tab.
- Under Virtual Memory, click on Change.

- Here, You can either let Windows manage the page file or set a custom size. If you are allocating page file size manually, set it at 1.5 to 2 times your total RAM.

- Click on OK once you are done.
Reinstall Application With Memory Leaks
Some applications, due to their poor optimization, cause memory leaks. It occurs when a process allocates RAM and holds it even after the task ends.
This will cause the system to display a low memory error, sometimes BSOD, even if the system has plenty available.
There are several user reports where even known applications like Chrome, Adobe software, etc. caused memory leaks.
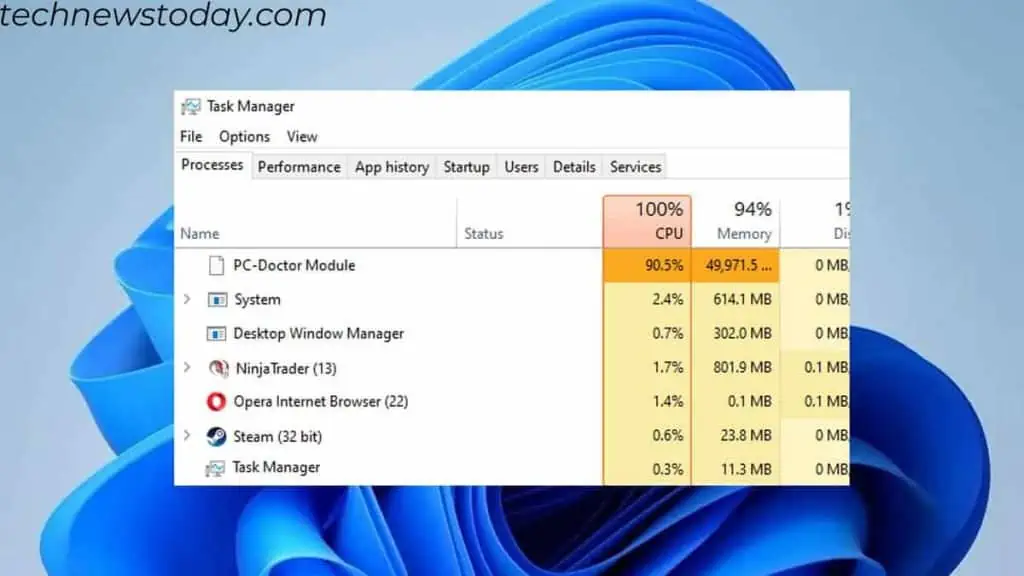
One similar situation I ran into was when using Dell SupportAssist. The application constantly uses high CPU resources.
Through further digging, I found out that the app had numerous memory leaks which caused the CPU usage to max out. In this case, too, the memory usage was not high. Reinstalling the app fixed the issue for me.
You can check the event logs and the Performance Monitor to find the app that has memory leakage.
Restart your PC to clear the memory cache. But the issue might persist when you run it later.
So, reinstall and restrict the app to run in the background to get rid of the computer’s low memory error.
Scan Using Windows Defender
Downloading and running suspicious files on the internet could cause the system to be infected with viruses. These malicious files might run processes that cause memory usage to spike, resulting in a low-on-memory warning.
To ensure this is not happening in the background, scan using Windows Defender. Here’s how:
- Open Run, type
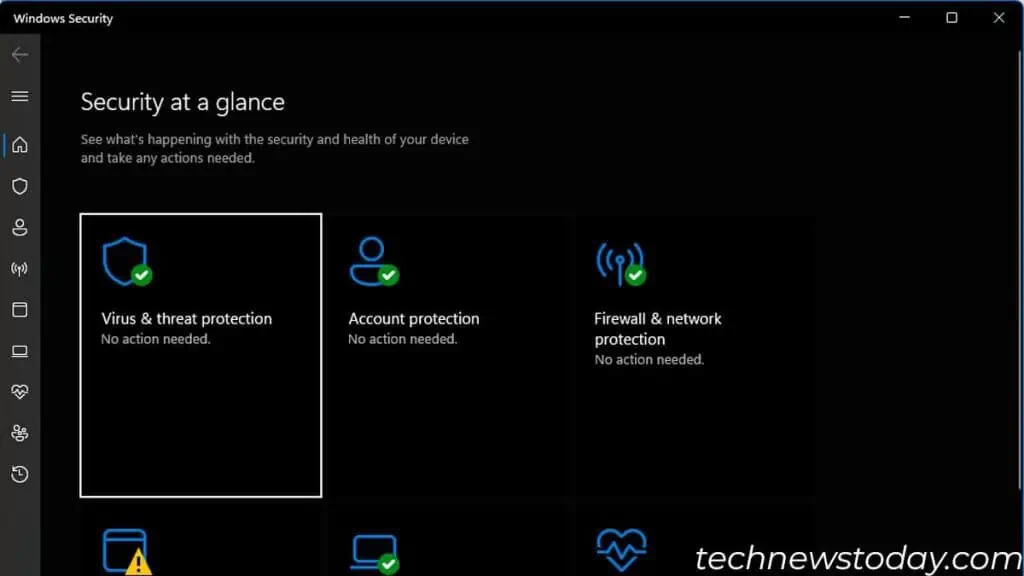
windowsdefender:, and press Enter. - Go to Virus & Threat Protection.

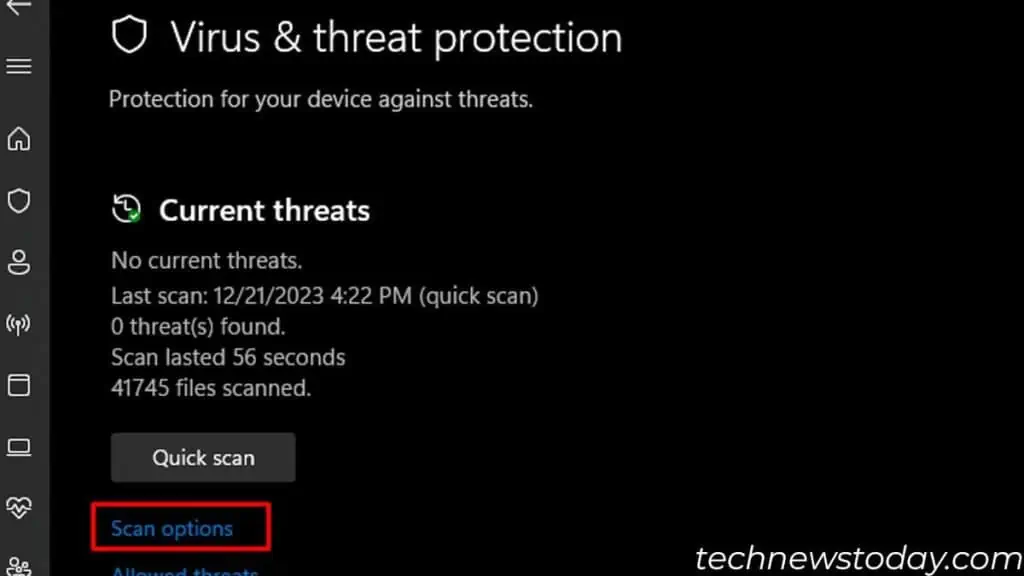
- Click on Scan options and select Full Scan.

- Hit Scan now and wait for the scanning process to complete.
- If it finds any threat, the best action would be to quarantine or remove them entirely.
Upgrade Memory
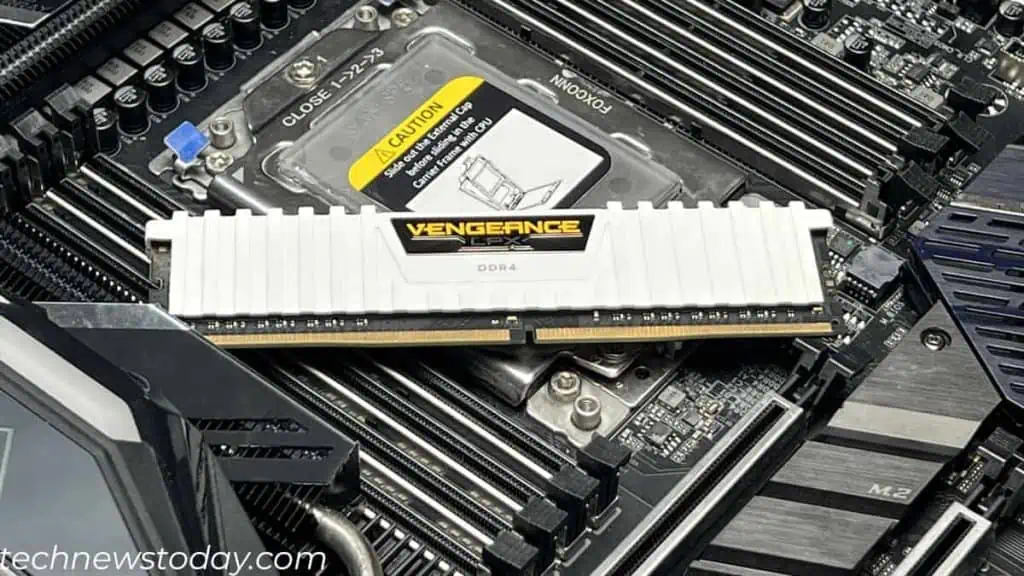
If you are certain that the problem is due to low RAM, upgrading it will get rid of any issues due to insufficient memory.
But several things need to be taken into consideration.
To start things off, you should know the type of RAM your system supports. Second is the maximum RAM capacity for your system. After that comes how much RAM you would require.
Based on that, you now need to choose the right type of RAM. Finally, install the new RAM into your PC.

