CPU fan is different from the casing fans in the sense that the CPU fan has a failsafe connection. That is to say, if it is not connected to the system, the system will not even start to protect the integrity of the CPU.
So, when your PC shows the “CPU Fan Not Detected” error, it usually means that the fan connection is not made properly. But sometimes, the system may not be able to detect the fan due to hardware issues or software bugs.
In this guide, we have provided the most probable causes for the error and the ways to fix them.
What Causes “CPU Fan Not Detected” Error
Here are the major causes for the “CPU Fan Not Detected” Error in your PC.
- Loose fan connection
- Fan connected to incorrect fan header.
- Accumulation of dust and dirt
- BIOS error
- Fan blades not rotating
- Bent or broken fan header Pins
How to Detect CPU Fan in BIOS
Before hopping on to the fixes, open your fan casing and power on your system to see if the CPU fan rotates. If it does and the error appears on the screen, then it may be a BIOS error or an incorrect fan header connection.
But if the CPU fan does not rotate at all, then there may be some other issues.
Whatever the case, let’s move on to the fixes straight away.
Check For Hardware Defects
The first to do is to check for any physical damages and defects in the fan. If you have bought a replacement, then it may have been dead on arrival. Or, its cable or connector may be faulty.
Similarly, bent or broken pins in the motherboard port will also prevent the system from detecting the CPU fan.
You can look for the hardware defects by following the steps below.
- Power off your system and remove all the cables from it.
- Unscrew your PC casing’s side panel nuts and remove it.
- Find the CPU fan and the port on the motherboard.

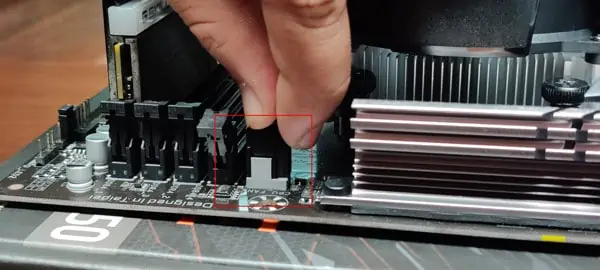
- See if the pins are bent or damaged on the port. If some pins are bent, carefully bring them back to position. Make sure not to break them off.

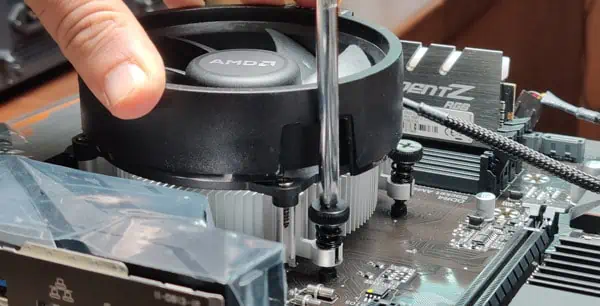
- Loosen the fan screws, remove the locks, and take the fan out. Look for any damage underneath. place the fan in the correct orientation.
- Place the fan in the correct orientation and press the locks diagonally to ensure appropriate placement. Tighten the screws properly.

- If you have a spare CPU fan, connect it and run the system to see if it’s detected.
If the spare fan worked, then your CPU fan may be damaged. Try checking it in another system. You can send for a replacement if you just got it.
You should also perform a thorough cleaning of your system before reassembling it.
Clean the PC and CPU Fan
A dirty system is equally responsible for a CPU Fan to not being detected. Sometimes, the dust may even accumulate on the blades and rotor in such a way that the fan blades cannot rotate at all. This will result in the BIOS not detecting the CPU fan.
So, while you are checking for hardware defects, let’s clean your system and CPU fan.
- Access your motherboard and remove all the cables connected to it.
- Unscrew the nuts and remove the motherboard.
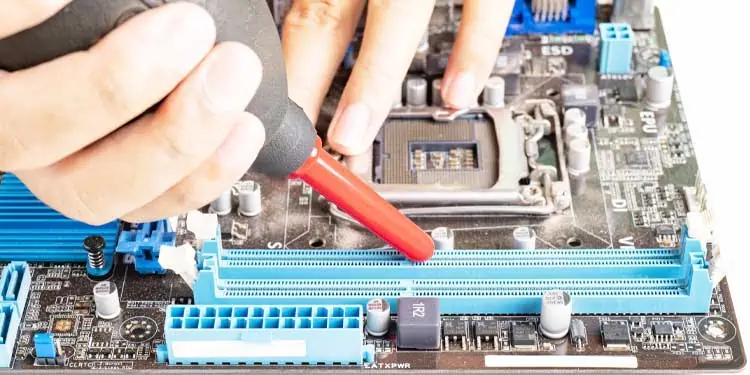
- Obtain a blower and apply compressed air from the side.

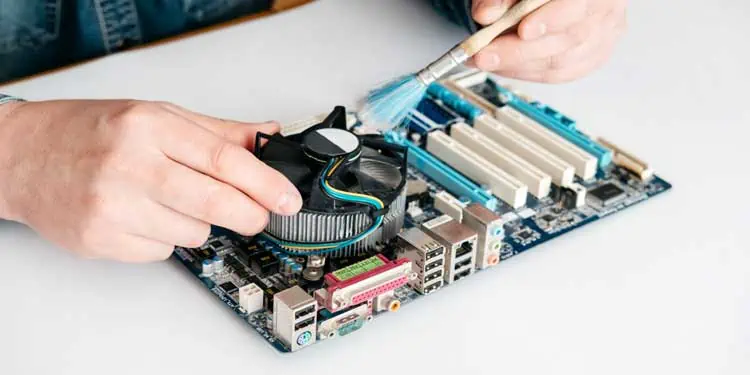
- Clean the remaining dust with a clean microfiber cloth or brush.
- Do this for the CPU fan as well. If some solid substance is stuck on the fan blade, remove it.

- If possible, apply oil to the rotor for smooth rotation.
- Reconnect all the components by looking at the manual or instructions specific to your motherboard.
Start your system to see if the BIOS detects the fan now.
Inspect and Reinsert the Fan Cable
There are a number of ports in the motherboard to accommodate the CPU fan and chassis fans. So, it is totally possible to confuse one for the other.
If you add a CPU fan to the chassis fans’ port, the PC will not detect the fan. Similarly, adding the CPU fan to the CPU_OPT header instead of the CPU_FAN header may cause the same issue. Even if the fan cable is connected to the appropriate header, it may be loose.
So, in short, you should inspect the proper connection of the fan cable in the motherboard by following ways.
- Disassemble your system by following the steps given in the earlier section.
- Disconnect the Fan cable.
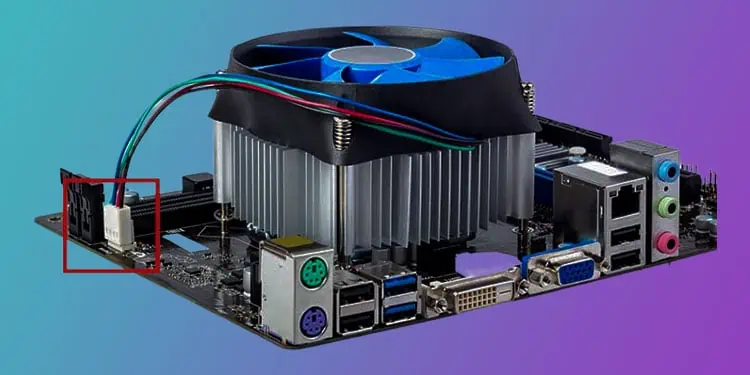
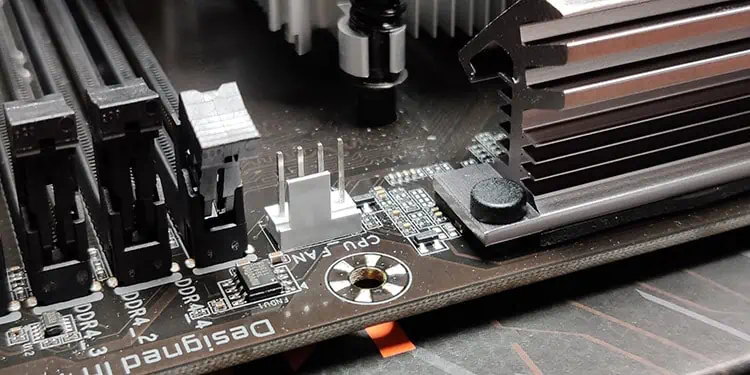
- Find the CPU_FAN port in the motherboard. It is usually near the CPU or the motherboard’s end region.
- Insert the PWM connector, DC, or Molex connector to the CPU_FAN header. Do not connect the cable to SYS_FAN or CHA_FAN as they are for casing fans.

- If your system has an AIO Pump, connect the AIO Radiator Fan to the CPU_FAN header.
Boot the system after reconnecting the components to see if the error is gone now.
Reset or Update BIOS
If the above solution did not fix your problem, your system’s BIOS or its settings might have some bug. Or, the fan you bought may not be compatible with the older BIOS version.
You should update the BIOS as the manufacturers usually resolve the bugs in the latest version. And the newer version may support your CPU fan.
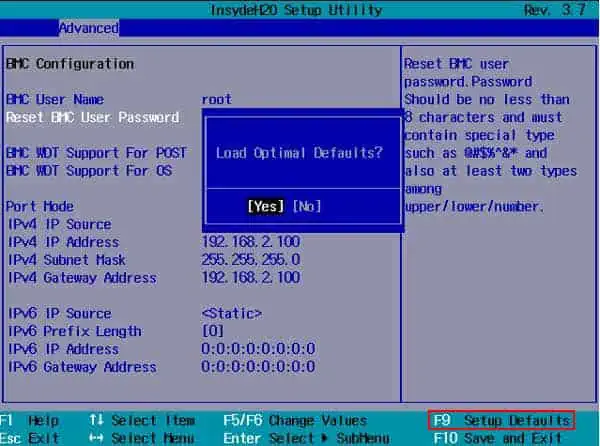
But before that, you should try resetting the BIOS. It will fix the error if it was just caused by some faulty settings.
- Restart your system and enter the BIOS page by pressing the respective key such as F2, F12 or Delete.
- Press F9 or the key associated with performing a factory reset.

- Save the settings and restart your system by pressing F10 or the required button.
If resetting BIOS did not solve your problem, let’s see the way to update your BIOS.
- Press Windows + ‘R’ and type
msinfo32in the Run dialog box to open System Information. - Note the motherboard’s model and BIOS version.

- Go to the official website of your motherboard and find Support, Driver downloads, or similar.
- Choose your operating system type and see if they have provided a new BIOS update by comparing your BIOS version and the one on the site.
- Download the update file.

- Double-click on the file and follow the instructions to complete the process.
Not all the systems provide the BIOS update method as simple as above. So, we have prepared a comprehensive guide with the precautions and safe ways to update your BIOS.
See if the BIOS detects the fan now.
Related Questions
My Fan is Not Cooling the CPU. What Should I do?
The sensor in the CPU detects high temperatures when it does not receive any cooling effect. This can happen if the fan speed is not optimum to cool the CPU, hence the error. So, changing the fan speed may solve the issue.
Many motherboards provide the feature to change fan speed nowadays. Let’s see how you can use the feature.
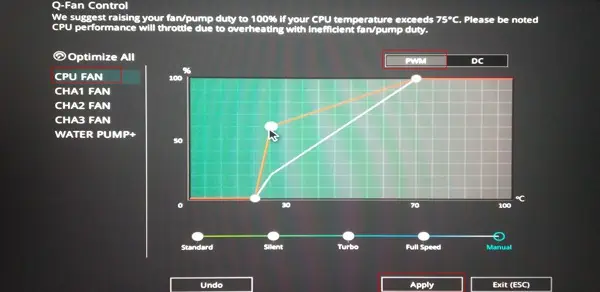
- Restart your system and press the respective key to get into the BIOS page. Most of the systems have F2, F12, Esc, or Delete keys for the purpose.
- Find the Q-Fan option in BIOS and click on it. The name may vary for different manufacturers, such as Fan Info for MSI, Smart Fan for Gigabyte, etc.

- If your Fan has a PWM header, keep the mode to PWM.
- Set the fan speed using the Curve for different temperatures. You can also set the speed to the given standard modes, such as Silent, Turbo, etc.

- Click Apply and press the key associated with saving the settings.
Restart the system to see if the fan is detected now. If your system does not have the option to modify fan speed in BIOS, you can use third-party applications to do so.
How do I Fix the “CPU Over Temperature“ Error Message?
If your system shuts down in the middle and shows the error, it may be that your CPU is overheating. Excessive load to the fan may cause it to fail, thus displaying the error.
You should try lowering your CPU temperature by using less intensive programs or a dedicated GPU for heavy work. Similarly, the CPU may be heating up due to the depletion of thermal paste. Applying thermal paste should lower the CPU temperature and load on the fan accordingly.
Let’s see how you can re-apply thermal paste on your CPU and fan.
- Unscrew the fan and remove the locks properly to disassemble the fan from the motherboard.
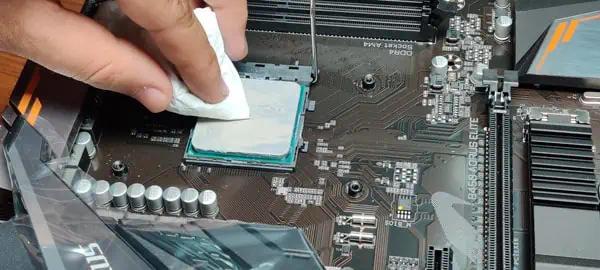
- Scrub the remnant thermal paste by using a piece of clean cloth and isopropyl alcohol.

- Let it dry for a while.
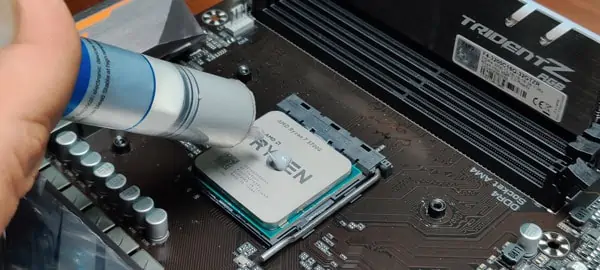
- Apply an appropriate amount of thermal paste in the middle of the CPU. You can also apply it in any other pattern.

- Place the fan properly and press the lock diagonally to make it steady.
- Tighten the screws and connect the fan cable to the CPU_FAN header.
Run your system to see if the problem has gone away now.

