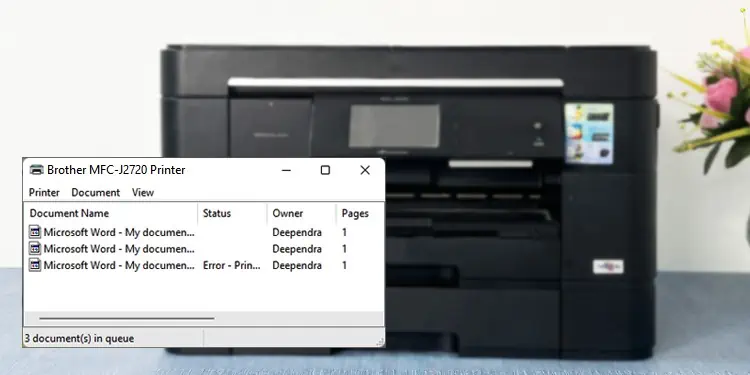
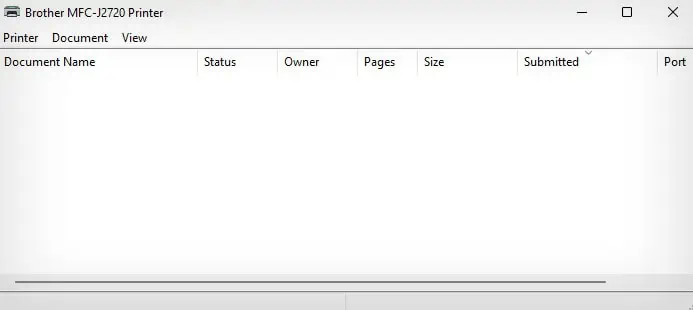
Modern computers have a dedicated print spooler service that temporarily holds the print jobs in the queue. It then sends them to the printer to get printed. However, sometimes the print jobs may get stuck in the queue, and simply right-clicking the print job and selecting cancel won’t delete it.
In such a case, you should force delete the print jobs from the spooler cache to allow new jobs to be executed again.
Delete Stuck Print Job on Windows
If you are on a Windows computer, you can delete the stuck print jobs using the command or graphical interface. This is basically what you will do to delete the stuck print jobs.
- Stop the spooler service (service that looks after all the print-related tasks on a Windows computer)
- Delete all the temporary files in the spooler cache (files with
.SHDand.SPLextension) - Start the spooler service
Using Command Interface
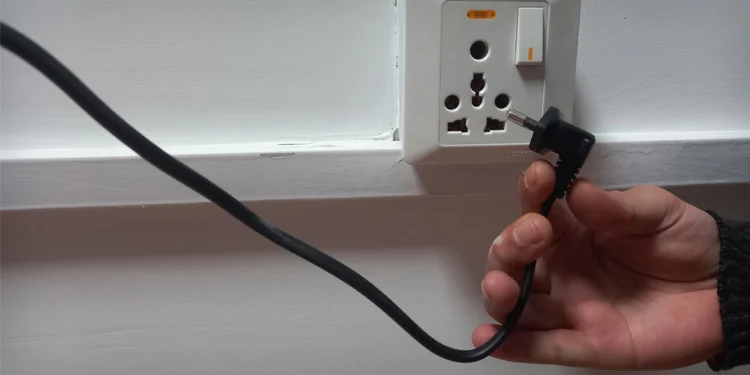
- Turn off the power supply of your printer.

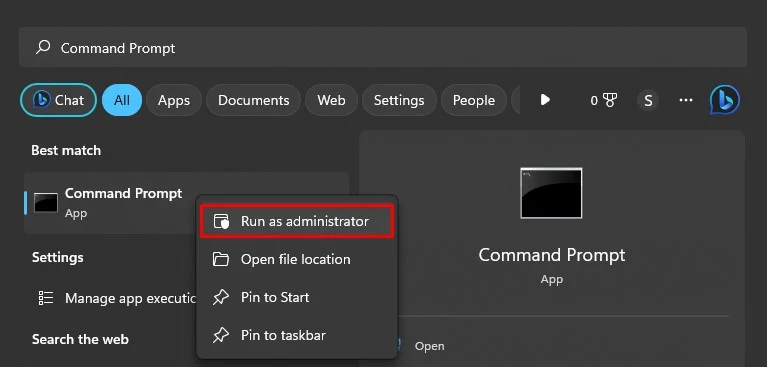
- Type Command Prompt in the Windows search box.
- Right-click it and tap Run as administrator.

- Click Yes in the UAC popup window.
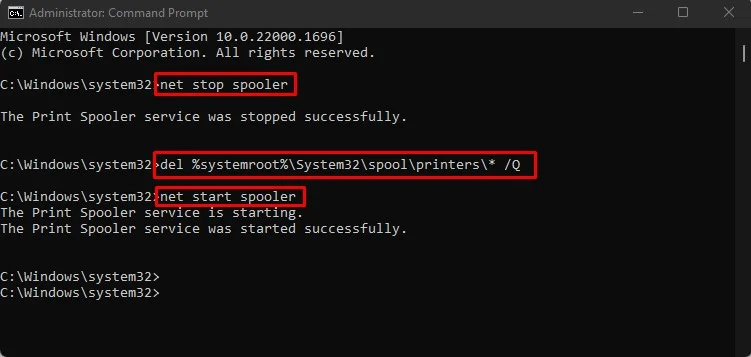
- Copy and paste these commands in the command window and press Enter key after each line.
net stop spoolerdel %systemroot%\System32\spool\printers\* /Qnet start spooler
- Check the print queue. The stuck print job should be gone now.

Using Graphical Interface
- Power off the printer.
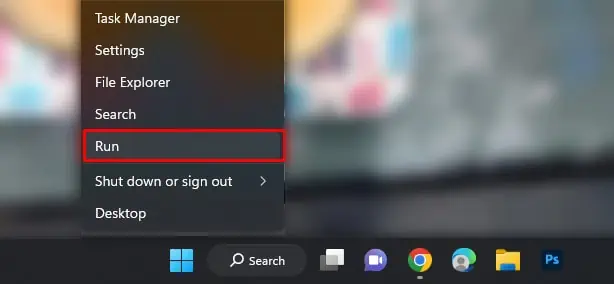
- Right-click the Windows Start button and click Run.

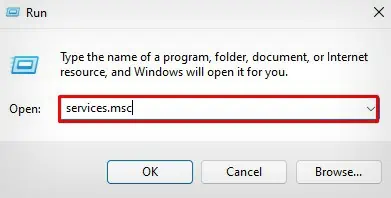
- Enter
services.mscin the text area and click OK.
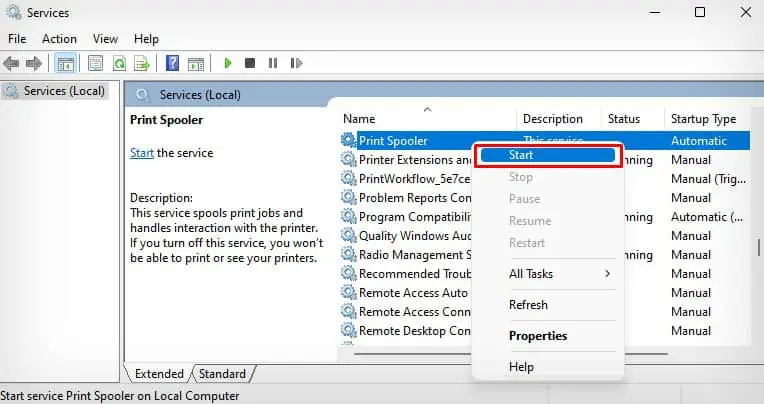
- Find Print Spooler, right-click it and click Stop.

- Now hit the Windows + E shortcut on your keyboard.
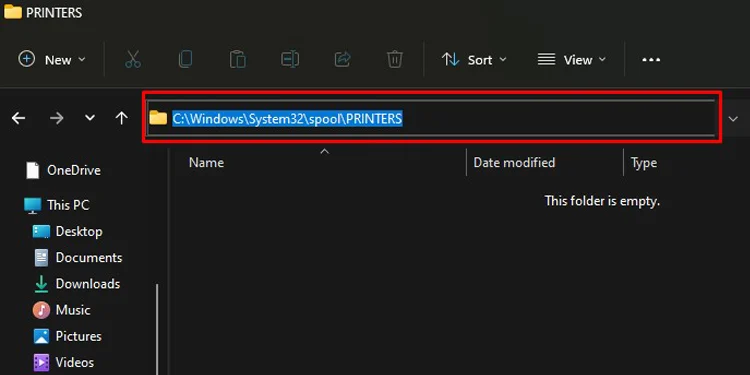
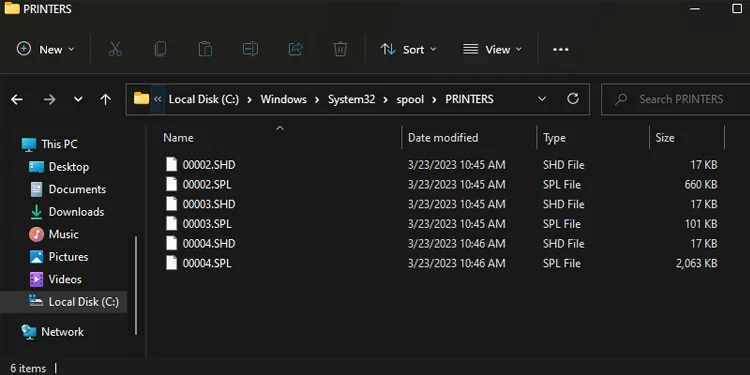
- Copy-paste this address in the address bar and press Enter.
C:\Windows\System32\spool\PRINTERS
- Delete all the contents of this folder.

- Now return to the Services window again, right-click Print Spooler and select Start.

- Check the print queue.
- Restart your PC if the print job is still stuck in the queue. It should solve the problem.
Delete Stuck Print Job on Mac
If you are on a Mac, you should reset its entire printing system to delete the stuck print jobs. However, resetting the printing system will also remove the printers from your Mac. So, you need to add the printer to your Mac again.
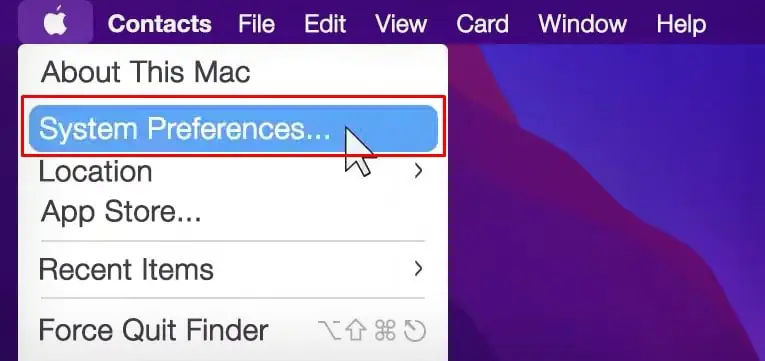
- Go to the Apple icon and choose System Preferences.

- Launch Printers & Scanners.

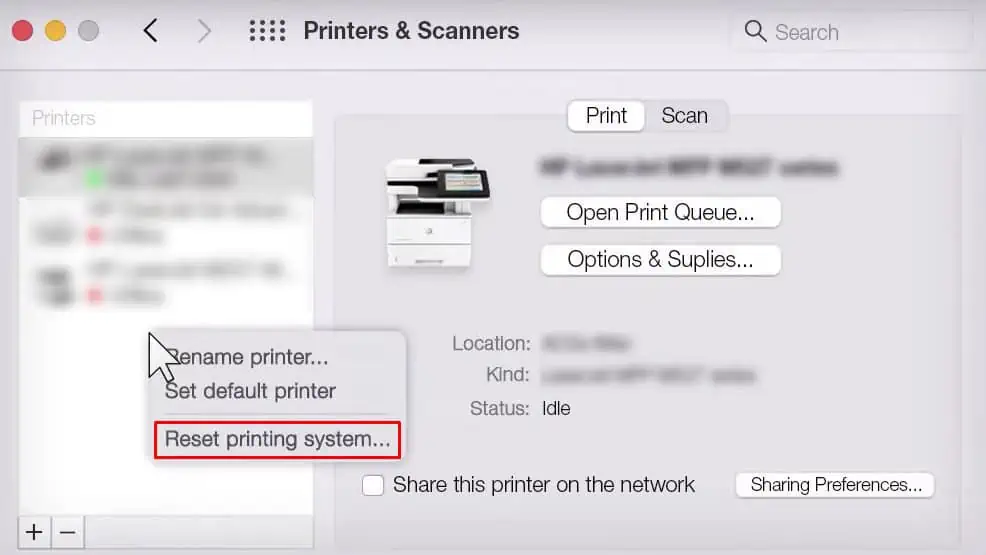
- Keep pressing the Control key and click the white space on the left side.
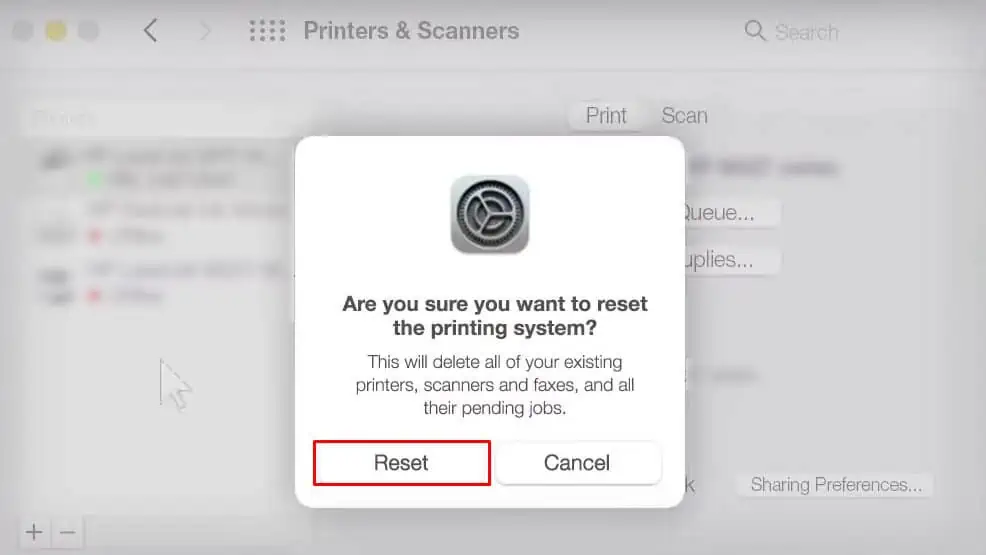
- Tap Reset printing system.

- Click Reset.

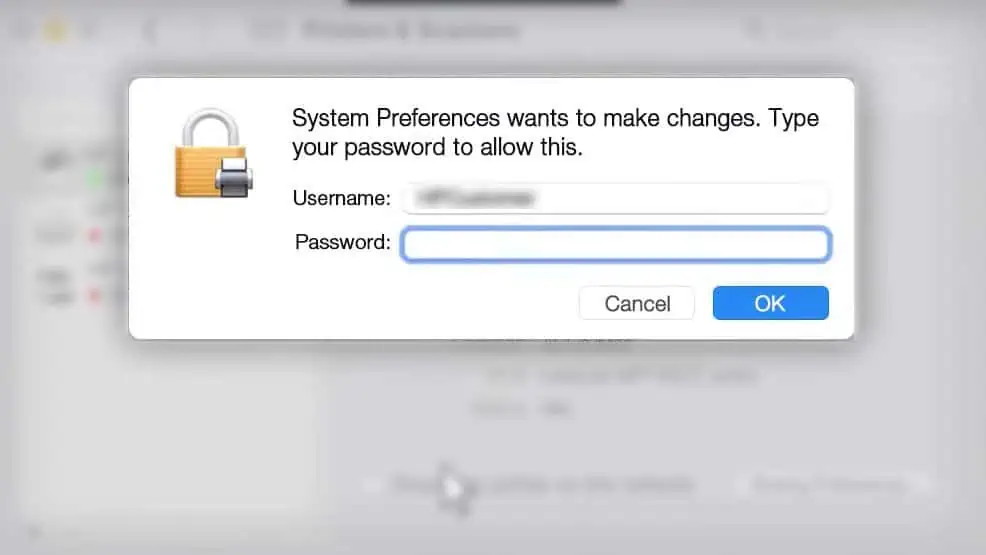
- You must type the administrator password if prompted. Click OK.

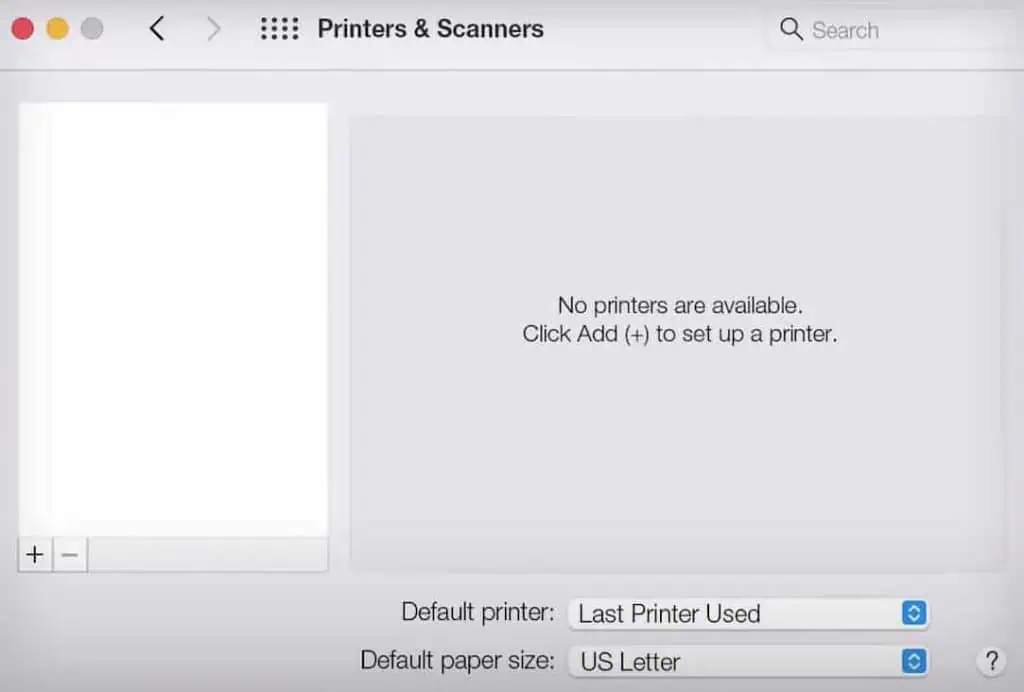
- Add your printer again.

Still Unable to Clear the Print Job?
In most cases, you should be able to delete the stuck print jobs after clearing the spooler cache. If that does not work, you can reinstall the printer driver to clear the queue.
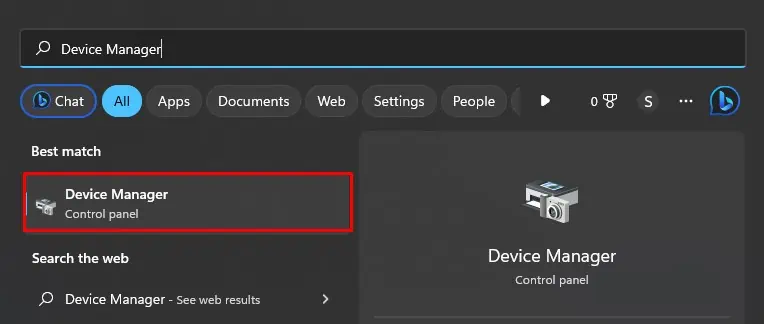
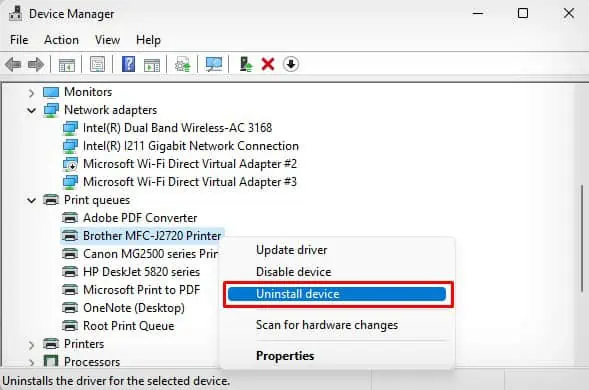
- Open Device Manager.

- Extend the Print queues menu.
- Right-click the printer whose queue you want to clear.
- Select Uninstall device.

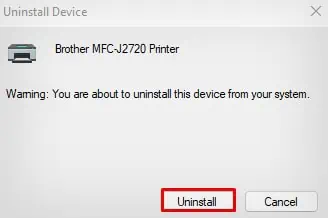
- Click Uninstall.

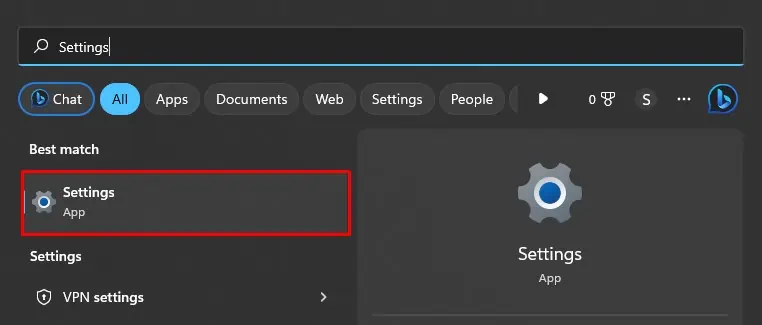
- Once you complete the uninstall, open Settings.

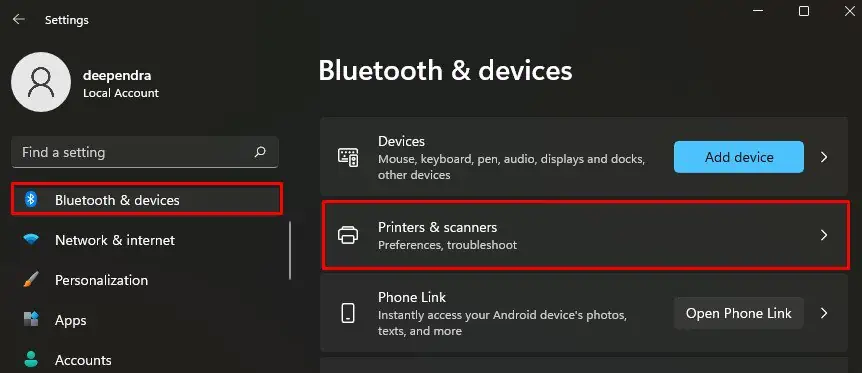
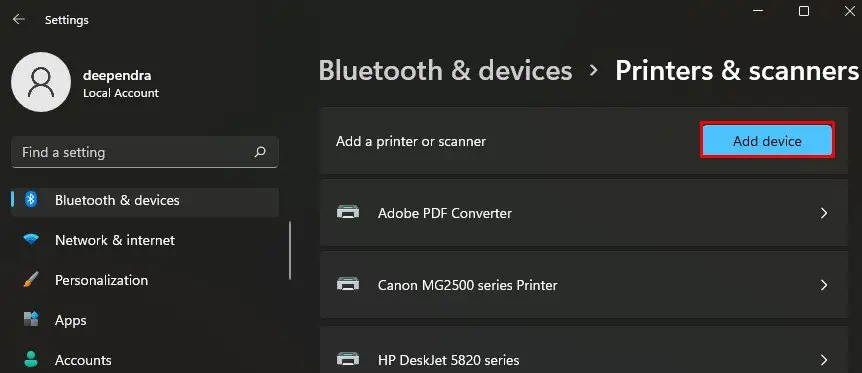
- Click Bluetooth & devices > Printers & scanners.

- Tap Add device.

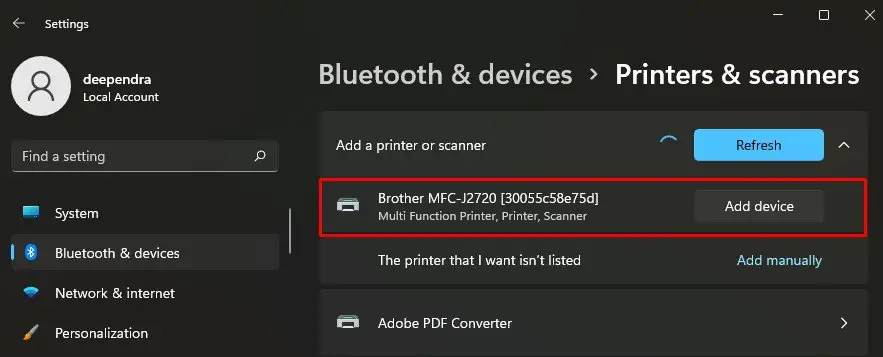
- Select your printer and install it.

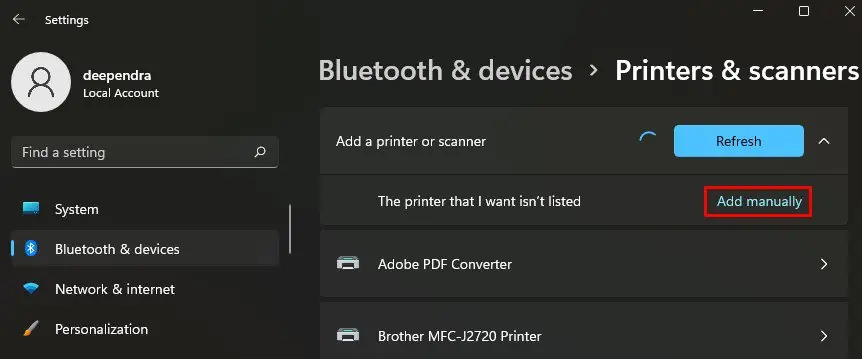
- If you don’t see your printer in the list, click Add manually.

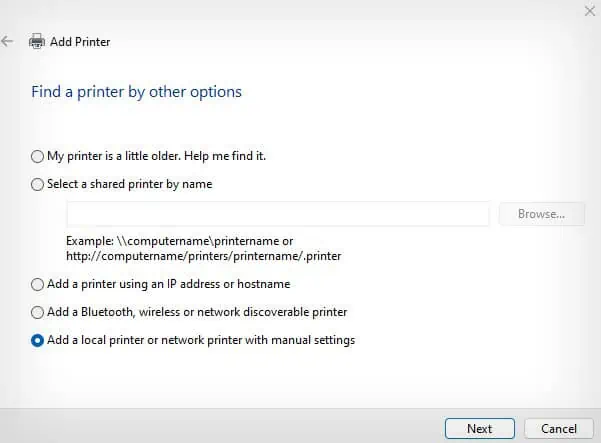
- Choose your preferred method to add the printer and follow the on-screen instructions.

Refer to this guide on adding a printer on Windows if you have a problem, just in case.
If you are still having issues, it’s time to seek help from the printer manufacturer as well.

