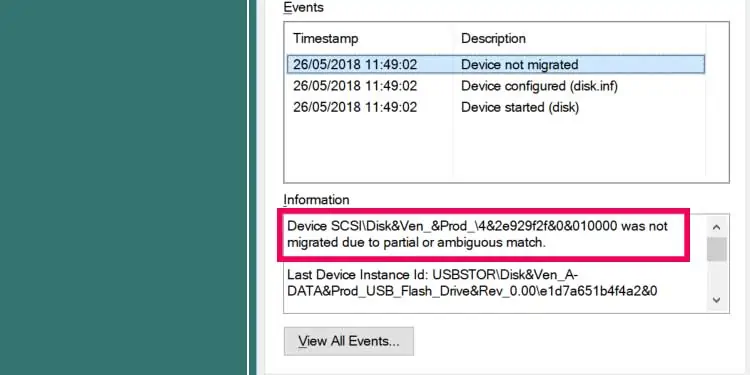
“Device was not migrated due to partial or ambiguous match” error usually means that when upgrading Windows, a specific driver has some issues while migrating device settings to a newer version. This error stops the user from using the corresponding device.
In this article, we have listed a few common reasons and some solutions that you can try to fix said issue.
How to Check if Drivers Settings Migrate?
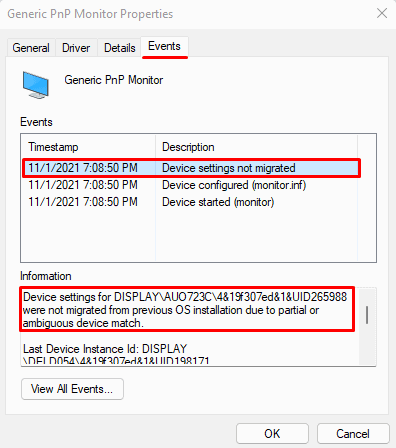
We use the Device Manager to keep tabs on all our drivers. You could detect this error message on your Device Manager properties. You can follow these steps to check if your computer drivers migrate.
- Press the Windows + X key simultaneously and open Device Manager.
- Expand any categories and right-click on the driver.
- Click on Properties.
- Go to the Events Tab.
- Then, under Events, we can see all information regarding the driver.
- Here, under Description, check for any message that says Device was not migrated if the computer faces any issues with device setting migration.

- Once you click on it, we can see a more detailed description under Information.
If all your driver settings successfully migrate, you will not find the error message that says Device not migrated.
What Causes “Device was not migrated due to partial or ambiguous match” Error Message?
- Windows Upgraded from an older version.
- Corrupted System files
- Outdated driver
- Dual boot system
- Windows not up-to-date
- Issues with internal components
- Peripheral device not supported
Troubleshooting “Device was not migrated due to partial or ambiguous match” Error
If you’ve ruled that out of the box, you can move on to the following fixes to solve the issue.
Re-install Drivers
As the issue is related to a driver, we can re-install the driver to see if it fixes. Re-installing the driver will set all their settings to default and can solve the issue with the driver.
you can follow these steps to uninstall a driver.
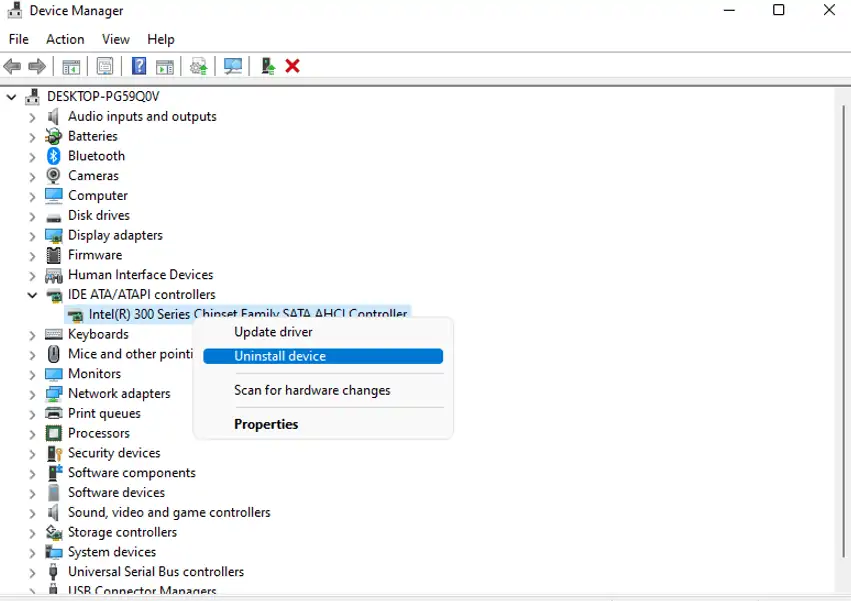
- Press the Windows + X key and open Device Manager.
- Expand the driver category. Right-click on your driver and click on Uninstall device.

- Once the driver uninstall process is complete, the Operating System will automatically re-install the latest drivers.
If you want to install drivers manually, you can always download and update the driver file. However, when downloading these files, we need to be careful as some malicious files may disguise themselves as driver installation files. If Windows defender or antivirus gives you a warning about the files, it is best to delete them right away.
- Once you download the genuine driver installation file, right-click on driver and press Update driver.
- Then, click on Browse my computer for drivers.
- Locate the driver installation file.
- Once the installation is complete, restart your computer.
Alternately, you can directly double-click on the installation file to install the latest driver.
To download Intel drivers manually, Intel’s official Download Center has all the latest drivers you can download. However, you may need to Sign-in or register in order to download.
If your computer uses an NVIDIA graphics card, NVIDIA’s official site contains all the latest drivers. Here, select your product type, series, and OS. The website will provide you with the latest driver for your graphics card.
Roll Back Drivers
It is not always updating/re-installing a driver that fixes a driver issue. Sometimes, although it is rare, a driver update might sometimes create the problem rather than solve it. If you get the error that says the Device was not migrated after a driver update, then an issue with the update may be causing it in the first place.
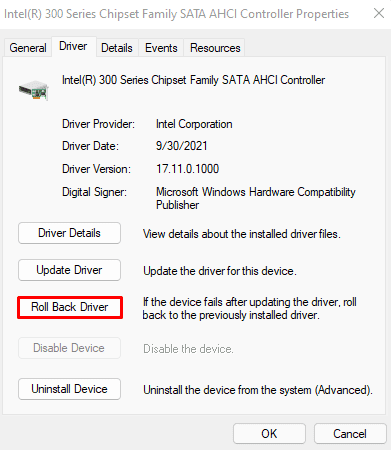
In this case, the Device Manager also offers us a roll-back feature. Rolling back a driver will revert its installation and set it to the previous stable version. You can follow these steps to roll back a driver update.
- Open Device Manager
- Expand the device category and right-click on the driver causing the problem.
- Click on Properties.
- Go to the Driver tab and click on Roll Back Driver.

- Click on one of the reasons you are performing a roll-back and click on Yes.
- Restart the computer once this process is complete.
Update Windows
If the computer is not up-to-date, the system will run into some problem, whether it be a driver issue or an internal Operating System problem. Therefore, if a computer starts to malfunction, it is always ideal to Update Windows first.
To update Windows to the latest version, press the Windows + I key simultaneously. Go to Windows Update (Security and Update > Windows Update in Windows 10). Then, click on Check for updates or Install Updates.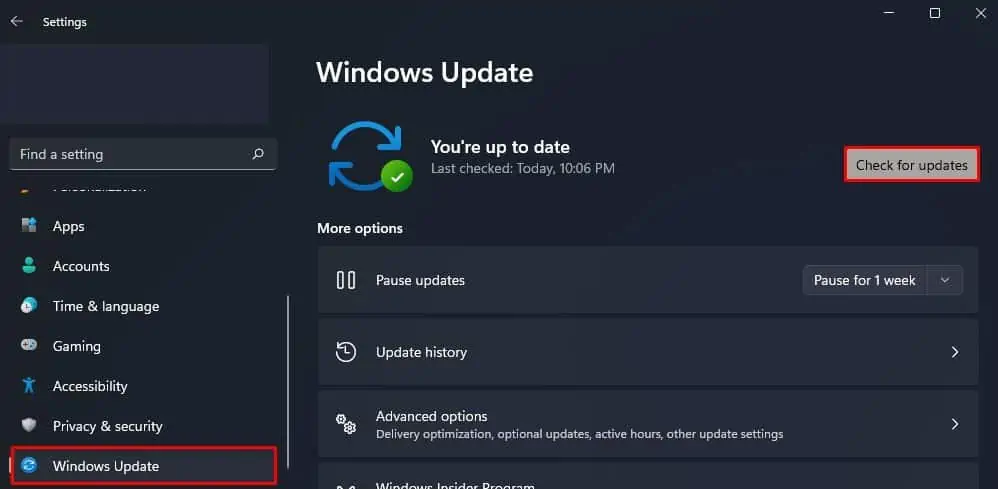
Restart your computer once the installation is complete.
Run SFC and DISM Command
All driver files are located inside the system, which is inside C:\Windows\System32. So, suppose some corrupted file causes the driver properties to indicate the device has not migrated. In that case, we can use utilities like SFC (System File Checker) and the DISM (Deployment Image Servicing and Management).
The SFC Command will identify and repair any corrupted system files, whereas the DISM command will restore the system’s Windows image.
System File Checker
You can follow these steps to run the SFC command.
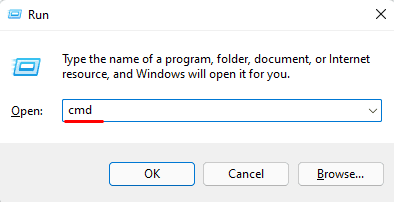
- Press the Windows + R key simultaneously to open the Run dialog box.
- Type “cmd” and press Ctrl+Shift+Enter to run Command Prompt as administrator.

- Type “sfc /scannow” without quotation mark and press Enter.

- The system scan and repair will take a few minutes to complete. Restart your computer once the process complete
DISM command

Type the following command in Command Prompt. Press Enter after each command.
DISM /Online /Cleanup-Image /restorehealth
Reset BIOS Settings
Components that are hardwired onto the motherboard may face issues that may cause a device to stop its performance. If so, you may get an error message that says the Device was not migrated. To fix any issues with the motherboard component, we can reset the BIOS.
You can follow the steps mentioned below to reset the BIOS.
- Press the Windows + I key to open Settings.
- Click on Update & Security, then click on Recovery (System > Recovery in Windows 11)
- On Advanced Setup/Advanced Startup, Click on Restart now.
- Once the computer restarts, you will get a blue screen that says Advanced troubleshooting option. Here, click on Troubleshoot.
- Select Advanced Options.
- Click on UEFI Firmware Settings, then select Restart.
- Once the computer restarts, you will be prompted with UEFI Firmware settings.
- Here, search for settings like Load default setups or something of sorts.
- Confirm by clicking on Yes. After we reset to default settings, restart your computer.
Here are a few other ways we can reset a BIOS.
- Remove CMOS
- Reset using the jumper
Update BIOS
As “Device was not migrated“ is an error for a hardware component, an outdated BIOS may also be a reason this error exists. An up-to-date BIOS does add features like making the internal modules more compatible with each other. Therefore, it can also fix the error that we face.
However, updating a BIOS is a risky task since it can render your system useless if something interrupts the BIOS update.
To update BIOS, you can follow these steps.
- Download the latest version of the BIOS from the laptop/motherboard’s manufacturer’s website.
- Extract the downloaded file and copy it on a blank USB drive.
- Enter the BIOS by repeatedly pressing the Del, F10, or F12 key depending on the manufacturer.
- Once we enter the BIOS, we need to locate the BIOS update settings.
- After this, the BIOS will ask you to locate the latest version of BIOS from the USB drive.
- Now, wait for the update to complete.
Let us warn you again, do not interrupt the BIOS update process.
Check the USB slots
If you have the issue when a removable drive is attached to the computer, then the issue is probably with the USB port. Removing and reconnecting the device should fix the problem with the device not migrating. We can also try using a different USB port to see if it fixes this issue.
Perform System Restore
The System Restore feature in Windows will allow a computer to revert its settings to a restore point. A restore point acts as a snapshot of the computer’s setting. When we perform a system restore, it will roll back any internal changes like driver settings, application, etc.,
So, if you have a restore point set before you start having this issue, it is ideal for performing a system restore. However, it is warned that all your application that is installed after a restore point will be removed. This does not apply to personal files and folders.
You can follow these steps to perform a system restore.
- Press the Windows key + R simultaneously to open Run.
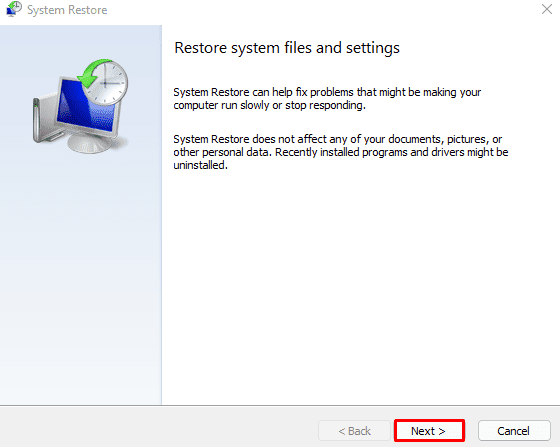
- Type “rstrui.exe” and press Enter.
- Click on Next.

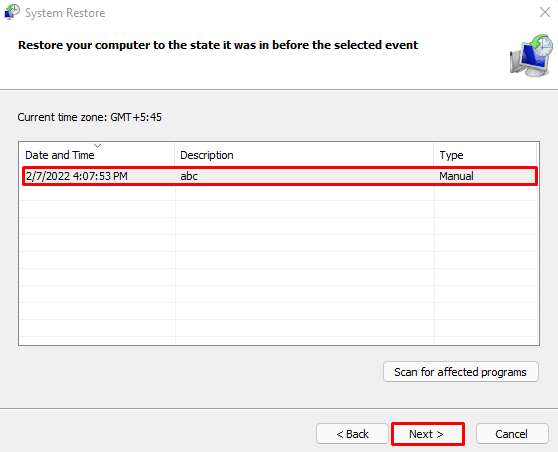
- Select a Restore Point and click on Next.

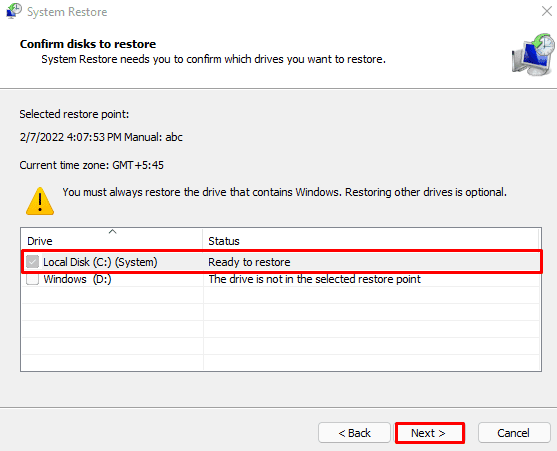
- Click on C drive if it asks for a disk restore drive. Now, click Next.

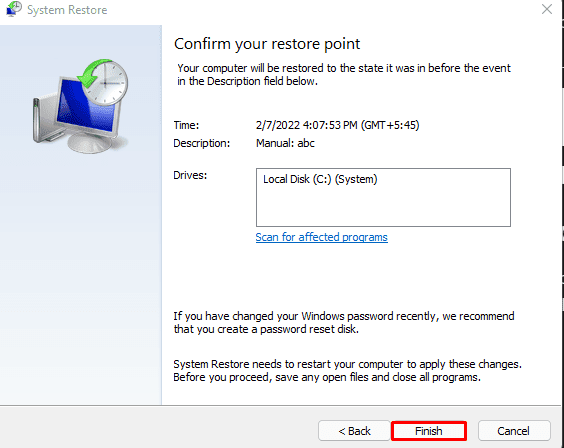
- Confirm your restore point by clicking on Finish.

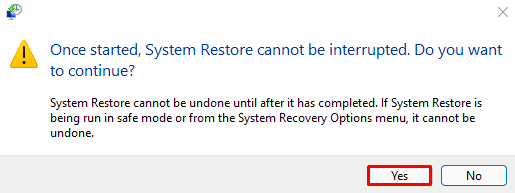
- Select Yes.


