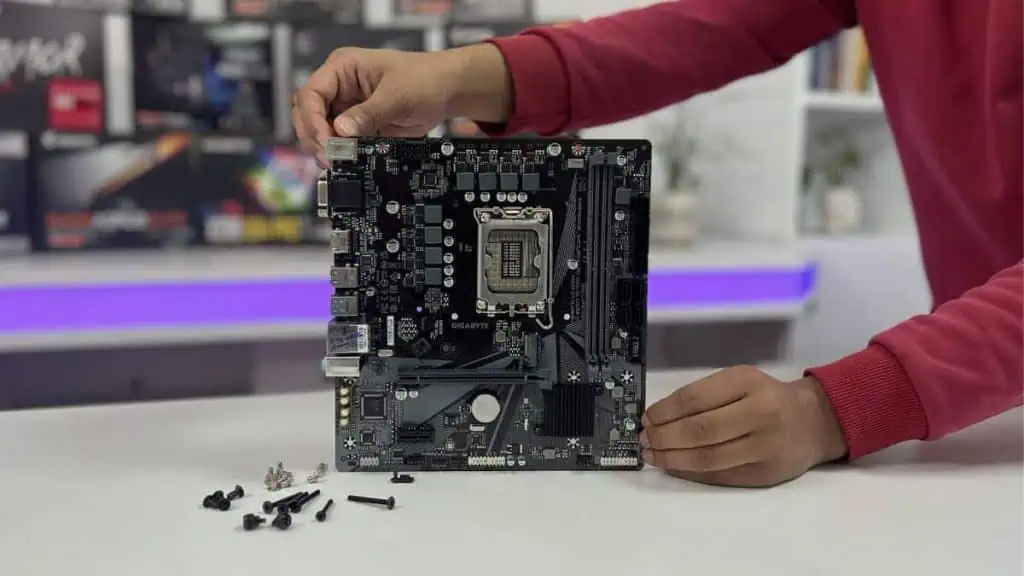
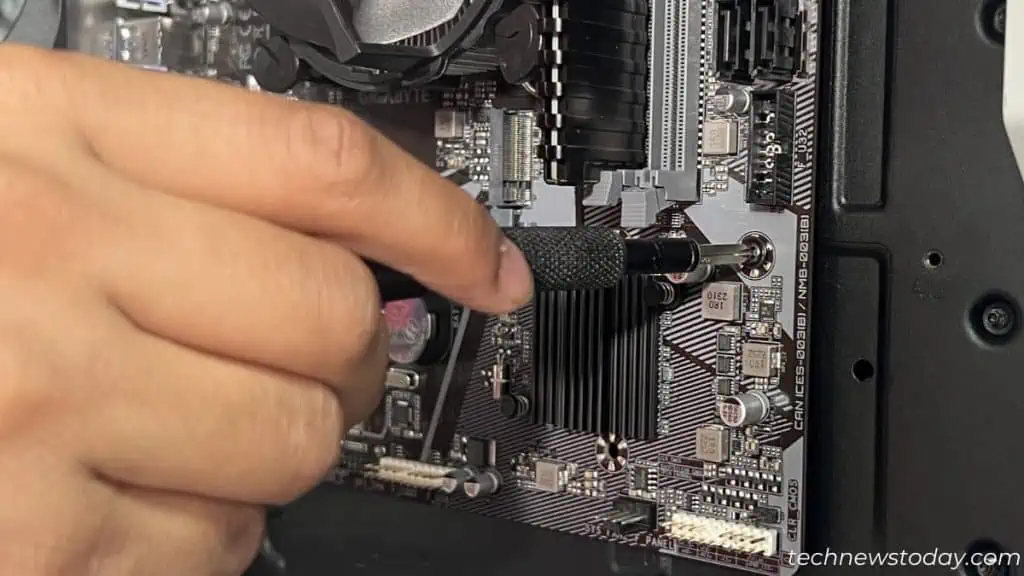
Motherboard screws come with PC cases, which is why you won’t find them in the packaging box. That’s not just about it – your PC case offers a set of screws for each component.
When fitting the motherboard, always verify whether the chassis is pre-equipped with standoffs. If not, your PC case likely offers both standoffs and screws (in pair). Use an appropriate screwdriver (one with a hex head) for installation.
If you use the wrong screws or fit the motherboard without standoffs, it may cause short-circuit and your PC may not boot to BIOS.
Also, keep in mind that there shouldn’t be an extra standoff underneath the board – or you may end up frying it!
Without further delay, let’s get into everything you should know about motherboard screws.
What Screws Come With Your Motherboard?
You might be wondering why your motherboard box is short of screws. Well, that’s because the ones needed to install the board actually come with your PC case.
However, the latest models are equipped with M.2 screws, standoffs, and sometimes, anchors. You certainly can’t use them to install the motherboard.
These are for your NVMe drives and here’s a guide on how to install such SSDs. But if you plan to use SATA SSD or HDD instead, these won’t be required. Keep them safe so you can use them later.
Other than that, a motherboard comes with a user manual, warranty card, I/O shield, SATA cables, and a support DVD. There might be heatsinks and additional stuff, but this varies depending on what motherboard you have.
What’s the Right Screw For Motherboard?
PC cases come with all the screws required for your PC build. These involve motherboards, hard drives, case fans, caddy, chassis, and more. But since they aren’t given any label, choosing the right screws can be tricky for beginners.
Technically speaking, most PC cases include the #6-32 UNC standard measuring 5 or 6 mm. Some might offer the M3 screw measuring 5 mm.
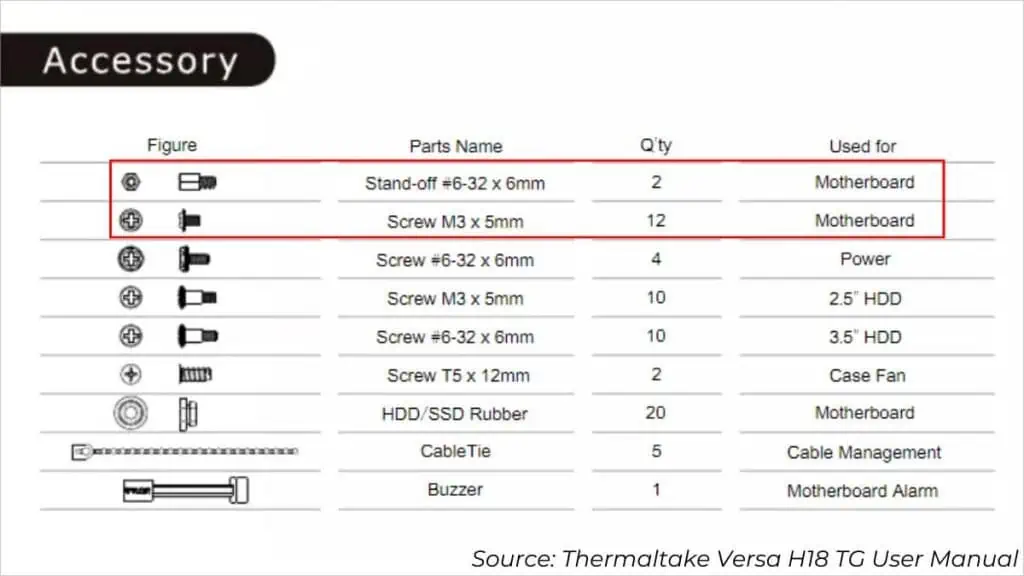
A quick way to verify this is by checking the user manual. The above example from Thermaltake Versa H18 TG clearly indicates the screw name, quantity, and what it’s used for.
Unfortunately, not all manuals offer such descriptions. Even some of the best ATX cases at our office (NZXT H510 Elite and H700 PUBG) have no such indications.
Also, not all screw threads fit in the standoffs. You may try screwing them using your bare fingers to test whether the one you’ve chosen is correct. As long as it fits well, there shouldn’t be a major issue.
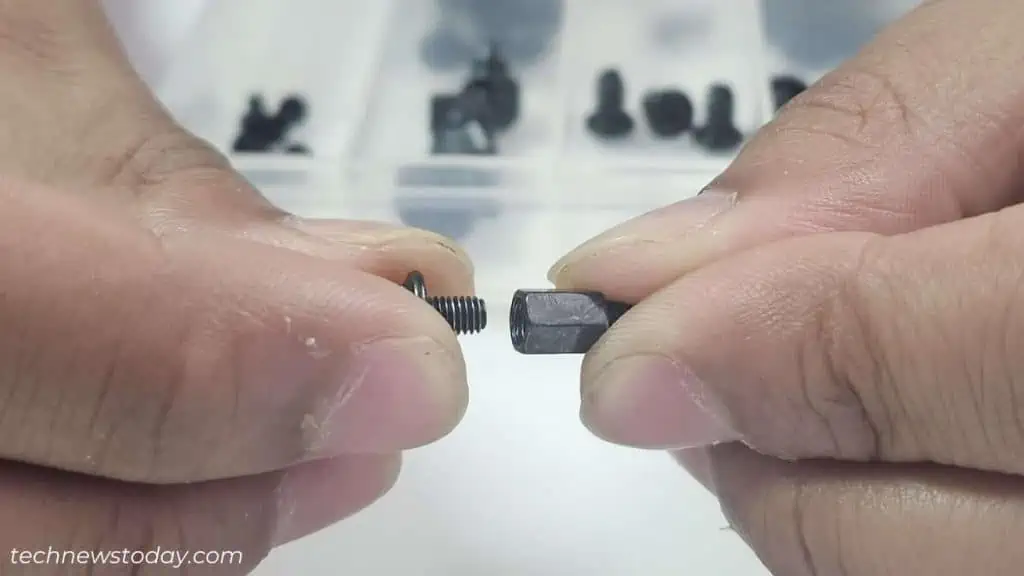
Never try cranking the wrong screws! If they do not thread properly, you need to go with another set. Especially, avoid the ones with bigger threads (example, case fans).
Forcing the screws might make you feel they are fitting well. But in reality, they can damage the standoffs beneath.
Even so, your PC should still POST as the risk of complete damage is quite minimal. In case you haven’t removed the additional standoff, that can also lead to issues.
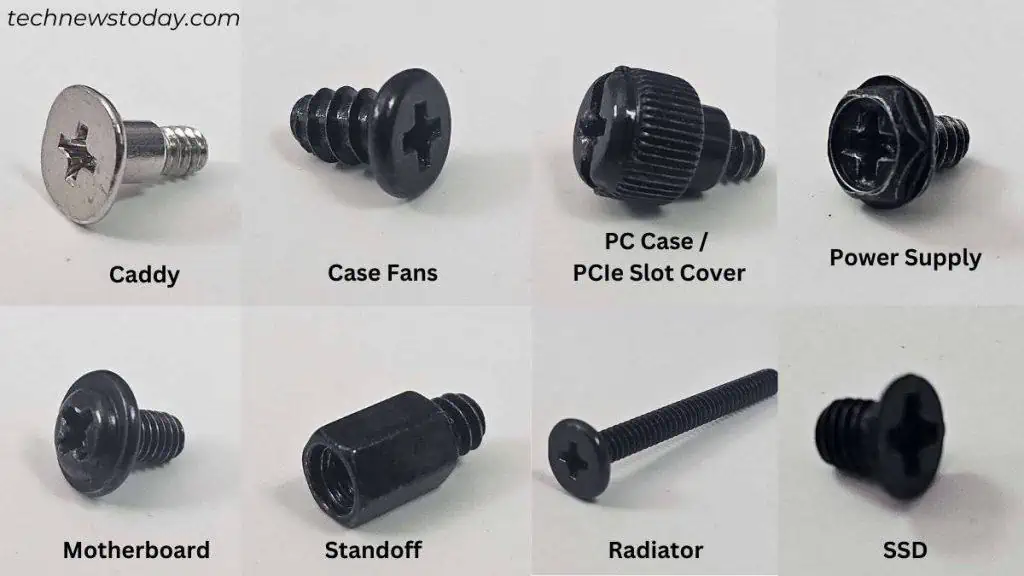
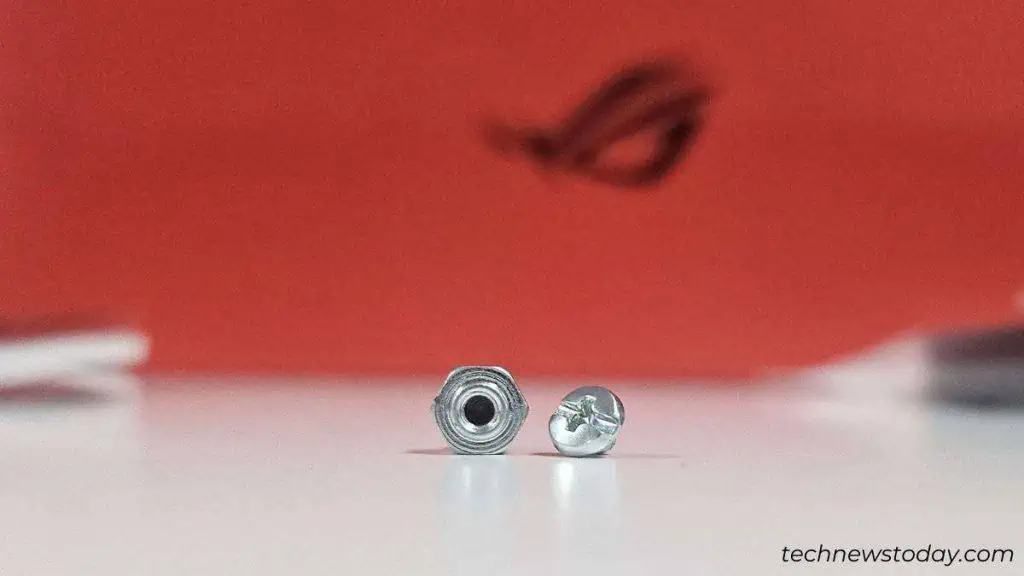
You can even differentiate the screws visually. Look for the round one, as demonstrated in the PC screws image above.
They fit perfectly in the motherboard holes and come in direct contact with the metal rings. So, choosing the right screw also means you’re grounding the board well.
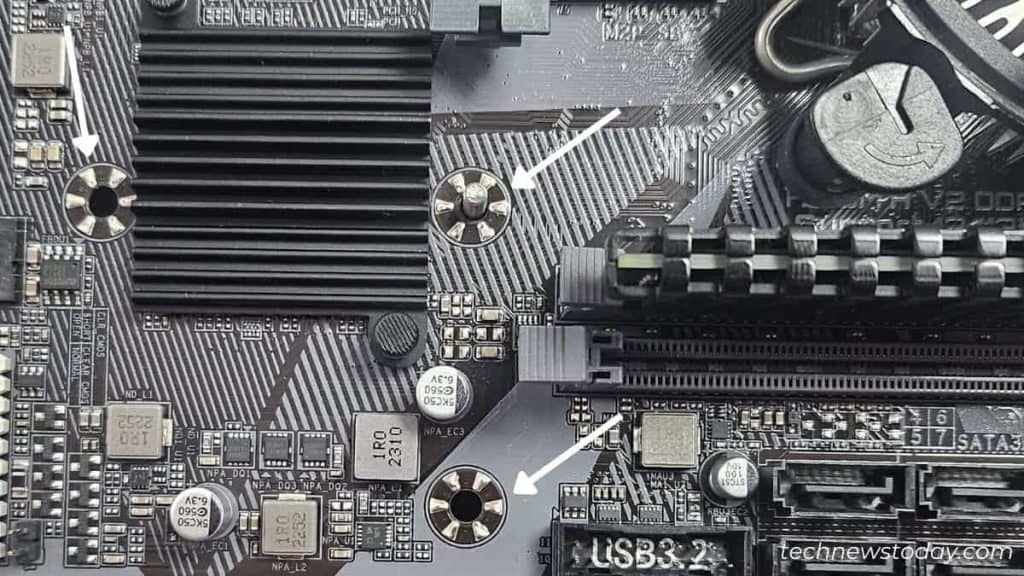
Importance of Motherboard Standoffs
As the name implies, standoffs raise the motherboard so that it won’t sit directly on the metal chassis.
Caution: If your board touches an additional standoff, it may short-circuit and lead to NO POST issues. The worst-case scenario is it may even cause permanent damage!
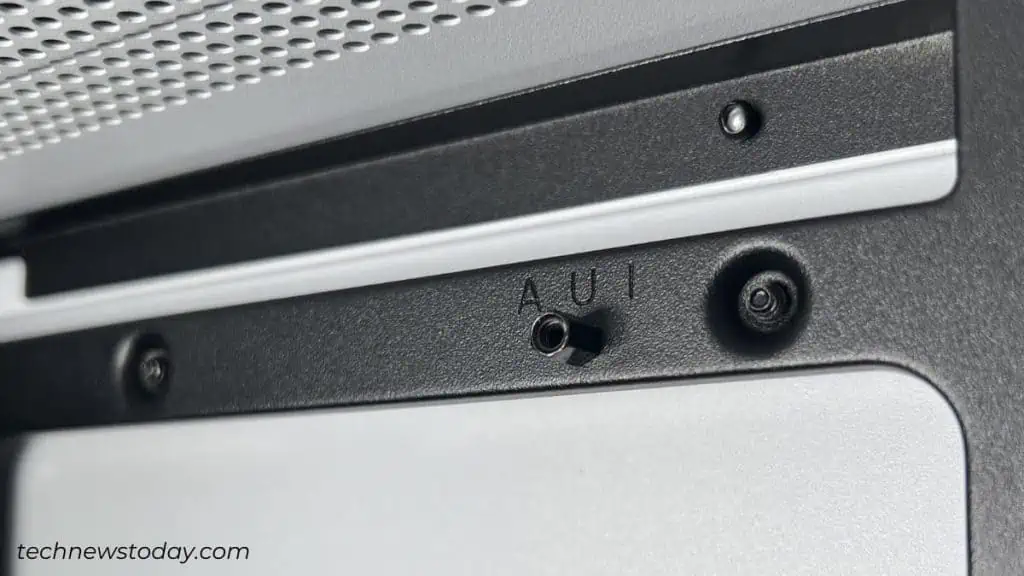
It’s essential to choose the right combination of screws and standoffs. Make sure you’re using the ones that come in the PC case. If you’re purchasing online, it should match the thread size and length.
Moreover, the amount of screws to use depends on the total mounting holes on your motherboard.
For instance, most mini-ITX boards have around four, micro-ATX up to 7, ATX with 6 to 10, and EATX usually has the highest. While the motherboard form factor gives a general idea, the exact number and position vary on every model.
Note that the ATX standard (rules) only apply to PC cases. That’s the reason most come with pre-installed nine standoffs these days. You’ll likely get some additional ones with the PC case’s screw set.
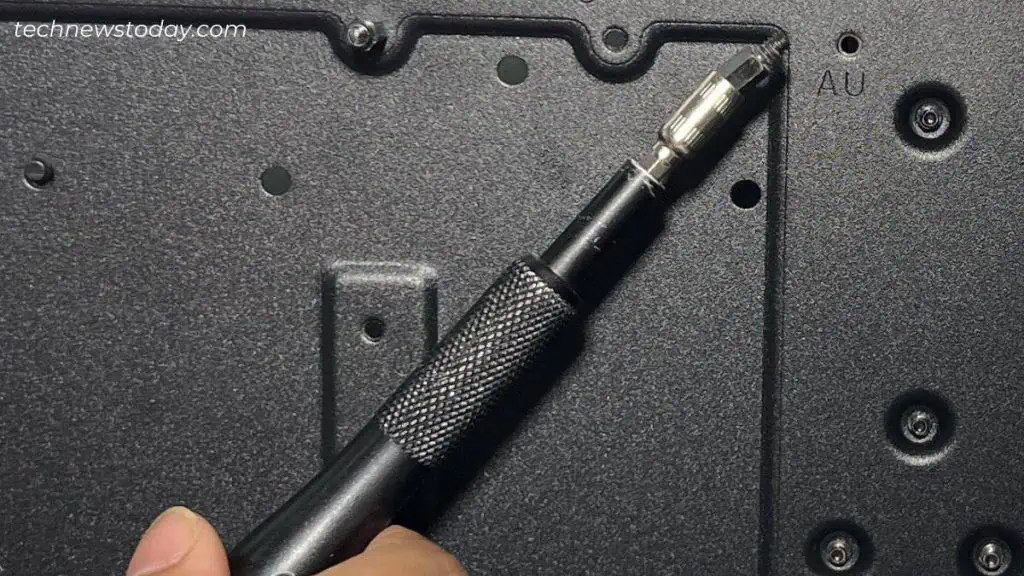
It’s possible to move these standoffs around depending on where the motherboard requires to be screwed. To take them off, use an appropriate screwdriver (with a hex head) or special caps (offered by a handful of PC cases).
If you don’t have such, you may utilize a wrench or even pliers. But since these can potentially cause scratches, make sure you take extra care in the process.
Usually, there are markings on where exactly the standoffs go. This is to help determine whether the motherboard fits into your PC case. Check the one on our H510 Elite below:
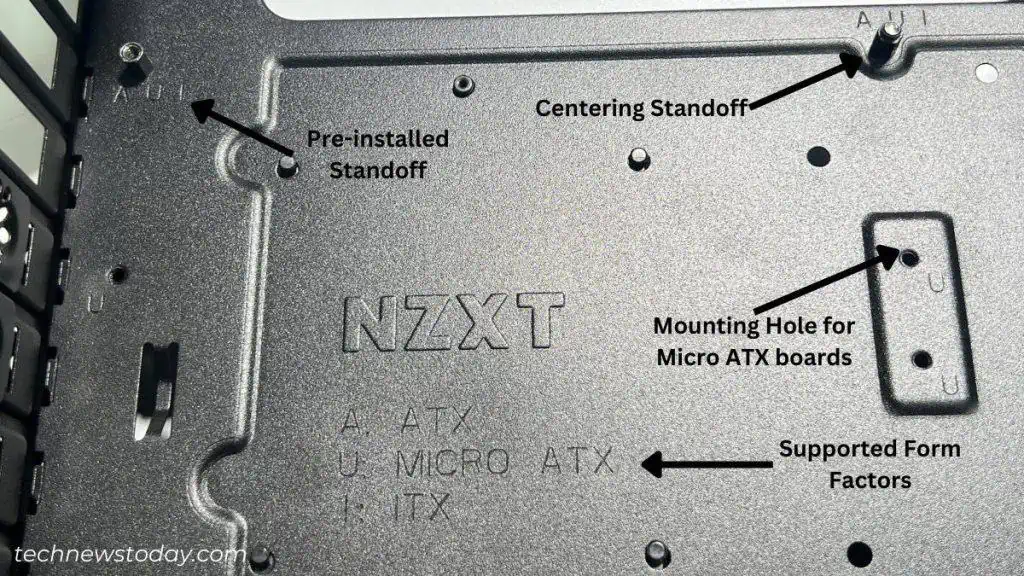
When installing one of my MicroATX motherboards (Gigabyte Ultra Durable H610M), one standoff was missing in the middle. So, I had to shift the one from the far right.
Fitting and Screwing Motherboard the Right Way
Now that you’re aware of both motherboard screws and standoffs, it’s time to install the motherboard.
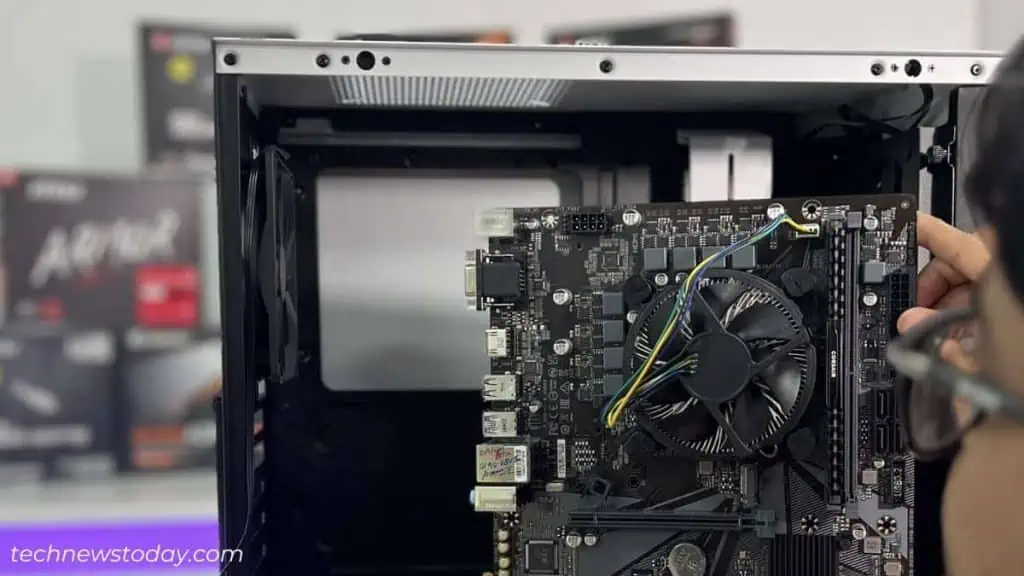
It’s wise to seat the CPU, cooler, and memory stick(s) beforehand. This way, you can hold onto the cooler to lift the board, which is what I always do!
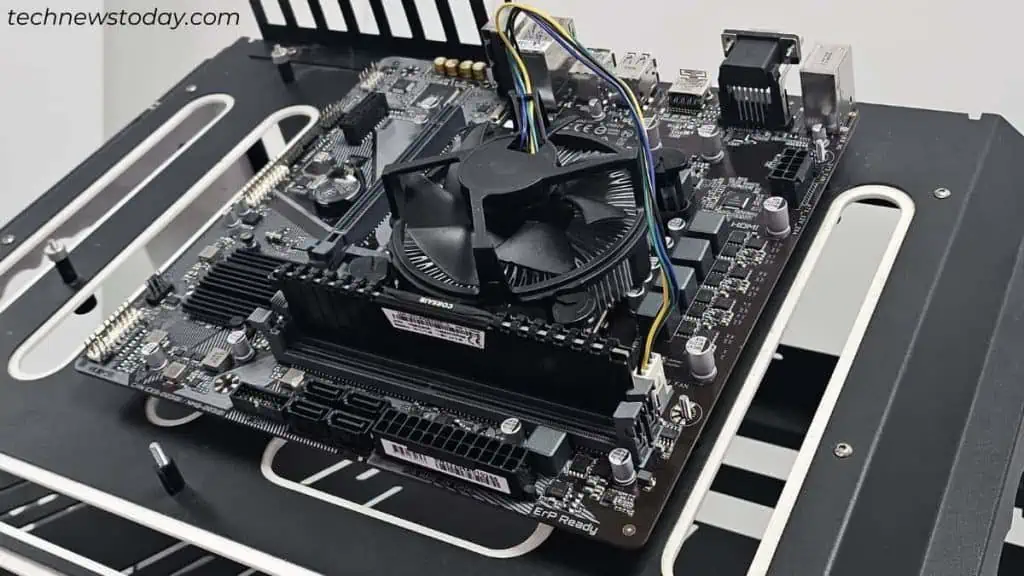
And if the holes and standoffs aren’t aligning properly, do not wiggle too much or you may end up scratching the PCB. Instead, I advise lifting the board and redoing the process.
It’s always recommended to screw all the holes. As I stated earlier, the exact number varies for every motherboard.
But it’s completely fine if you miss one or two screws. This scenario is especially for those users whose PC cases offer fewer standoffs than the holes in the motherboard.
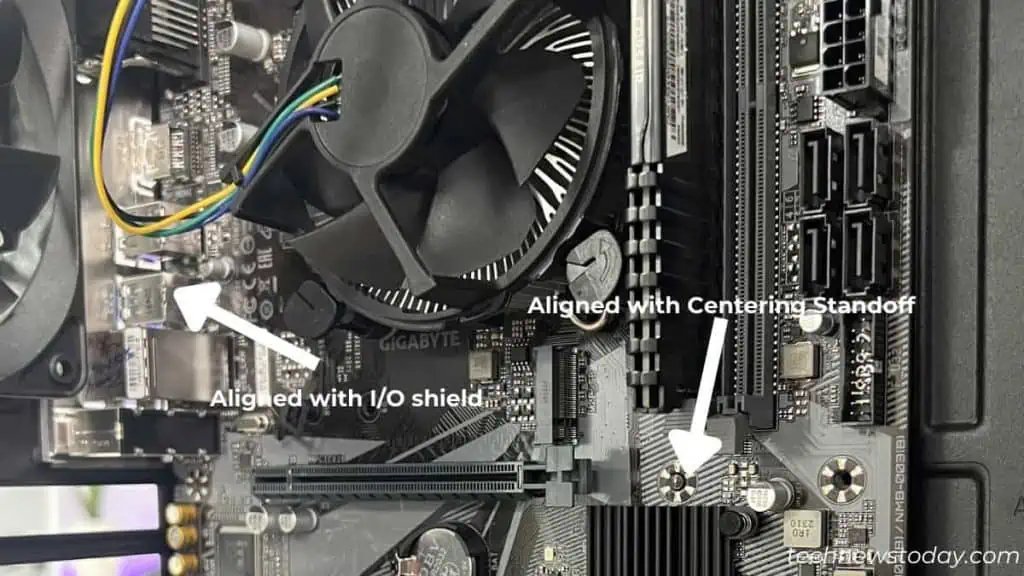
Also, note that the one in the middle (called centering standoff) is compatible with all the form factors. That should be your reference point when checking the alignment.
Follow the instructions below and you should be able to fit the motherboard without any mistake. If you’re new to any of the steps, follow the linked guides to understand the process even better:
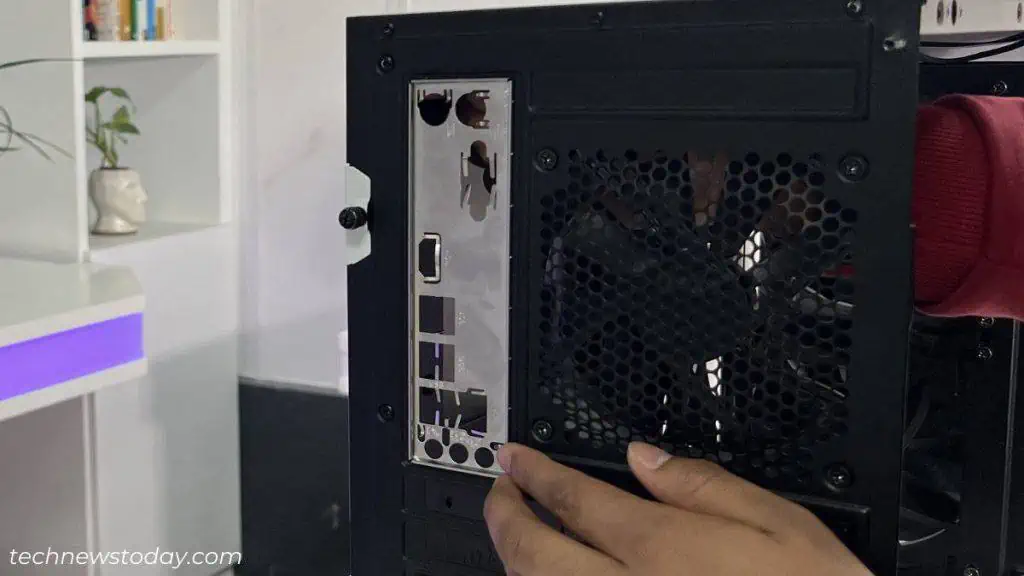
- After opening the PC case (both the side panels), make sure you install the I/O shield first. Take note of the prongs (if present) as they should touch the motherboard ports, but not obstruct them.

- Now, compare the screw holes and install/shift the standoffs as required.

- Carefully place the motherboard ensuring it aligns with the I/O shield.
- Once that’s done, fit the motherboard in the centering standoff.

- Even though the above step should automatically align all the other holes, it’s wise to confirm once.
- Next, place the screws halfway successively in a diagonal or criss-cross manner.
- Finally, fasten them properly – don’t overtighten them though! Once you find the right resistance, it should be good enough.

Once everything is done, you may continue with your PC build. Connect the graphics card, install the PSU, and don’t forget to manage the cables!

