The addition of XMP technology has made overclocking your RAM as simple as clicking a button, but not every motherboard supports this feature.
The simplest way to quickly see if your motherboard supports XMP is to check its product page on the manufacturer’s website.
If it does, the details should say something along the lines of Supports Intel® Extreme Memory Profile (XMP).
If you’re setting your rig up for the first time, then XMP likely won’t be enabled.
The easiest way to manually check whether XMP is enabled on your computer is by using system monitoring tools like the Windows Task Manager or CPU-Z.
Check XMP Status In BIOS
Assuming you’ve already enabled XMP, the same initial steps will work for checking the XMP status. But I’ll briefly explain the process just in case:
- Press the power or restart button. Then, spam the BIOS key (usually Del) to enter the BIOS.
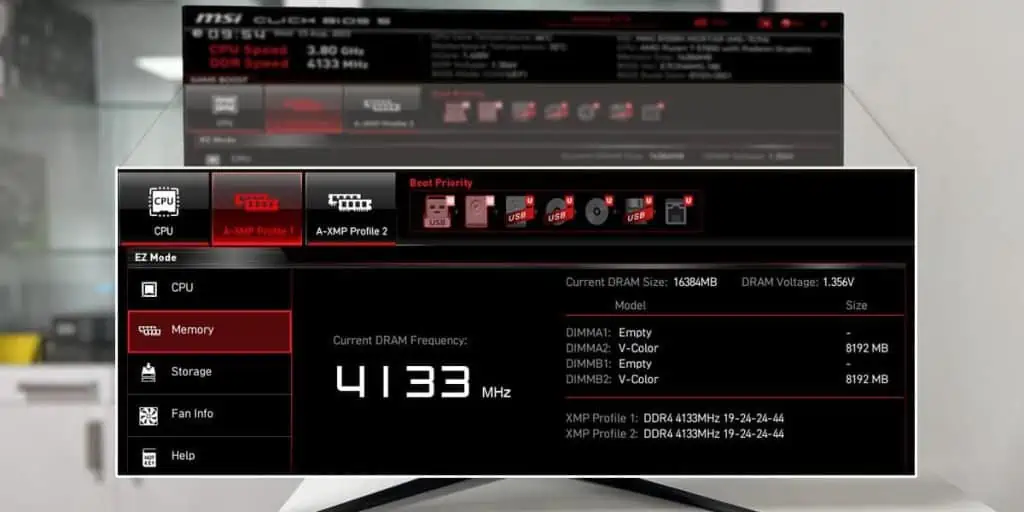
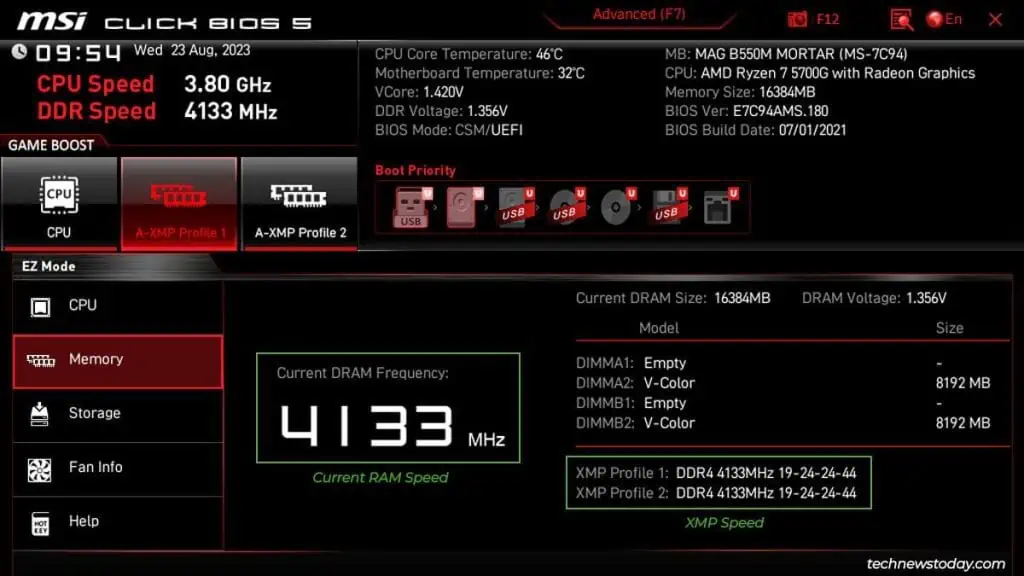
- In Easy Mode, check the RAM frequency. It should be running at the XMP speed.

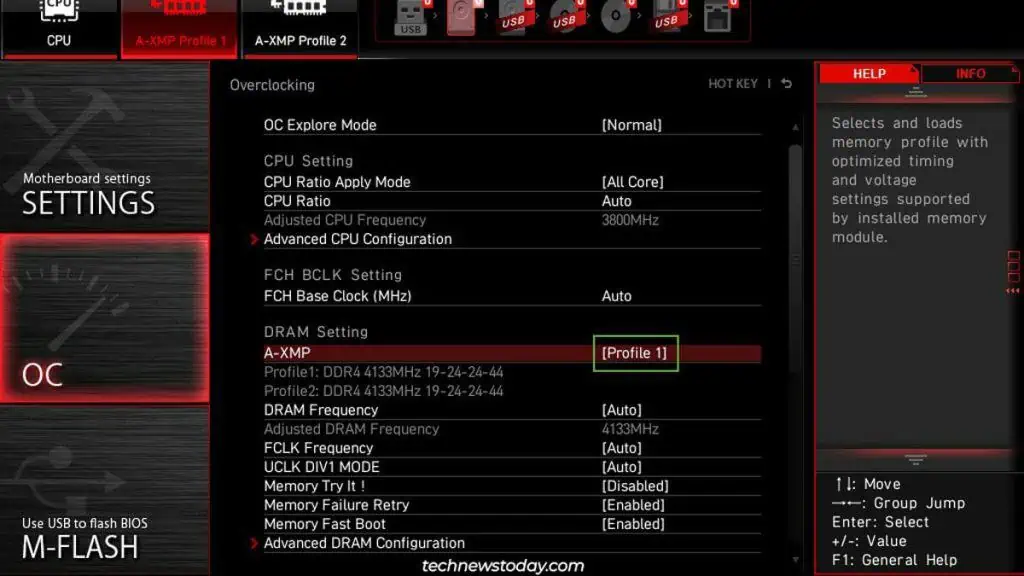
- Alternatively, you can switch to Advanced Mode with the key shown on the screen (F7 in my case).
- Locate the RAM settings section and check the XMP option. Your selected XMP profile should be active here.

- The same applies if you used other types of profiles like DOCP, EXPO or Memory Try It. Simply verify that the selected profile is active.
Find RAM Frequency from Task Manager
Judging by our reader stats, you’re probably reading this article from Windows. On Windows, press Ctrl + Shift + Esc to launch the Task Manager.
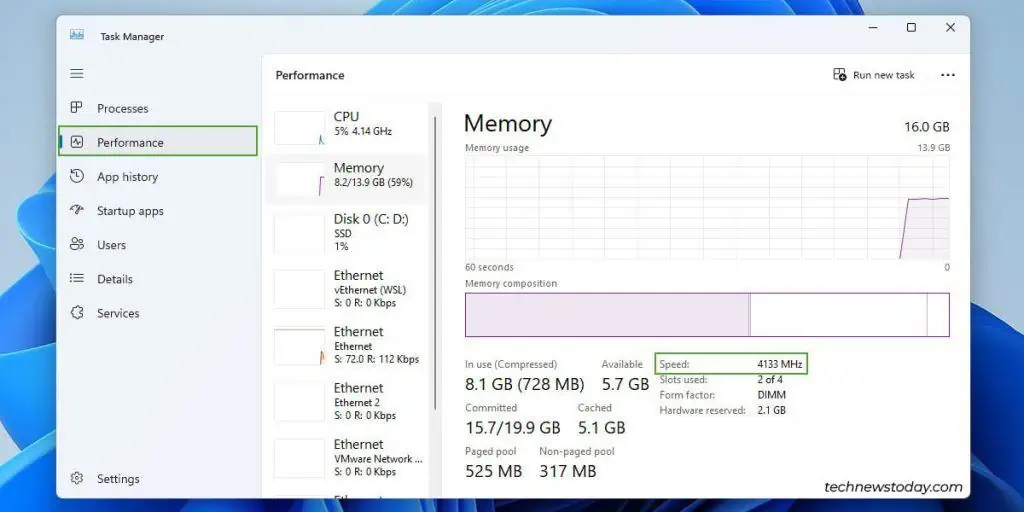
In the Performance > Memory tab, check the current memory speed. The RAM should be running at the XMP frequency.
Use Third-Party Tools
There are thousands of system monitoring tools for checking memory info. I like CPU-Z and HWiNFO for most purposes, including verifying the XMP status.
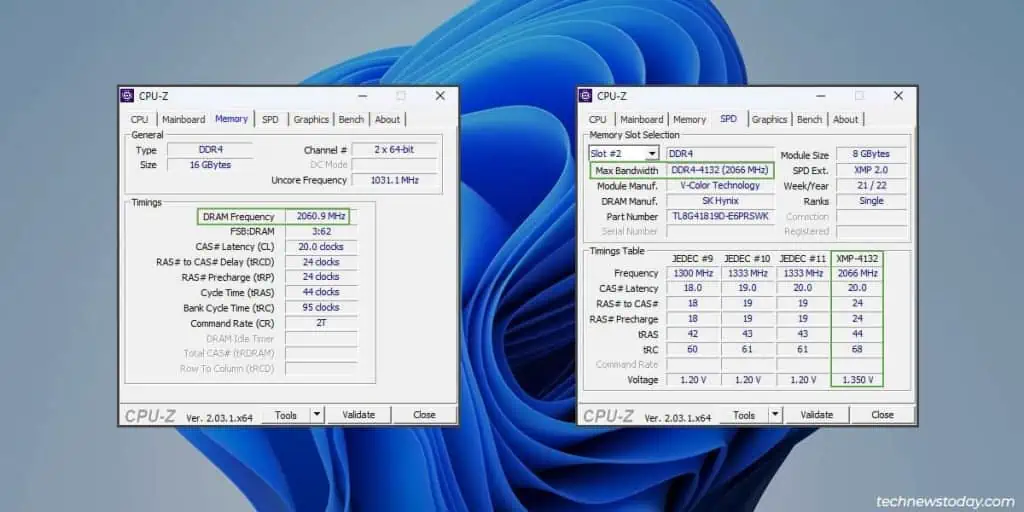
- In CPU-Z, check the current DRAM frequency from the Memory tab. This should be half of your XMP frequency (due to how DDR works).

- Optionally, you can check the SPD tab. You’ll find the max frequency your RAM is rated for and the XMP frequency here.
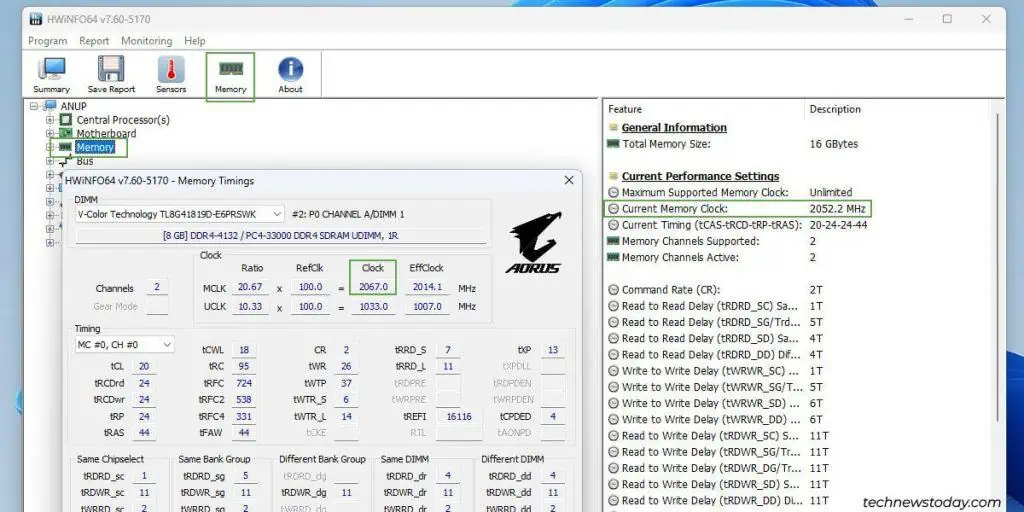
- In HWiNFO, check either of the Memory tabs for the current memory clock.

What If Enabling XMP Didn’t Work
If your RAM modules aren’t running at the XMP frequency, there are two possibilities:
- Your CMOS battery may be dead. Due to this, your BIOS settings including the XMP profile keeps resetting.
- Or, one of your components (RAM, motherboard, CPU) doesn’t support the XMP profile’s values. To prevent crashes, your BIOS is automatically disabling or dialing down the XMP overclock.
I’ve dealt with both scenarios on my MSI MAG B550M Mortar system before. Here’s what I recommend:
- Replacing the CMOS battery should do the trick in the first case.
- For the second, refer to our dedicated guides on enabling XMP on MSI, ASUS, ASRock, and Gigabyte motherboards.
Besides that, manually overclocking the RAM also often works. You don’t need to go too in-depth with this. Just use the values from the XMP profile for your manual overclock, and tweak them slightly.
In my case, I got my V-Color DDR4 sticks working at 4133 MHz by enabling XMP and slightly increasing the CAS Latency. Before increasing the timing, the XMP overclock wasn’t stable and would keep crashing or reverting.

