Apple had deleted FaceTime’s Live Photos feature in iOS version 12.1.1 due to privacy-related reasons. However, it returned with significant bug fixes and improvements in iOS version 15. Yet, there are still a few issues with the Live Photos feature.
Out of them, the common ones are FaceTime photos not saving to camera roll and FaceTime freezing. Usually, the causes for such errors are an outdated iOS version, incorrect settings, bugs, privacy restrictions, lack of storage space, and more. Now, let’s explore such issues along with effective solutions to fix them.
How to fix FaceTime Photos Not Working?
Prior to moving on to the other fixes below, let’s check the basic necessities. Is FaceTime Live Photos up and running on both devices? If not, you’ll notice an error message, like “FaceTime Photos must be enabled on both devices to use this feature.” Additionally, you won’t be able to take or save the Live photos.
So, our first remedy is to turn on this feature on both iPhones if you haven’t already enabled it.
Turn on FaceTime Live Photos on Both Devices
You can enable FaceTime Live Photos on both an iPhone and a Mac in different ways. Here’s how you can do it:
- Go to Settings on your iPhone/iPad.
- Locate and select FaceTime.
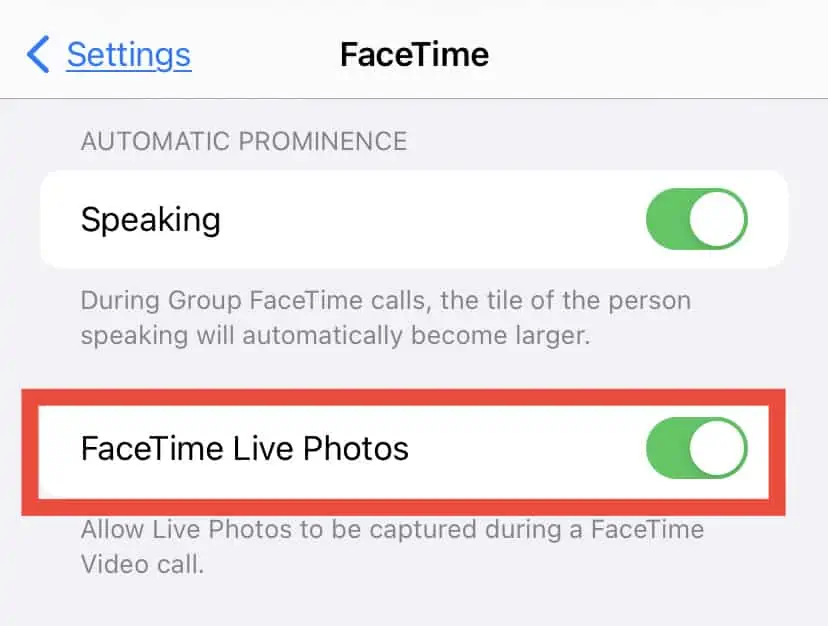
- Scroll down and slide the toggle to turn on FaceTime Live Photos.

You can also request your friend to follow the steps above to turn on FaceTime Live Photos on their phone. Then, you can try taking Live photos on your FaceTime again.
If you’re on a Mac, click on FaceTime from the menu bar and go to Preferences. Click on the Settings tab and tick the box that says Allow Live Photos to be captured during Video calls. 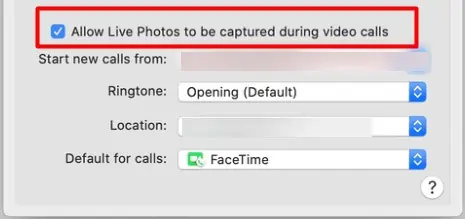
When you successfully take a picture on a FaceTime call, both you and your friend will get a notification.
Check Live Photos in Gallery
If you’re not sure your iPhone saved the Live Photos from your FaceTime call, you can always check the Live Photos album from your Gallery. Simply go to Gallery and tap open the Live Photos album. This is the default location for your iPhone to save FaceTime Live photos.
If you’re on a Mac, open the Photos app and click on Live Photos from the left sidebar.
Enable iCloud Photos
If you can’t find your photos in the Live Photos album, you can turn on iCloud Photos to have your Live photos saved to iCloud. You can follow these easy steps to turn it on:
- Open Settings and go to Photos.
- Slide the toggle to turn on iCloud Photos.

If this method isn’t working, you can also try turning this option off and on again. If you’re on a Mac, go to the Photos app and click on Preferences from the menu bar. Click on the iCloud tab and tick or untick the box that says iCloud Photos. You can now try taking Live Photos on FaceTime again and checking your photos on iCloud.
Check Privacy Restrictions
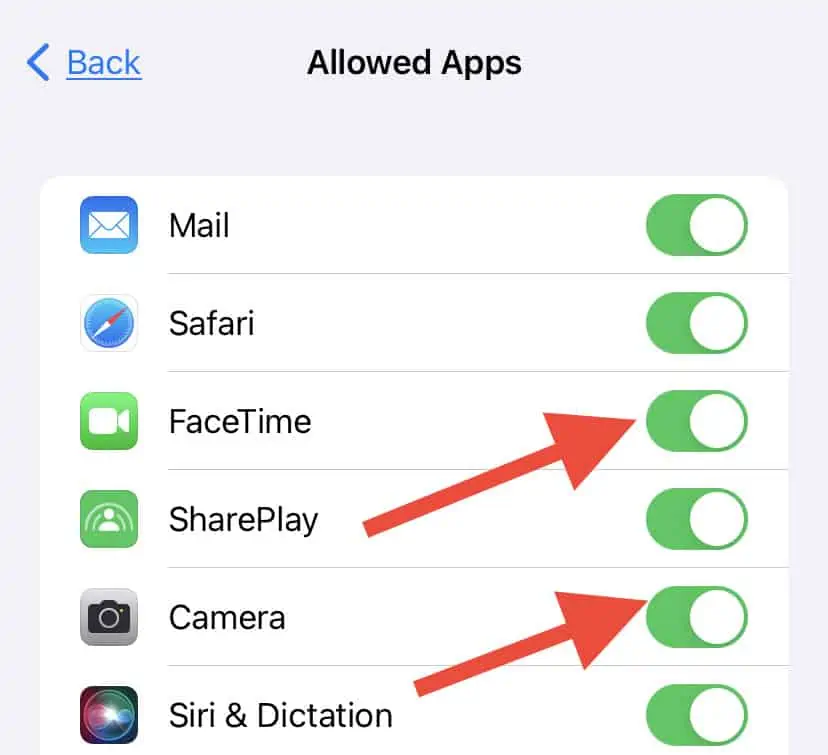
Another area to inspect is the Privacy Restrictions. If you have not allowed access to the Camera or your FaceTime, you’ll experience errors with the FaceTime Live Photos. So, we recommend enabling access to both apps via settings.
- Go to Settings.
- Tap on Screen Time.
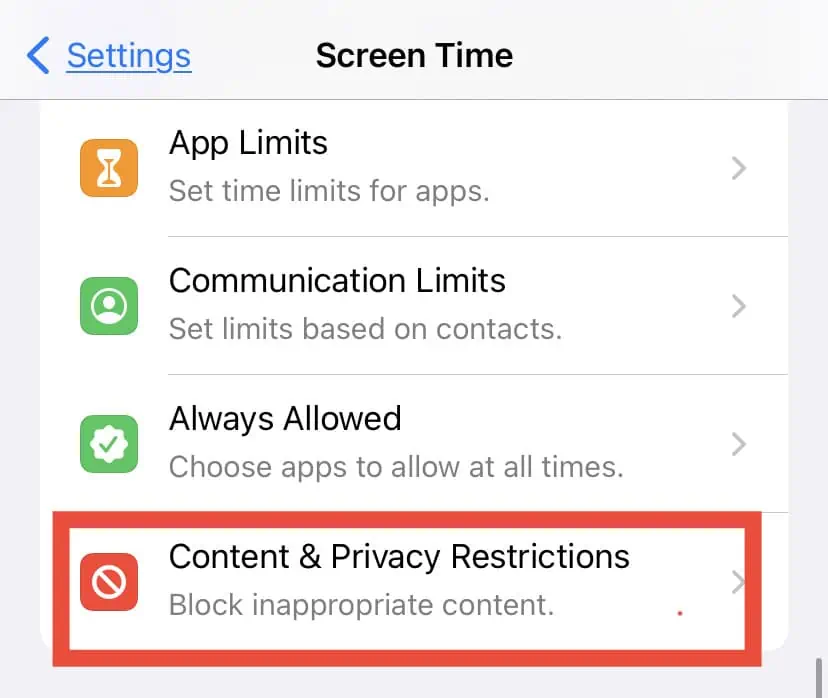
- Then, go to Content & Privacy Restrictions.

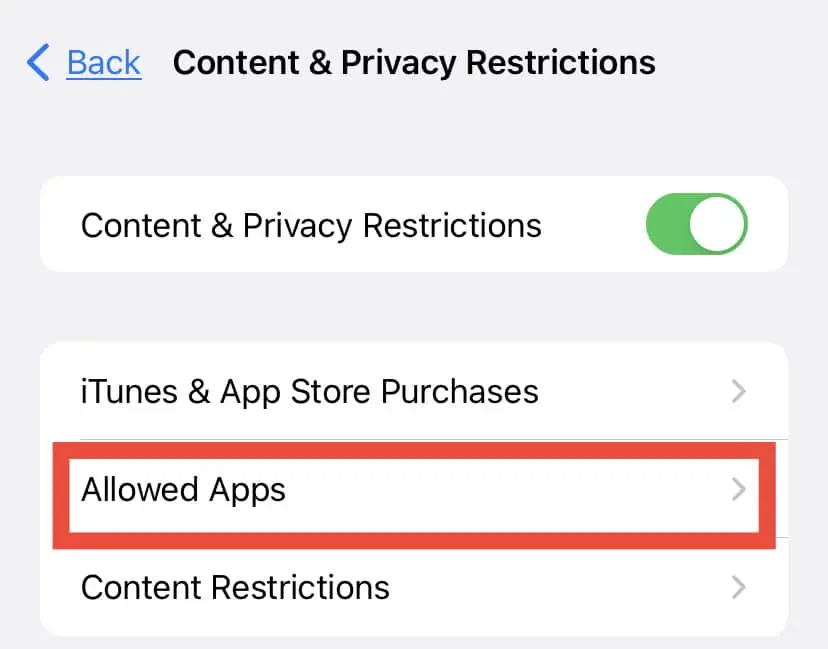
- Select Allowed Apps.

- Enable both FaceTime and Camera.

Update your iOS
Since Apple only brought back the FaceTime Live Photos feature in iOS 15, you might still be facing issues with the feature if your iOS is older than that. Even if your iOS is 15, updating it to the latest iOS version always comes in handy to fix minor bugs and glitches. 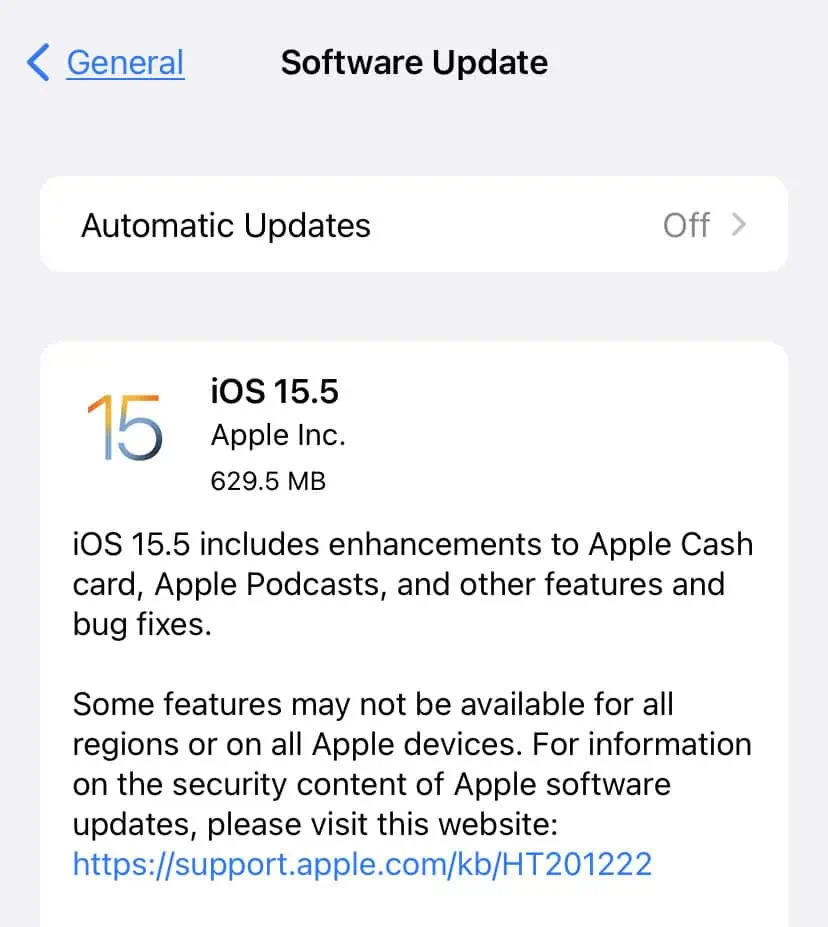
Please make sure to update the iOS version on your iPad and Mac as well if you use FaceTime on those devices.
And in case you want to go back to the previous version, you can read this article.
Turn On/Off FaceTime
If most solutions are not working, try turning FaceTime off and then on again. This is one of the ways you can restart FaceTime and fix minor errors with the app.
Close the app on your phone and go to Settings. Locate and select FaceTime. Slide the toggle to turn it off. After a few seconds, turn FaceTime back on. 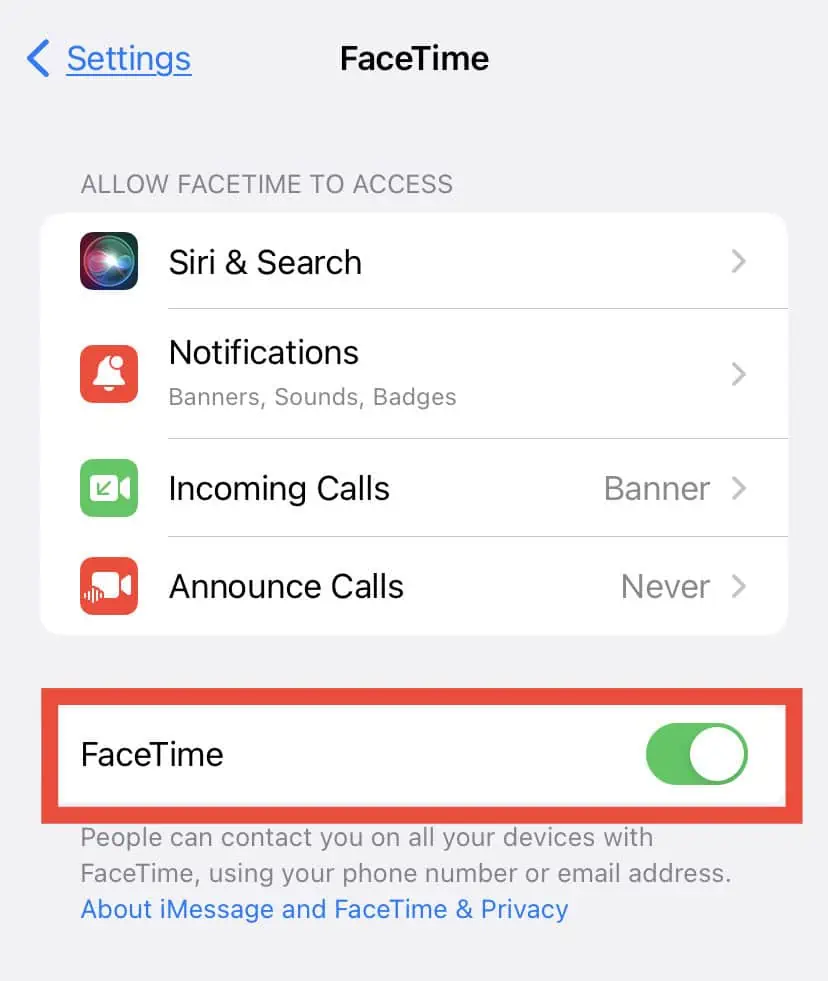
If you’re on a Mac, click on FaceTime from the menu bar and go to Preferences. Click on the Settings tab and untick the box that says Enable This Account. After several seconds, check the box again to turn on FaceTime.
Free Up Storage Space
Another reason your FaceTime Live photos are not saving could be that your iPhone has run out of storage. Go to Settings and open Storage and uninstall any unwanted apps. Alternatively, you can also offload apps to free up some space temporarily.
Reset Network Settings
In some cases, your network settings, like your Wi-Fi or data can be responsible for the FaceTime Live Photos not working. This is because there can be server lags due to the network, interrupting your calls. So, it’s worth resetting such network settings. Here’s how you can do it:
- Go to Settings.
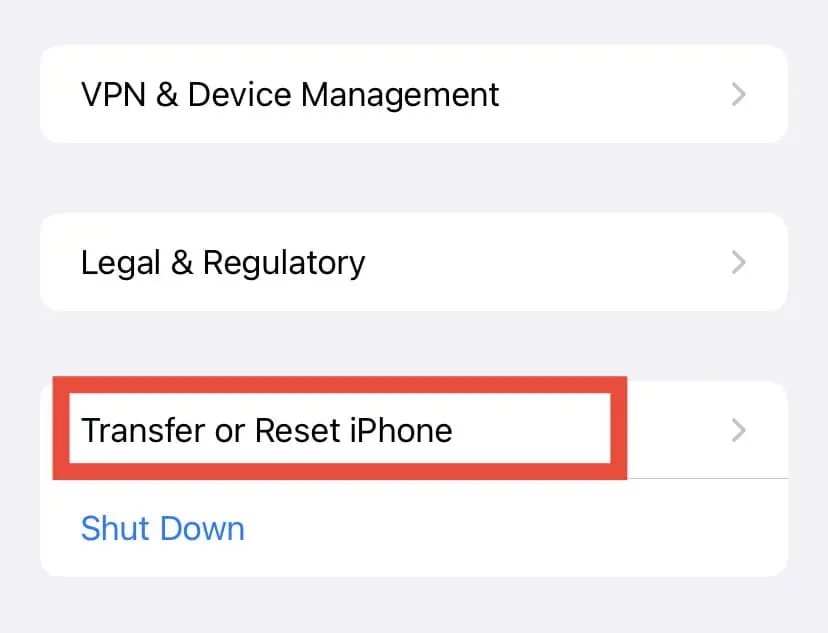
- Select General and then go to Transfer or Reset iPhone.

- Again, tap on Reset.
- Tap on the Reset Network Settings.

- Select Reset Network Settings again to confirm.
Restart iPhone
If you have a relatively old iPhone model, features like the FaceTime Live Photos not working can be due to the phone itself. Or, if you have a lot of apps running in the background, it can be taxing on your phone. So, if your phone is running slow or freezing at times, it’s best to restart it.
Then, you can try taking photos on FaceTime again.
Take a Screenshot
If none of the above fixes worked for you, the last option you can try is taking a screenshot during a FaceTime call. Simply hold down the power button and the volume up button to take a screenshot. This method is easy and works anytime.

