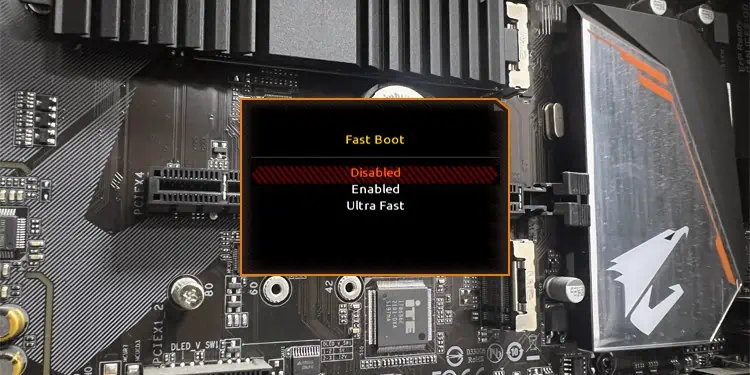
Fast Boot is a feature that improves a system’s boot time by disabling unnecessary POST checks and optical/USB devices until the OS loads. On Gigabyte boards, you can enable/disable Fast Boot, or its higher-end version Ultra Fast Boot from your BIOS/UEFI settings.
While this sounds simple and convenient, enabling Fast Boot can prevent you from accessing the BIOS settings, booting to a USB, and cause a host of other minor headaches. So, I’ll explain whether it’s safe to enable Fast Boot and cover the steps to configure it on Gigabyte boards in this article.
Should You Enable Fast Boot
Fast Boot optimizes the boot time by disabling network boot and boot from removable devices like DVDs or USB drives. Keyboard, mouse, and other peripheral drivers are also delayed to only load after the OS loads.
While your PC will boot faster, you may encounter a few problems:
- You may not be able to boot to a USB or DVD.
- Wake-on-LAN won’t work.
- The BIOS Setup key (usually Del on Gigabyte boards) may not work at boot.
In my general troubleshooting experience, I’ve also found that disabling Fast Boot has solved various errors. As long as you don’t face any problems yourself, this shouldn’t dissuade you from using Fast Boot. But it’s still something worth knowing.
If you’re fine with these tradeoffs, you can enable Fast Boot from the BIOS interface or using Gigabyte’s Fast Boot app.
Enable/Disable Fast Boot from BIOS
Boot to BIOS Setup
On Gigabyte boards, you can press Del or F2 at boot to access the BIOS/UEFI Setup utility.

If Fast Boot/Ultra Fast Boot is already enabled, your USB keyboard may not work at boot. In that case, you can restart the PC 3 times in a row to boot to Advanced Startup Options.
Select Troubleshoot > Advanced options > UEFI Firmware Settings here.
Configure Fast Boot
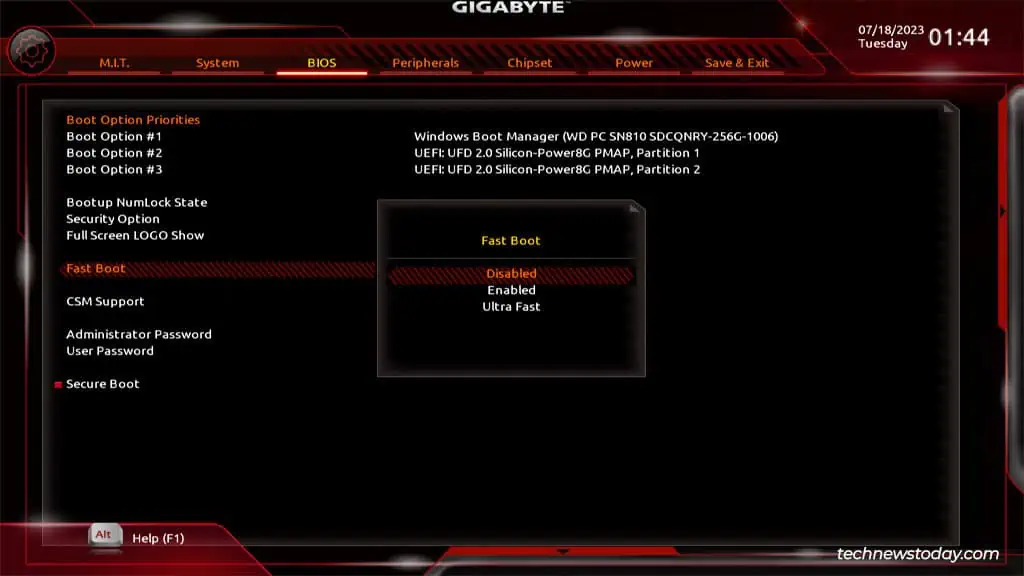
On Gigabyte’s BIOS/UEFI interface, you’ll find the Fast Boot option in the BIOS tab.
- Fast Boot can’t be configured in Easy Mode. So, press F2 to switch to Advanced/Classic Mode if required.
- In the BIOS tab, set Fast Boot to Disabled, Enabled, or Ultra Fast as you prefer. Despite the flashy name, I’ve found that Ultra Fast only provides minimal improvements over Fast Boot. You may also have to disable CSM to use Ultra Fast Boot without issues. So, feel free to try out both and find which one fits your needs better here.

- Press F10 to save the changes and exit.
You can repeat this same process to reconfigure Fast Boot in the future.
Use Gigabyte’s Fast Boot App
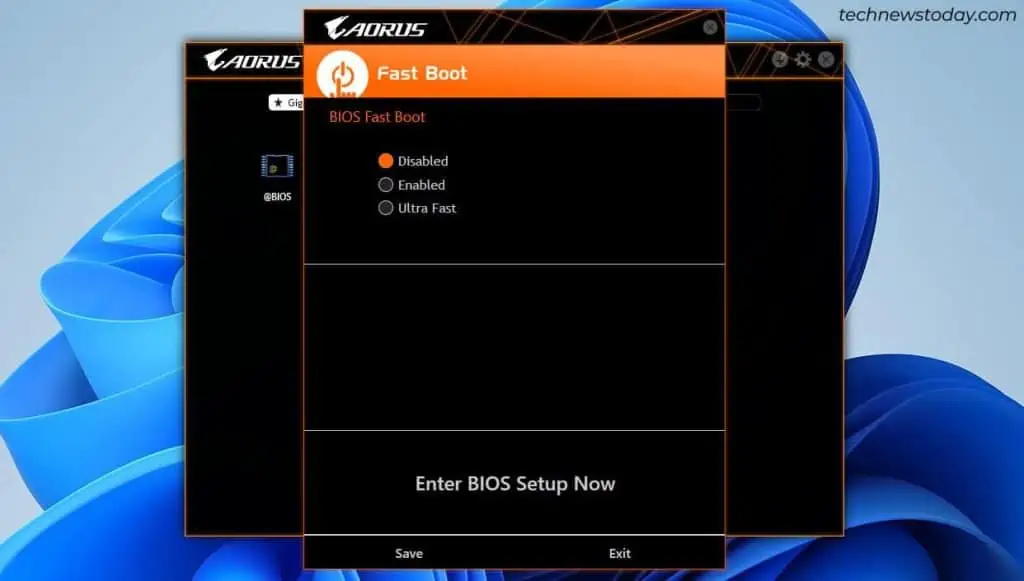
Gigabyte’s Fast Boot app allows you to configure Fast Boot directly from Windows. It also lets you enter BIOS setup if Fast Boot has disabled the BIOS setup key.
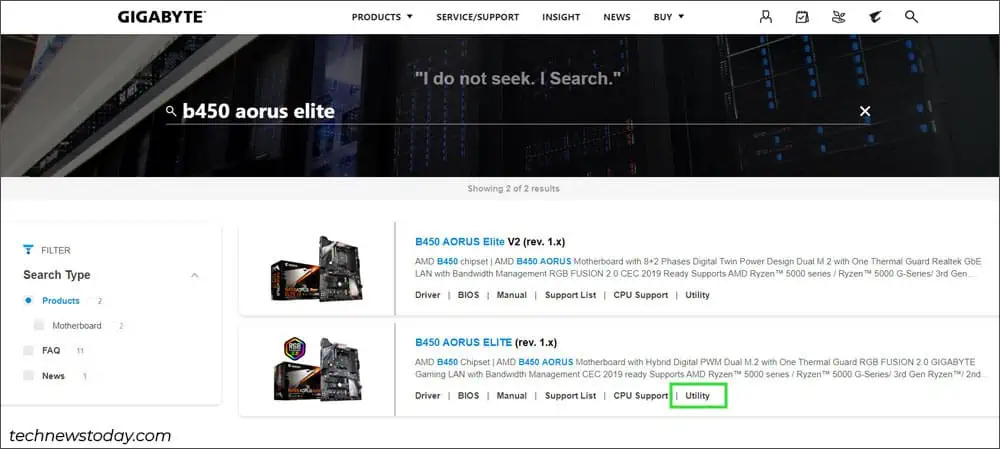
- Search for your motherboard model on Gigabyte’s site. Once you find the exact product, click on Utility.

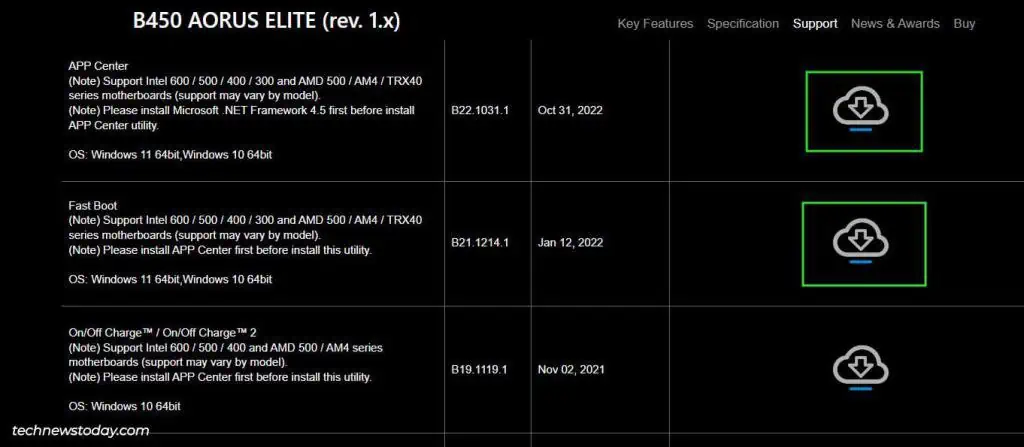
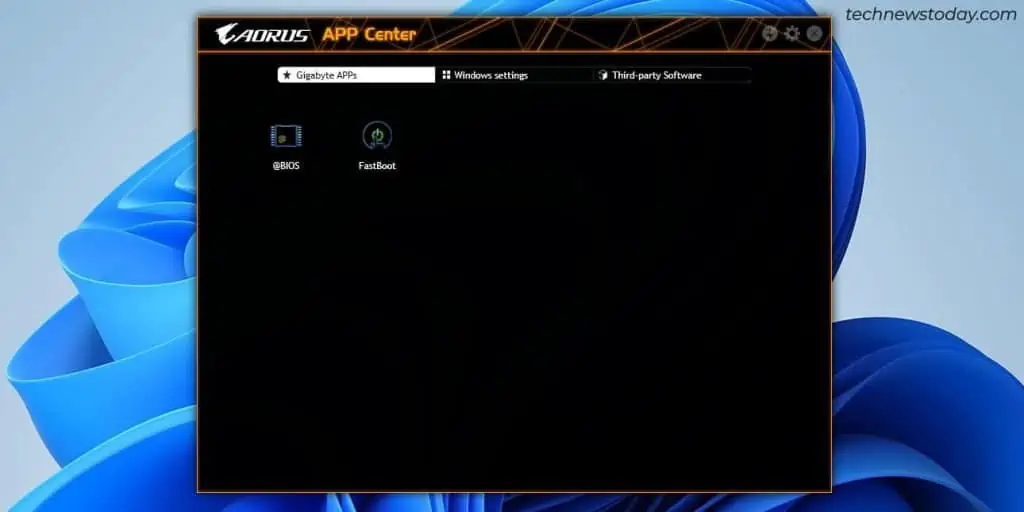
- Download and install the Gigabyte App Center, and then the Fast Boot app.

- Launch the App Center, and then the FastBoot app.

- Set BIOS Fast Boot to Disabled, Enabled, or Ultra Fast here and click on Save.

Can’t Access BIOS After Enabling Fast Boot
Fast Boot disables USB devices like keyboards, and Ultra Fast Boot even skips the POST screen. So, by design, you won’t be able to use the BIOS key when they’re enabled. Generally, anyway.
In practice, if you start spamming the BIOS key (usually Del) after pressing the power button, most boards will let you boot to the BIOS. In case that doesn’t work, you can select UEFI Firmware Settings from Advanced Startup Options as discussed earlier.
If this option isn’t present, you can download and use the Fast Boot app from the Gigabyte App Store.

