Usually, when you turn on the Acer laptop, it displays the ACER logo and then you see the loading icon. After some time, the screen goes black and the system will boot into Windows. When the laptop freezes, it gets stuck on the Acer screen—and the loading icon keeps spinning.
This can mean several things like misconfigured BIOS settings or issues with the components like RAM and hard disk. As you cannot boot into the Operating System, you cannot perform any fixes that include changing OS settings.
Since most solutions mentioned below require you to disassemble the laptop, we recommend that you check the laptop’s warranty before you start with the fixes mentioned below.
Power Cycle Laptop
When you turn on your laptop, it sometimes enters into a deadlock state and the boot process is halted. If this is the case, you can try power cycling the laptop. But first, make sure that you remove any peripheral devices connected to your laptop before you power cycle it.
- Completely turn off the Laptop and remove the charger.
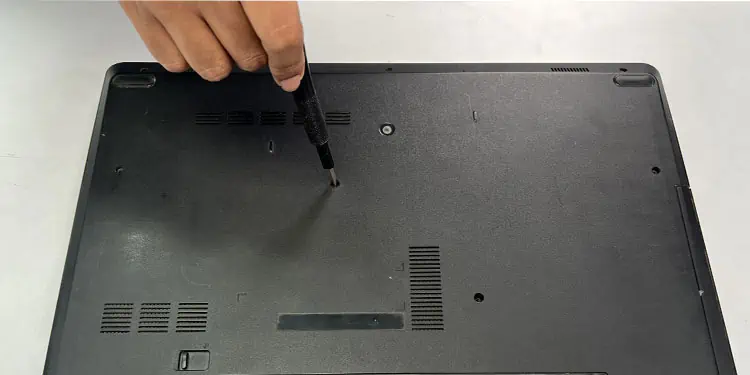
- If your Acer laptop model has the battery reset switch (on the base of the laptop for a pinhole with a battery logo), press the battery reset pinhole for 30 seconds to one minute. If it resets the battery, you can directly skip to step 6.
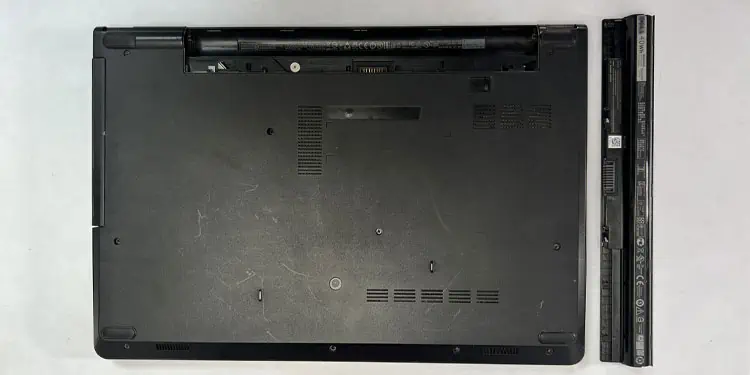
- Remove the external battery connected to the laptop.

- If the laptop’s battery is inside the laptop, you need to remove the back panel first to access its battery.
- Turn your laptop over and remove all the screws that hold the back plate to the laptop.

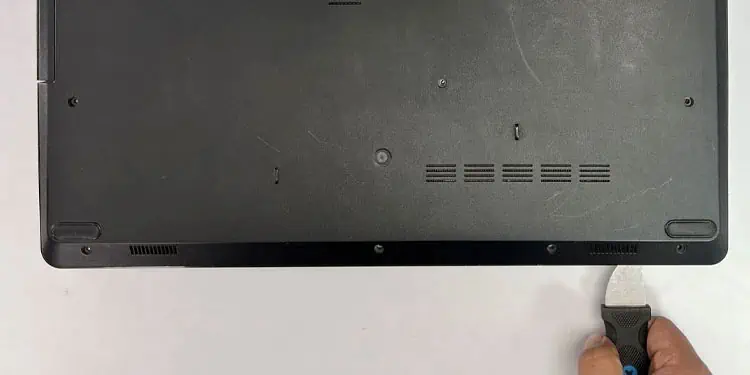
- Take a pry tool and insert it between the laptop and the back panel.

- Turn the pry tool at an angle. You should hear the backplate unclip.
- Unclip all sides of the backplate.
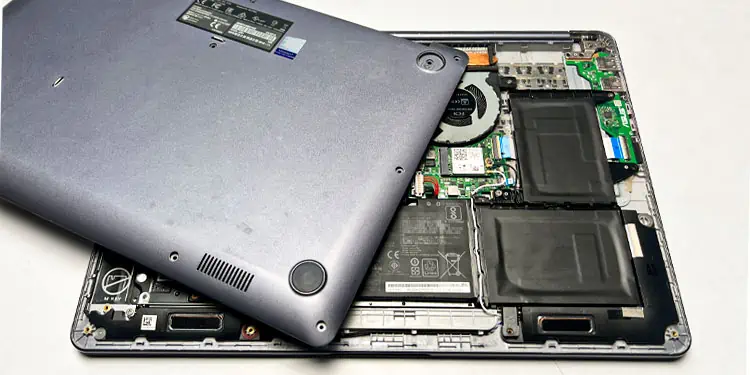
- Now gently remove the back panel.

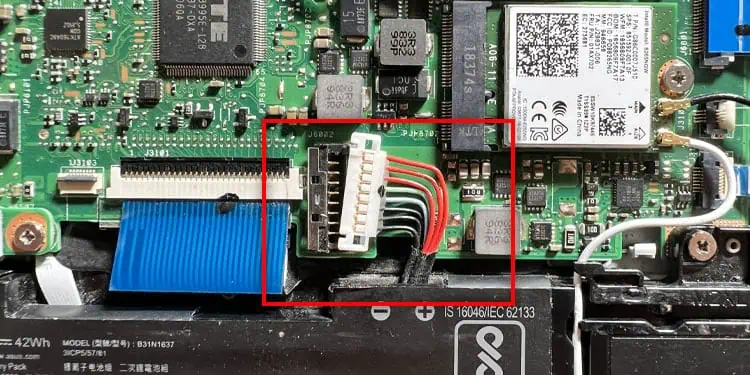
- Once you have access to the batteries, disconnect the cable which connects the laptop’s battery to the motherboard.

- Turn your laptop over and remove all the screws that hold the back plate to the laptop.
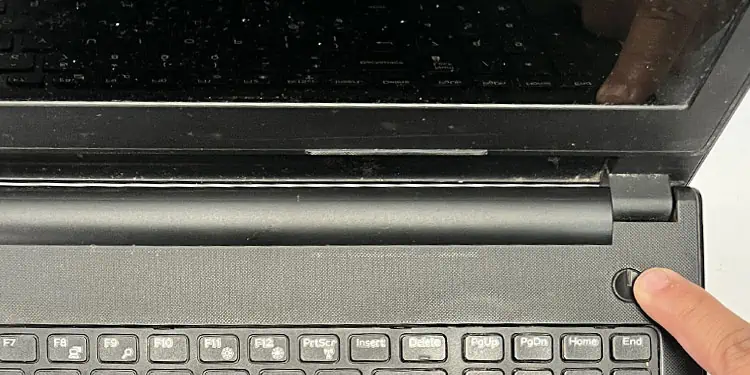
- Open the laptop’s lid and hold the power button for one minute.

- Now, connect the battery back to the laptop and try turning it on.
If power cycling the laptop does not work, RAM or the storage device might be at fault.
Check Storage Device and RAM
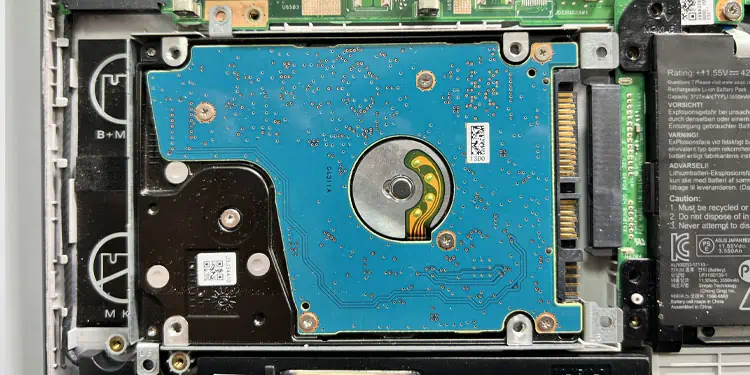
Another reason your Acer Laptop is stuck in the Acer screen could be because the system could not find the drive containing the Operating System. This can happen due to a loose hard disk connection.
In such a case, you need to reconnect the wire that connects the storage device to the motherboard.
- Turn off the laptop and unplug it from the charger.
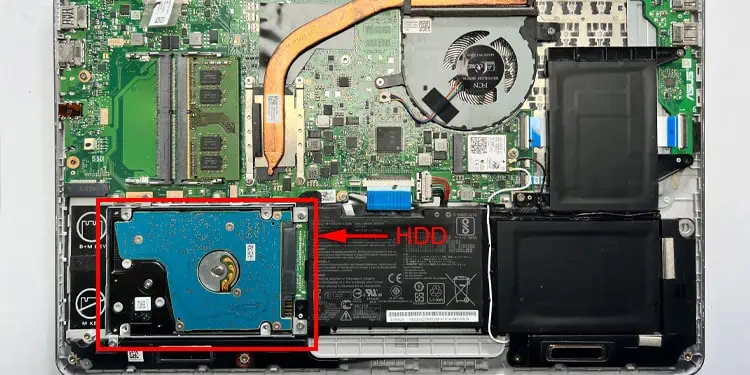
- Now search the motherboard for storage devices. The storage device could either be an SSD, HDD, or an M.2.

- An M.2 SSD drive goes directly on the motherboard and does not require any cable. So the likelihood of a loose connection on an M.2 drive is highly unlikely. Nevertheless, you can unscrew the storage device and reconnect it.
- In the case of an HDD or SSD drive, single SATA+Data cable connects the hard drive to the motherboard. Disconnect the cable that connects to the motherboard and reconnect it.
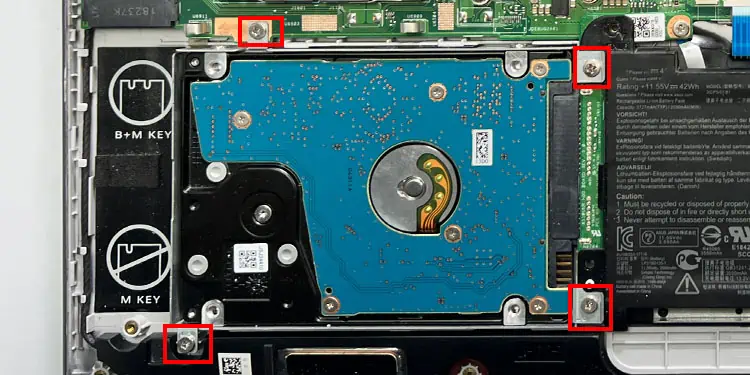
- If you do not have a cable that goes from the storage device to the laptop’s motherboard, it could be that the entire storage device directly plugs into the motherboard. In such cases, you first need to remove the screws that holds the storage device in place.

- Once you remove the screws, slide the hard drive out of the laptop and insert it back in.

- Secure it in place using the screws that you previously removed.
- Once you have reconnected the storage device, turn on the laptop without reassembling it and check if the system boots into Windows.
If this does not work, the RAM could be at fault. In such a case, you can reseat the RAM sticks and check if it solves the problem.
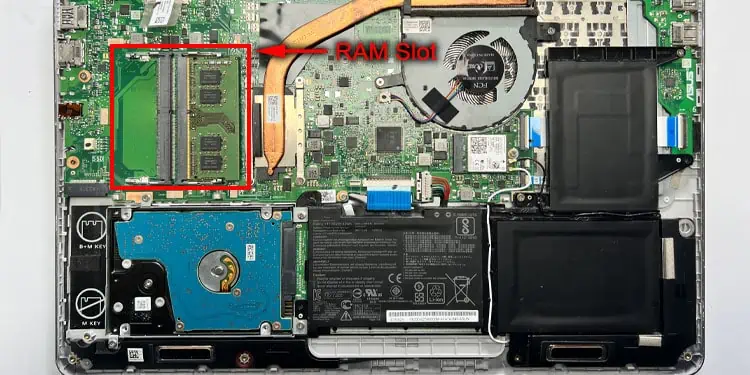
- Search the motherboard for the RAM.

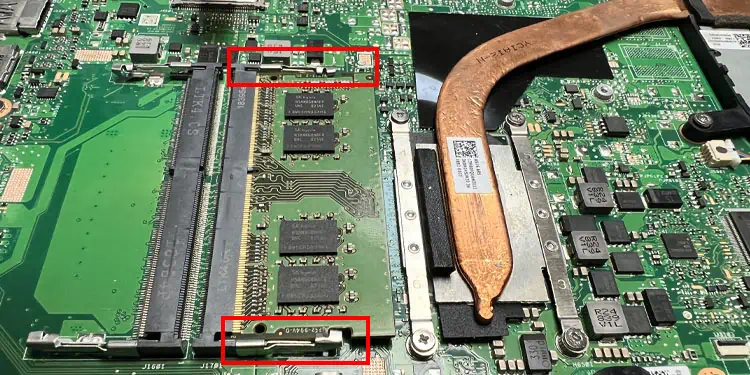
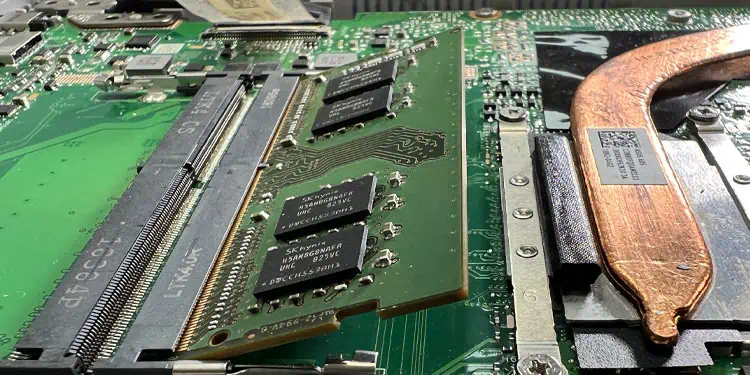
- The RAM slot will have a lock that holds the RAM. Slide this lock outside. The RAM stick should pop out.

- Try turning on the laptop using one RAM stick at a time to determine the faulty RAM. If your laptop only uses a single RAM stick, you need a separate RAM stick to check.

If you have a faulty RAM stick or a damaged hard drive, you will need to replace them right away.
Reset BIOS Settings
Changing crucial BIOS settings like hardware voltage and/or frequency could make the system unstable if done incorrectly.
When the system is unstable, the PC can run into issues like a Blue Screen of Death, random system crashes and finally the screen getting stuck on the loading screen. If you started getting issues such as this after changing BIOS settings, you need to revert these settings right away.
- Turn off the Laptop and turn it back on.
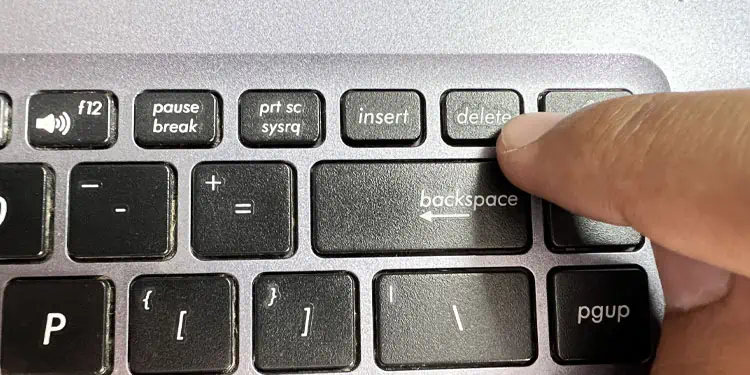
- Keep pressing the F2 or the Delete key during boot to enter the BIOS.

- Navigate the BIOS and revert any changes made to it.
If you cannot revert the changes, you need to reset the BIOS.
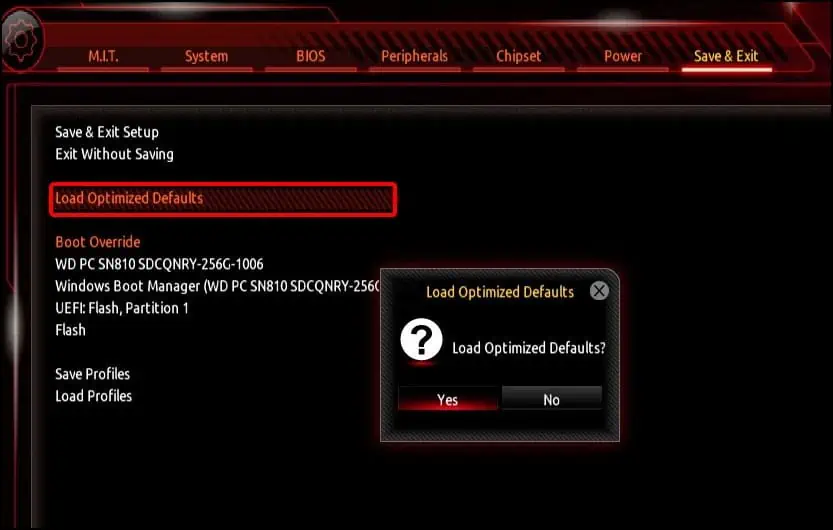
- In BIOS, search for settings named Restore Defaults, or Load Default Settings. This will reset your BIOS.

- Once the BIOS is reset, the laptop should boot into Windows.
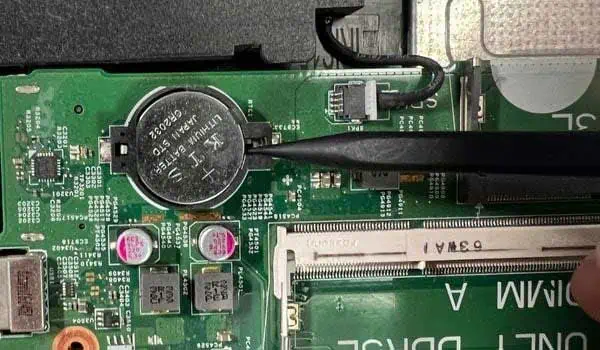
If you cannot boot into BIOS, you can reset the BIOS by reseating the CMOS battery.
- Remove the laptop’s backplate.
- Search the motherboard for the CMOS battery.

- Depending on the laptop model, the CMOS battery could either be attached to the motherboard directly or with a cable.
- Remove the CMOS from the motherboard and insert it back in. By doing this, the system will load the default BIOS settings.
- Now, insert the backplate into the laptop and screw it back in place.
Reset Your Laptop
Finally, if none of the solutions work and you cannot boot into Windows, you can try resetting Windows. If the issue is due to the OS or the drive containing the OS, resetting the laptop should fix the problem. However, please note that resetting will remove all installed applications on your system.
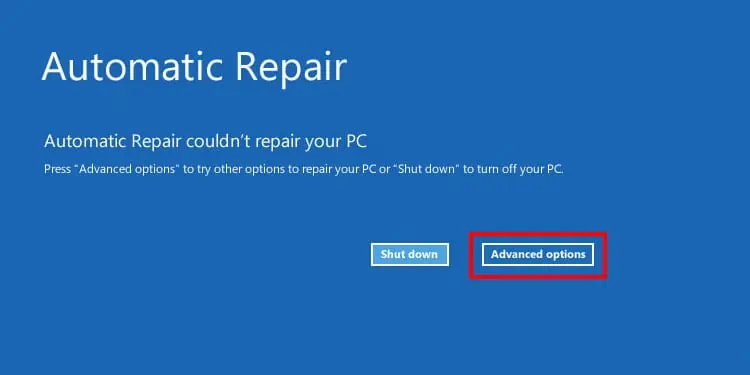
First, you need to access the Automatic Repair menu so that you get the option to reset the PC.
- Turn off the laptop and turn it back on.
- Once you see the loading circle, hold the power button again until the laptop shuts down.

- Repeat steps 1 and 2 three times. The laptop will now boot into the Automatic Repair screen.
- Then, click on Advanced options.

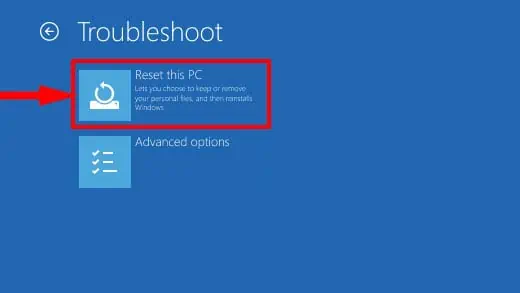
- Now navigate to Troubleshoot > Reset this PC.

- Now, select Remove everything if you want to perform a hard reset. By doing this, all your files and folder will be deleted. Select Keep my files if you do not want your files deleted.

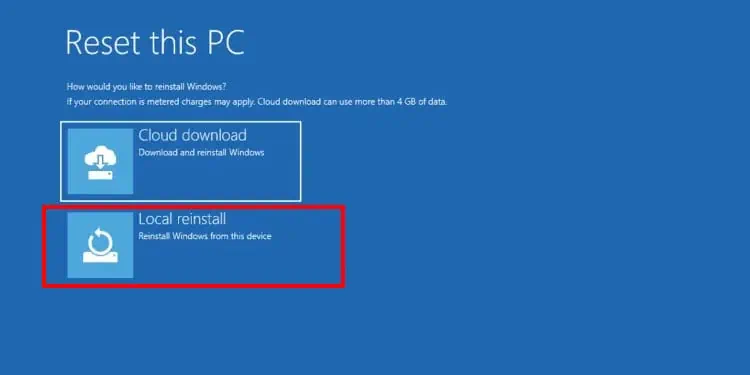
- Select Local reinstall.

- Finally, click on Reset. Now the system should start the reset process.
However, if you are unable to access the Windows recovery environment, you need to clean install your Windows. You can refer to this detailed guide on doing so.

