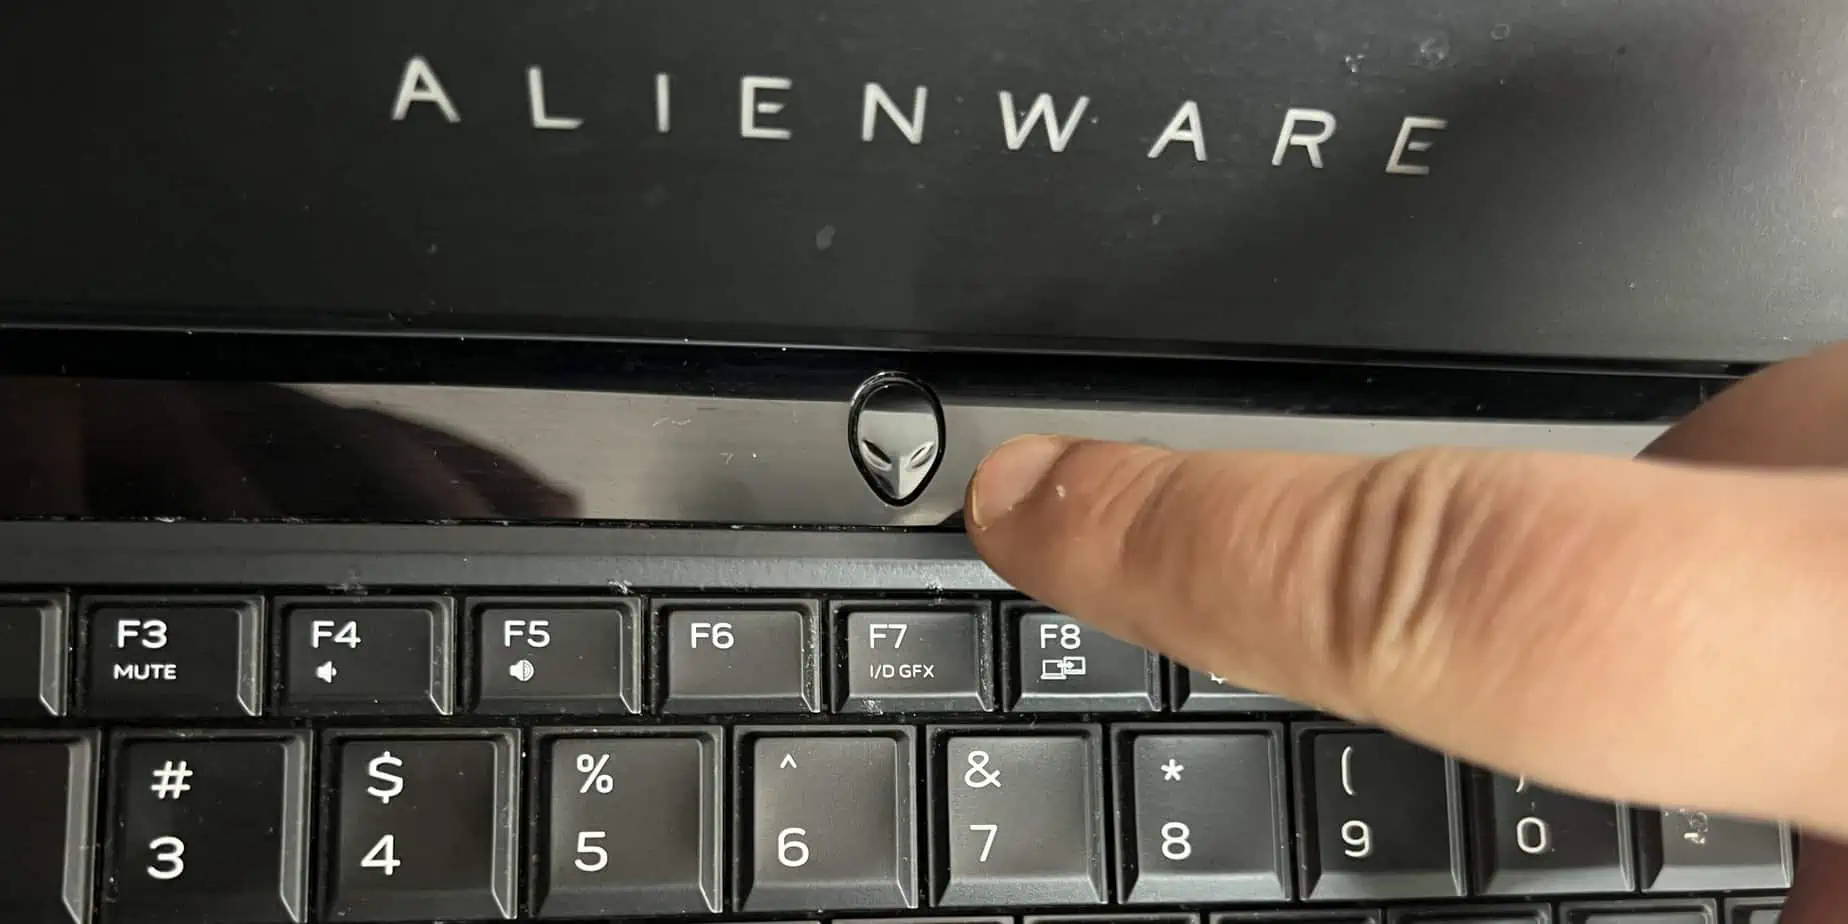
The Power button on the Alienware laptops also works as a battery status indicator. If you are seeing a solid amber flash, it means that the laptop is running on battery and has less than 10 percent charge remaining.
Another function of Alienware’s power button is to notify the user of any system or hardware problems. If one of Alienware’s internal components fails, the power button will typically blink in a pattern. This light pattern flashes with a red and blue combination.
For example, if the power button blinks red twice and then blue once, this suggests that the system has detected a processor failure. The light combination is expressed in terms of light code, and the code, in this case, is 2-1.
As per Alienware’s service Manual, these are the different light patterns with their implications:
| Diagnostic light code | Problem descriptions |
| 2-1 | Processor failure |
| 2-2 | System board: BIOS or ROM failure |
| 2-3 | No memory or RAM |
| 2-4 | Memory or RAM failure |
| 2-5 | Invalid memory installed |
| 2-6 | System board or chipset error |
| 2-7 | Display failure |
| 3-1 | Coin-cell battery failure |
| 3-2 | PCI, video card/chip failure |
| 3-3 | Recovery image not found |
| 3-4 | Recovery image found but invalid |
| 3-5 | Power-rail failure |
| 3-6 | System BIOS Flash incomplete |
| 3-7 | Management Engine (ME) error |
Note: The diagnostic light codes and problem description may differ depending on the Alienware model. To get the specifics, consult your Alienware user manual.
Now, take note of the pattern of the light code from the power button and match it to the problem description from the table above. Then apply the fixes necessary to solve the issue, as suggested in this article.
Fixing Processor Failure
A power button flash with either a 2-1, or a 2-6 light code hints that there can be some issues with the processor or the system board. The processors can undergo such issues because of thermal throttling, voltage fluctuations, or if the laptop has sustained physical damage.
If the laptop is working normally even after the light code, the issue could be minor. In such a situation, you can power-drain the laptop and see if this gets rid of the problem.
To do this, turn off the laptop and disconnect the components from it including the AC adapter. In case the laptop has a detachable battery, disconnect the battery cable too. Now, press and hold the power button for about 20 seconds. This will drain the excess static electricity stored in the motherboard.
Once done, put everything back in place and turn on your laptop. Check the power button and see if you still get flashes of a similar pattern as earlier. If the problem persists, contact the Alienware customer center.
Fixing BIOS-Related Failure
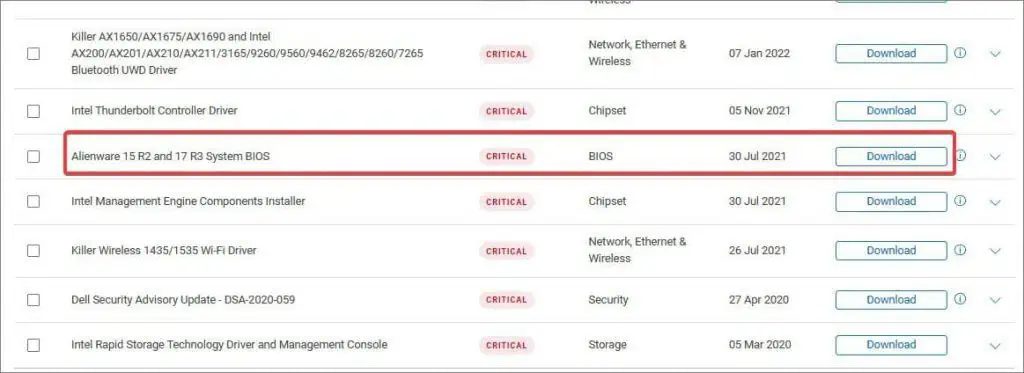
A BIOS-related failure in an Alienware is indicated by the 2-2 or 3-6 light code. A BIOS failure typically occurs due to misconfigurations in its settings or if the BIOS was not correctly flashed. To fix this problem reflash the BIOS and also reset its settings to default.
- Download the latest version of BIOS for your Laptop from the Dell support page.

- Run the executable file and follow the on-screen instructions.
- The system will restart and begin the BIOS update process.
Even after updating the BIOS, if you are still seeing the power button flashes like earlier, the problem could be with the system board or the ROM. You must contact the Alienware service center in such a case.
Fixing Memory Failure
If you are seeing the power button flash with a light code 2-3, it is likely that there are some issues with the RAM. Most probably the RAM isn’t properly seated on the memory slot or the RAM module itself is damaged. To fix this you can open the back panel and reseat the RAM module properly.
- Turn off the Laptop and disconnect all the peripherals connected to it. If the device has a micro-SD slot, ensure no card is installed in the slot.
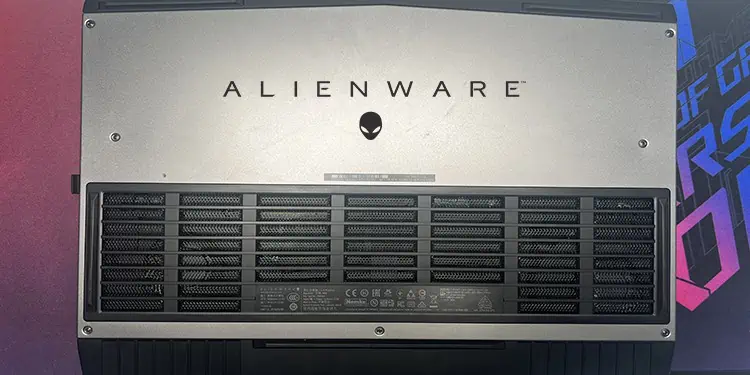
- Flip the laptop to reach the base cover and remove the screws that are securing the cover.

- Gently pry the cover using a plastic card.
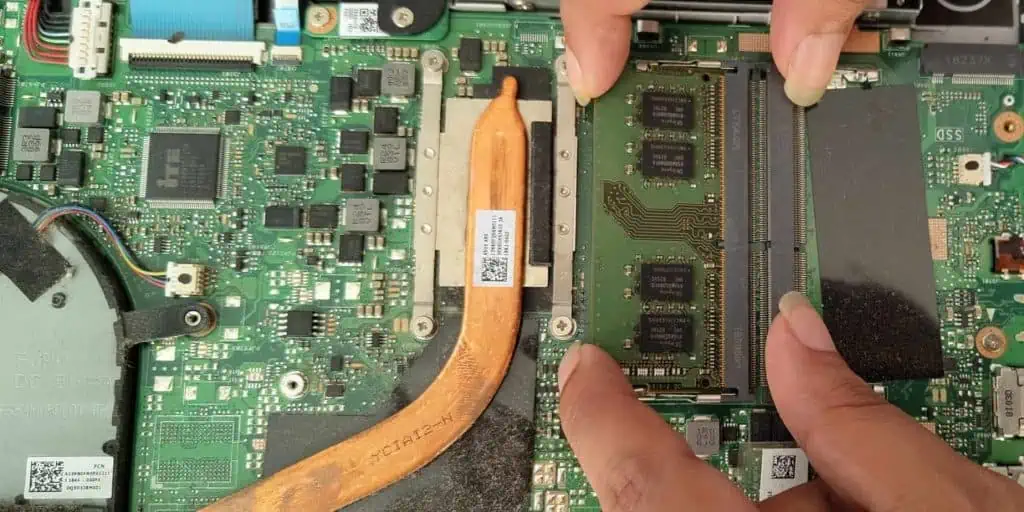
- Once you get access to Alienware’s board, Locate the memory module. Check that the module is properly seated.
- If not, spread the clips on both ends of the module. The memory module will then pop up out of the slot.

- Now, slide the memory module back into the slot firmly. Press the module down until it clicks into place.
- Finally, replace the base cover and secure it with the screws.
- Turn on the laptop and check if the power button flashes like earlier. If you are still seeing the issue,
Note: Some models of Alienware come with soldered RAM, which can’t be unlatched using the process suggested above. In such a case, you must contact customer care to find the appropriate resolution for this problem. Also, if you are seeing a 2- 4 light code pattern, it is advised that you visit the service center.
Fixing Coin-cell Battery Failure
The coin-cell battery is responsible for retaining the BIOS configurations such as the date and time, boot priority, etc. When the Coin-cell battery fails, the BIOS configurations revert to the factory default every time the laptop is restarted.
On Alienware laptops, when these batteries fail, users get notified by a 3-1 light code flash on the power button. The laptops may also beep with a particular pattern. To resolve the problem, users can replace the coin-cell battery with a new one.
Note: It is recommended to power-drain your Alienware device before you begin removing the CMOS (coin-cell) battery.
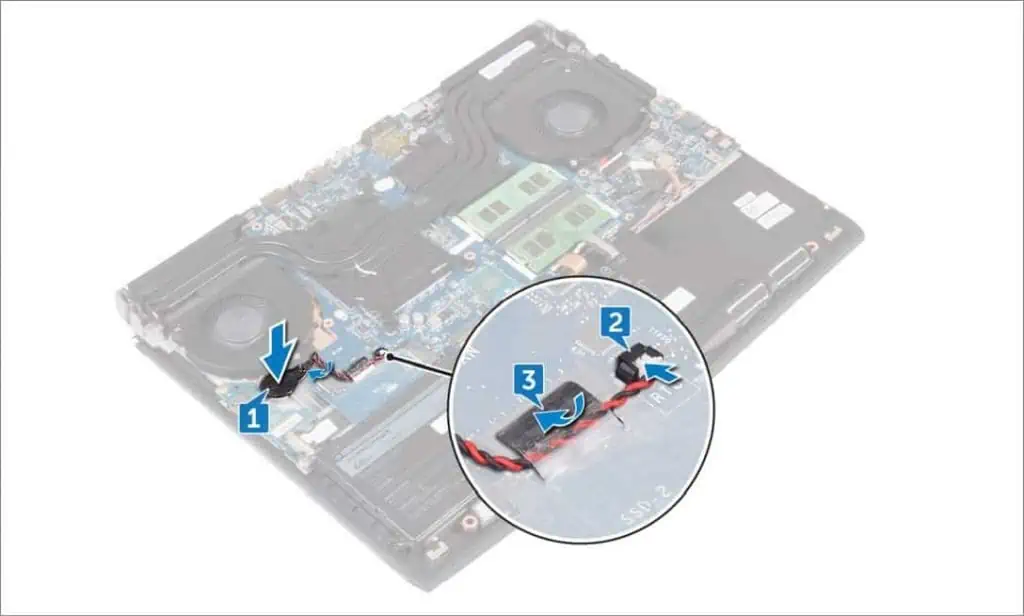
- Remove the base cover of the laptop.
- Locate the coin-cell battery in the board and disconnect its cable.
- Gently pry off the coin-cell battery with its cable off the pal-rest assembly. This will reset the BIOS setup programs configurations to factory default.
- Now, place the new coin-cell battery into the palm-rest assembly and reconnect the battery cable to the system board.

- Put everything back in place and turn on the computer to check if the issues have been resolved.
Fixing Display Failure
The light code 3-2 can mean that the system has detected some problem with the display mini-card or the video card. Similarly, if you are seeing a 2-1 light code indicates that the laptop’s board is not detecting any display. This can happen if the display cables are not connected the correct way or are damaged.
Some users have reported getting rid of this problem after they power drained the laptop. To do this, follow the process suggested in the section for Processor-related failure. The issue must be looked after by a professional if this does not fix it.
Despite the error, if you are able to access the laptop normally, it is recommended that you update the display adapter driver. The power button flash suggesting a display failure could be a bug related to the display driver which can get fixed with an update.
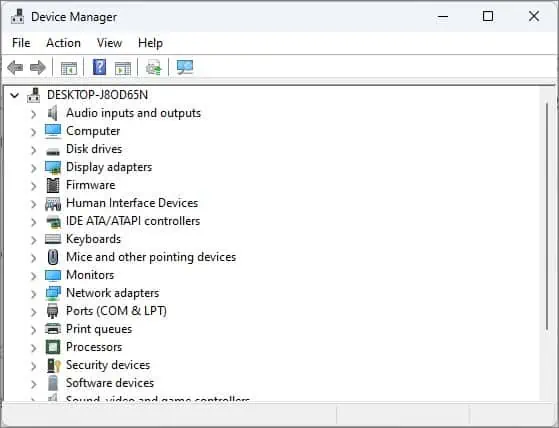
- Press Windows Key + X and open the Device Manager.

- Click on the Display adapters.

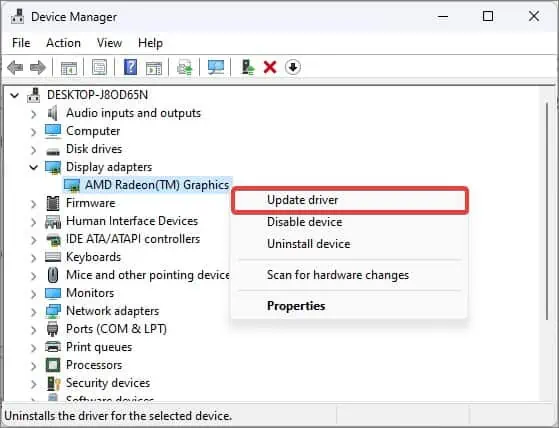
- Right-click on the Graphic card and select Update driver.
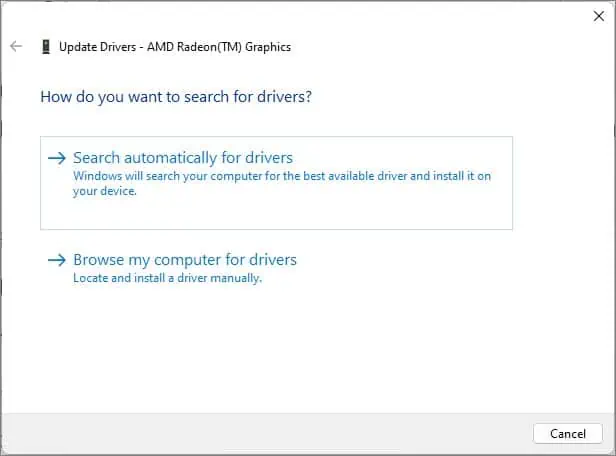
- Choose Search Automatically for Drivers.

- Follow the prompts and update the drivers to the latest version. Restart the laptop when finished.
- You also can update the Monitor drivers following the same process.
Fixing Management Engine Error
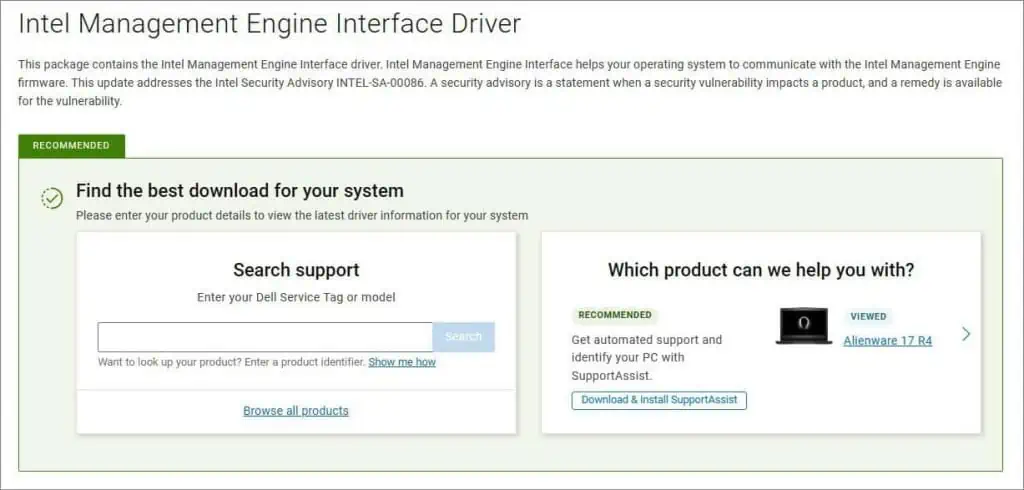
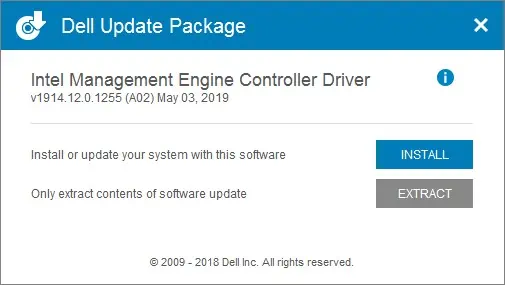
If you are getting 3-7 blinks from the power button, this is because the system finds something wrong with the Management Engine (ME) Components. This can happen if you are using an outdated version of the Intel Management Engine Components installer. To resolve the problem, update the installer.
- Go to Dell’s support page.
- Enter the Dell service tag, EMC product ID, or model of your Alienware device.

- Select the operating system and under the category section select Chipset.
- Find the Intel Management Engine Components Installer and click on Download.

- Navigate to the download directory and open the executable file.
- Follow, the prompts and complete the installation. Restart when the process gets completed.
- Finally, check if you are still seeing the light code of the same 3-7 pattern.
Fixing Recovery Image Issues
Alienware has a local restore partition where the recovery image for the operating system is stored. If the recovery images or its partition gets corrupted you can get the flashes with 3-3 or 3-4 light codes on the power button.
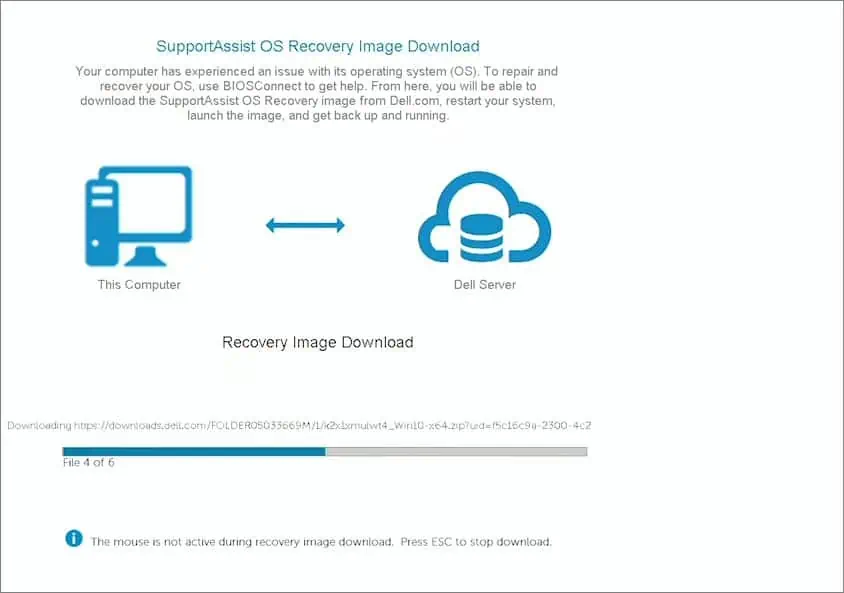
Dell BIOSConnect is a platform that lets users recover such local restore partitions and get rid of the light codes. To use BIOSConnect users should have enabled it in the BIOS and also should have access to a wired or wireless internet connection.
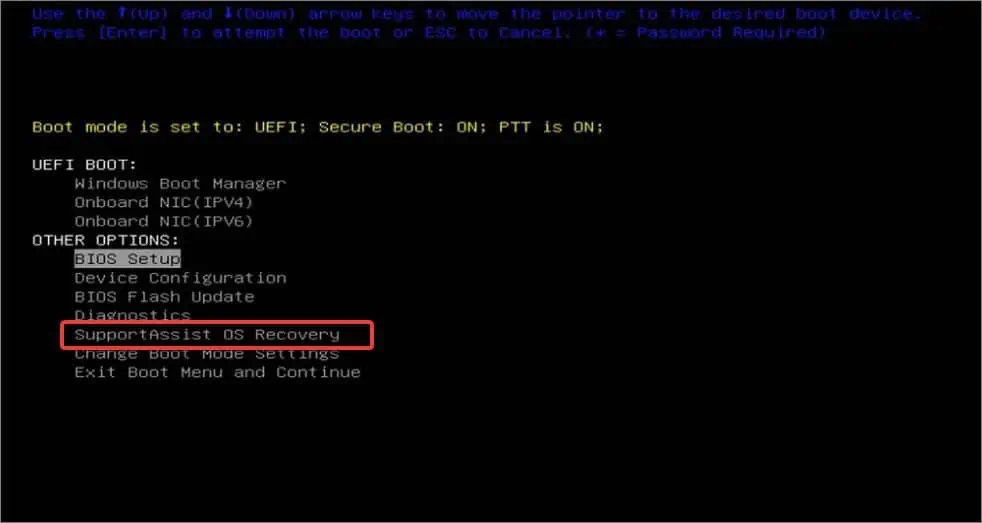
- Turn on the laptop and press F12 repeatedly until you see the BIOS setup menu.

- Select SupportAssist OS Recovery.
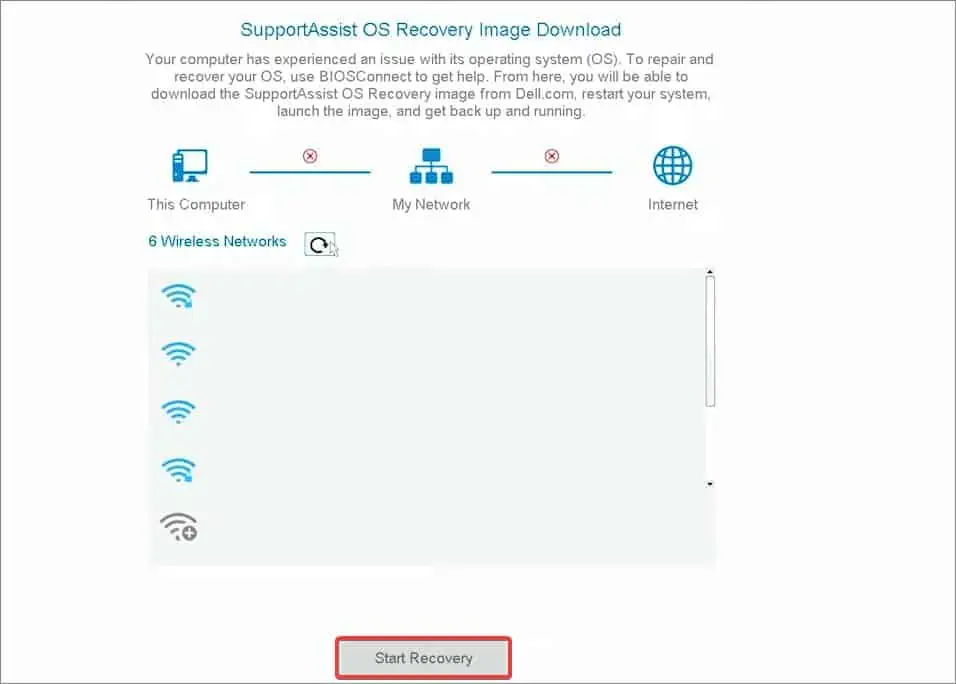
- Connect to the Wired or Wireless network.
- Click on Start Recovery.

- The utility will start downloading the OS recovery Image. Once the download is complete, the system will boot into Dell’s Recovery Environment from where you can restore or recover the OS for your Alienware laptop.


