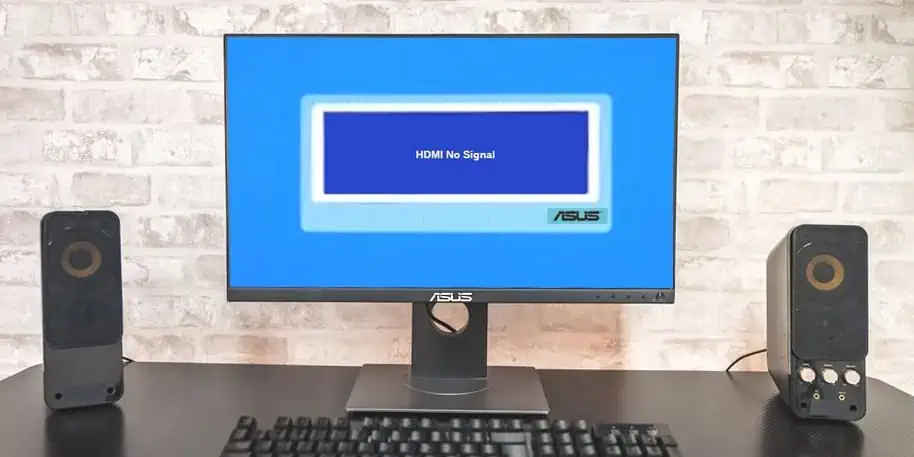
The “HDMI No signal” error on your ASUS monitor indicates that it is not receiving any display input signals from the computer through its HDMI port. This error prevents the monitor from displaying any contents, leaving just the error message on the screen.
There isn’t one specific reason for this problem, but the primary cause for the “ HDMI No Signal” seems to be the display connections. Some misconfigured display settings and outdated firmware/drivers also can generate similar problems on the ASUS monitor.
Power Cycle the Monitor
Bugs and glitches in the monitor’s firmware can cause your ASUS monitor to not take inputs from the HDMI port. Sometimes, just power cycling the monitor can resolve the problem. Here’s how to do it the correct way.
- Turn off the monitor by pressing its power button. You can shut down the computer as well.

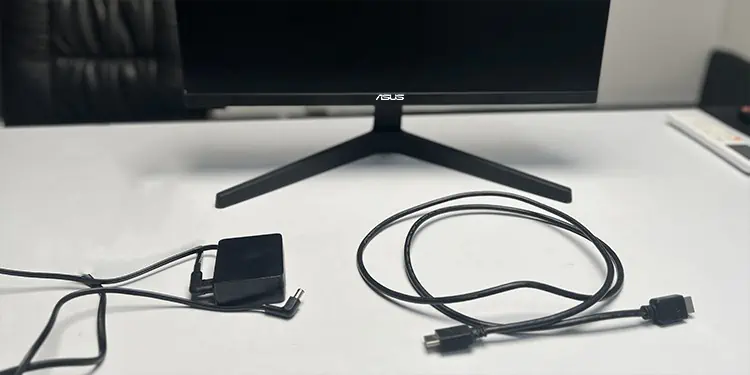
- Unplug all the cables connected to the monitor, including the power cord and the HDMI cable.
- Leave the display unit as it is for a minute or two. Then plug everything back into place.
- Turn on the monitor and also the computer.
Check the Input Source
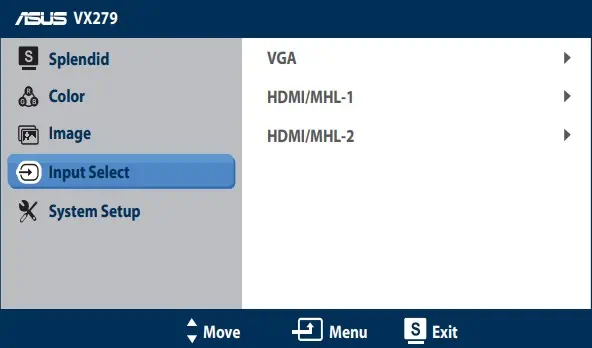
Modern monitors come with multiple HDMI ports. You can configure the monitor to make it choose the right HDMI port for the display signal inputs.
Let’s say you have connected the display cable to the HDMI 1 port of the monitor but configured the monitor to take display input from HDMI 2, then you will definitely receive the “HDMI No Signal” messages.
On most modern Monitors, including ASUS’s, there is a feature that automatically detects the right input source. However, such features may be missing in older models. Sometimes the firmware also might be detecting the wrong input source.
- Press the Input select button that is either on the side or back of your ASUS Monitor. On some ASUS monitors, there is no dedicated input selection button and it is integrated into the On-screen display (OSD) menu.
- Select HDMI 1 or HDMI 2 as the right input source, depending on the port you have used for the connection.

Check the Connections
Quite often, the issue with the monitors is caused due to misconfigured or loose connections. The cables or the connectors could be at fault too. Therefore, the next thing you must do is check if the connections are set correctly.
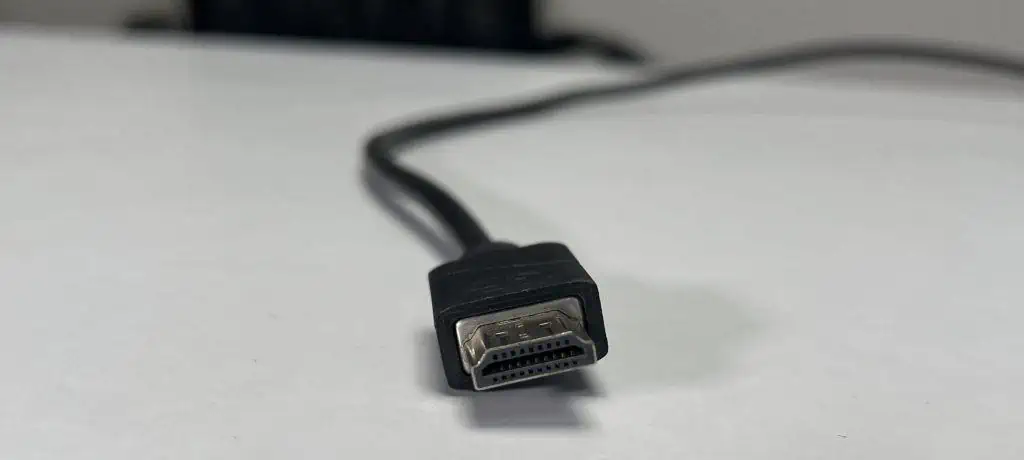
- Start by checking for bent or compromised ports and cables. An HDMI connector must feature a 19-pin configuration. If these pins are not visible or their configuration is incorrect, this might be the reason behind the No signal problem. If you have a spare HDMI cable, you can also use it to see if it works well.

- On a computer with dedicated graphics, the video ports on the motherboard, including the HDMI ports get automatically disabled. In such a case, you must connect the cable to the GPU’s HDMI port to make the display function normally.
First, disconnect the HDMI cables from the ports of your computer and the monitor. Finally, reconnect them securely and ensure that the connections aren’t loose.
- If there are multiple HDMI ports available on the computer as well as the monitor, try making the connections through a different port.
- Avoid using a display converter, and if possible, directly connect the HDMI cable to the port without using the converter. If the display works normally, the problem can be with the converter.
- To rule out the possibility of a Monitor failure, you can connect the computer to another monitor (If available). If the other monitor also displays the HDMI no signal message, this indicates an issue with the PC, ports, or cables.
However, if the other display does work properly, the problem is with your ASUS Monitor. You may have to repair or replace the monitor in such a situation.
Configure Projection Settings
This fix applies to a multi-monitor setup where only one of your displays is not working. Suppose you have connected your laptop or a computer to an external or secondary monitor, and it is giving you an “HDMI No Signal ” message. In that case, there may be issues with the projection settings.
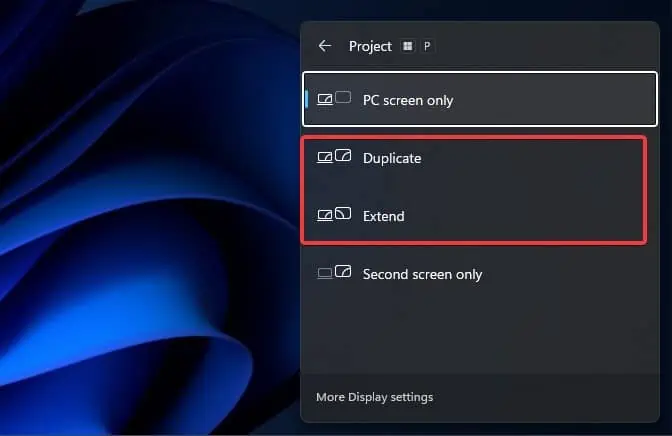
- Press Windows key + P on your Keyboard. This will give you projection settings to choose from.
- Select the Duplicate or Extend option as per your preference. You must immediately see the contents of the source computer on the ASUS monitor. If you choose the Second Screen only option, you will not see the contents on your primary screen (Laptop, for instance).

Update Display & Monitor Adapter Drivers
Drivers are responsible for establishing communication between the monitor and your operating system. If these drivers get outdated and incompatible with the existing hardware, it may create a problem such as this. Some systems also may require updated Graphic card drivers to support the latest monitors.
Although it might not be possible for you to update the drivers when the screen displays nothing, you can use another display unit (if it works and is available) to do it. Likewise, on a multi-display setup, if any of the display is working, you may use these steps to perform the driver update.
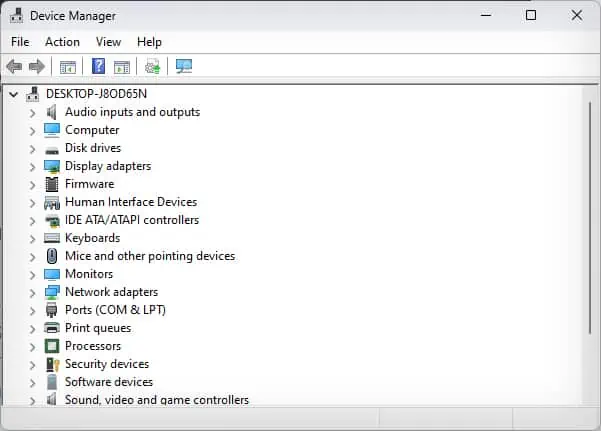
- Press Windows Key + X and open the Device Manager.

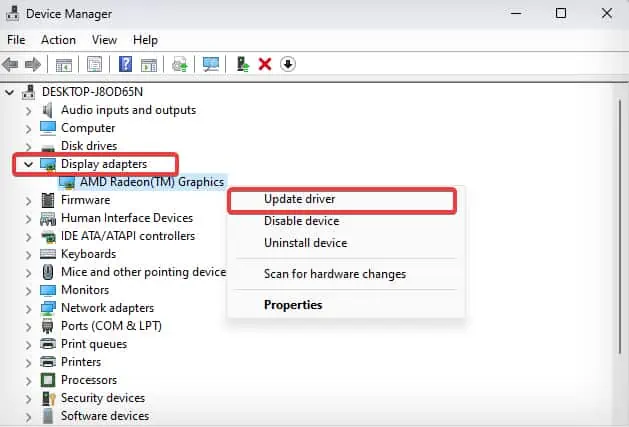
- Click on Display Adapter.

- Then Right-click on the device driver and select Update driver.
- Choose Search Automatically for the drivers option and follow the prompt.

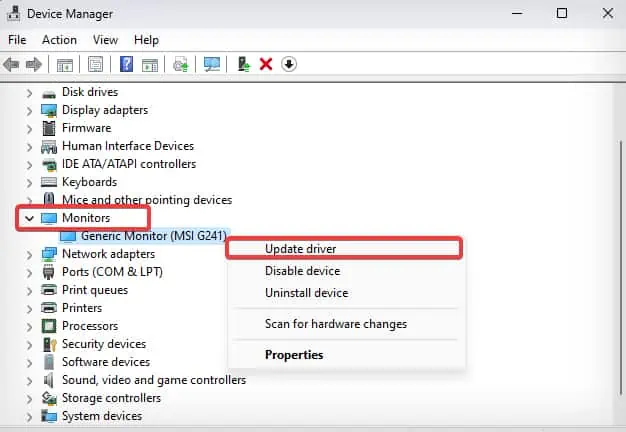
- If this does not solve the problem, go back to the Device Manager and update the device drivers under Monitors accordingly.

- Once the update process is complete, restart the computer and see if the issue persists.
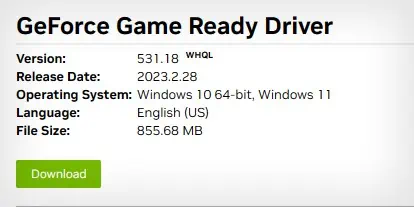
You also may need to manually update to the latest GPU driver by downloading the installer from the respective GPU manufacturer’s website.
- Connect the computer to another monitor or use a working video standard (DisplayPort, for instance) for making the connections.
- Go to the driver download page of AMD or NVIDIA.

- Check for the latest available version of the graphic card driver for your specific system.

- Download the update installer and run it.
- Follow the on-screen instructions and complete the update process. Restart the computer when finished.
Factory Reset the Monitor
If there are some misconfigured settings on your monitor that are incompatible with your system, you may encounter a display issue such as this one. Resetting the monitor can come as an assist in such situations. You can reset the monitor to the factory default state to solve the issues with the firmware.
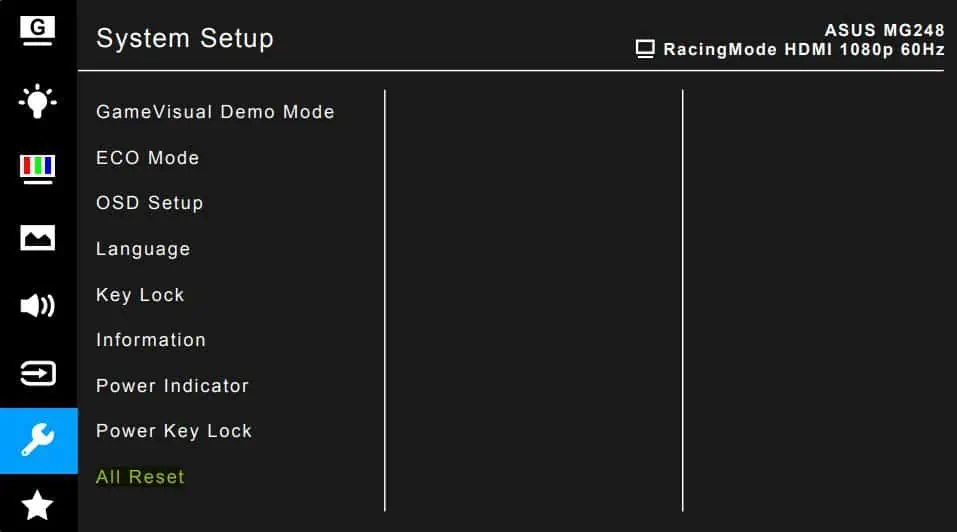
The reset process can differ with the model of your monitor. Therefore, you need to refer to your Monitor’s user manual to get the exact details. Here’s a general process of resetting an ASUS monitor.
- Press the On-screen display menu button on the back of the monitor. The location of this button may vary with the model.

- Press the up and down buttons to navigate to the System Setup Section.
- Find the All Reset option and select it.

- Select Yes for the final confirmation. This will revert the setting of the monitor to the factory default.
Inspect the RAM Modules and Graphics Card
If the computer itself does not boot, there might be some issues with the internal components of the computer. Most often, the problem occurs when the memory modules or the graphic cards are not properly seated in their slots.
When that happens, you may get notified with Power on Self Test (POST) error light codes on the motherboard or through startup beep sounds.
For instance, Some motherboards have a label on them with an LED indicator that glows when the system detects problems with the CPU, RAM, Video controllers, and other hardware components. Take note of such LED flashes to determine the type of hardware failure.
Moreover, you may reseat the RAM and graphic cards properly to see if this solves the HDMI No Signal problem.
Here’s how you reseat your RAM sticks.
- Turn off the computer and disconnect every cable connected to it.
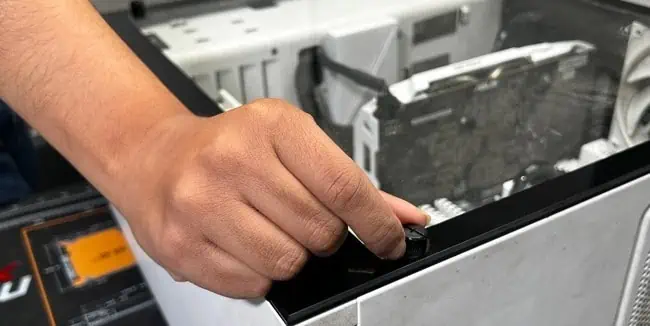
- Remove the side covers of the CPU.

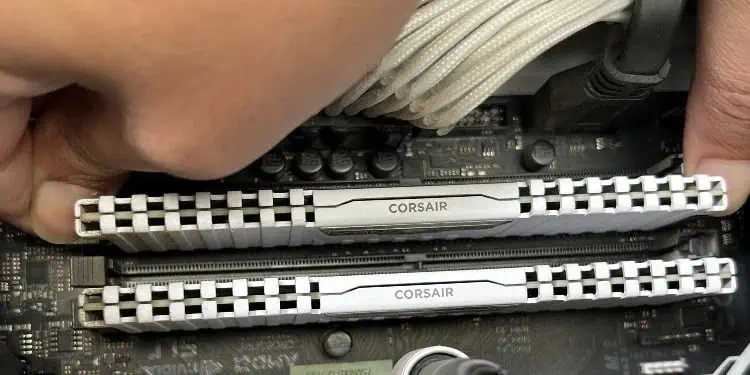
- Locate the RAM module.
- Gently pull apart both of the clips holding the module.

- Remove the module from the slot and clean it using a brush or a microfiber cloth.
- Reseat the memory module properly back to place. If multiple RAM sticks exist, follow the same procedure and reset them.
Once you have inspected the RAM sticks move on to the Graphic cards section. Note that this process only applies to computers with dedicated GPU.
- Disconnect the power connectors for the graphic cards from the PSU.
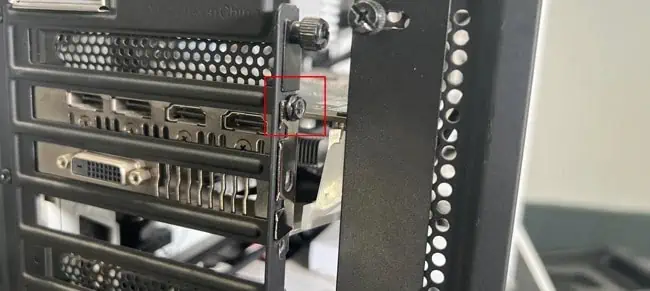
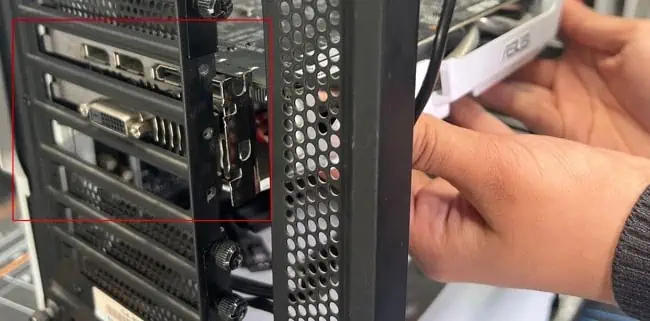
- Remove the screws holding the graphics card in its slot. These screws could be either inside or outside the computer’s case.

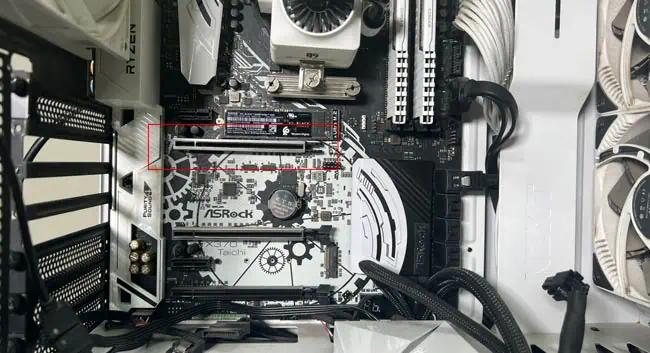
- Then, push the PCIe slot clips holding onto the Graphics card. You will hear a clicky sound when the clips release the GPU.
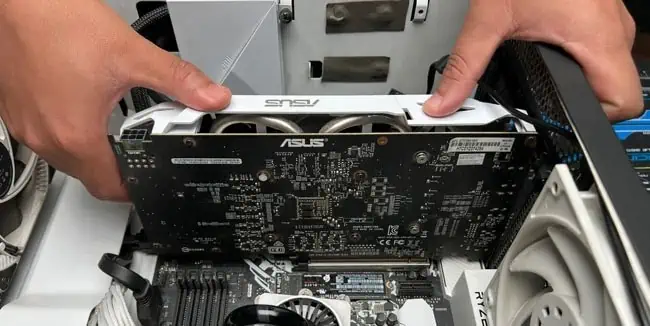
- You can now remove the GPU from its slot.

- Clean the graphics card thoroughly using a microfiber cloth. Likewise, also clean the PCIe slot with a soft brush and compressed air.

- Now, align it with the PCIe slot and slot it on the computer’s case. Gently, place it down to the slot until you hear a click.

- Reinstall the screws back to their original spots and plug in the power cables.
- Finally, assemble the side panel and connect everything as it was previously. Check if the monitor works as intended.
Update Monitor Firmware
Firmware is low-level software that is responsible for operating a hardware component. If a Monitor’s firmware is buggy, corrupted or outdated, it can trigger different display-related issues. ASUS releases frequent updates for their Monitors to counter such firmware issues.
Note: If the firmware update process is done incorrectly or it gets halted for some reason, you can brick your ASUS monitor.
Step 1: Create a Firmware Installation USB Drive
- Go to ASUS’s official download page.
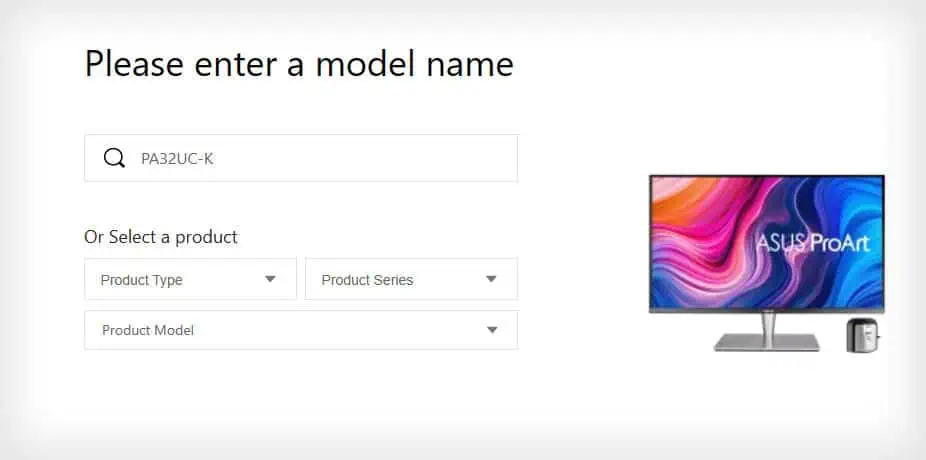
- Enter the Monitor’s model in the field. Your monitor’s image will be shown in the page.

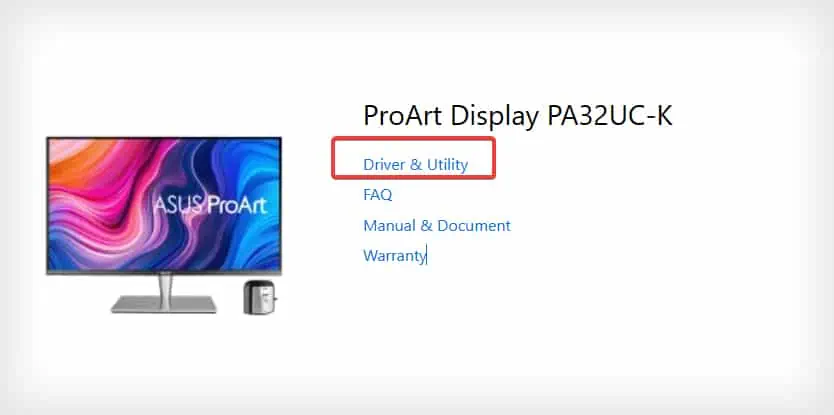
- Click on Driver & Utility.

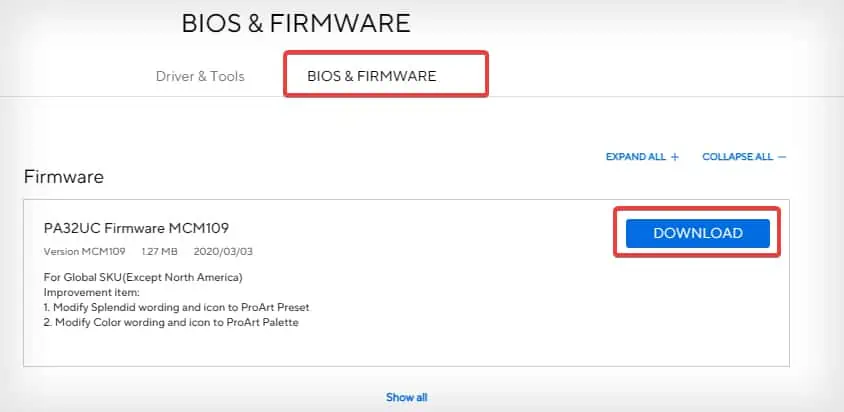
- Go to the BIOS and Firmware section and download the firmware.

- Plug in a FAT32 file system-based USB flash drive on your computer.

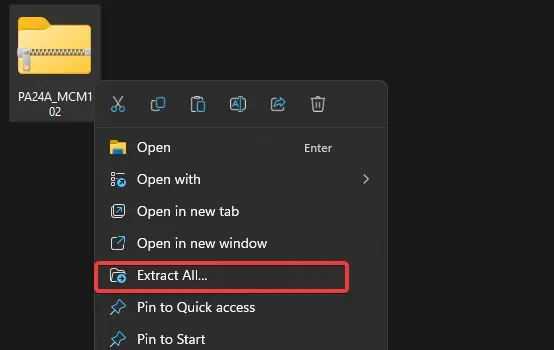
- Go to the Download directory and extract the firmware file you downloaded earlier to the USB flash drive.
Step 2: Update Monitor’s Firmware
Note: The firmware update process can differ from the model. For demonstration purposes, we have used the model PA32UC-K in this article. You have to refer to the user manual for your specific model to get the exact details for it or contact the service center.
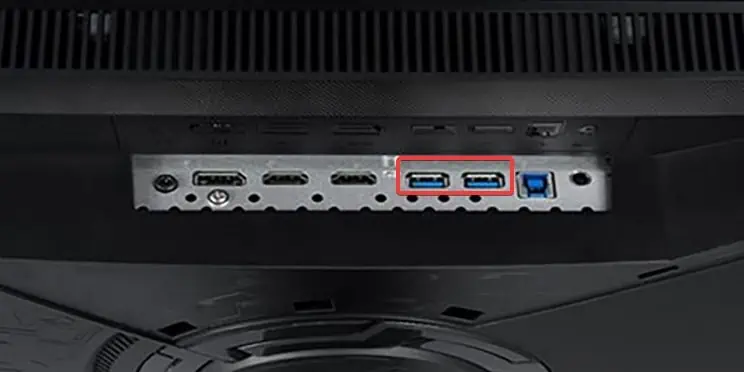
- Plug in the flash drive in the Monitor’s USB port. Make sure the Monitor is turned on.

- Now, simultaneously press the two buttons above the Power button.
- The firmware update process will now begin.
- When the process is complete, turn the monitor off and then turn it back on.
- It is recommended to reset the monitor to factory default after the update.

