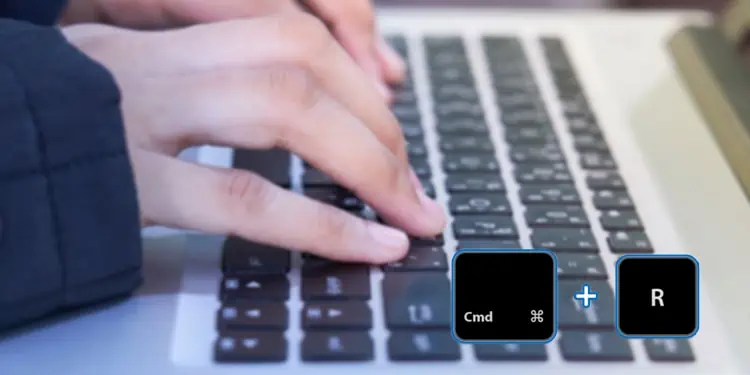
Most operating systems these days have started incorporating the recovery mode that helps repair computers in dire times. For Mac users, Command + R is the appropriate button configuration to access this mode. However, sometimes, this combination fails to work, and users are not able to enter the recovery window.
In many such cases, the Command + R key combo is not used in the right way. Plenty of users fail to get the button timing wrong entirely. However, there are also other factors that we will discuss below.
Why Enter the Recovery Mode?
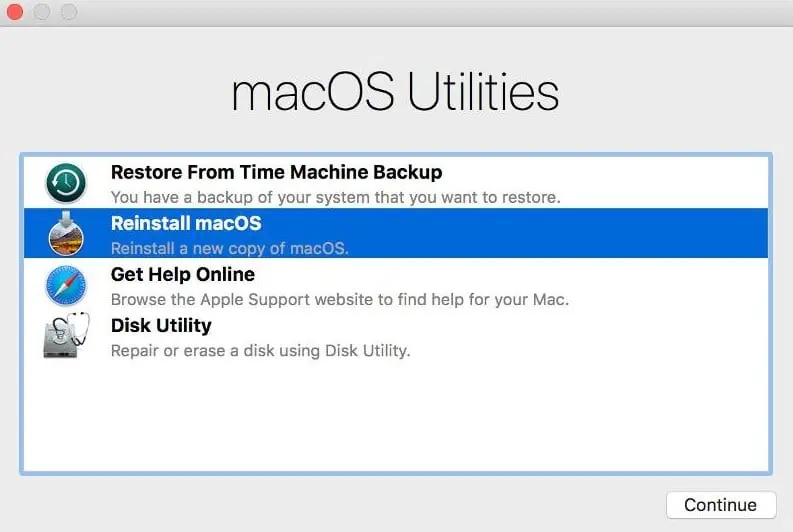
Recovery mode, as the name suggests, is a startup window that can be used to ‘recover’ your system. It can be accessed while your computer is booting up.
Mac users mainly use this mode to restore their Time Machine backup or reinstall the macOS entirely. Other than this, you also have the option to access your browser to get help from the Apple server and enter Disk Utility to fix your possibly corrupted hard drives.
Why is My Computer Not Entering Recovery Mode?
- Incorrect method to enter recovery window
- A malfunctioning keyboard
- Corrupted NVRAM data
- Hard disk issues
How to Fix Command R Not Working?
Now that we’ve covered the reasons Command + R might be failing to work on your system, the fixes for this issue are listed below, with a couple of different workarounds as well.
Try Again but In a Correct Way
The first thing you can do when you are not able to access the recovery window is to try to do so one more time. So, this time, make sure you press Command + R the right way.
- Turn off your computer.
- Press Power button to turn on your computer.
- As soon as your system begins to boot up, hold Command + R.
- Leave these keys only after you see the recovery window.

This might take a while, so just keep holding the keys and hang on tight!
Ensure That Your Keyboard Has Not Malfunctioned
A simple explanation for you not being able to reach the recovery window might be that your keyboard has malfunctioned. Or at least, some of the keys might have gone bad. So, try using a different keyboard on your computer and hold Command + R during startup.
If you’re using an iMac, make sure the keyboard is plugged in firmly. And, if your keyboard is paired wirelessly with the system, try to disconnect and re-pair it. For this,
- Open System Preferences from the Apple menu.

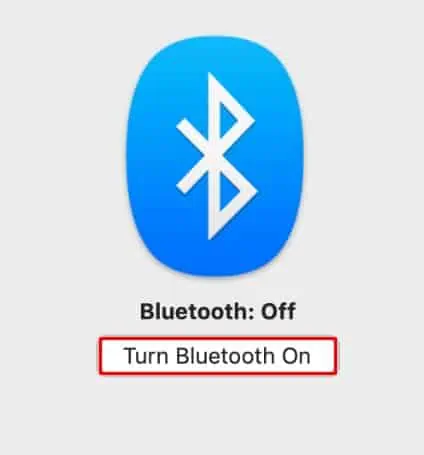
- Click on the Bluetooth option.
- Now, Turn Bluetooth On.

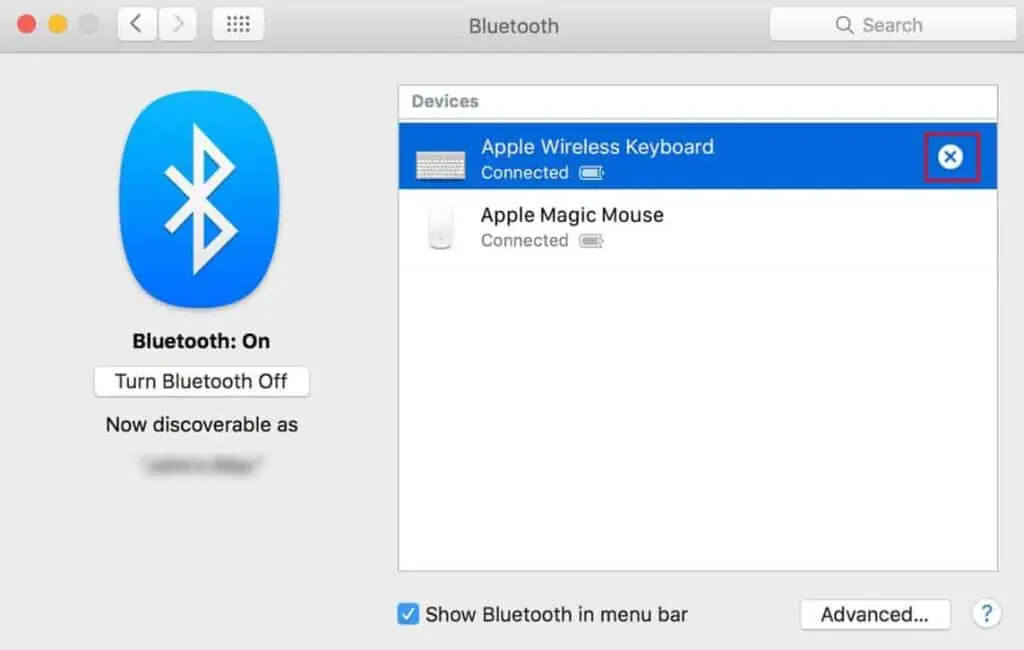
- If your keyboard is on the list of paired peripherals, click ‘x’ to unpair.

- Then, turn on your keyboard.
- When the keyboard is visible on the window, click Connect to re-pair it.
Perform a First Aid
The recovery window is accessed through your bootable drive. So, if your hard drive is corrupted, naturally, the system can’t boot into this mode. However, to overcome this issue, macOS has incorporated the First Aid feature.
First Aid is used to check your disks for signs of errors. And if possible, it also tries to fix those errors. It’s pretty simple to run a First Aid test on your mac, and here’s how to do it:
- Turn on your computer.
- Press Command + Space to pull out the Spotlight search.
- Go to Disk Utility.
- Select your bootable volume from the sidebar.
- Then, click on First Aid.

- Finally, hit Run start first aid.
Reset NVRAM
NVRAM is a non-volatile memory. That means that even if your computer is not powered on, the contents stored in the NVRAM do not get erased. These are usually your system’s information and other core macOS data.
So, whenever you encounter a problem with your application software or its interface on your computer, it’s always a good thing to reset NVRAM. This replaces the corrupted files with a decent one and can hence fix your problem.
For users with M1 Macs, every time you restart your computer, the NVRAM is automatically reset. However, for T2 Mac users, the process is a bit different. And here’s how you do it:
- Shut down your computer.
- After it has turned off completely, press Power button.
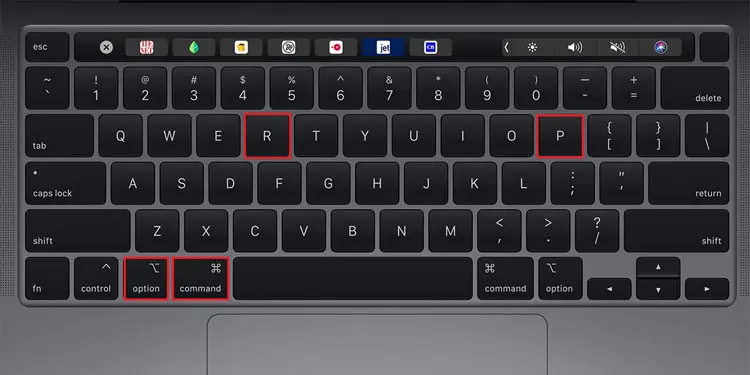
- Then, as soon as the screen starts to illuminate, press and hold Command + Option + P + R.

- Hold these keys until your computer fully starts up.
Use a Different Key Combination
Command + R is not the only key combination to enter recovery mode. There is yet another similar button configuration that performs the same function; takes you to the recovery mode. However, the extract combination is a bit different for T2 mac users and M1 mac users. Nevertheless, the steps are shown below for both of these hardware.
On T2 Mac
- Shut down your computer.
- Press Power to turn it on.
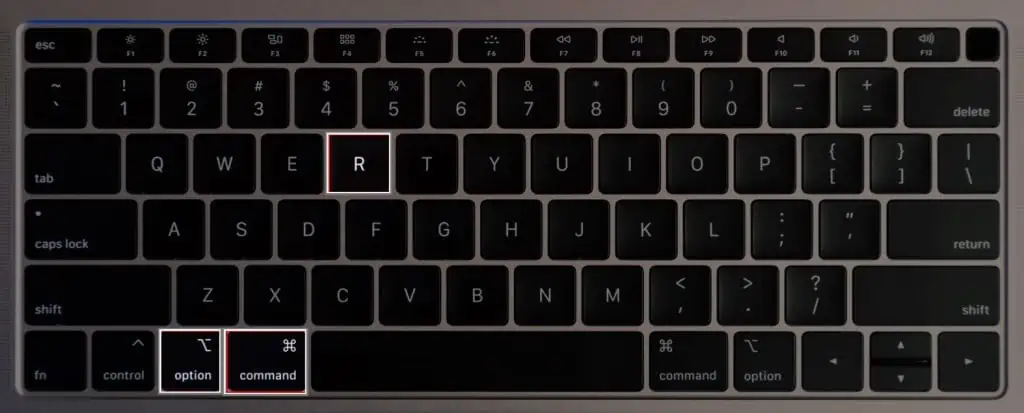
- Now, hold Command + Option + R keys.

- Hold these keys until you see a spinning globe or the Apple icon.
On M1 Mac
- Shut down your computer.
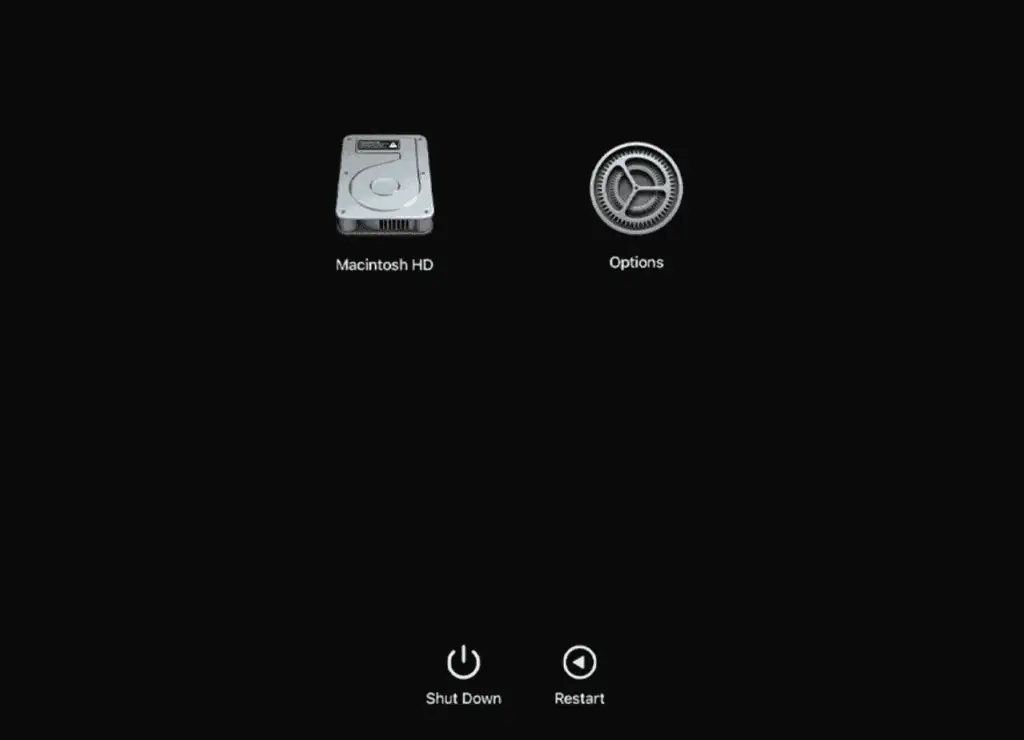
- Hold the Power key until you see the startup options.
- When prompted, choose to enter Options.

- Click continue and hit your password to access the recovery mode.
Access an Alternative Recovery Window
If none of the aforementioned steps worked, chances are that the recovery partition of your system has gotten corrupted. In such a case, you can enter an alternate recovery window.
The alternate recovery window is different for T2 and M1 Macs. The process to access them is totally different as well. However, we have listed steps for both of them down below.
On T2 Mac
For T2 Macs, when the normal recovery window fails to load, you can enter the Internet Recovery Mode as a substitute. The only difference between these two modes is that the Internet Recovery Mode is accessed via the Apple servers instead of your disk drive. So, here’s how you reach this mode:
- Shut down the computer.
- Wait around 10 seconds before doing anything.
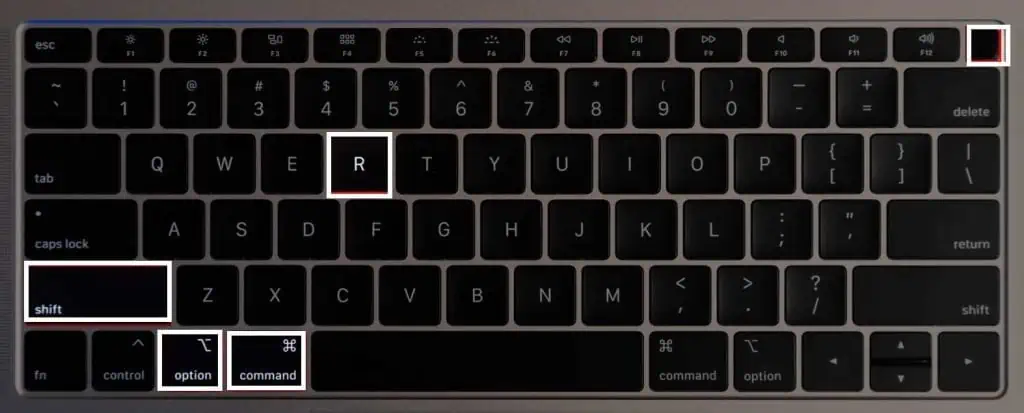
- Then, hold Power + Command + Option + Shift + R keys.

- Keep holding these buttons until you see the spinning globe.
- Finally, connect to the internet.
On M1 Mac
For M1 Macs, however, there is an alternate mode known as the Fallback Recovery Mode. This model is stored secretly on your disk drive to be used in case of major boot issues. According to Apple, it’s a “second copy of recovery OS kept for resiliency.” So, here’s how to enter the Fallback Recovery Mode:
- Shut down your computer.
- Press the Power key once and quickly release.
- Then, immediately hold the Power key again.
- Keep holding the key until you see the Apple icon.

