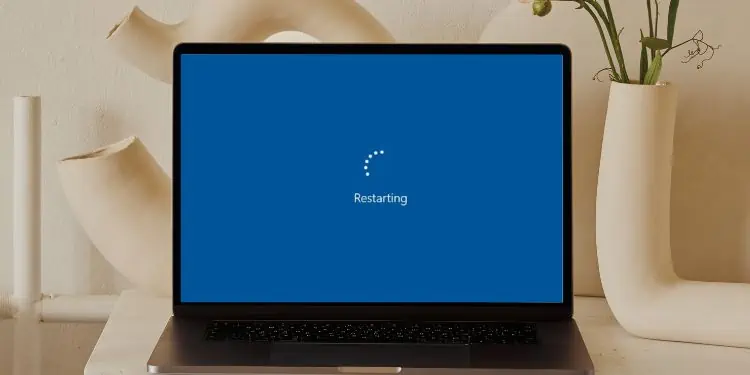
A computer can dip to black, displaying the manufacturer logo while trying to boot or in the middle of a session. You would expect a smooth operation after a restart. But instead, it runs into a restart loop at various points during the operation. Most of the time, the fault will be on the hardware end.
Diagnosing the exact cause isn’t easy due to the vague nature of the problem, but some key pointers can help. For instance, if the system fails to get past POST, the problem is likely with the memory, power supply, motherboard, or similar components. If the system seems to boot, but the display keeps powering off, you’ll want to check the monitor, GPU, and connections.
Alternatively, the PC can also get stuck in restart loops due to software issues such as corrupt boot files. Keeping such factors in mind, this article will help you figure out what’s causing your computer to turn off/on repeatedly and, more importantly, how to fix it.
What Causes the Computer to Turn Off and On frequently?
A loose connection between PC-power source, Monitor-power source, and Monitor-GPU can cause this frequent turn off and on of the computer. Or, sometimes, flickering mains voltage can also be the cause.
Besides these, some other potential causes include:
- PSU-related Issues
- Damaged Electric Components
- Cooling Fan and System failure
- Problem with Monitor/Display Unit
- Faulty BIOS
- Issues with RAM
- Boot sector viruses/malware
How to Solve Computers Turning Off and On Repeatedly?
Before moving on, disconnect any peripherals, and try to start the PC with the minimum number of devices connected. If the PC runs flawlessly without the external devices, try to figure out which device is causing the problem by connecting them one by one. Find which device causes this turn-off/on loop and isolate it.
If the issue persists, you can go along with the given solutions:
Ensure a Reliable Power Supply
Since all computer components rely on electricity, the first element to check is the power supply. A reliable and constant power supply is necessary for the normal usage of computers. And if your computer is embedded with extensive hardwares, ensure a powerful PSU that is able to provide sufficient power.
Even with a reliable PSU, you may face power supply issues because of an unstable source. This might be due to AC voltage fluctuations, so AC stabilizers and UPS’ should be used. Also, make sure to avoid any loose wire connections.
Other than that, broken power supply cables, sockets, pins, and ports can result in the computer turning off and on repeatedly. Check each and every part of the power supply connections.
Resolve Heating Issues
Another area of potential cause would be the cooling fan/system for the processor. This is because CPUs require a certain ideal temperature to function properly. So, a compact fan and a heat sink are attached to the CPU.
But in situations like fan failures, CPUs are programmed to shut down operations if they hit beyond their optimum bearable temperature. It eventually causes a ripple effect on other components of the PC that depend upon the CPUs. And the whole PC turns off.
Check Fan’s Connection
To figure out if the fan is causing this issue, you can inspect a tiny detail related to the fan’s sound. If the fan doesn’t work, you won’t hear the buzzy sound that comes up when the computer starts. This can be due to a broken or unfit cable connection to the motherboard.
To troubleshoot, follow these steps:
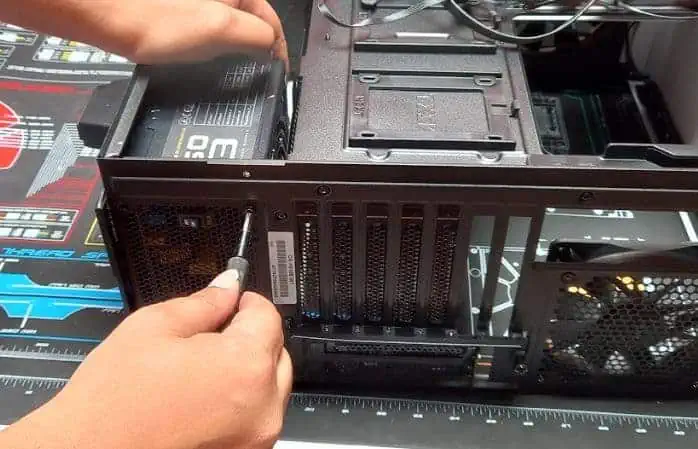
- Open up the side/back panel of the PC case.

- Check for the CPU fan and its wires.
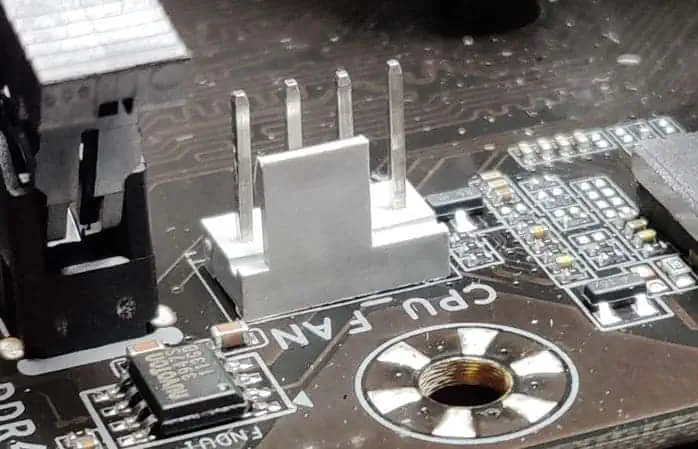
- Locate their CPU_FAN connector pins on the motherboard.

- Clean corrosion and filth on pins using rubbing alcohol, and let it dry.
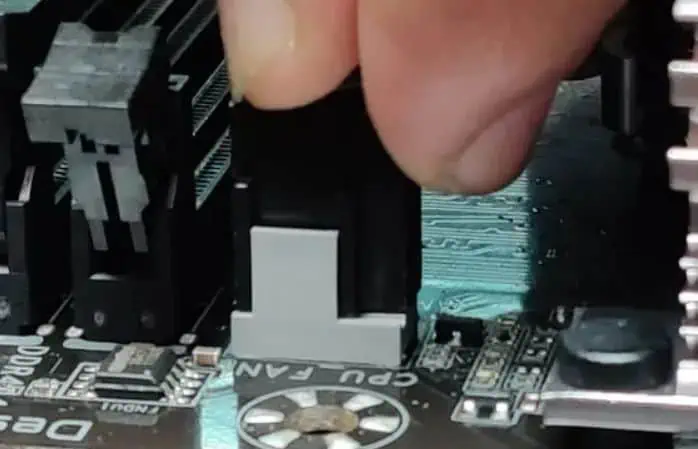
- Reseat the cable, ensure firm fitting and check if the fan works.

Clean Dust and Filth on FAN
Or any peculiar sound than the usual fan sound can indicate a problem of dust accumulation. It can result in the fan slowing down or fluctuating in speed.
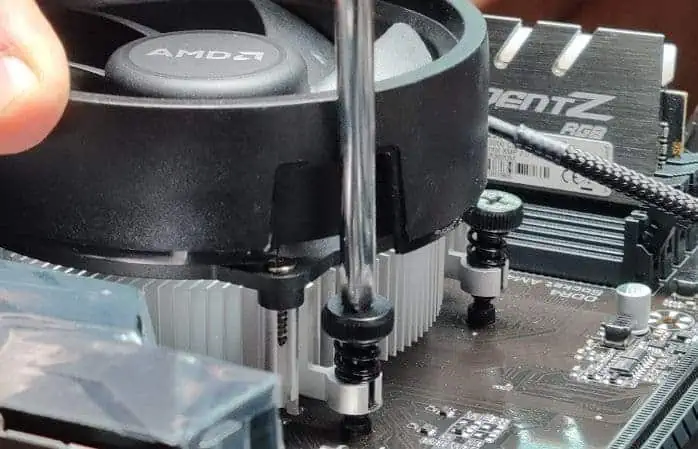
- Undo the side screws of the fan.

- Gently clip out the fan from its position.
- Hold a compressed air can or blower nozzle towards the fins.

- Again, do the same with the heat sink.
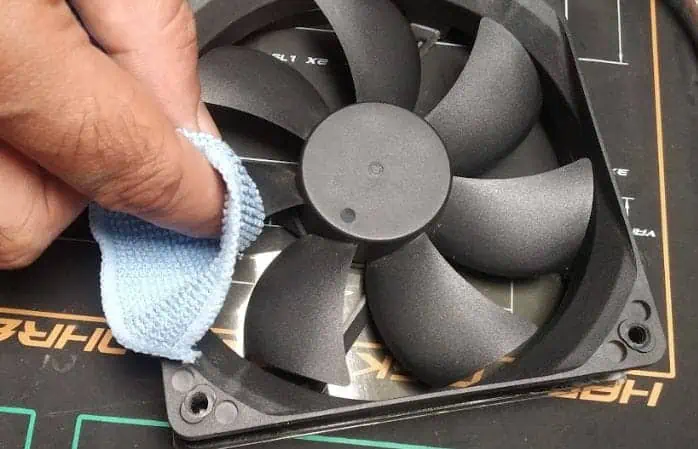
- If any filth is coated over the propellers, you would have to clean it with alcohol poured over microfiber cloth.

Maintain Fan’s RPM
Fans need to maintain a certain Round per Minute(RPM) in order to provide sufficient air. Like many other rotating objects, it has got a small bearing to reduce friction. However, in case of reduced fan speed settings, you will have to control the fan speed from BIOS.
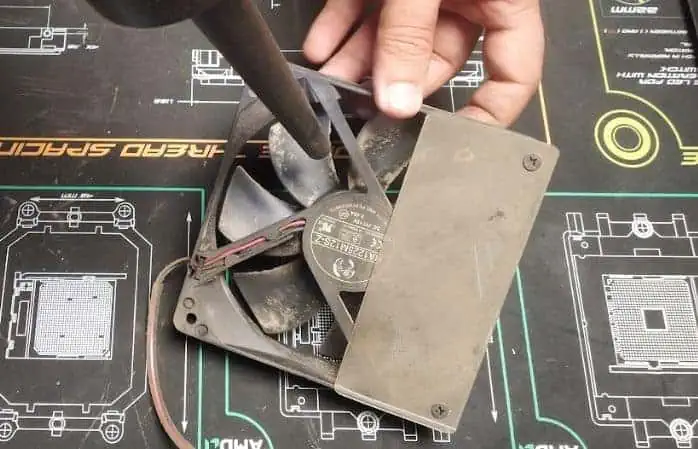
So, after cleaning dust and filth, you should lubricate the fan bearing with lubes like sewing machine oil. The steps to do this will involve the following:
- Put the sticker out from the wire-side section.
- Make use of a screwdriver to take out the rubber plug under the sticker. A hollow section should appear with the shaft going throughout the middle.
- Drip a drop of lube into the hollow part.
- Reseat the rubber plug and sticker as well.
- Connect it to the motherboard and check if any sound originates. If it does, redo the process to drop another drop of lubricant.
Fix Display(Monitor and graphic card)
Here, the problem can be a bit different than what you think. The CPU might not be itself turning off and on; rather, the display is doing so. This can be a result of a malfunctioning GPU or interrupted communication between the monitor and GPU.
Ensure Proper Cable Connection
Corrupted drivers, faulty video cables, and power supply cables can cause the monitor to turn off and on. Or, the problem may be in the monitor’s hardware.
In case you are suffering a power supply or hardware damage, you won’t be able to see the manufacturer’s logo on display. Or the logo screen may flicker or have vertical/horizontal lines. The power source to monitor cable should be taken out and reconnected. You can even try a different port or the cable itself if you have one.
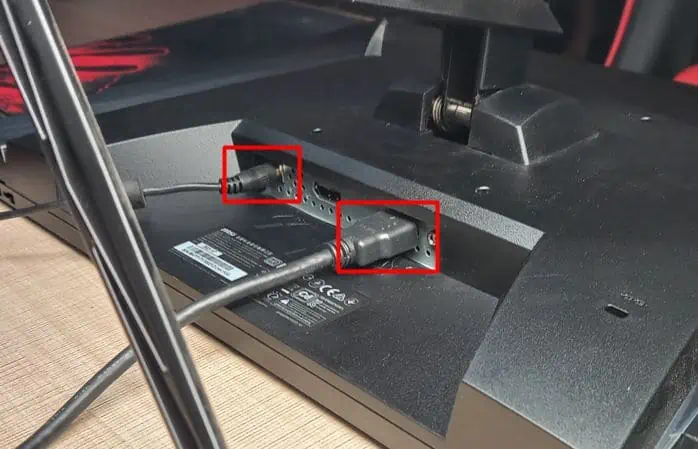
You can follow the steps to ensure the monitor doesn’t have a video cable connection:
- Plug out the Video cable(HDMI, VGA, etc.) and power cable from the Monitor port as well as the motherboard.

- Use compressed air to blow dust inside their connector ends.
- Plug back both ends with firm fitting.
Check GPU-related Problems
If you have a Dedicated GPU to render your screen, you may face the same overheating issue as the CPU. Graphic cards also shut down when overheated to avoid further damage. Changing the display port from GPU to CPU can check if it’s the case. If integrated GPU works well, then GPU is causing the actual trouble.
For such instance, you will have to open the case, take out the and clean the fans with either compressed air or a blower. You should also check the CPU case fans to clean, repair or replace them if they are malfunctioning.
For other internal graphic card issues, you can read our dedicated article to fix Graphic card problems.
Troubleshoot BIOS issues
BIOS is a basic software firmware that starts to work immediately when you turn on your computer. It checks and forwards instructions to other computer components to start up.
And an error within the BIOS is able to cause the computer to rampantly turn on and off.
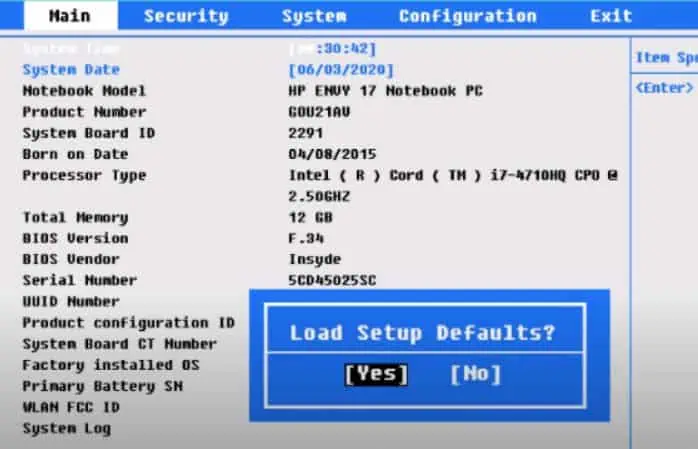
Reset BIOS
After you ensure no other above-mentioned factors are arising from the discussed error, you can try to load the BIOS settings. Any misconfigured setting of BIOS that you are unaware of can be fixed by resetting the BIOS. For which, you will have to follow these steps:
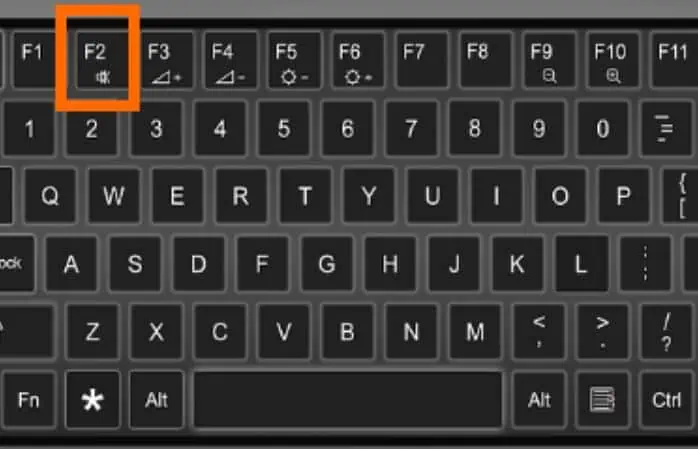
- Press the BIOS key repeatedly while turning on the computer. Generally, a function key(F2, F8, F10, F12, etc.) or Del is pressed.

- Navigate to Factory Default or similar using the arrow keys.
- Hit Enter on the Restore/reset Settings and confirm the prompt.

- Save & Exit by pressing the instructed key.
Update BIOS
If the BIOS menu is not loading at all, you will have to flash a new copy of it(the latest version, for sure). However, the problem can be a faulty BIOS chip or the surrounding circuitry. In that case, you may have to replace the BIOS chip, if viable, or the whole motherboard.
Fix Issues with RAM
Any issue related to RAM is most likely to cause the computer to turn off and on repeatedly. And if the turn-off happens immediately after starting up the computer, it boldens the chances.
The problem with DRAMs is they require the constant help of the processor to hold data. And not to mention the power supply, of course. So, if any hindrances in the holding process of RAM occur while initializing boot files and OS, the computer shuts down.
If no other component is malfunctioning except RAM, the BIOS will start the booting process from the beginning and halt with choking RAM. This causes a frequent sequence of shutting down and starting up the PC.
Clean RAM Sticks and Slots
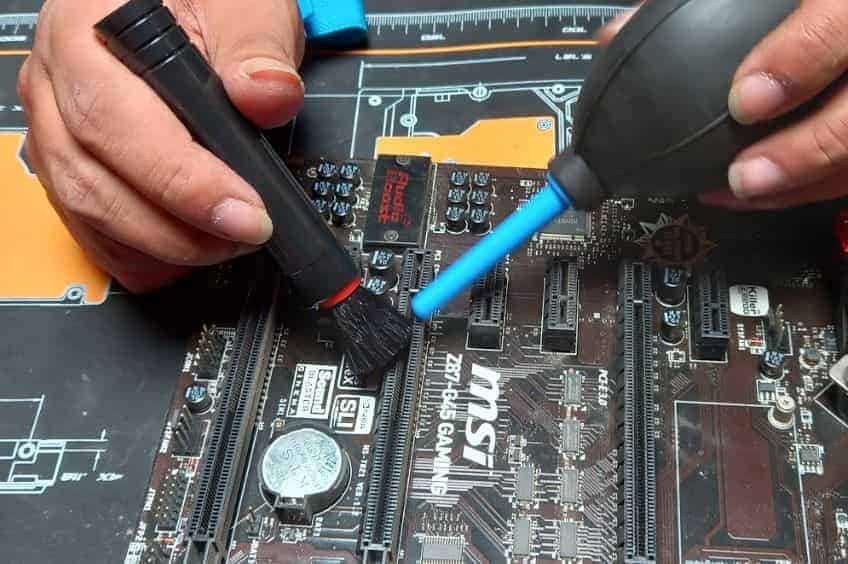
A dirty RAM stick and slot will not let RAM do its function properly. To solve this, you will have to clean the dust and filth collected on RAM cards and slots. The steps are given below:
- Perform a power cycle to avoid any electronic damage. Detach all the power supply cables to your CPU, and then press and hold the power button for more than 15 seconds to drain all charges.
- Open up the CPU casing and look for the RAM slots with cards.
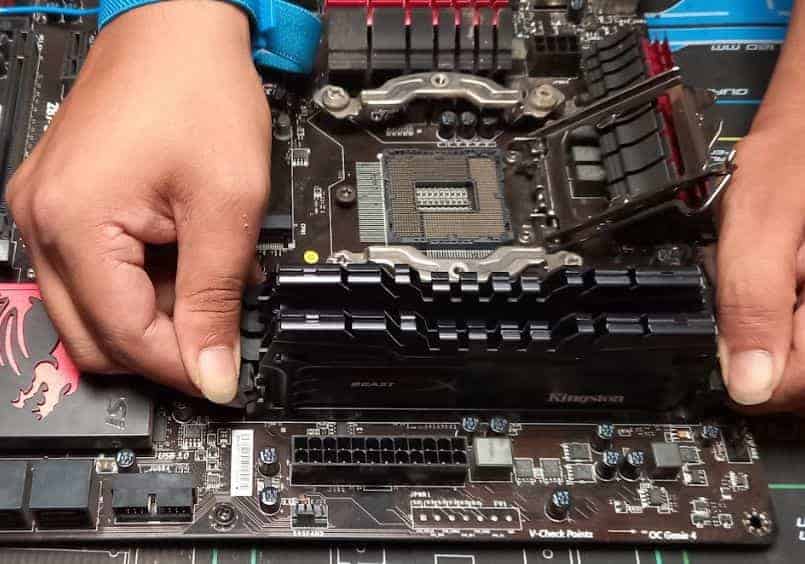
- Snap out the RAM card clips on each side.

- Gently pull out the cards, holding them from the edges.
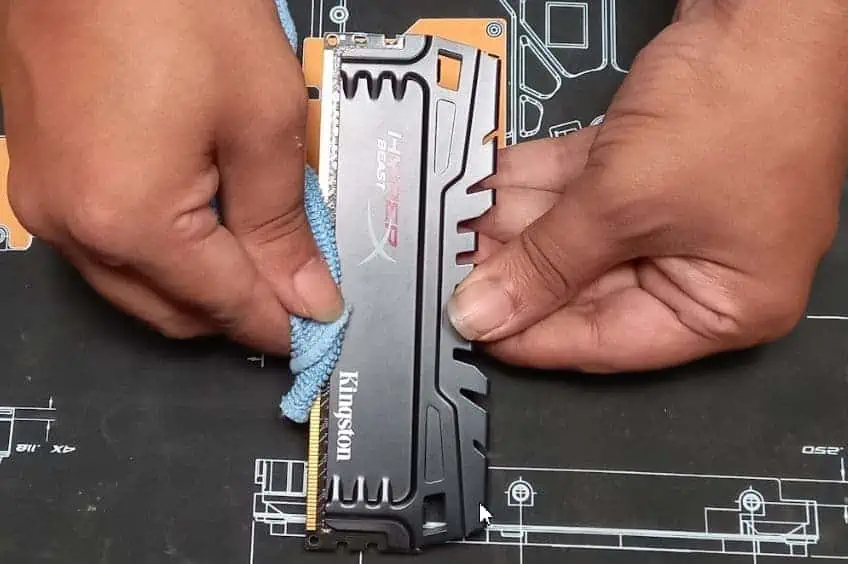
- Now, clean them using an eraser(natural rubber) and then blow compressed air over them. Or, you can use a microfiber cloth to clean it.

- You can also use Q-tips to clean the gold-plated section of RAM.
- Now, clean the slots using compressed air.

- Place them back carefully.
Replace RAM
If the problem persists even after cleaning RAM cards and slots, try using different slots. Or, if you have two or more sticks, consider placing them simultaneously as slots numbered on the motherboard to avoid any coordination issues.
Upon further existence of the issue, you may have to replace your RAM cards with new ones. Because over time, RAMs can have internal issues, or their circuitry may have physically damaged.
Resolve OS Corruption
Sometimes corrupted boot files or any other OS-related problem can also lead to this issue. Majorly, Boot sector viruses and malware cause such type of damage to the Operating system. These viruses infect the boot files within the boot drive and result in various booting-related issues, including the discussed one.
Perform Startup Repair
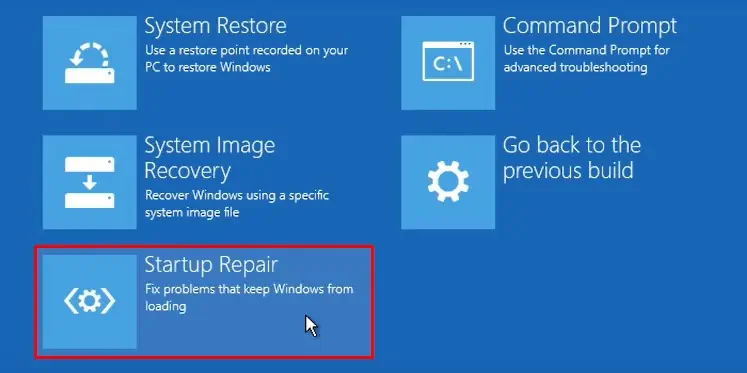
To resolve this, try startup repair from the WindowsRE. Though boot sector viruses are rarely treated by this method, it is able to troubleshoot other booting-related issues. Follow the steps below to perform a startup repair:
- Turn on your computer, and after it loads the manufacturer logo, press the power button to turn it off.
- Repeat the step two times more, and on the third go, WindowsRE(Windows Recovery Environment)
- Click on Troubleshoot on the screen.
- Go with Advanced options.

- Now, Choose Startup Repair.

- Select the account and type the password if asked.
- Click on Continue and wait till the process ends.
Reset PC
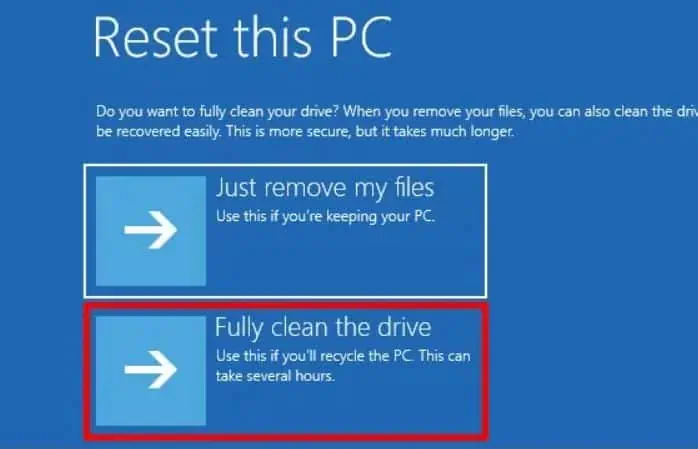
If startup repair couldn’t fix the issue, you will have to reset your PC. The steps would involve:
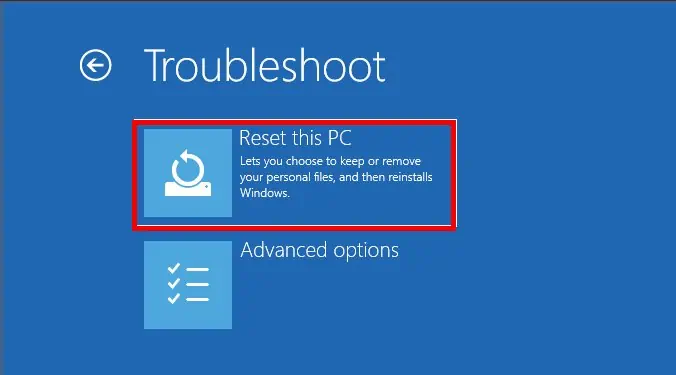
- Within the WindowsRE, click on Troubleshoot.
- Choose Reset this PC.

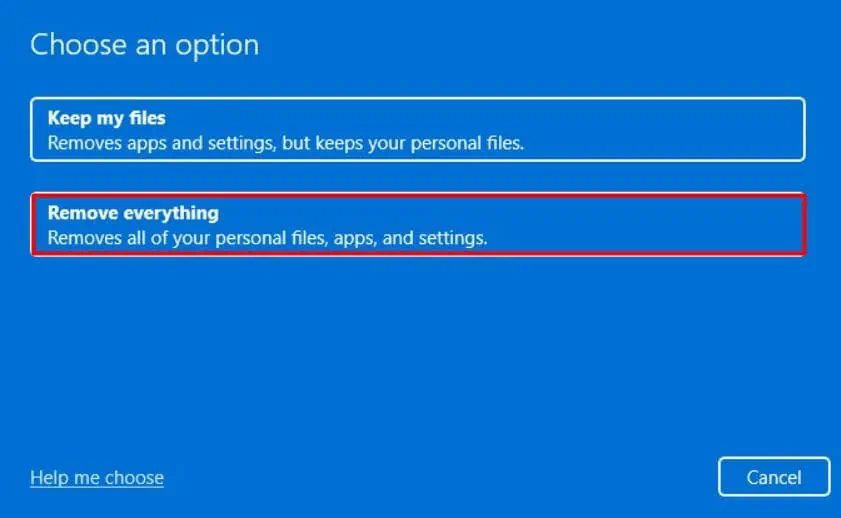
- Select Remove Everything.

- Click on the Next button and then choose Fully clean the drive.

- Hit the Reset button.
- The process may take a while, so simply wait.
Clean Install the OS
Startup repair and reset pc might not work, considering the severity of the issue. As Windows Recovery Environment itself won’t load, leaving you wondering, what next?
If nothing mentioned above worked, try to clean install the Windows Operating System using a bootable media before rushing to buy any hardware.

