We use Dell docking station to link multiple peripherals to a single system. But like any other devices, different problems could arise due to hardware incompatibility, outdated drivers/BIOS, and damaged cables/ports.
At first, check the power connection, inspect if the device’s LED is glowing. Also, we recommend reconnecting all the cables, plugging the power adapter directly into the wall outlet, and updating Windows or another OS.
If the Dell docking station is still not working, you’ll have to troubleshoot the problem based on the symptoms. Whether the issue lies within the ports, cables, LEDs, or connected peripherals, the following guide should help you fix it.
Check Hardware Compatibility
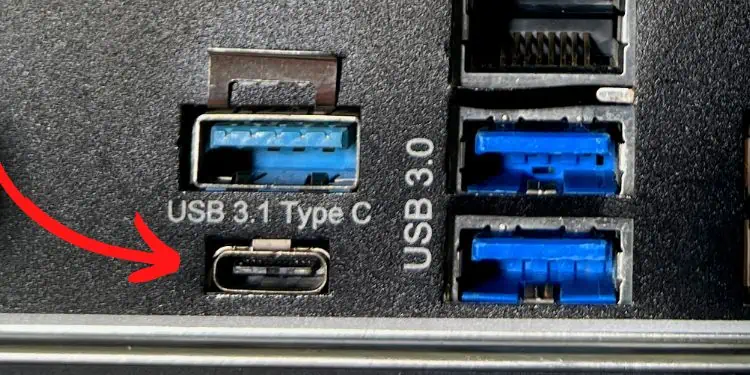
Dell docking stations are compatible with only those systems having the DisplayPort over dual USB Type-C (USB 3.1) or Thunderbolt 3 (and higher) interface. So, if your laptop or PC doesn’t support either of them, the device won’t be detected and will likely not work.
While the docking station is supported on most Dell systems, you could still confirm this from the Dell Commercial Docking Compatibility guide available online. In case you’re using the device on some other brands, check for DisplayPort (DP) logo on the USB Type-C port.
In motherboards with Thunderbolt interface, check the Thunderbolt 3 or 4 logo. They look identical and are compatible with the USB-C cable.
Ensure All Drivers Are Installed
Secondly, make sure that all the Dell drivers and firmware are installed properly. Depending on the model, you may require nine different software components. To check this, kindly refer to your docking station manual.
- Intel UHD Graphics Driver
- Latest operating system version
- Latest docking station firmware (based on your model)
- Latest graphics drivers
- Realtek USB Audio
- Realtek USB GBE Ethernet Controller Driver
- ASMedia USB eXtensible Host Controller Driver
- Intel Thunderbolt Controller Firmware Update Utility (for systems with Thunderbolt 3 and higher)
- Intel Thunderbolt Controller Driver (for systems with Thunderbolt 3 and higher)
Update Graphics Drivers
As prescribed by the manufacturer, outdated graphics drivers will likely prevent your PC from detecting the docking station. Both the integrated and dedicated graphics need to have the latest version before you can use the device.
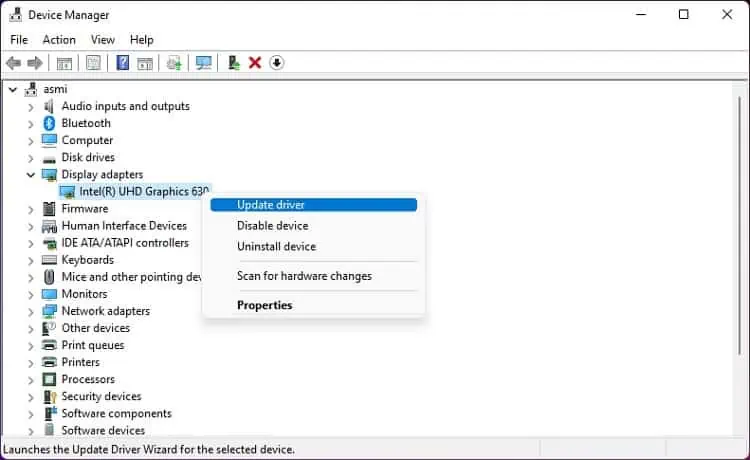
Below is a complete guide for updating the Intel UHD Graphics 630 drivers on Windows 11. Nonetheless, the steps should be similar for NVIDIA and AMD graphics as well:
- Open the Quick Link menu using Windows + X hotkey. Here, select Device Manager.

- Navigate to Display adapters and you’ll see one (if there’s only an integrated GPU) or more options (if you have installed a discrete GPU).
- Right-click each of them in succession and choose Update driver.

- Next, pick the Search automatically for drivers option and wait until Windows updates them.

Alternatively, you can download the latest drivers from Intel’s support page. Then, run the .exe file to complete the update.
Additional Tip:
If updating graphics drivers didn’t help, navigate to the Device Manager again and update the following drivers – Realtek USB Audio, Realtek USB GBE Ethernet Controller Driver, and ASMedia USB eXtensible Host Controller Driver.
For Thunderbolt users, kindly use the Intel Thunderbolt Controller Firmware Update Utility and Intel Thunderbolt Controller Driver to update the related drivers and firmware.
Update Your BIOS
An older BIOS may not detect the docking station. So, Dell also recommends updating your BIOS to add compatibility for the device before using it. Here are the required steps to do this safely:
- Firstly, search and download the latest BIOS version for your motherboard from the manufacturer’s official website.
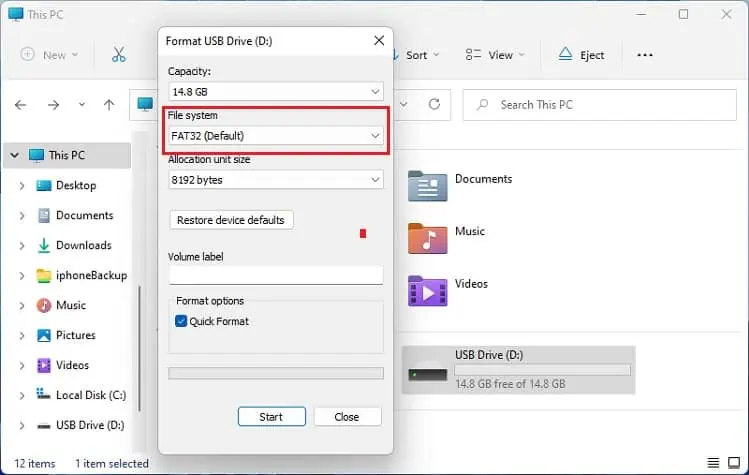
- Then, insert a flash drive (with at least 8 GB capacity) and format it in FAT32 and load all the contents from the zip folder.

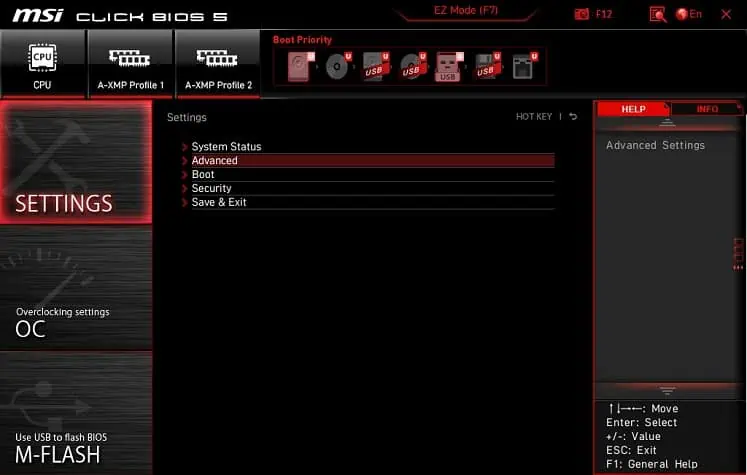
- Restart your computer and press the dedicated key to get into the BIOS interface. This can be Esc, Del, F2, or other keys depending on your motherboard.
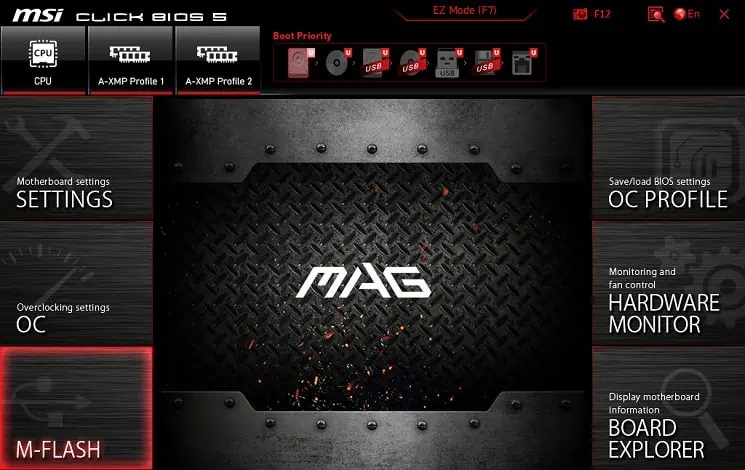
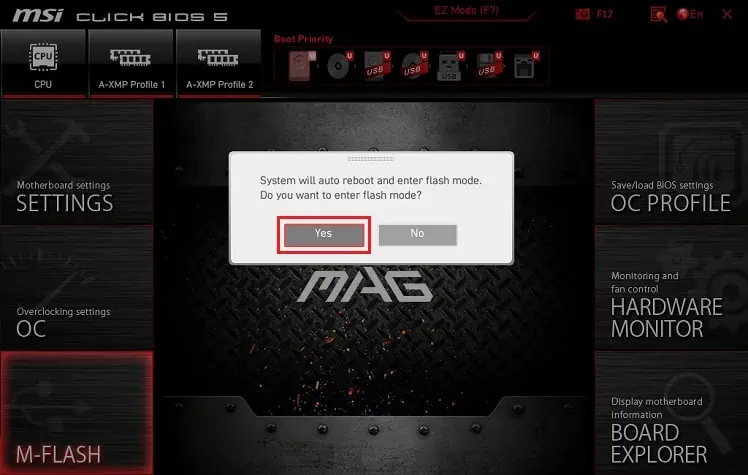
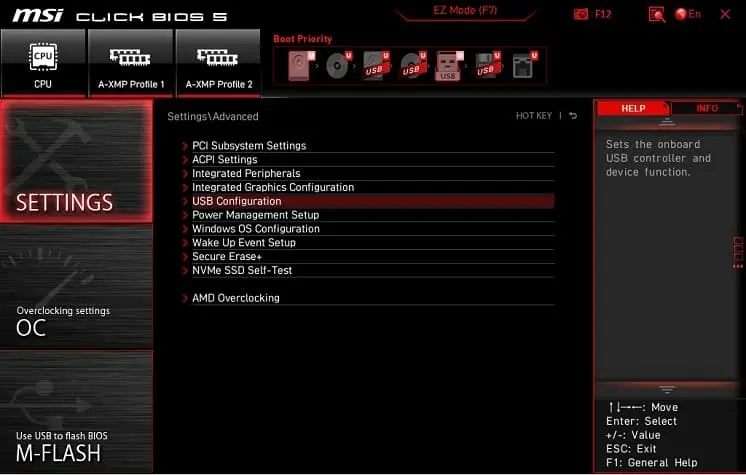
- Now, find and navigate to the M-Flash section. You may need to press Yes to continue.

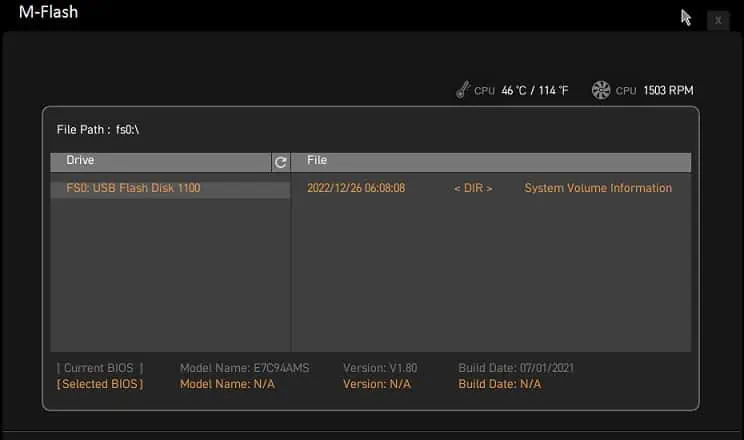
- If you had removed the drive, reinsert it and this should show the file you had loaded earlier. Select it and press Yes to enter Flash mode.

- The screen should turn black for a few seconds, and you’ll enter the Flash. Here, select the update file and follow the instructions.

- Wait until your BIOS gets updated. This may take two to five minutes, depending on the system.
- Once your PC restarts, reinsert the Dell Docking Station and check if it’s working now.
Check Connection in Thunderbolt Control Center
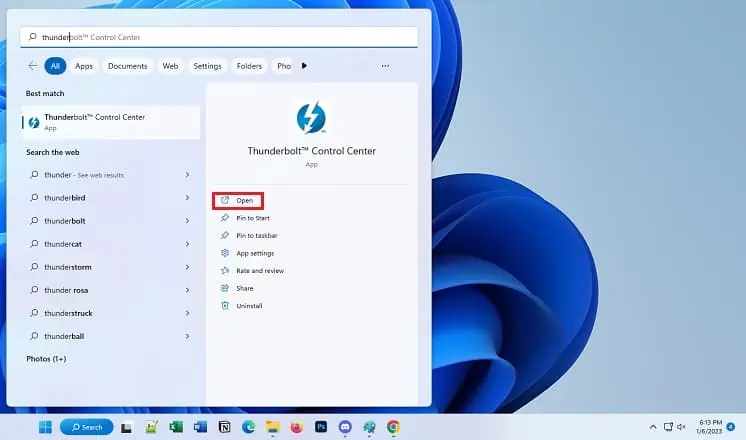
Usually, the docking station detects automatically after you plug it into your computer (PnP feature). However, if you have installed the Thunderbolt Control Center to manage all your Thunderbolt devices, there may be a connection issue. You can manually fix this, and here’s what you need to do:
- Open the Thunderbolt Control Center utility.

- Under the Attached Thunderbolt Devices, select your Dell docking station.
- Ensure that both the Dell Thunderbolt Cable and Dell Thunderbolt Dock are set to Always Connect.

Note: Choosing ‘Do Not Connect’ will likely prevent the device from working. Also, if you set it to ‘Connect Only Once’, you’ll need to adjust the connection setting each time when plugging in the Dell docking station.
Examine Damaged Cables and Ports
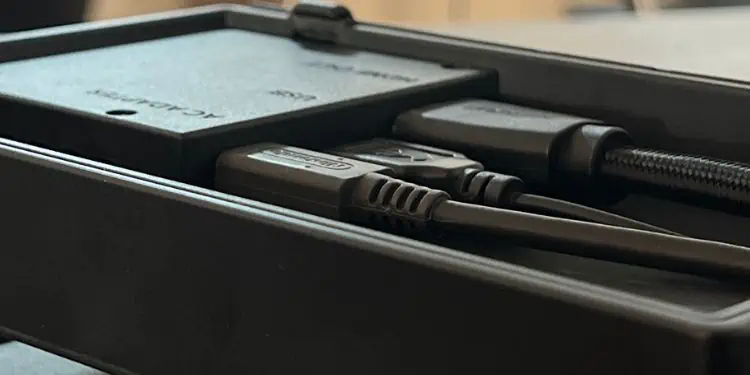
If you’ve updated all the prescribed drivers, BIOS, and there’s no issue with the software connection, problems might exist in the cables or ports.
Firstly, we recommend checking the USB-C cable module. If you find any problems here, you need to contact the manufacturer. Check the device’s warranty and take it to the nearest Dell Repair Center to see if they can fix it. Otherwise, the only option is to get a new docking station.
We recommend the same step if the power port is damaged. Also, check the power adapters to see if they need replacement.
However, if the docking station is detected but the connected peripherals aren’t working, kindly check the related ports and cables. If you find any damages, kindly use an alternative port. Also, you could replace the cable and see if the device starts working.
Power Cycle the Docking Station
If there are no physical damages on the ports and cables, the Dell docking station is probably in an unresponsive state. So, try power cycling the device, which would reinitialize the configuration parameters and fix the related issue:
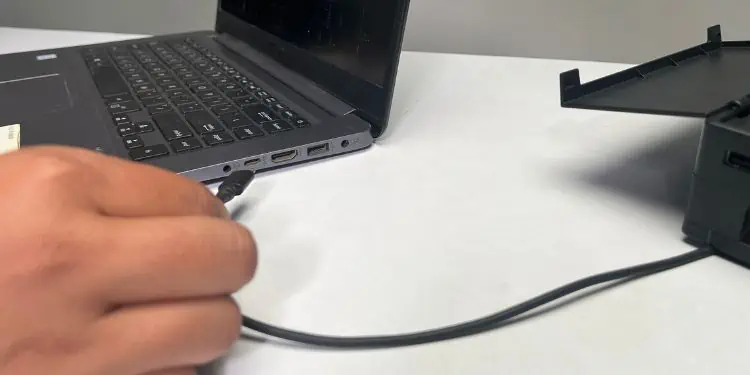
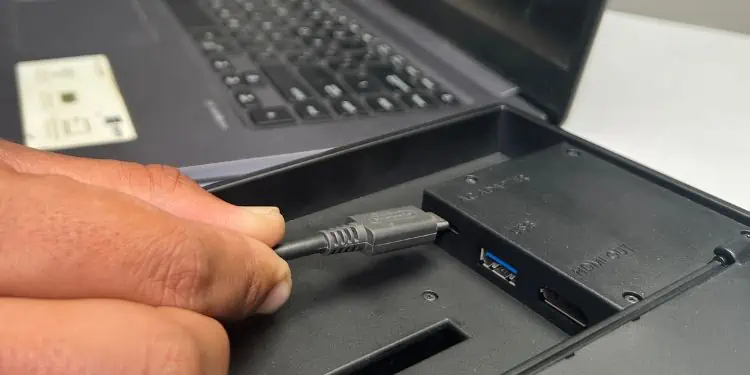
- Firstly, remove the USB-C connection from your computer.

- Now, unplug the AC adapter from the docking station’s power port.
- Then, hold the power button for at least 30 seconds to discharge the capacitors.
- Wait for a minute and replug the power adapter.

- Finally, reestablish the USB-C connection on your computer.
Update the Docking Station Firmware
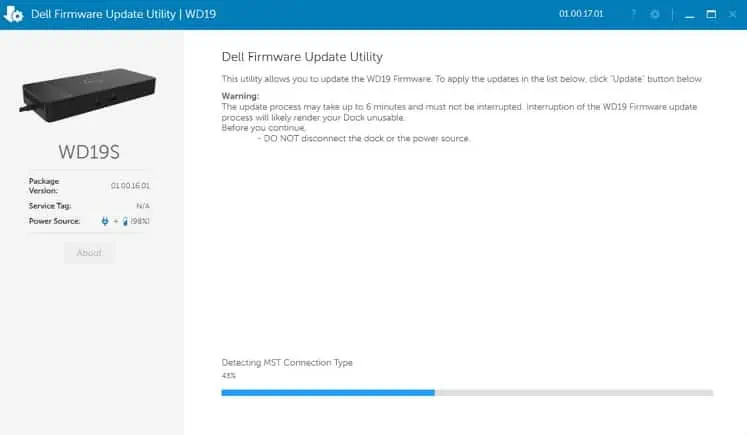
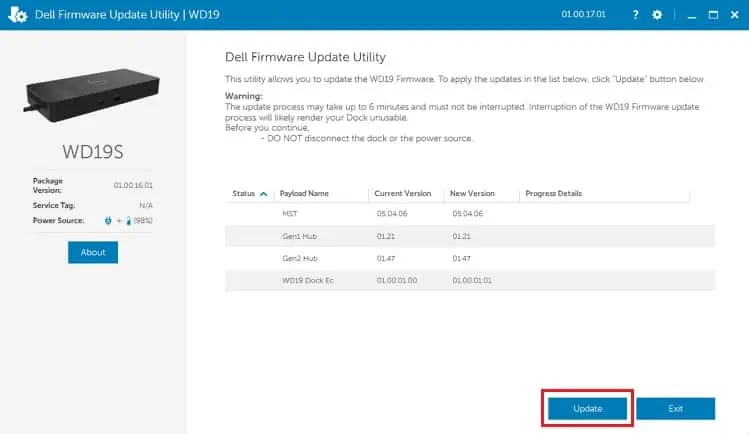
If the Dell Docking Station worked earlier but it’s experiencing issues lately, the firmware may have been corrupted or outdated. In such cases, we suggest downloading the Dell Firmware Update Utility for your model, and proceeding with the steps below:
- Ensure that you have properly connected the docking station.
- Launch the utility and wait until the latest firmware is detected.

- Once the Update and Exit buttons appear, select the former.

- Again, wait until the update is complete. This may take 4 to 6 minutes, depending on your system and docking station model.
- Exit the utility and power cycle your device.
Caution: Ensure there’s no power interruption during the firmware update as it may brick your docking station.
Configure BIOS Settings
By default, some motherboards disable vital USB, Thunderbolt, and Dock Configuration settings. Depending on the docking station model, a few BIOS settings need to enable before you use the device.
For example, if you’re using a Dell Universal Docking station, follow the below steps to configure your BIOS settings:
- Once you’re in the BIOS interface, get to the Advanced options or System Configuration.

- Here, look for USB Configuration and enable these settings if available – USB Boot Support, External USB Port, and USB PowerShare.

- Next, find the Dell Type-C Dock Configuration option and check the Always Allow Dell Docks option.
- For Thunderbolt users, ensure that the following options are enabled – Thunderbolt Technology Support, Thunderbolt Adapter Preboot Modules, and Thunderbolt Adapter Boot Support.
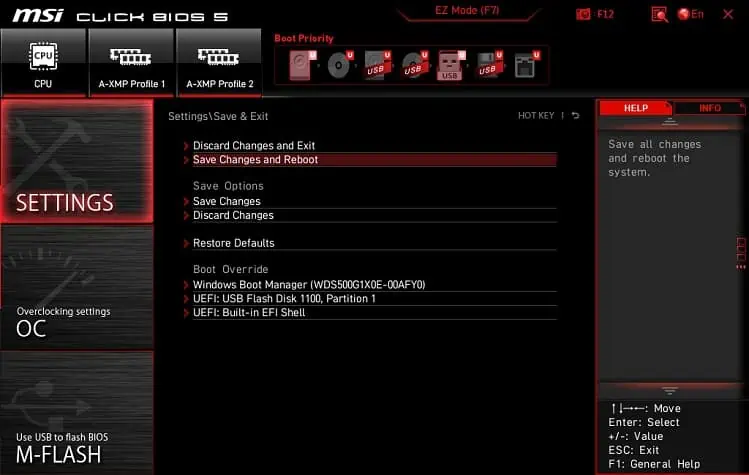
In some models, you may also need to disable the Security Level option. - Save these BIOS changes, and reboot your computer.

- Now, reconnect the Dell docking station, and see if this resolves your problem.
Adjust Related Settings
In some cases, the complications lie within the connected peripherals while the docking station is detected and working fine.
For example, if you have used the device to connect one or more monitors, issues like no video or distorted/flickering images may trouble you. In such cases, ensure that the video cables are properly connected and the video output is also enabled.
- Set a suitable screen resolution supported by your docking station.
- Set the refresh rate to the device’s highest-supported Hz.
- Reset the monitor settings.
- Ensure that each of your displays supports HDCP 2.2.
- When connecting multiple monitors, some models only support two additional displays for Intel and three for NVIDIA/AMD. Check the user manual to confirm that your setup meets the specifications.
Likewise, if you’re experiencing complications with LAN or USB devices, ensure that the LAN/GBE option is enabled in BIOS and there are no faulty ports/cables. Also, we advise checking and updating the necessary drivers from Device Manager.
Check Issues on Another Computer
The final option is to connect the Dell docking station to another PC. If the device doesn’t function, kindly check its warranty and take it to the nearest Dell Repair Center. You can even visit the official technical support page to contact them.
If you want additional support, feel free to post your problems in the comment section below. We’d be glad to help you out!

