We can’t deny that sound is important, whether you’re surfing the internet, listening to music, watching movies, or doing other audio-intensive tasks. But like any other part of the system, at some point, it does run into issues.
Sometimes your speakers may not output sound at all. While this is a common problem, it arises as a result of a variety of factors. Connectivity issues and software overriding sound settings are the most common ones among others.
Having multiple possible reasons does not mean it is difficult to diagnose. Hence, in this guide, we will see in-depth what you can do if the speakers in your Dell system do not work.
Why Are My Dell Speakers Not Working?
Your speakers not producing any sound at all can be narrowed down to two main things: Either a software malfunction or any physical hindrance. The list below consists of such problems in detail.
- Faulty audio ports.
- Wrong connections.
- Conflicting Software.
- Wrong volume/audio settings.
- Outdated or corrupted drivers.
- Damaged hardware.
How to Fix Dell Speakers Not Working??
Before you do anything at all, restart your system at least once. Restarting clears up the system’s memory and closes all the running processes. If there were any issues, or minor changes made, doing so will revert it.
If that worked then great! If not, try the other methods we have in this guide.
Inspect the Speaker and Cables
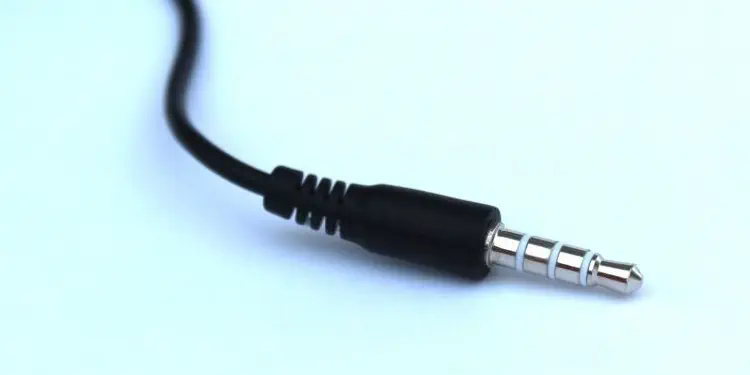
Have you connected the cables to their designated connectors? Oftentimes a speaker does not work properly because the cables are connected to the wrong ports. Due to this, the audio does not come out the way it is supposed to, or not at all.
Look at the connectors on your system and verify if everything is connected properly. With Desktops, there are usually 3 ports for different audio support whereas modern laptops have one combo jack for both input and output or two separate ones if it is an old model.
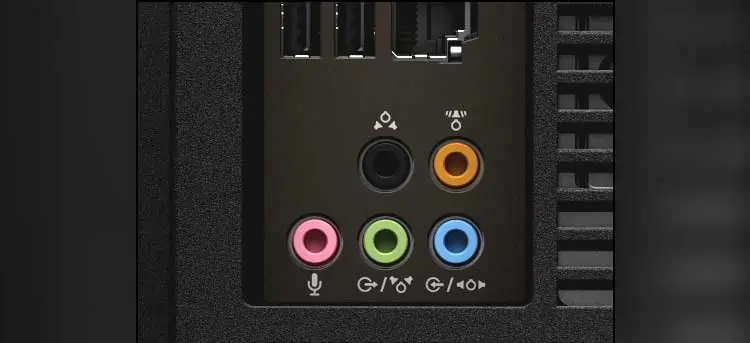
Be sure to connect the speaker cables to the right connectors. If you are using any sound expansion cards, go through the manufacturer manual to see what goes into where.
The next step is to inspect the cables.
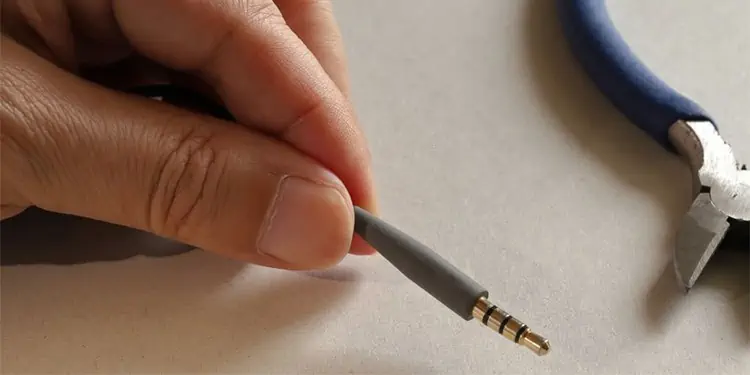
- Examine the cable thoroughly, and look for any bending, tears, or signs of fraying.
- Inspect the adapter for any damages too.

- Next, connect the cables back properly. They should fit in perfectly without any moving.
- Next, turn your speakers on if there is a button for it. Speakers usually have a LED light that indicates the power state.
- Verify if the issue persists.
Check the Audio Level
After you have ensured that the speakers and cables are all working properly, next we suggest you check the audio levels. Sometimes the audio could be muted or lowered without our knowing by any changes in the settings or by applications.
Hence, before moving on to other methods check the settings.
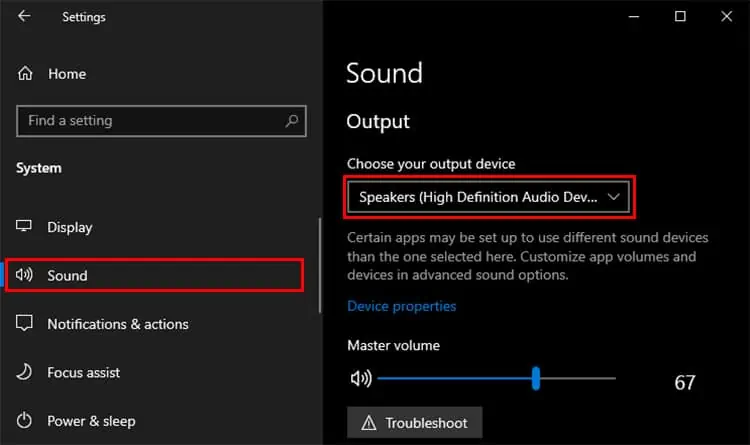
- Press Windows key + I to open up Settings.
- Click on System and expand the Sound section.
- Under Choose your output device, make sure that it is set to your speakers.

- Now, check the audio level under Master volume and set it to your liking.
Diagnose the Audio Ports
Over time, the audio ports on your system can have particles like dust pile up and create a blockage. If so, it can block the connection between the cables and the port which leads to sound issues.
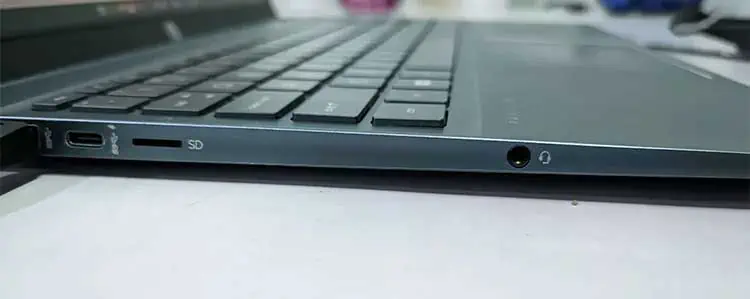
Inspect the ports for such dust build-up or any other particles and look into cleaning them. You can use something like a toothpick to pluck it out of the ports. Compressed air makes the process a lot easier so you could also use that. But shut down your system and disconnect the cables before using it.
Also, look for any visible damages on the ports. Any damages suffered can also cause audio failures. In that case, you will need to get it repaired or replaced.
Inspect the Integrated Speakers
Troubleshooting for sound issues on a laptop does not vary. But first, you will need to verify whether the speakers on your laptop have any internal issues or not. To do so, use any device that outputs audio (headphones, speakers).
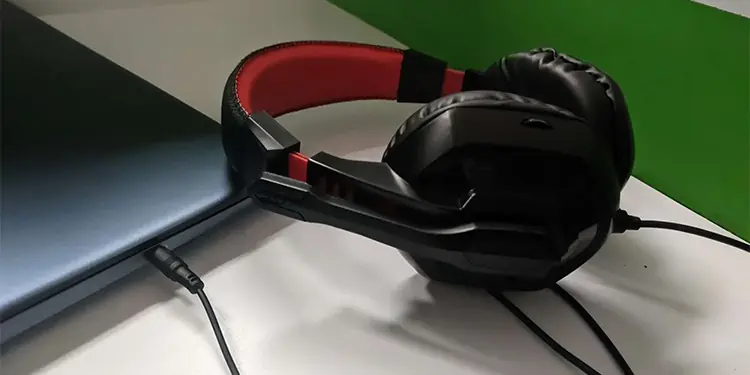
If you can hear audio through the headphones then it means that something is wrong with the integrated speaker. This might mean a trip to customer care for proper inspection.
Run Audio Troubleshooter
Audio troubleshooter is a utility tool that comes with Windows. It also helps to identify any problems with audio in your system and provides steps to fix them. It also helps us modify settings to prioritize audio enhancements. Therefore, we recommend that you run the troubleshooter.
Follow the steps to run the troubleshooter.
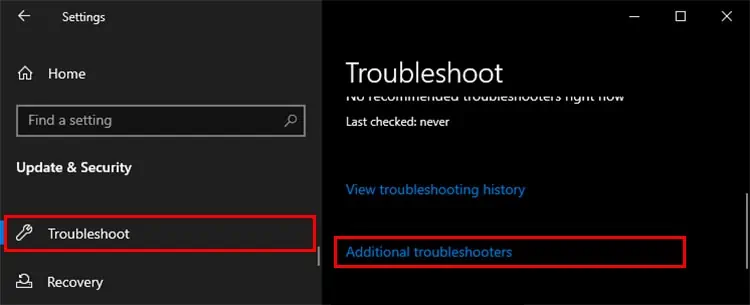
- Press Windows key + I to open Settings.
- Click on Update & Security and then Troubleshoot.
- Next, click on Additional troubleshooters.

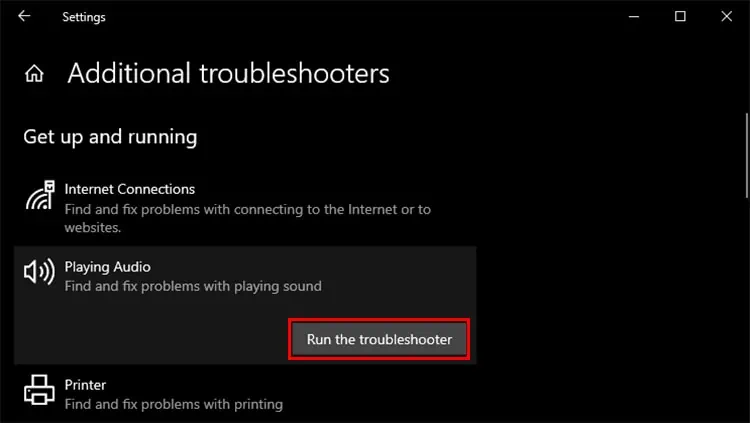
- Expand Playing Audio and hit Run the troubleshooter.

- Next, select the device you want to fix, in our case the speakers. Hit Next.
- You will be prompted with different troubleshooting options like setting default device, and volume control. Proceed with what you prefer.
Update All the System Drivers
If you are still not getting any sound from your speakers then there might be pending updates that are preventing sound from going through. Drivers are very important because they fix any bugs or errors happening and bring in new updates for better optimizations.
Luckily Dell systems have a SupportAssist feature that allows you to scan for pending updates and also helps scan for viruses.
To use SupportAssist, follow these steps.
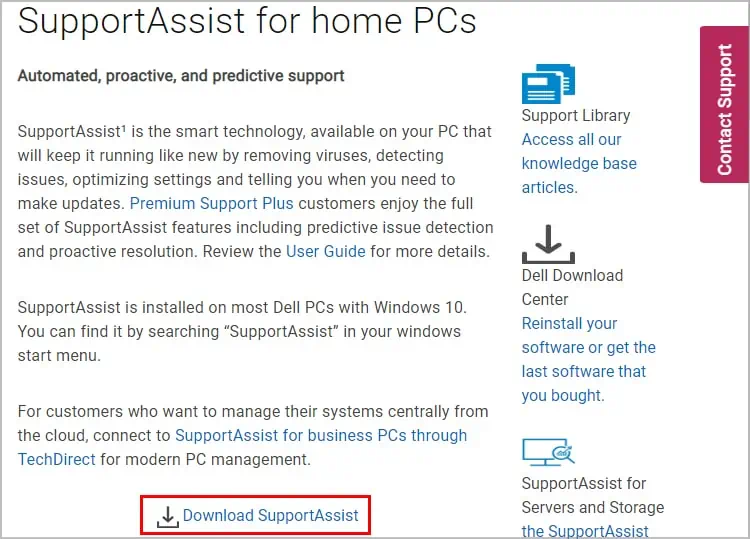
- Navigate to Dell’s Software & Downloads page and download SupportAssist. You can skip this if it is already installed.

- Press Windows key + S, and type in SupportAssist. And open the application.
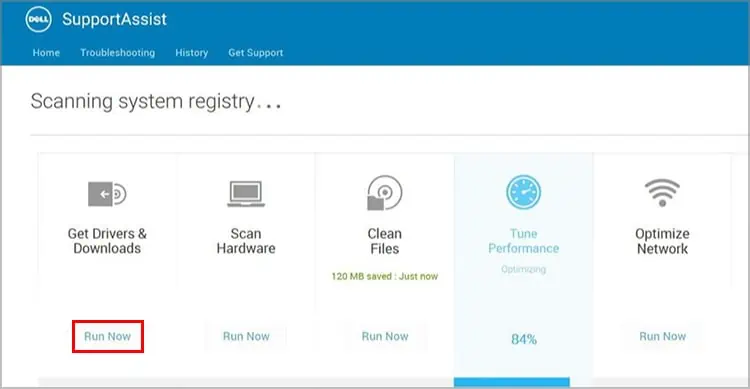
- Next, hit Run Now under Get Drivers & Downloads.

- After a brief scan, the application will prompt you to install all the pending driver updates.
- Click on Install, SupportAssist now starts to install the required drivers. You might need to restart a few times in the process.
Update Audio Drivers
Audio drivers are important for the proper functioning of all the audio devices connected to your system. It ensures that the device runs properly and that sound is being transmitted without any problem. So, verify if there’s any new driver release, if not try reinstalling the drivers.
You can head over to Dell’s support site to download drivers for your specific device.
- Navigate to Dell’s Support page.
- Under Identify your product, specify your device.
- Click on Drivers & Downloads, and next select Audio under the Category drop-down menu.

- Next, download the latest driver available.

- Run the executable file and complete the on-screen instructions.
Perform Windows Updates
Windows updates are crucial for your system, they ensure that you are up to date with the latest features and it also brings bug fixes and other optimizations. Therefore, always make sure that you are on the latest update and also frequently check for new updates.
Follow these steps to check for Windows updates.
- Press Windows key + I to bring up Settings.
- Click on Update & Security.

- Next, Windows Update > Check for updates.
Perform Audio Device Diagnostic
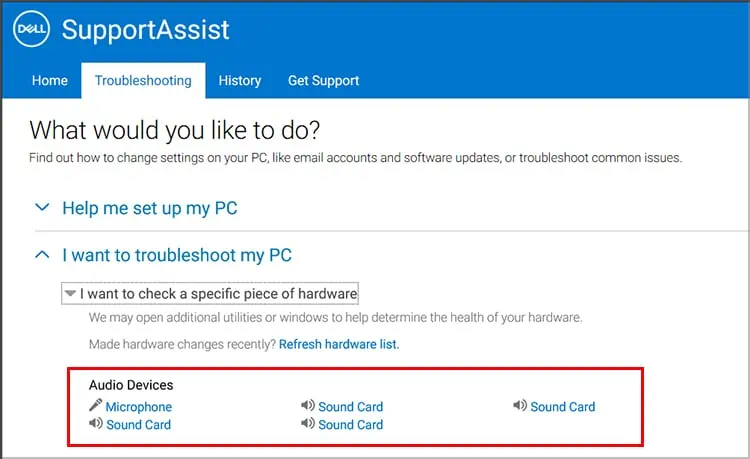
If there is still no sound from the speakers, go ahead and perform a hardware diagnostic test. This allows you to scan for hardware issues and possibly come up with a fix. You can use SupportAssist again for this task.
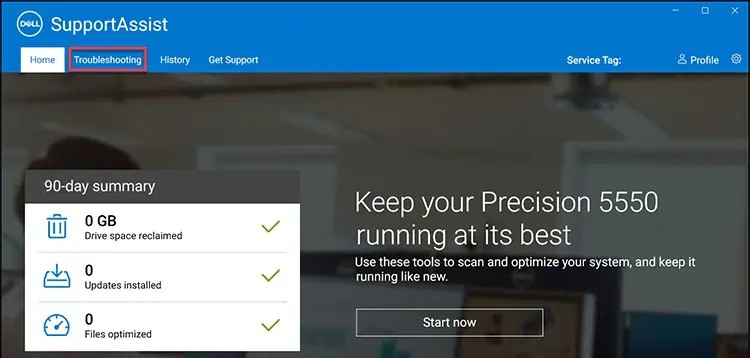
- Run the SupportAssist client from the search menu.
- From the homepage, navigate to Troubleshooting.

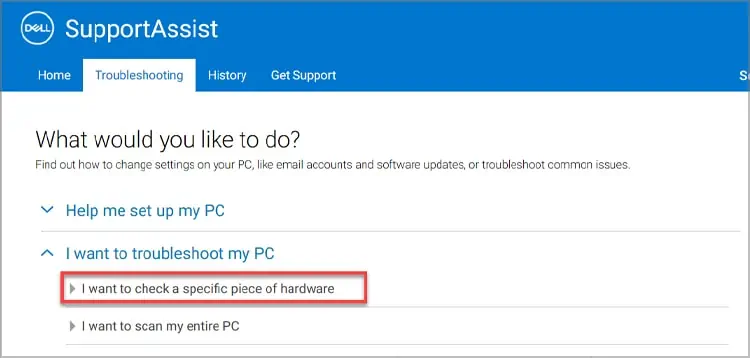
- Now, select I want to check a specific piece of hardware.

- Under Audio Devices, click on all the devices to run a scan.

- Follow the instructions to complete the process.
Contact Customer Care
Despite trying all the methods, if you are still getting no sound from the speakers, you should contact Dell tech support. You might need to get it professionally diagnosed by a specialist.


