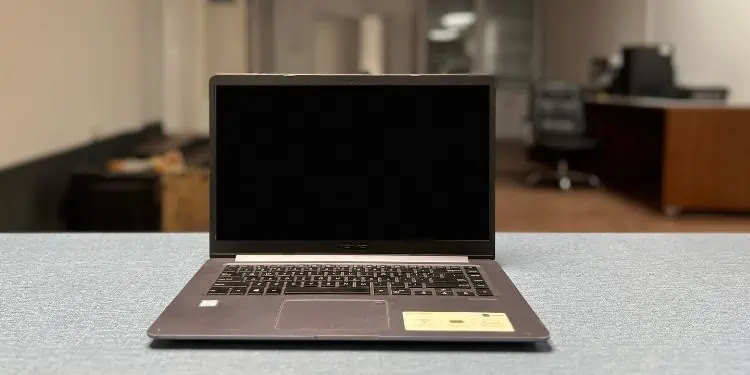
You may experience different issues with your laptop’s display. Sometimes, the screen goes black, while in other cases, it may not get past the POST (Power-On-Self-Test) stage.
Before doing anything else, kindly ensure that the laptop turns on and has enough power. If specific keys or LED is blinking continuously, know that it’s indicating an error. Since this varies depending on the laptop brand, it’s best to note the blink/beep code and check the related solutions in the manual.
Also, this can happen if the GPU shuts down after your system has overheated. In such cases, we recommend adopting different methods to cool down your laptop. Moreover, we recommend hard resetting the laptop, restarting the graphics driver (Ctrl + Shift + Windows + B), and removing the external devices. If nothing helps, you can now proceed with the below methods.
Power Reset Your Laptop
Whether your laptop has power issues or a black screen (before and after login), power cycling can often solve it. This will recover your system from an unresponsive state, and the display should work just fine:
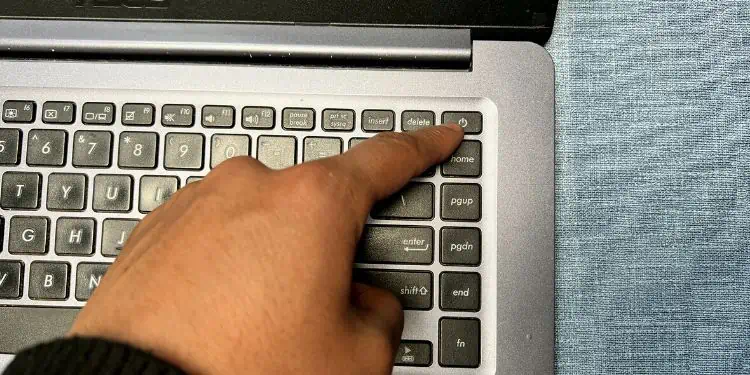
- Firstly, hard restart your laptop computer. To do so, press the power button for about 3 to 5 seconds and power it on again.

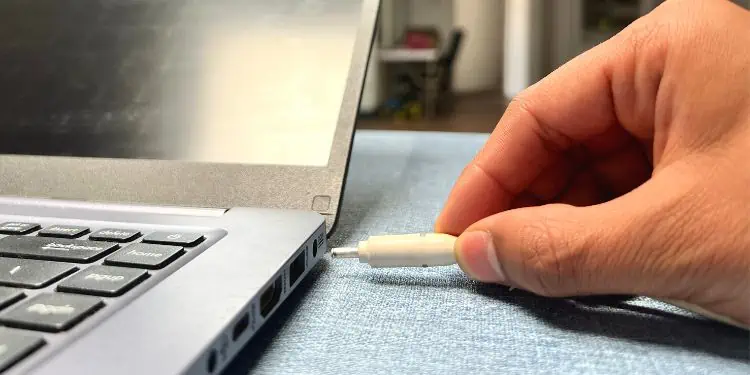
- Next, remove all the attached peripherals and also unplug the power connector.

- If you have a laptop with an external battery, push the switches in opposite direction. Then, carefully pull it out.
- Since the laptop’s capacitors can still store electric charges, kindly press the power button for at least 10 seconds to discharge them.
- Now, wait for a further 30 seconds, and start reestablishing all the removed connections.
Identify Issues Using an External Monitor
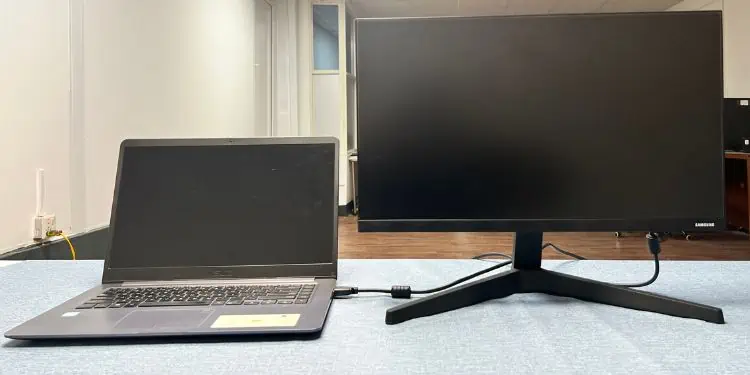
You can connect your laptop to an external monitor to identify whether problematic hardware or a corrupted OS is responsible. If the display works, know that the issue is with the internal components. In case it doesn’t work, you’ll need to check your operating system.
In case your display is working on a secondary monitor, we first suggest unplugging the LCD cable and checking again. Since the process varies based on the laptop model, kindly check the user manual and proceed accordingly. If the issue still prevails, you may require replacing the faulty components, which we will discuss in the latter section of this article.
Try Booting Your Laptop in Safe Mode
The Safe mode in Windows lets you diagnose the basic sets of drivers that might be causing issues with your display. If the PC boots in this mode, you can confirm that no hardware component is responsible:
- Use the power button on your laptop to force shut down the computer.
- Repeat the first step three to four times to start Automatic Repair.
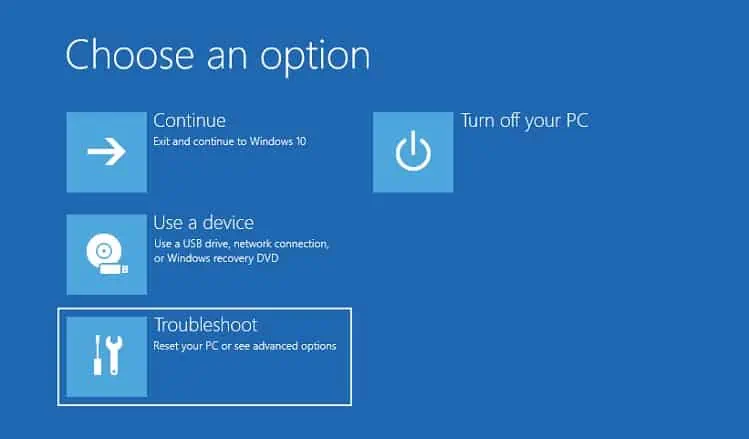
- In this interface, press the Advanced options button to get into the Windows RE.

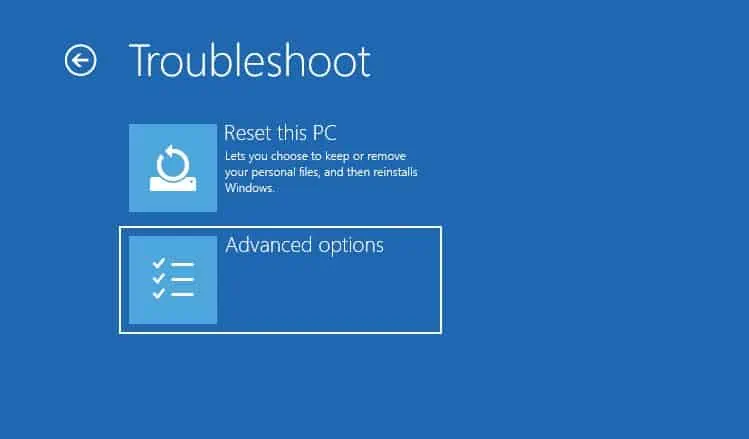
- Here, select the Troubleshoot option.

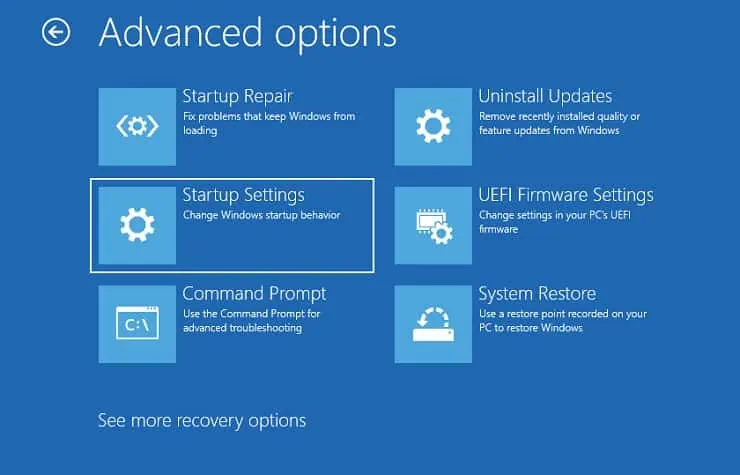
- Then, tap on Advanced options.

- Now, you should encounter a handful of options. Among them, choose Startup Settings.

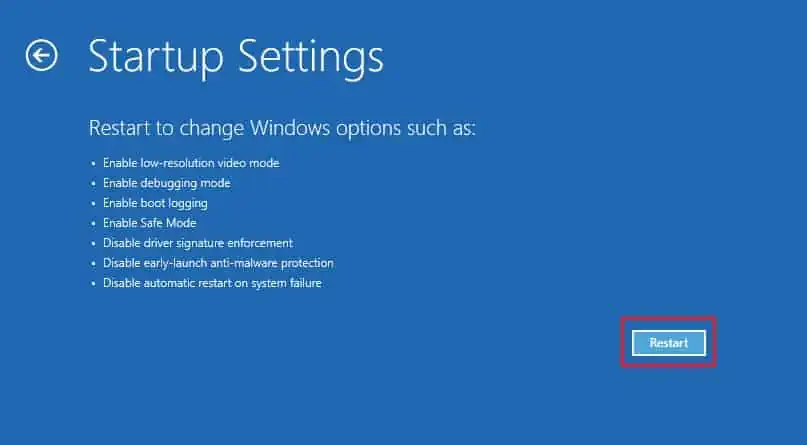
- Next, click on Restart.

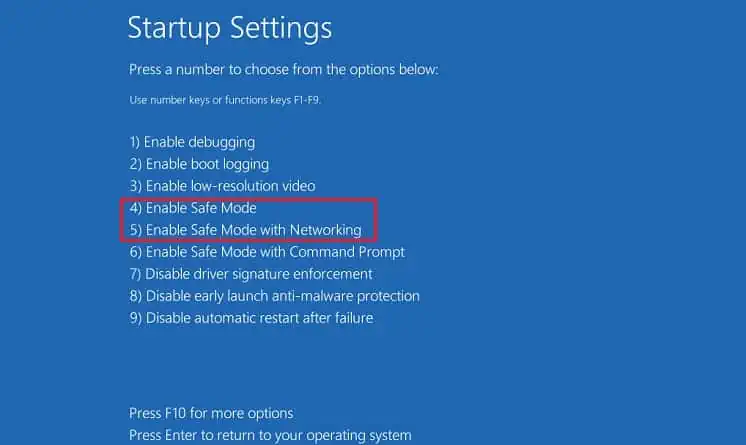
- Press F5 and wait until you enter safe mode with networking.

- Finally, use your pin code or password to log into Windows.
Update or Reinstall Monitor and GPU Drivers
The monitor and graphics drivers are responsible for rendering graphics. If they get corrupted, you may experience undesirable changes, one of which is the laptop’s display not working. Therefore, we highly recommend updating them:
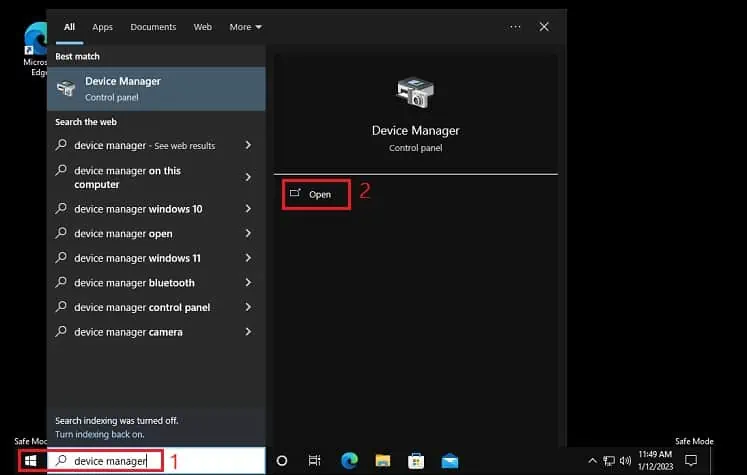
- Firstly, open the Device Manager utility from the start menu, as demonstrated below.

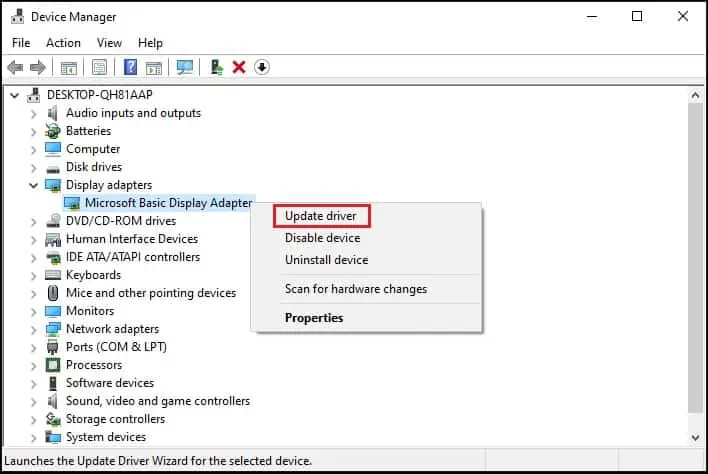
- Next, expand Display adapters.
- In safe mode, you should see Microsoft Basic Display Adapter. Right-click on it and pick Update driver.

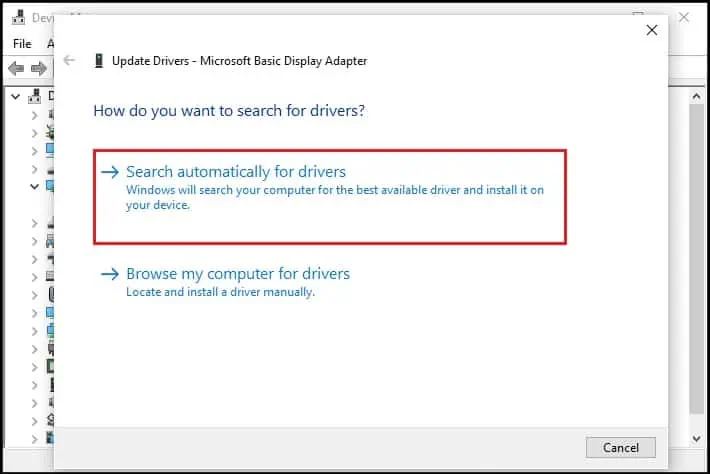
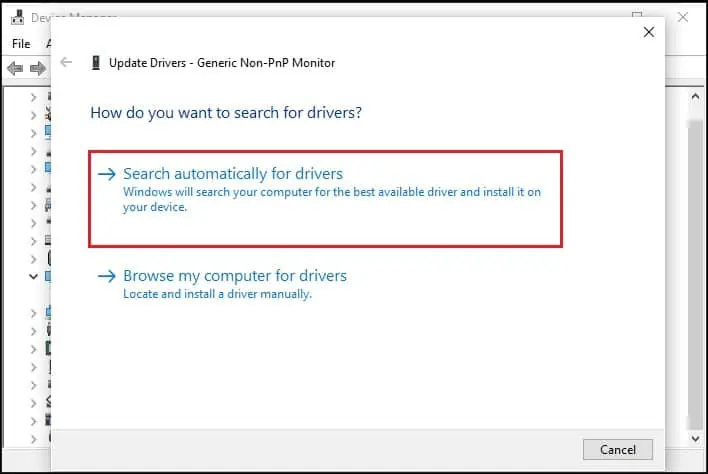
- Then, select the Search automatically for drivers option.

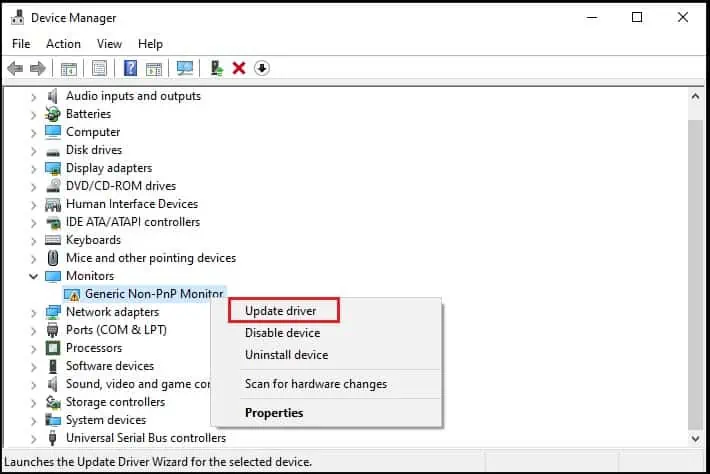
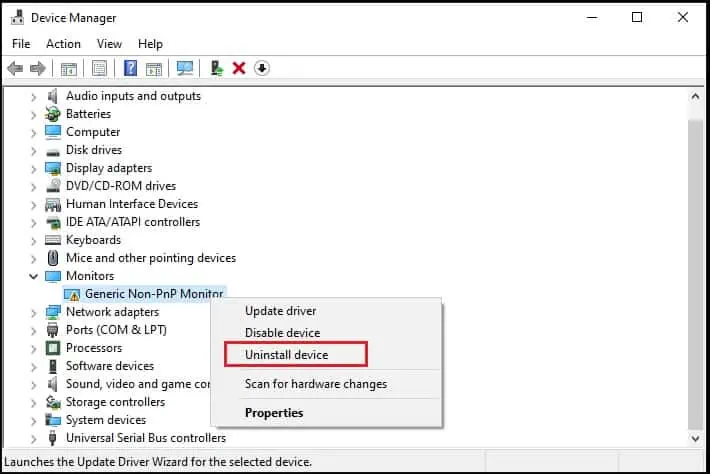
- In case the latest drivers were already installed, right-click on the corrupted one again. Then, pick Update driver. As demonstrated below, some may show a yellow exclamation sign confirming issues with your device driver.

- Here, choose Search automatically for drivers.

- If updating the device drivers didn’t help, try installing them again. For this, right-click on the troublesome driver and pick Uninstall device.

- Then, reboot your notebook computer in normal mode. This should install the necessary drivers, and the display should start working.
Perform BIOS Recovery
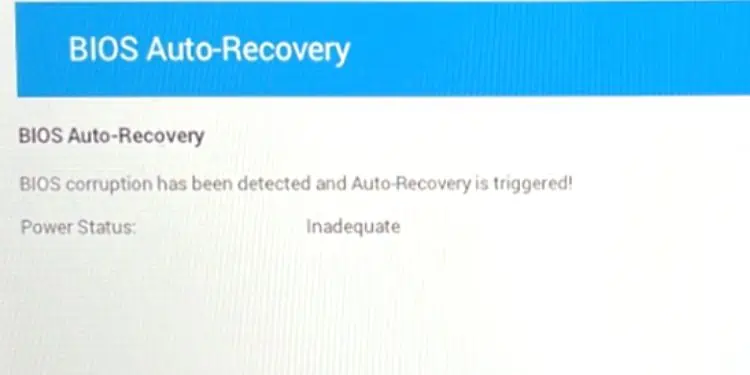
One of the simplest troubleshooting methods for a boot failure is performing BIOS auto-recovery. If you have enabled this feature, the firmware image gets stored in your primary storage drive and restored whenever the laptop detects a failure.
Although the process varies based on your system, you can follow the general guide below that should work on most laptops:
- Shut down your laptop using the power button and also remove the charger.
- While pressing and holding the Ctrl and Esc keys, connect the AC/DC adapter.

- Wait for several seconds until the BIOS recovery screen pops up.
- Here, disable the Reset NVRAM feature (if available) and hit Enter to continue.
- Finally, select the Recover BIOS option and hit Enter to start recovery.

Note: If you’re able to boot into BIOS normally, you can even try resetting or reflashing it from the interface.
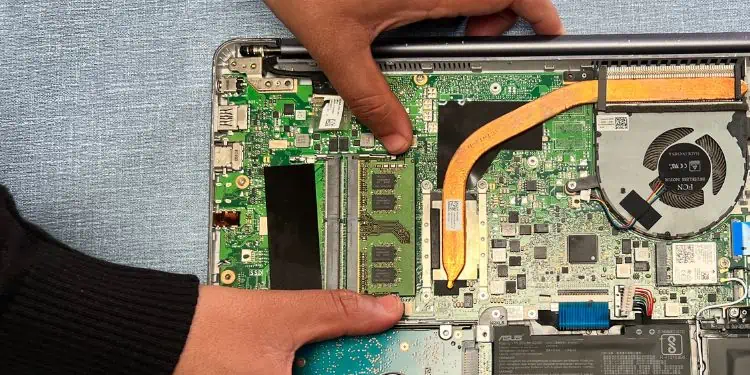
Reseat the Memory Module
If your laptop’s RAM has gone bad or it’s inappropriately seated, you’ll likely experience a black screen with a continuous beeping sound. If that’s the case, kindly refer to the below steps on reseating the memory module and cleaning its slot to solve possible display issues:
- Ensure that you have properly powered down your laptop. Once that’s done, also discharge the capacitors.
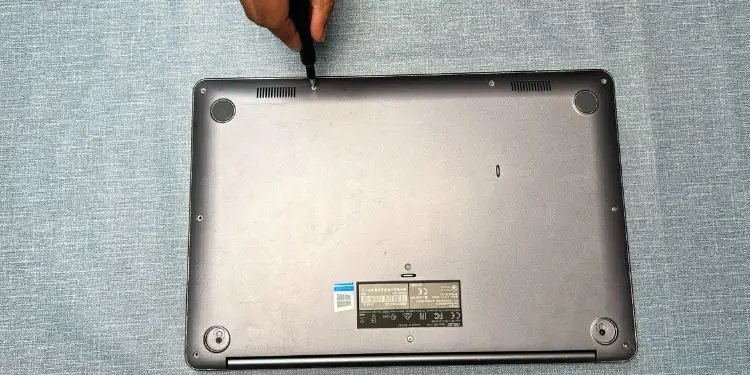
- Navigate to the bottom section to untighten the screws and open the bottom casing.

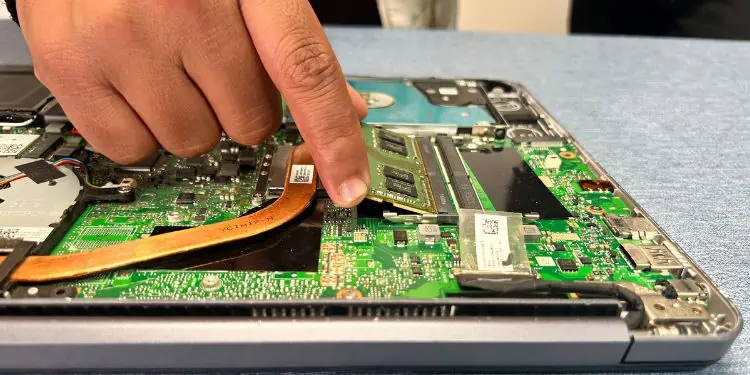
- Locate the memory module and unclip the ends that are holding it in place.

- Once the RAM stick automatically pops out of its slot, carefully pull it out.

- Repeat the same process to remove other overlapping sticks (if available).
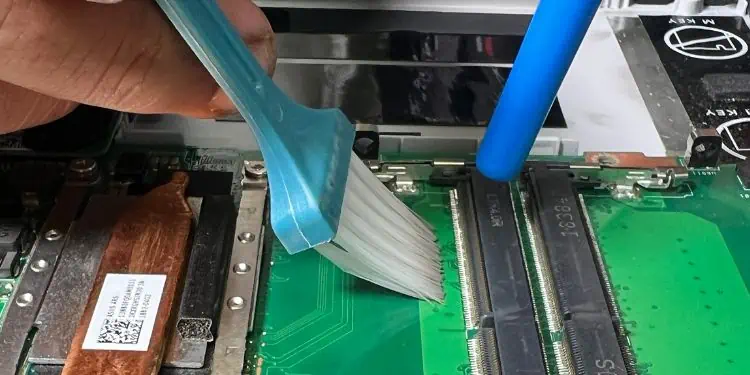
- Once this is done, use a compressed air can to clean dust from the slot. This can help the RAM slot if it’s not working.

- Then, use a microfiber cloth to clean the memory module.
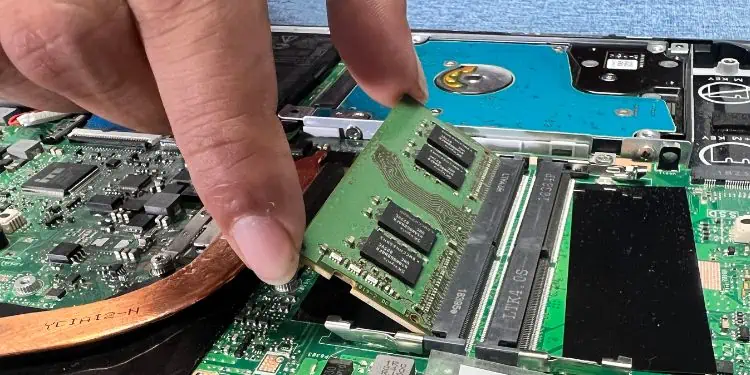
- Next, check the alignment of the stick to its slot and insert it back.
- Push the stick backward applying a slight pressure. You should hear a clicking sound once that’s done.

- Close the bottom casing and start your laptop. Now, check if this has resolved the display issue.
Perform System Restore
If nothing works, we advise reverting the system to the recommended restore point. This will take the system back to the state when you weren’t experiencing issues with your display. Kindly go through the following instructions on how to do just that:
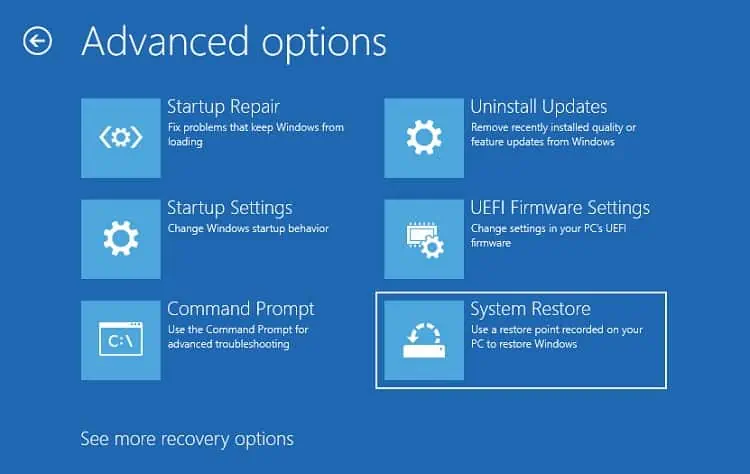
- Get to the Advanced options in the recovery environment.
- Pick System Restore.

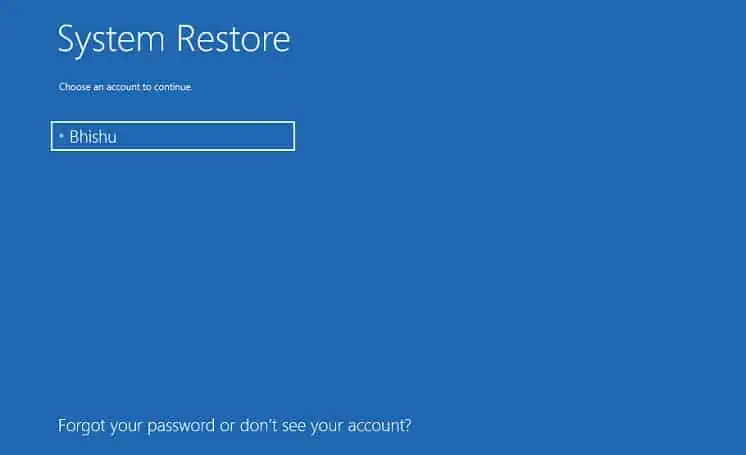
- Then, choose your account to continue.

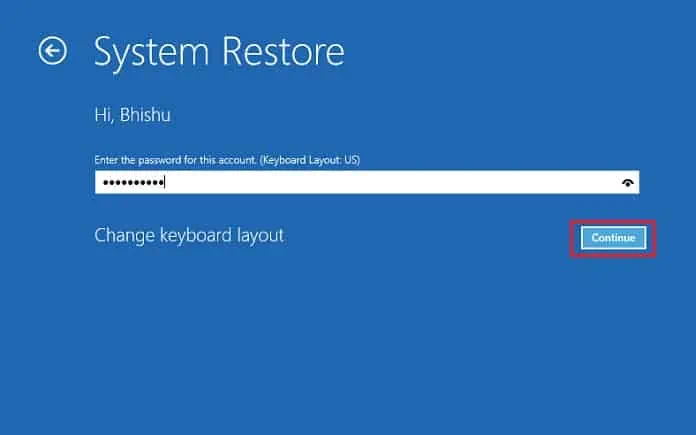
- Enter the credentials and hit the Continue button.

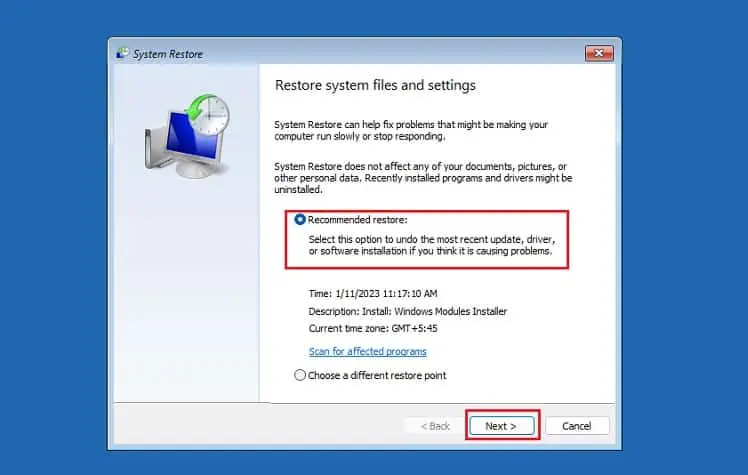
- Now, choose the first option (Recommend restore:) and hit Next.

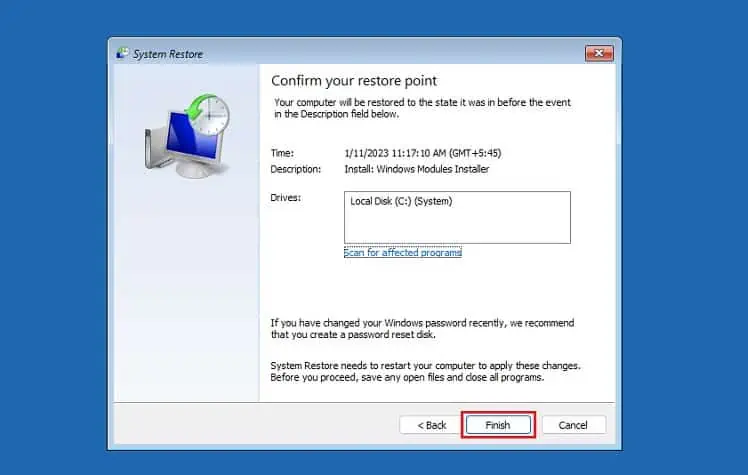
- Hit the Finish button and wait for the Windows to boot up. This should resolve the display issue.

Reset Your PC
While restoring the system only takes your laptop to its previous working state, resetting your PC will remove everything and bring back the default configuration. Therefore, this resolves all the problems with your operating system, and might bring your display back to life:
- First, boot in the Additional Startup screen.
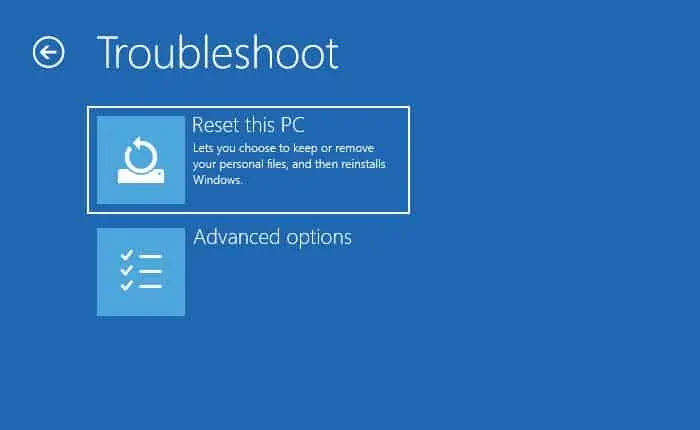
- Then, navigate to Troubleshoot > Reset this PC.

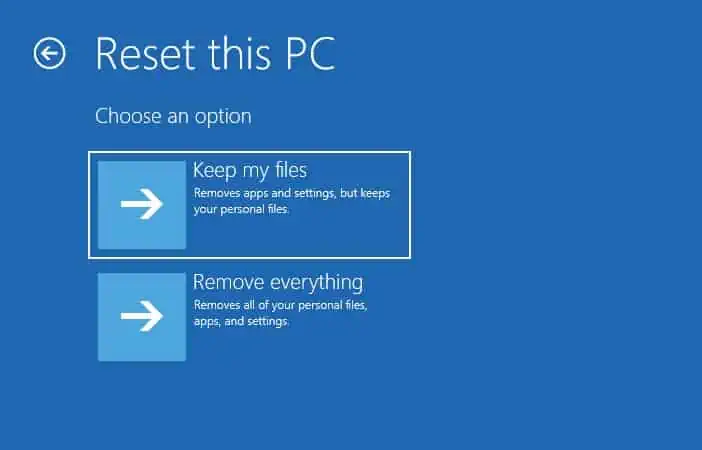
- Next, select Keep my files.

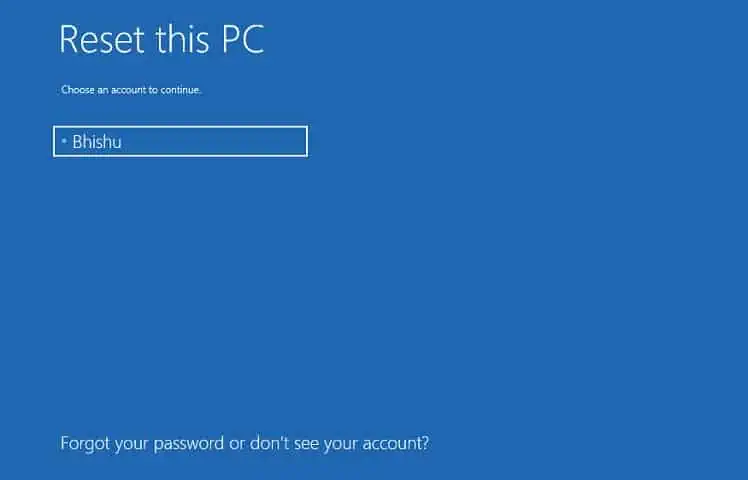
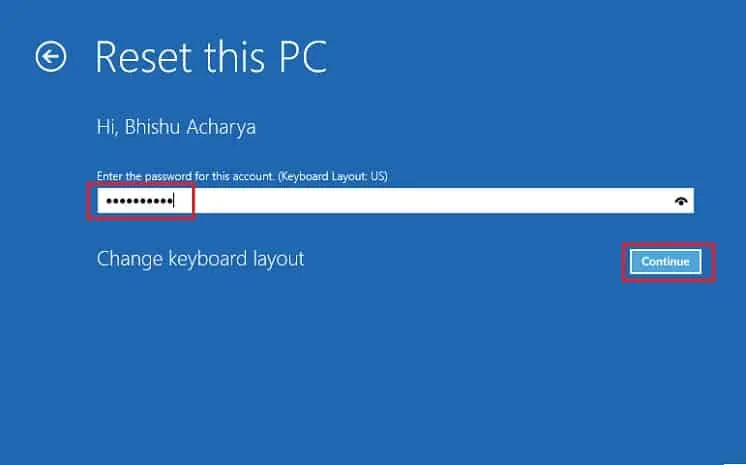
- Wait for a few seconds and choose the right account.

- Wait until the reset is complete and the login screen pops up. Here, enter your credentials to continue.

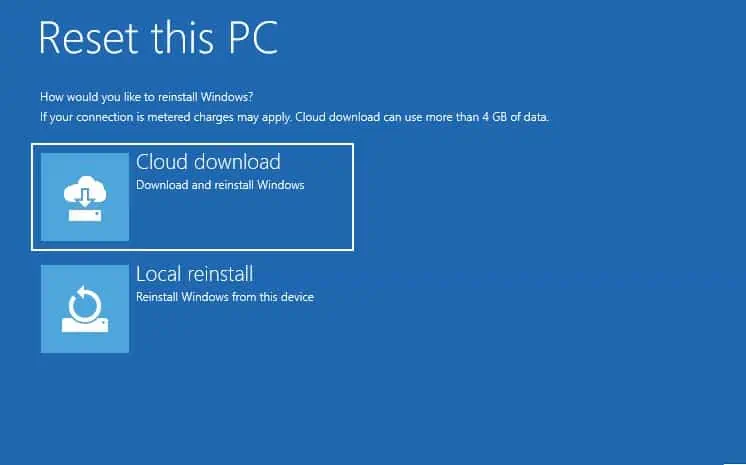
- Now, pick Cloud Download.

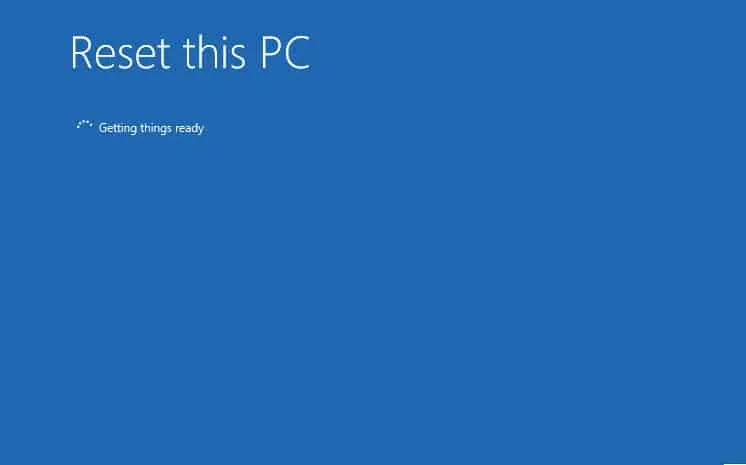
- Finally, wait until the reset is complete and Windows starts from scratch.

Replace Faulty Components
The final solution is to repair or replace the damaged laptop components. Since fixing hardware requires expert repairing skills, it’s better to take your problematic device to the nearest repair center.
There could be problems with the LED cables, backlight, power inverter, graphics card, or even the motherboard. While simple YouTube tutorials can help you fix or replace them, we suggest opting for a technical expert.

