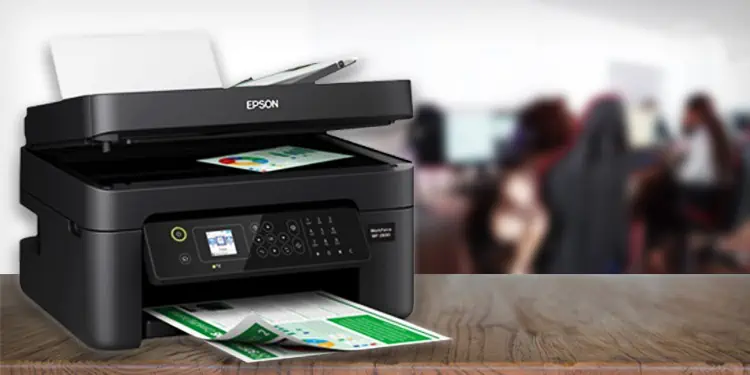
Your Epson printer can stop printing for several reasons. Most of the time, it happens when the printer is offline. The offline printer can not establish a connection with the PC and refuses to accept your requests.
Similarly, the printer can reject the requests if there is not enough room for the new print jobs in its memory. In such a case, you won’t get a printout until the older print jobs are completed. Epson printers can also stop printing when the print spooler service stops responding, or the printer driver is outdated or corrupted.
Check Connection Status
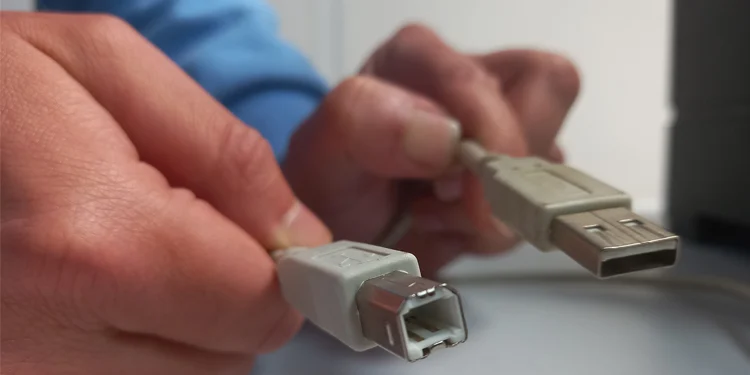
When your Epson printer stops printing, you should always check the printer’s connection status. Although wired connections are more robust than wireless ones, sometimes there could be issues with the USB and ethernet ports. As such, you may try switching these ports to see if the ports were causing the issue.
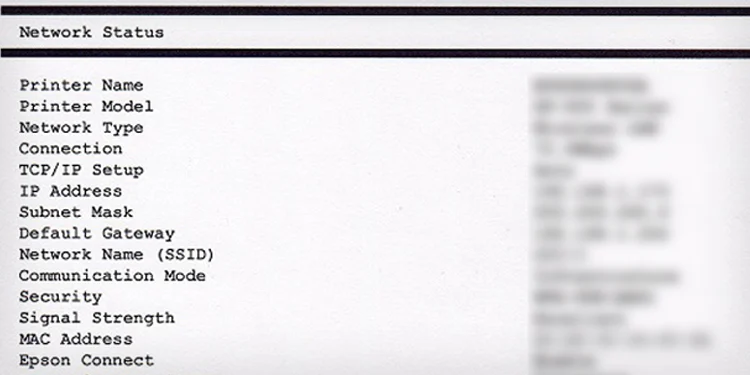
If your printer is wireless, you can check the connection status by printing a network status sheet. It will help you analyze if the printer has a strong signal connection with the router.
Also, note that your device and the printer should be connected to the same network for wireless printing.
On Epson Printers With Screen
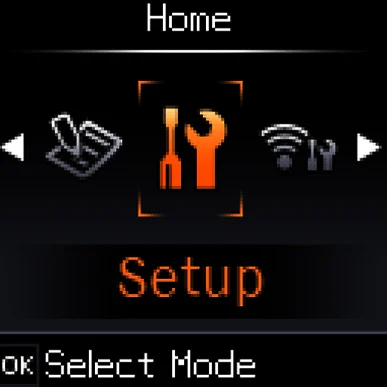
- Open Setup menu from the home screen of your printer.

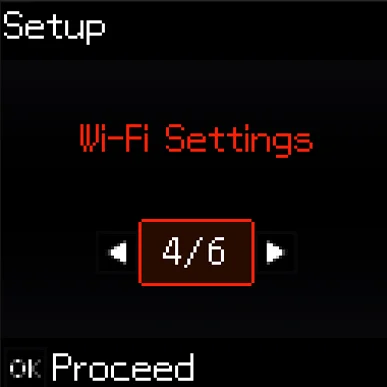
- Tap Wi-Fi Settings.

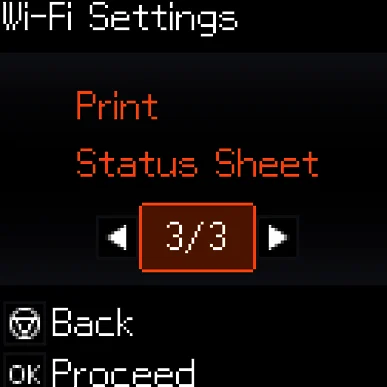
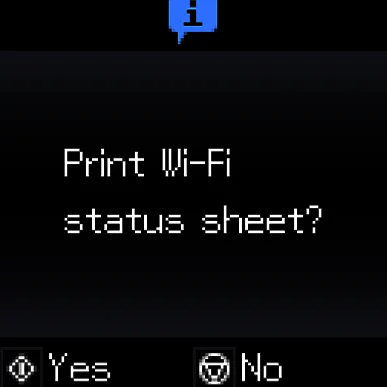
- Choose Print Status Sheet.

- Press Yes.

- You will get a printout with network information like this.

On Epson Printers Without Screen
- Power on the printer.
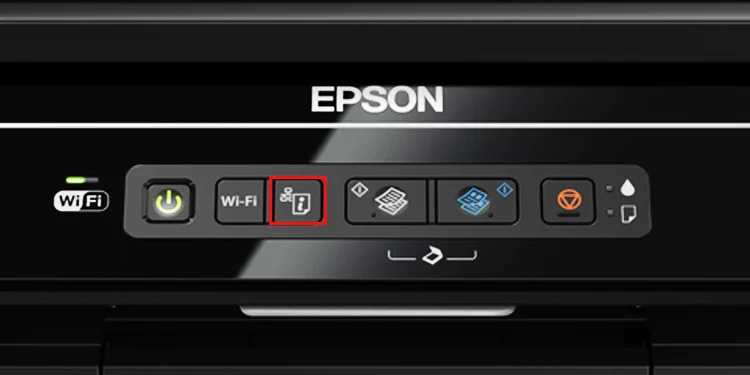
- Go to the button panel of the printer and press and hold the i button for about 10 seconds.

- Your printer will eject a network status sheet then.
Check Status of the Printer
Once you verify the connection status of the printer is all good, you should then check the printing status of the printer.
If your printer has a screen, check for any error messages popping up on the screen. Also, check if any warning lights are glowing to indicate errors like paper jams and low ink levels on the printer.
Similarly, you can use the print queue panel to check if the printer has gone into an error state.
- First, give a print command to print any of your documents.
- Open the Run application on your computer.
- Type
control printersand hit Enter key.
- Click the Epson printer.

- See the Status in the status panel. You will generally see Offline or Error in the status panel when the printer does not print.
You can consult this detailed guide to know what to do when the Epson printer is offline. Similarly, if you see Error in the status panel, it generally indicates a connection problem between the printer and your PC. As discussed earlier, verify if the connection status of the printer is proper.
Clear Print Queue
Clearing the print queue will be helpful if unsuccessful or corrupted print jobs are clogging the queue.
- Right-click the Start button of your Windows computer and choose Run.
- Type
control printersand press OK.
- Select your Epson printer, right-click it and click See what’s printing.

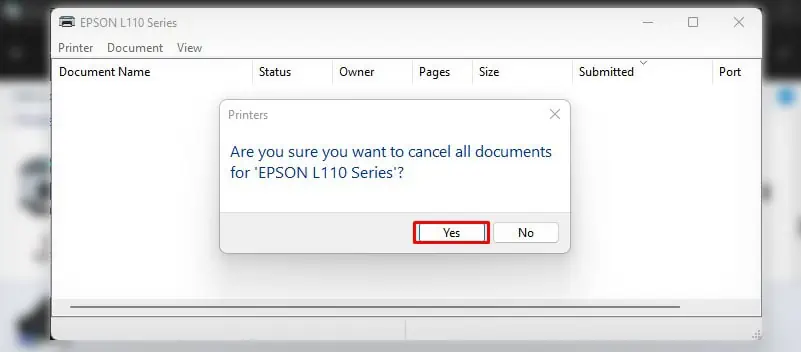
- Choose the Printer menu and then click Cancel All Documents.

- Click Yes.

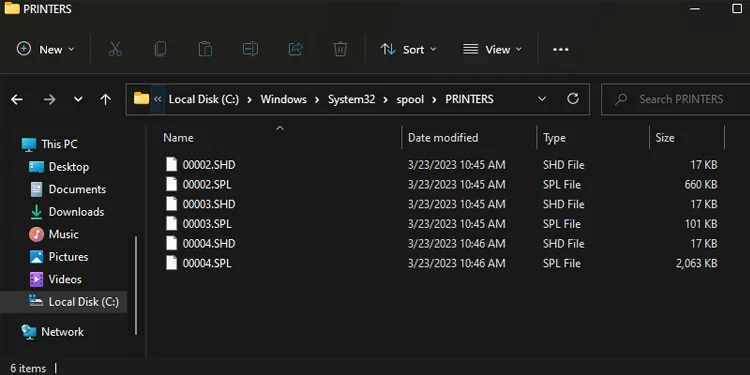
- Now go to this location
C:\Windows\System32\spool\PRINTERSon your Windows Explorer.
- Delete every file in the location and try printing again.
Restart Spooler Service
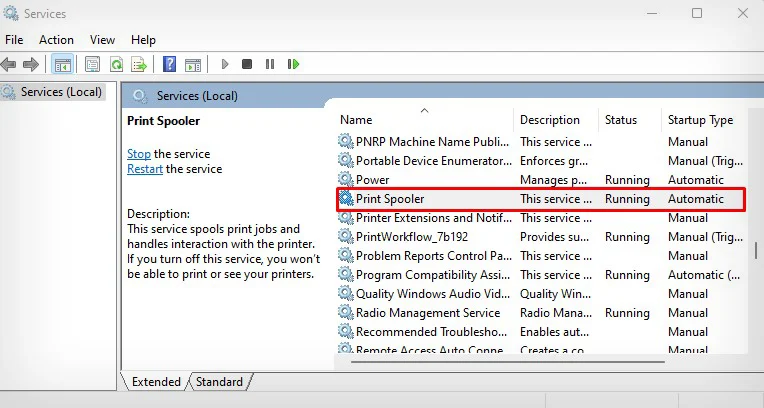
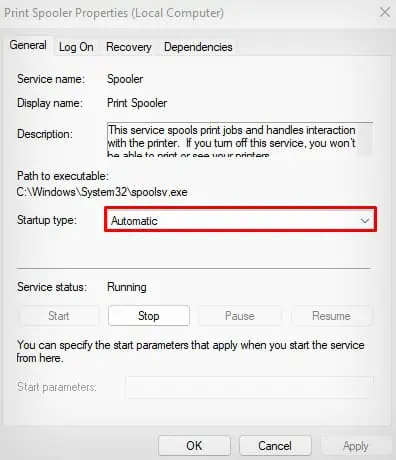
Spooler service is a special printing service on Windows computers that manages all the printer profiles and print jobs. Your Epson printer can stop responding when this service stops responding. In such cases, restarting the spooler can help you print again.
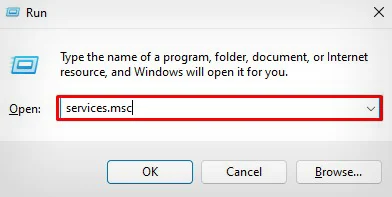
- Open Run.
- Type
services.mscand hit Enter key.
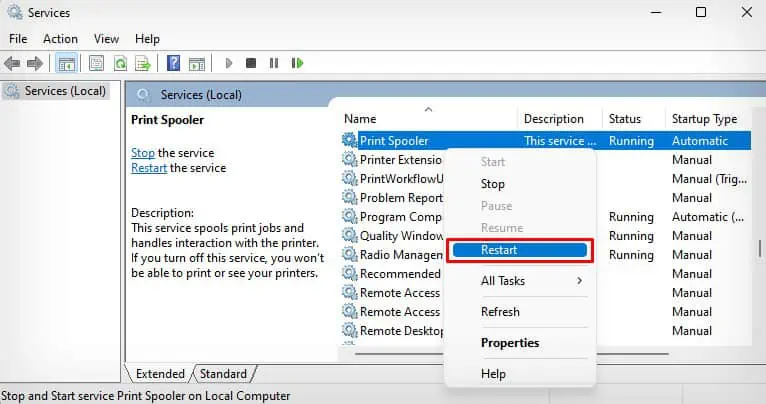
- Locate Print Spooler and right-click it.

- Choose Restart.

- Double-click Print Spooler.
- Choose Automatic in Startup type.

- Click OK.
Check the Print Preferences
Whenever you give a print command to your printer, it produces a certain sound before ejecting the printout. If it fails to do so, it indicates that the print command has not reached the memory of the printer yet. So, there may be something wrong with the PC itself.
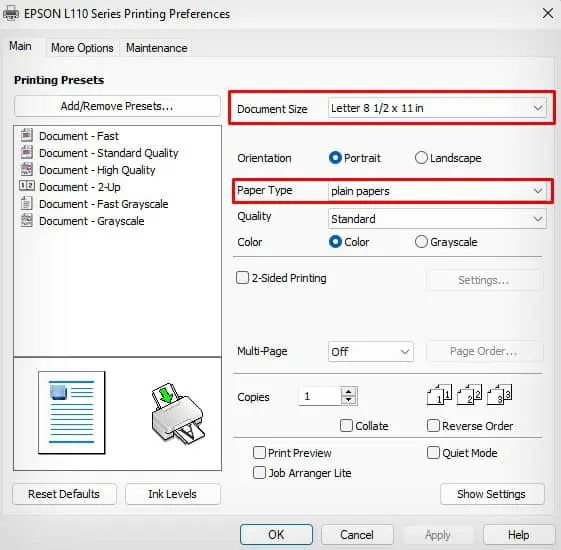
However, if there is sound, but you don’t get the papers out of your printer, a bunch of scenarios is possible. You could have selected an incorrect paper size or paper type in the printing preferences, or there is possibly a low ink level on your printer.
Follow these steps to check the printing preferences and adjust them accordingly.
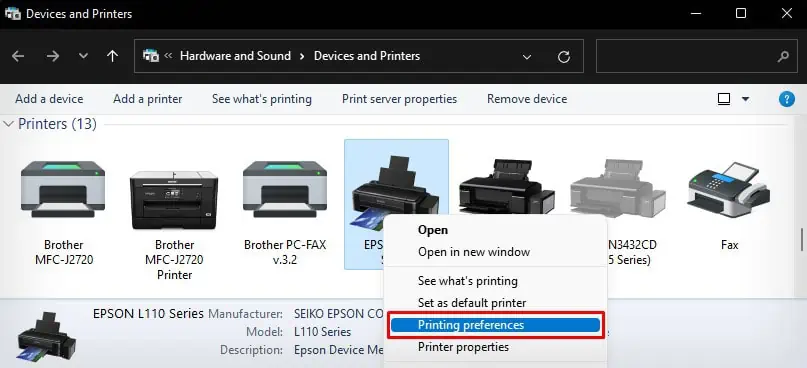
- Go to the Devices and Printers window of Control Panel.
- Right-click the Epson printer and choose Printing preferences.

- Choose the correct Document size and Paper Type.

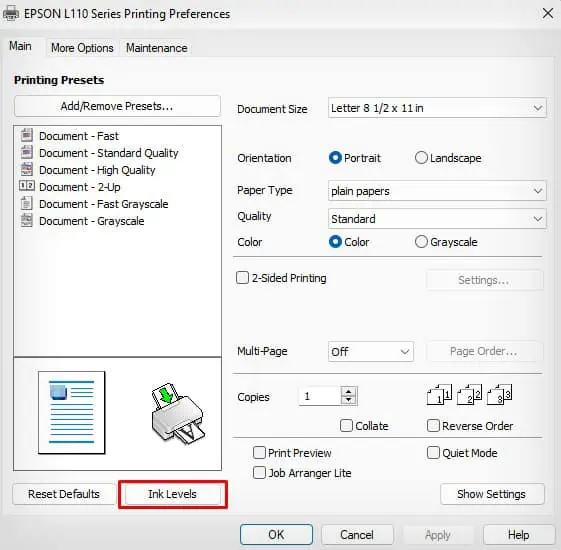
- Click the Ink Levels tab to check the ink and refill the ink if necessary.

Install Official Epson Drivers
Although it is possible to start printing just after connecting the Epson printer to your computer, you will also need to install the official drivers to access the full functionality of the printer. Otherwise, it can stop working at any time and refuse to print.
- Go to the driver download page of Epson.
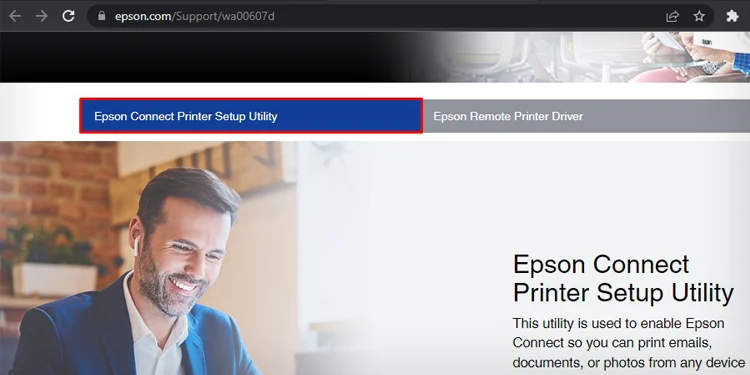
- Click the Epson Connect Printer Setup Utility tab on the homepage.

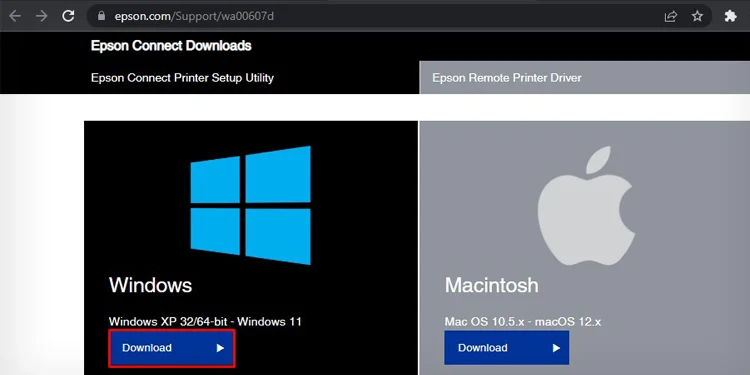
- Click the Download button for Windows.

- Launch the setup file.
- Follow the on-screen instructions on the setup wizard to install the driver.
Allocate Static IP to Your Printer
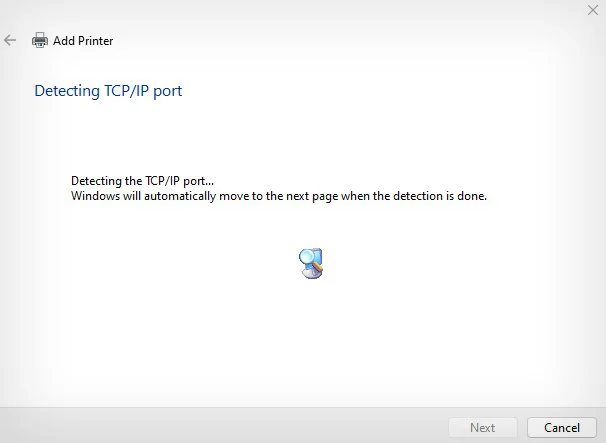
Most of the time, IP conflict is the major reason your Epson printer refuses to print. The conflict mostly arises when you have added the printer to your PC using the IP address and the lease time of the IP has expired.
When this happens, your computer won’t be able to find the printer at the pre-assigned IP and can not initiate a print.
So, if you are into wireless printing, always assign a static IP to your printer rather than using the DHCP IP that expires after a certain time.
- Connect your Epson printer to Wi-Fi.
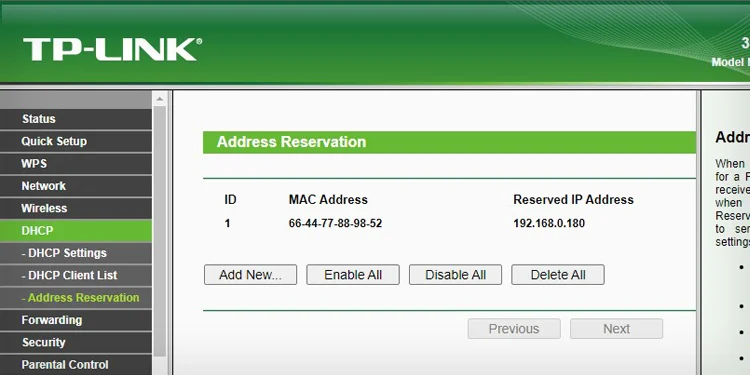
- Go to the configuration page of your router and assign a unique IP to the printer. Most of the routers have an Address Reservation function for that.

- The router interface to assign a static IP differs depending upon the manufacturer. You can do a quick Google search for assistance.
- Once you assign the IP, now use that IP to add the printer to your computer.
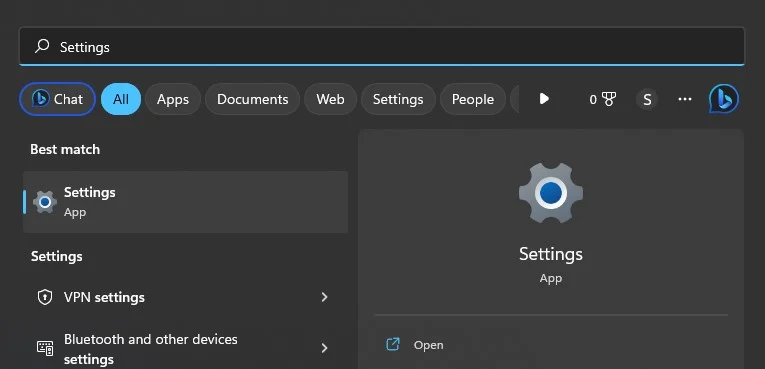
- Open Windows Settings.

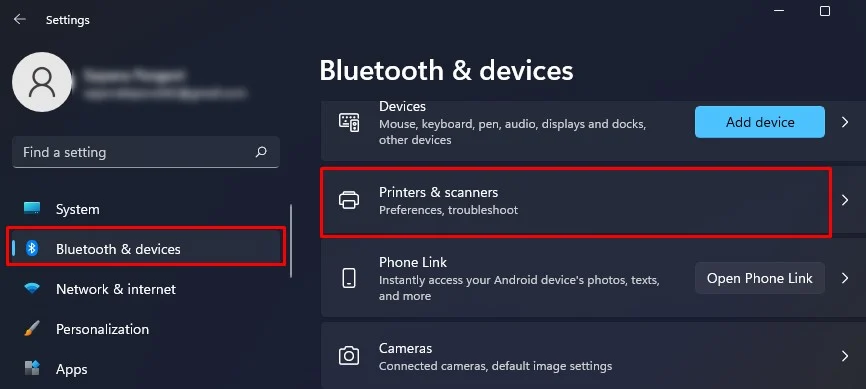
- Open Bluetooth & devices > Printers & scanners.

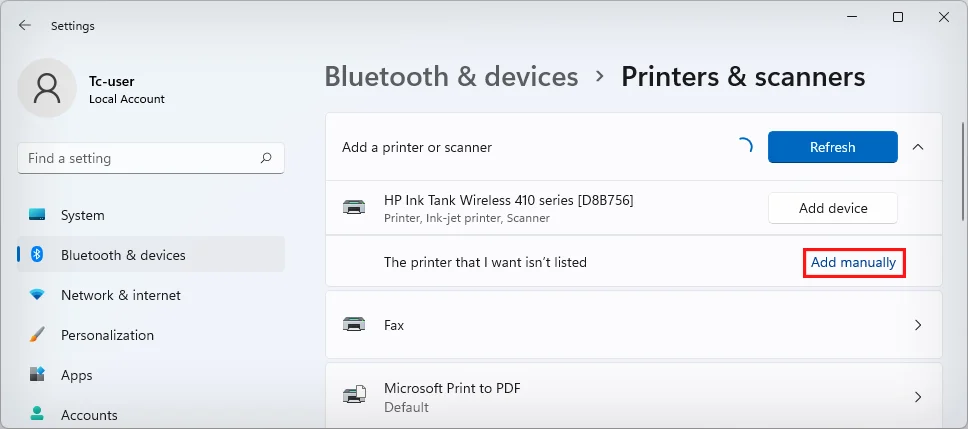
- Click Add device > Add manually.

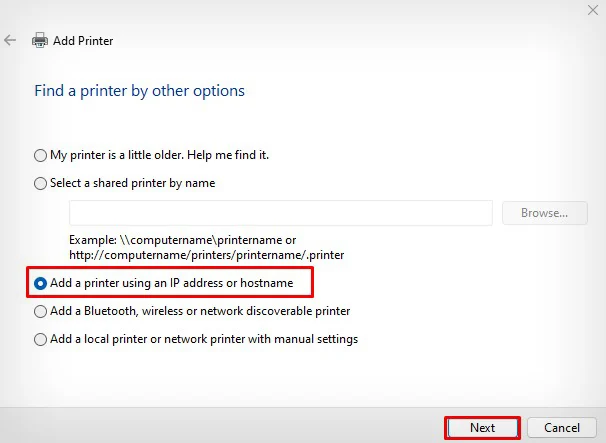
- Go with this option.

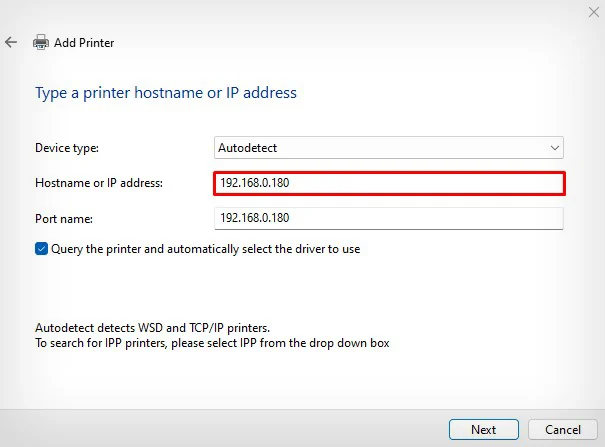
- Enter the IP that you assigned in the router. Click Next.

- The printer would be added to the computer using that IP.


