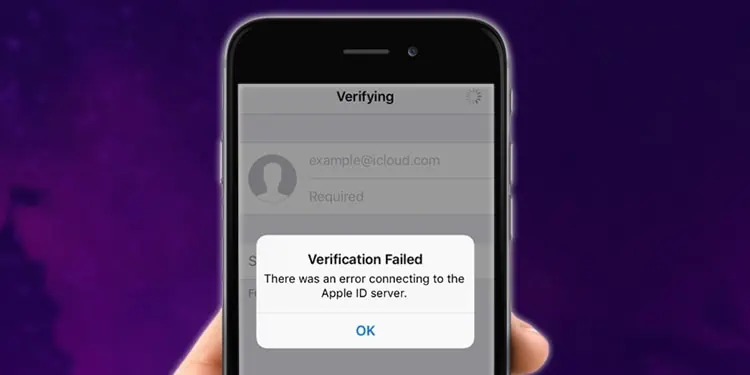
You may encounter the “Error connecting to Apple ID server” in various instances when trying to log in with your Apple ID. Furthermore, the error pretty much stops you from connecting to any Apple services.
It is usually caused by issues in your network, misconfigured settings, or interfering processes. However, it can also occur when Apple servers are down, and your device can’t connect to the server.
This error can appear in pretty much all Apple devices. We have included the fixes for how to solve this issue in your macOS and iOS devices.
How to Fix Error Connecting to Apple ID Server?
Before you begin, make sure to check if your internet connection is working correctly. You should try the following things.
- Restart your router
- Check your internet speed online.
- Switch the Wi-Fi band from 2.4GHz to 5GHz.
The ways to solve this error are the same in both macOS and iOS devices. You can make your way down the list of methods, as we have included fixes for both operating systems.
Check If Apple Servers Are Online
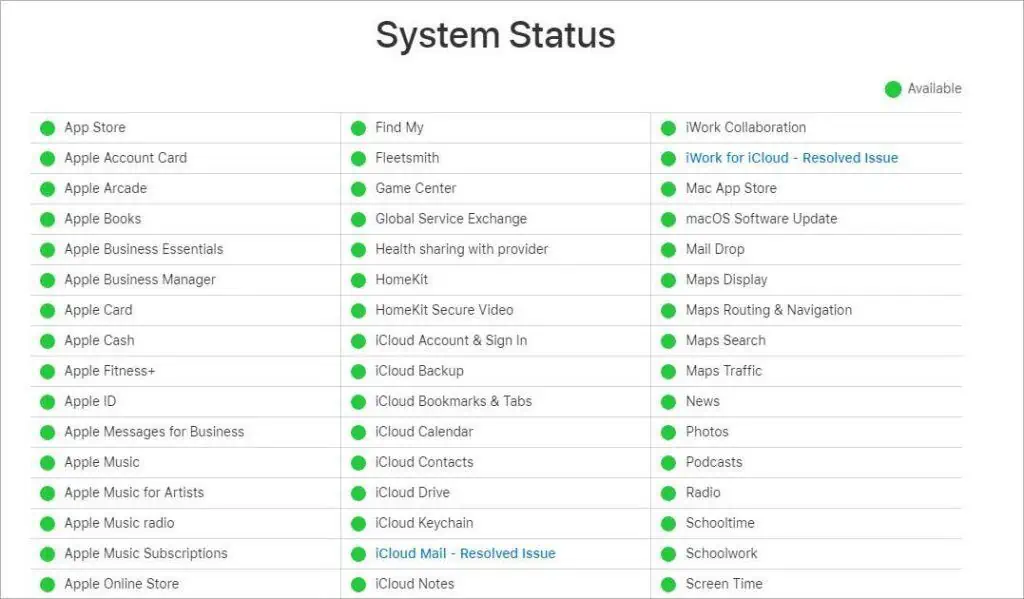
The first step you should try is to see if the Apple server is actually online. If the servers are down due to maintenance or other issues, you won’t be able to log in till the servers come back online.
Here’s how you can check the status of Apple servers.
- Open a browser of your choice.
- Go to the Apple System Status page.
- Check if the Apple Account, App Store, Sign in with Apple, and iCloud Account & Sign In servers are green. (Green dot means the servers are online.)

- If any of the servers are down, you won’t be able to use that service until it comes back online.
Manage Data and Time
Having the wrong date and time setup can cause many more problems than just displaying the wrong time. When you try to sign in to Apple servers, they check the current timezone and device time to determine if they match.
If the times do not match, the servers can deny you access and pass over your requests. So, you always need to have the correct date and time settings to smoothly surf the internet.
Follow the steps below to correctly manage your date and time settings on macOS and iOS devices:
On macOS
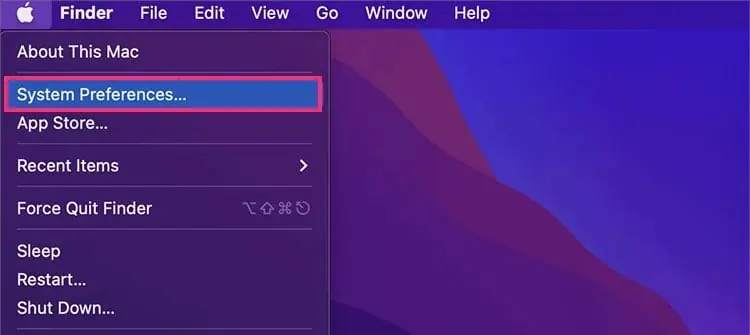
- Launch System Preferences from the Apple menu.

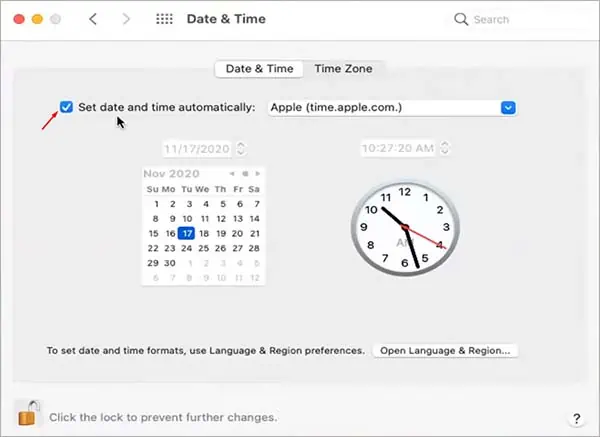
- Select Date & Time settings, and click on the lock icon to be able to make changes. (You may need to enter your user account password if you have it set up.)
- Make sure Set date and time automatically option is checked. (Your system will automatically input the correct date and time for your device.)

On iOS
- Launch Settings on your iOS device.
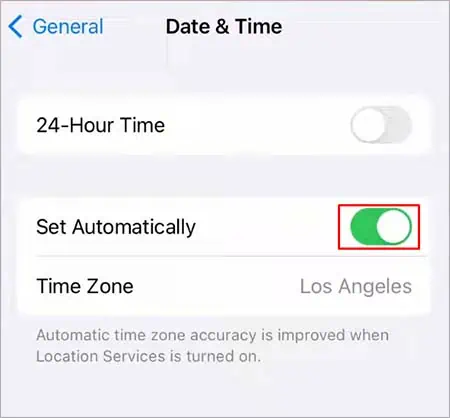
- Navigate to General > Date & Time.
- Make sure the Set Automatically option is checked. (You can also toggle this setting off and manually set the correct date and time.)

Disable VPN
Active VPNs can also hinder the connection between your device and the Apple servers. VPNs are designed to mask your current location and display another location through virtual networks.
If you have an active VPN connection, the connection between your device and the Apple server is hopping through another server that masks your location. This can cause you to face the “error connecting to Apple ID server” issue.
So, if you have an active VPN connection, disable it and try to connect your Apple ID again.
Sign Out and Sign in Again
If the issue persists, try signing out and signing in with your Apple ID to see if it fixes the problem. This will refresh your account and clear out previous session data.
Here’s how you can do so in different operating systems:
On macOS
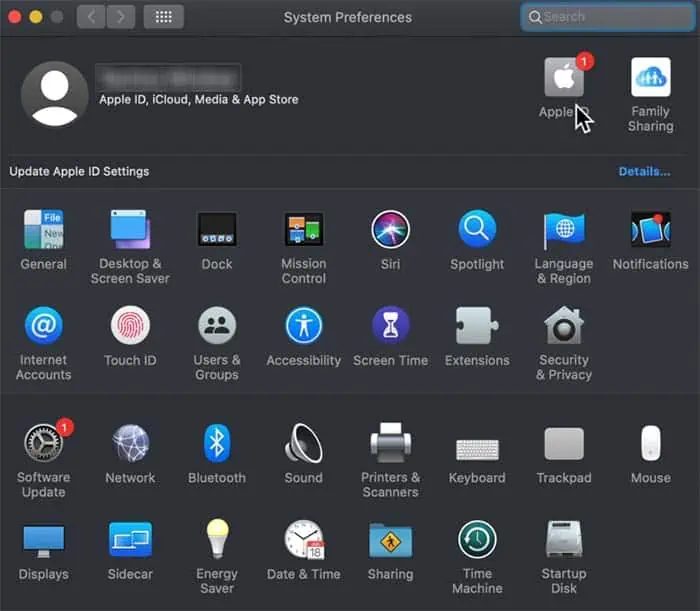
- Go to the Apple menu and access System Preferences.
- Click on Apple ID at the top right corner.

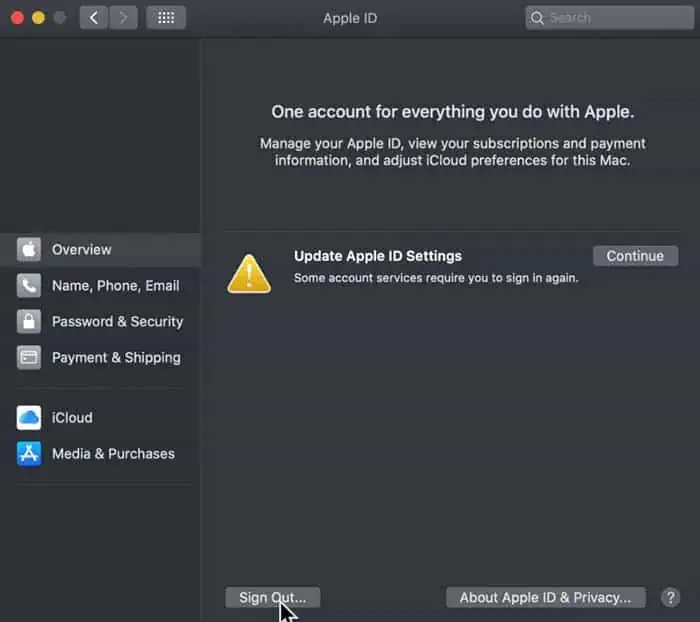
- In Overview, click Sign out.

- Sign in your Apple ID again in System Preferences.
On iOS
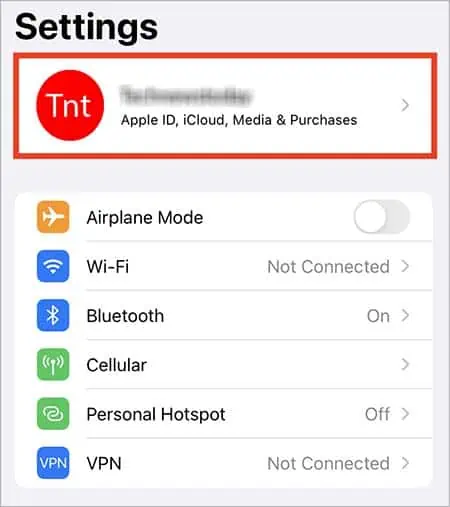
- Open Settings.
- Click on your user name at the top.

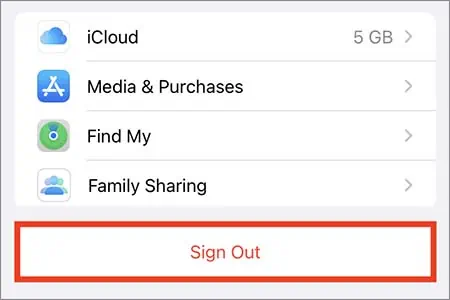
- Tap on the Sign out option at the bottom.

- Enter your password and click Turn Off.
- A menu asking if you want to keep a copy of your data on the phone will appear. The data will still be in your account, so it is your choice if you want to save a copy.
- Tap on Sign out.
Software Update
This issue also occurs due to bugs in the older versions of macOS and iOS devices. You can update your software version to fix it, as the newer versions carry bug fixes and extra features. Furthermore, it is always recommended to update your software to the latest build.
Follow the steps below to update your software version on macOS and iOS devices:
On macOS
- Access the Apple menu and open System Preferences.
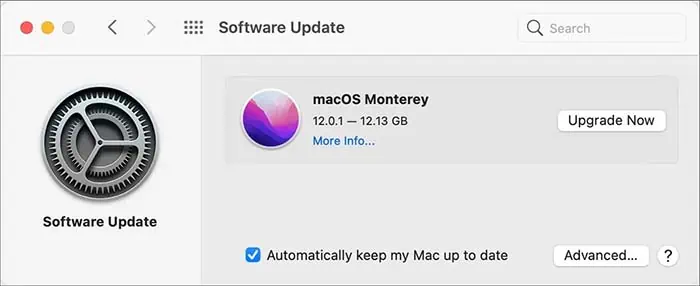
- Select Software Update and check for updates.

- Click on Upgrade Now (If available).
On iOS
- Launch Settings.
- Navigate to General > Software Update
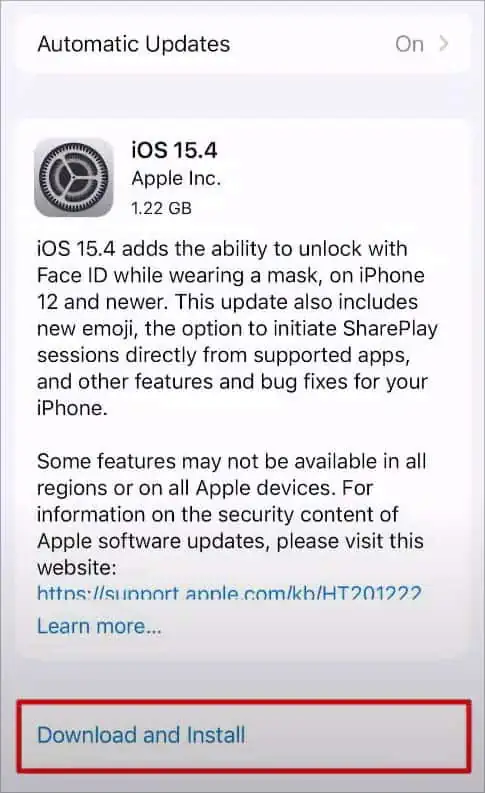
- Tap on Download and Install. (If the update is already downloaded, it will only show Install.)

- Follow the on-screen instructions.
Reset Network Setting
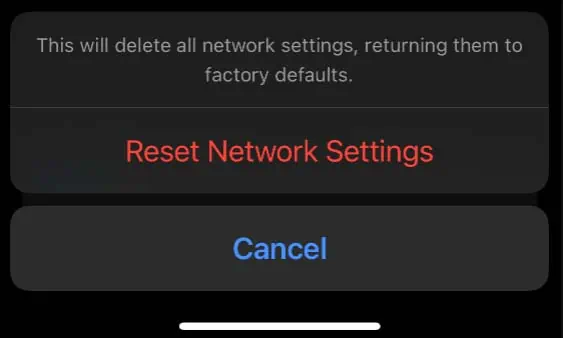
If none of the above methods fixes the issue for you, you can try doing a network reset of your device. It will delete all data about your currently configured network settings and restore them to defaults.
This will help solve the error if it was caused by issues in the network. Also, make sure to remember your password to reconnect to your wifi again after the reset.
Follow the steps below to do a network reset:
On macOS
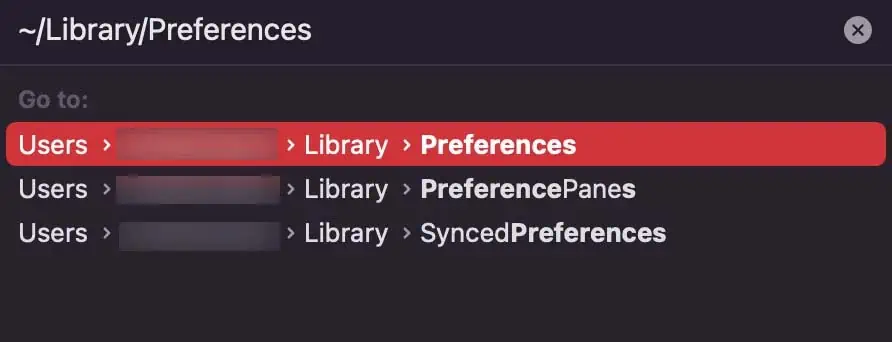
- Select Go from the menu bar and click on Go To Folder.
- Copy and paste this file path
~/Library/Preferencesin the text box.
- Open the SystemConfiguration folder.
- Delete the following files:
com.apple.network.identification.plistpreferences.plistcom.apple.airport.preferences.plistsettings.plist
networkInterfaces.plist - Restart your Mac computer.
On iOS
- Launch Settings.
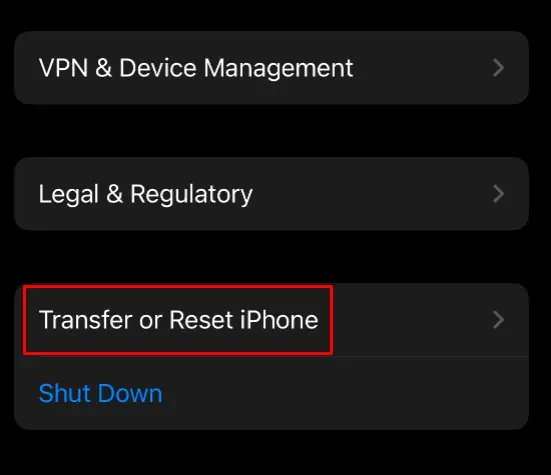
- Navigate to General > Transfer or Reset iPhone.

- Tap on Reset and Reset Network Settings.
- Enter your passcode.
- Confirm Reset Network Settings.


