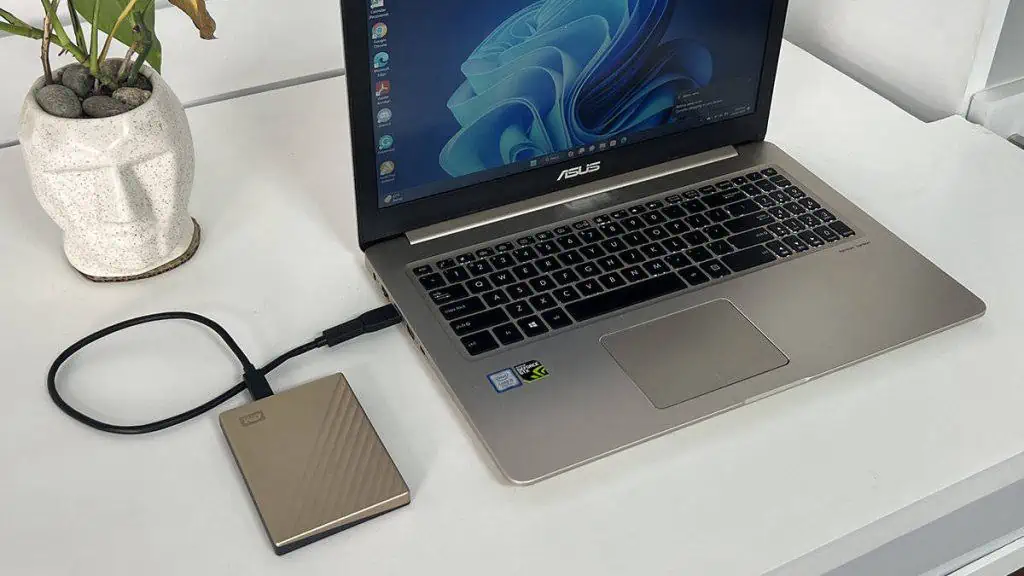
If you don’t properly connect your external hard drive to the computer, or if any one of the cables, connectors, or USB ports are damaged, you may run into the following issues:
- Repeated disconnection and reconnection of drive indicated by their corresponding sounds/jingles.
- The external drive gets disconnected randomly and doesn’t reconnect until you reboot.
- Transfer of files getting stuck before receiving something like “The device has either stopped responding or has been disconnected” error. The same can happen with any other process.
These issues can also happen because of inconsistencies with drive’s/USB’s power management settings, device drivers, and so on.
In this article, I’ll go through all the ways to troubleshoot these issues so that you can properly access the drive.
If other USB devices also keep disconnecting, refer to our How To Fix USB Keeps Disconnecting guide instead.
Check Cable, Connectors, and Port
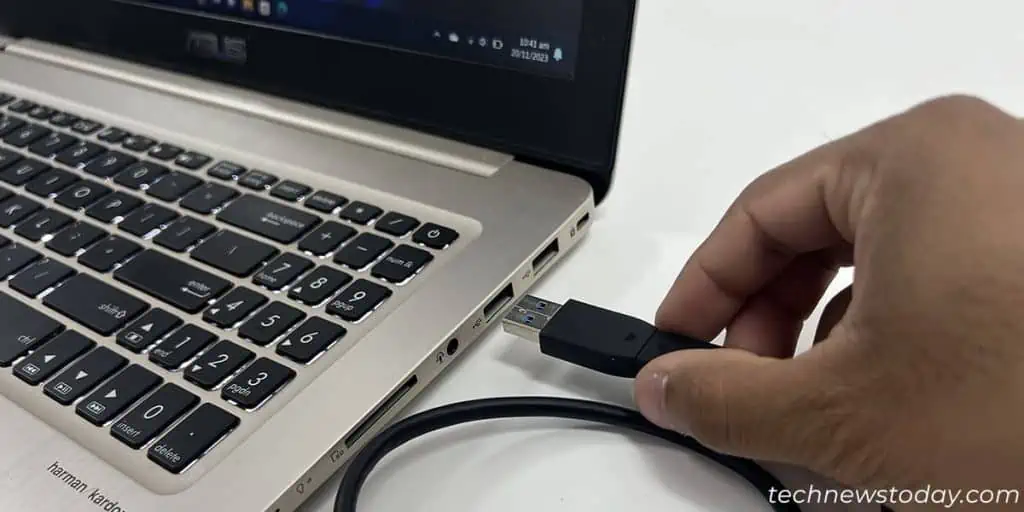
Before you do anything else, make sure that the drive’s cable, connectors, and your computer’s USB ports are in proper working condition. Perform the following checks to do so:
- Gently nudge the cable connectors on both the hard drive and computer side and see if it affects anything. The USB 3.0 Micro B connector on my first external hard drive cable would no longer fit properly inside the hard drive due to prolonged bending. I could only get it to work consistently while keeping the cable bent in a certain way.
- Try using another USB port to connect the external drive in case the original one is broken. You can also clean your USB ports before reconnecting the drive.
- If you have some other similar external hard drive, use their cable to connect the original drive to the PC. Alternatively, you can use the original cable for another drive as well.
- If applicable, connect your external drive to another computer and see if it works.
- If you are using a USB hub, connect the drive directly to the motherboard’s port, especially on the rear end. You can also remove other USB devices in case the external hard drive is not receiving enough power through the port.
Check USB Power Management Options
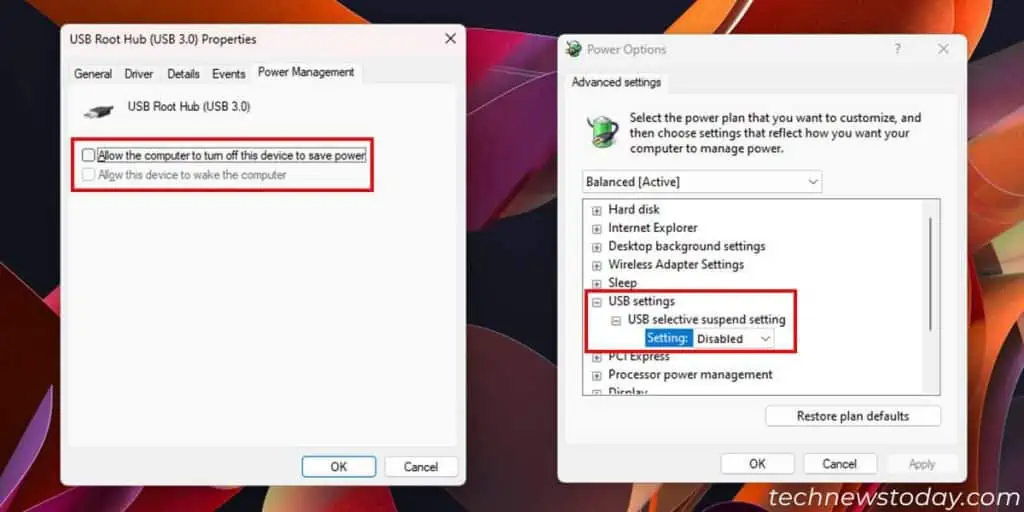
Windows comes with the USB selective suspend power management setting that suspends off the idle USB ports to save power.
So if you connect a hard drive but don’t use it for quite some time, the port that you used can become inactive.
Sometimes it doesn’t become active after you try using the external drive and cause the above issue.
Disable this power management feature for each USB using the device manager to resolve the issue. For that,
- Open Run by pressing the Windows key + R.
- Type
devmgmt.mscand press Enter to open Device Manager. - Expand Universal Serial Bus controllers.
- Right-click on each USB Hub and select Properties.
- Go to the Power Management tab and uncheck the first option.
- Click OK.
If it doesn’t help, disable the USB selective suspend feature entirely using the steps below:
- Open Run.
- Type
powercfg.cpland press Enter to open Power Options. - Click Change plan settings under your current power plan and select Change Advanced Power Settings.
- Expand USB settings > USB selective suspend setting and set each value inside it to Disabled.
- Click Apply and OK.
Check Hard Drive Power Settings
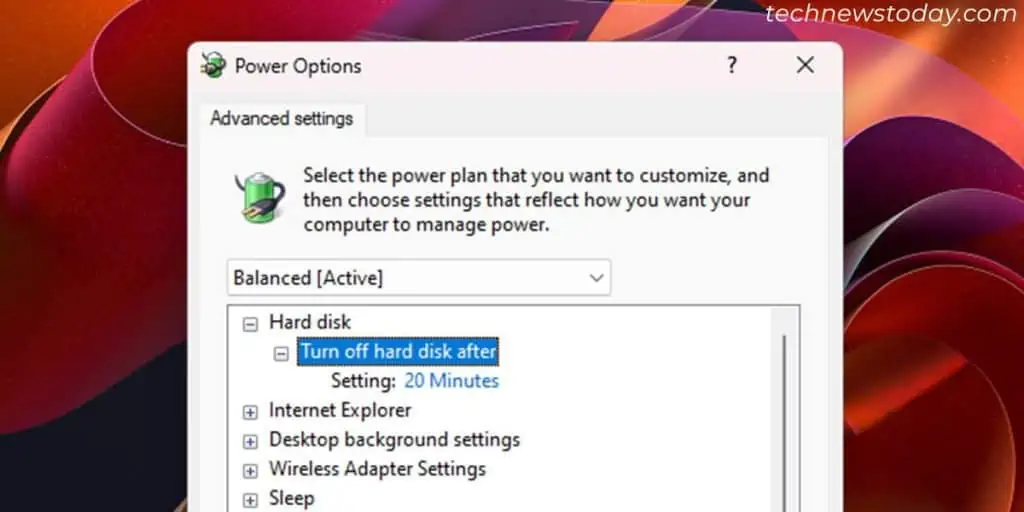
Some external drives will spin down and go to power-saving mode after they remain inactive for a certain period of time. In some cases, the drive may not get back to its active state when it should.
If your drive disconnects after a certain period of inactivity, disable this power-saving feature. You can use the OEM applications for the external hard drive to do so.
Windows also has its own hard disk power management feature that works together with the above setting. It’s better to disable it as well to prevent any disconnection issues.
- Open Power Options.
- Go to Change plan settings > Change advanced power settings.
- Expand Hard disk > Turn off hard disk after and set the values inside to
0or a very high value. - Click Apply and OK.
Check Legacy USB Setting
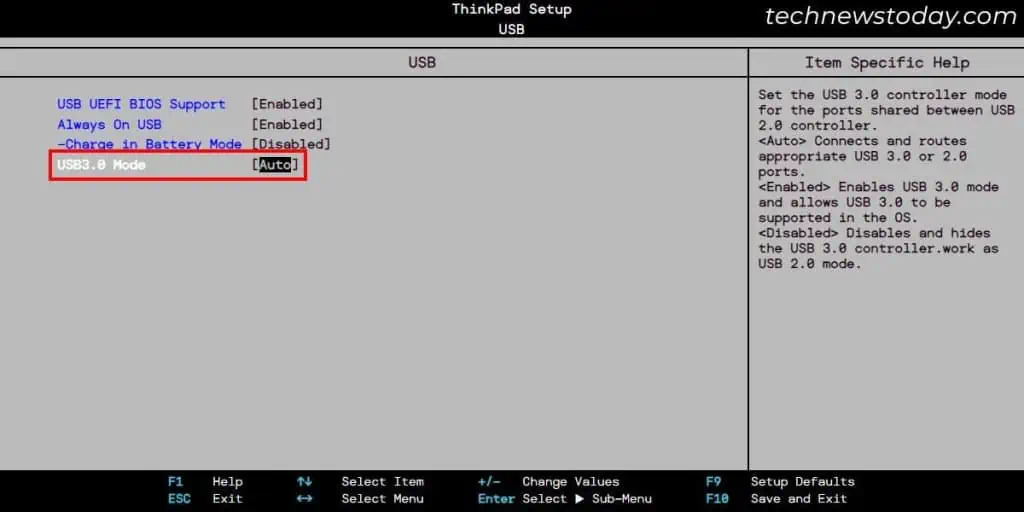
Some motherboards have a USB Legacy support feature that forces all USB ports, including USB 3.0, to use the USB 2.0 version only.
If your external hard drive supports USB 3.0, enabling USB legacy support may cause disconnection issues.
So, get to your BIOS and disable USB Debug Mode or Legacy USB Support or a similar option.
You will find it inside USB Configuration or a similar setting under the Advanced tab. Make sure to save and exit the BIOS after changing the option.
Update or Reinstall USB Drivers
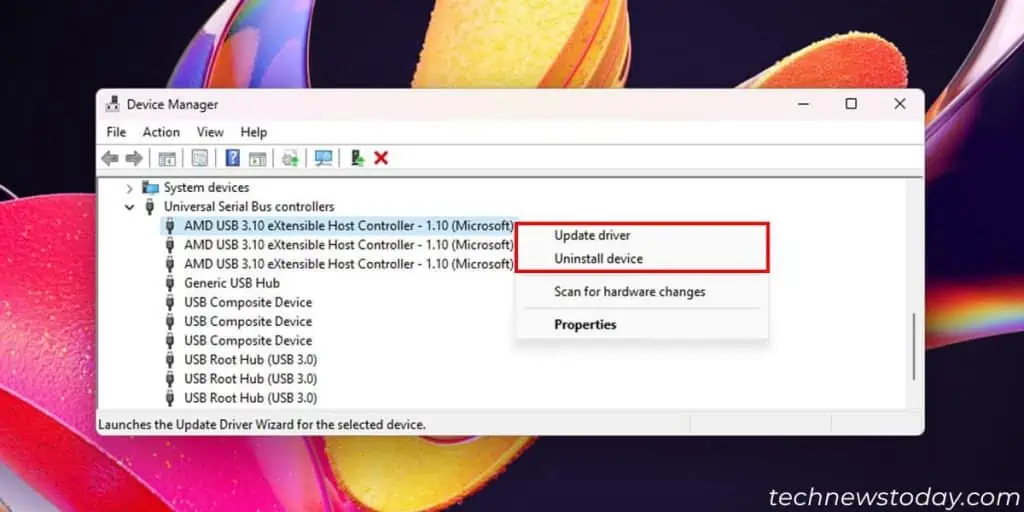
While USB driver issues are more likely to prevent external drives from connecting at all, it’s still better to have all drivers fully updated to avoid any inconsistencies.
You can do so using the manual Windows update feature as it also provides updates for all drivers.
If you have the latest USB drivers, uninstall these drivers (inside Device Manager’s Universal Serial Bus controllers) and restart your computer to reinstall them.
Make sure to uninstall and reinstall only one driver at a time as uninstalling the drivers will disable the relevant USB ports. If your keyboard or mouse stops working, switch to another port and continue.
Replace the External Hard Drive
If none of the above methods worked, there must be something wrong with your external hard drive or its cable. Contact the original supplier and see if you can replace the cable or the hard drive.
If replacing the cable doesn’t work and you can’t replace the drive, your only option is to get a new one.
Before that, make sure to recover all the necessary data from the original drive using data recovery software or through recovery specialists.
