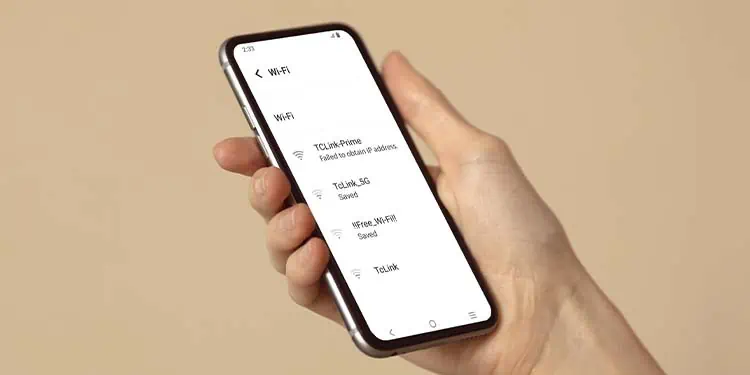
When connecting your mobile device to a network, it requests an IP address from your router’s DHCP server. However, the router can sometimes fail to offer an IP address to your device, resulting in the aptly named “Failed to Obtain IP address” error.
While this error is often caused by issue with the DHCP server or random session glitches, your mobile device may also be responsible for this error. It includes reasons like poor Wi-Fi signal, and misconfigured network settings on your mobile device.
Anyway, let’s see how you can troubleshoot both of them to fix this issue.
Restart Your Router and Device
The first thing you can do to fix this issue is to restart both your router and your mobile device. Restarting your devices will clear any temporary session glitches that might have caused the issue.
To properly restart your router, you can unplug the device, wait for one minute, and plug the router back in.
After restarting your router, try restarting your mobile device as well. Doing so is as simple as holding the power button, and selecting the Restart option.
Forget and Reconnect to the Network
You can also try forgetting the network you’re trying to connect to and then try reconnecting to that network. Forgetting a network will delete all cache and configured settings of the network, and your mobile device treats it like it is connecting to that network for the first time.
So, forgetting and reconnecting to a network can solve some minor issues with it. Furthermore, reconnecting to a network will also initiate another attempt at obtaining an IP address.
- Open the Settings app on your phone.
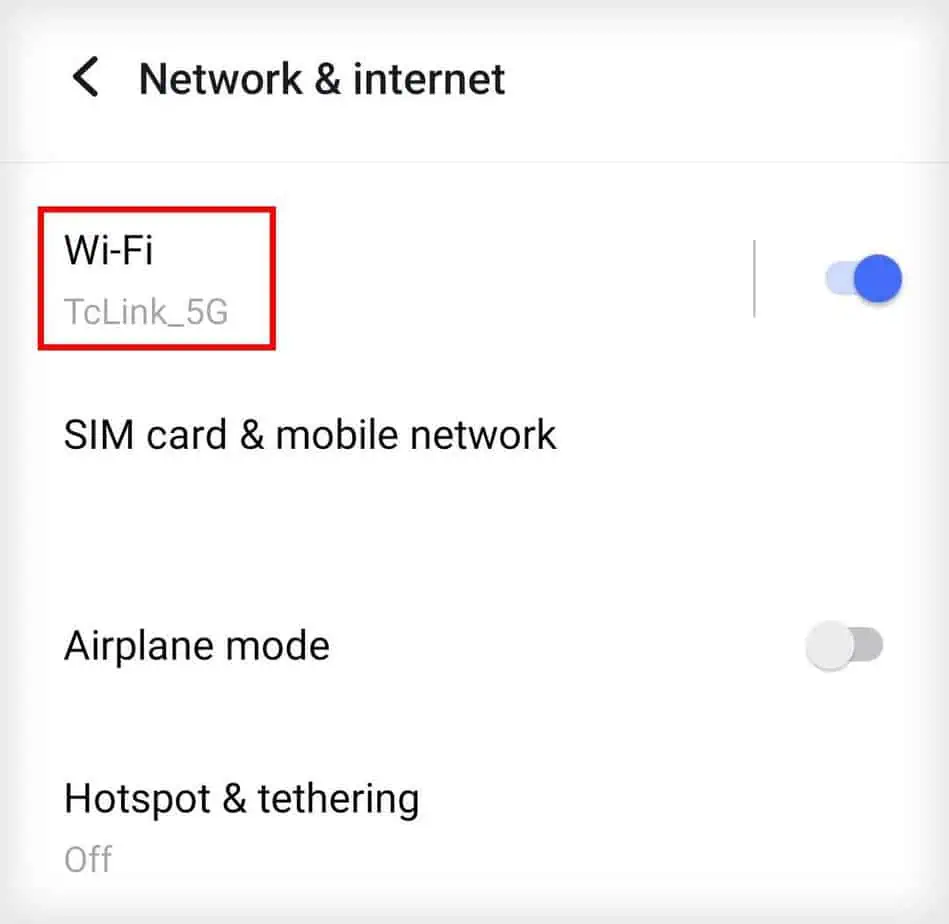
- Go to Network & internet, and click on Wi-Fi. (The setting names may differ a little depending on your Android version and phone manufacturer.)

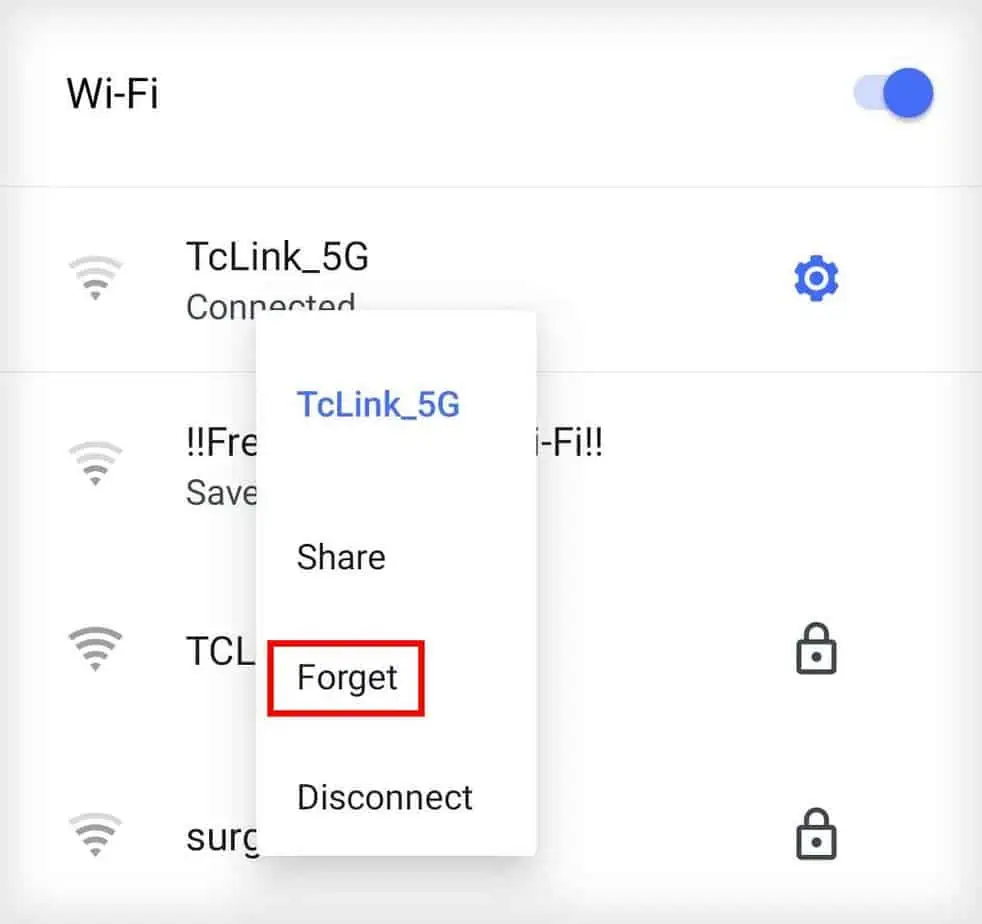
- Tap and hold the network that you’re trying to connect to and select Forget.

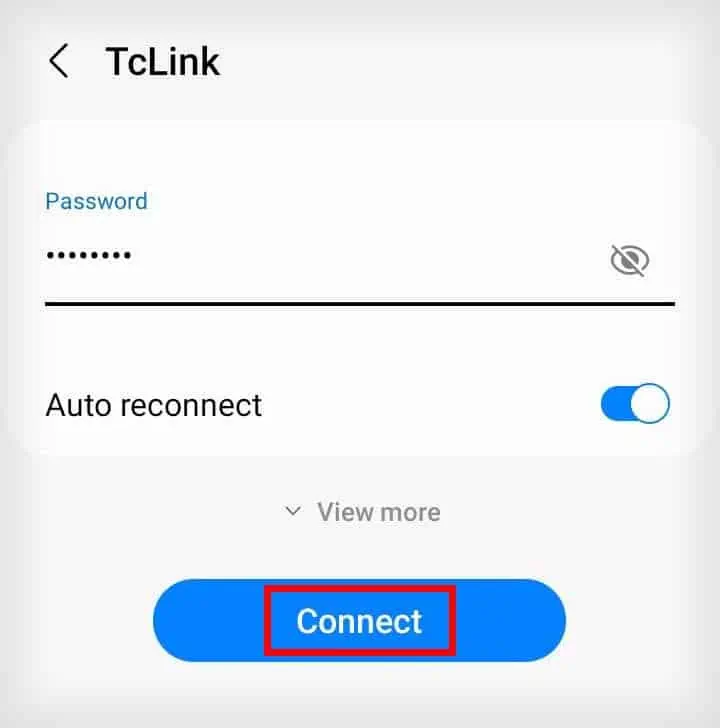
- Select the network again and enter the password.

- Tap on Connect to reconnect to that Wi-Fi.
Change to a Static IP Address
The router will automatically assign a dynamic (temporary) IP address to your device using the Dynamic Host Configuration Protocol (DHCP). When your device can’t receive the dynamic IP address, you will face this error.
So, you can circumvent this issue by manually entering a static (permanent) IP address to your device. This will ensure you only use a single permanent IP address to connect to your router, and the router doesn’t have to assign an IP address to your device.
- Open Settings.
- Go to Network & internet > Wi-Fi.
- Tap and hold the network showing the error, and select Forget.
- Select the same network again, and enter its password.
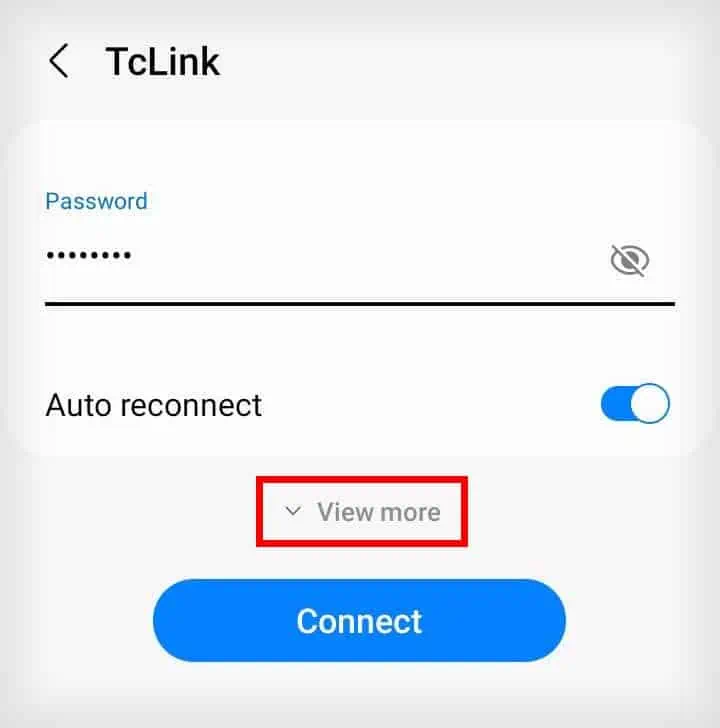
- Tap on the Advanced options or View more option to expand the menu.

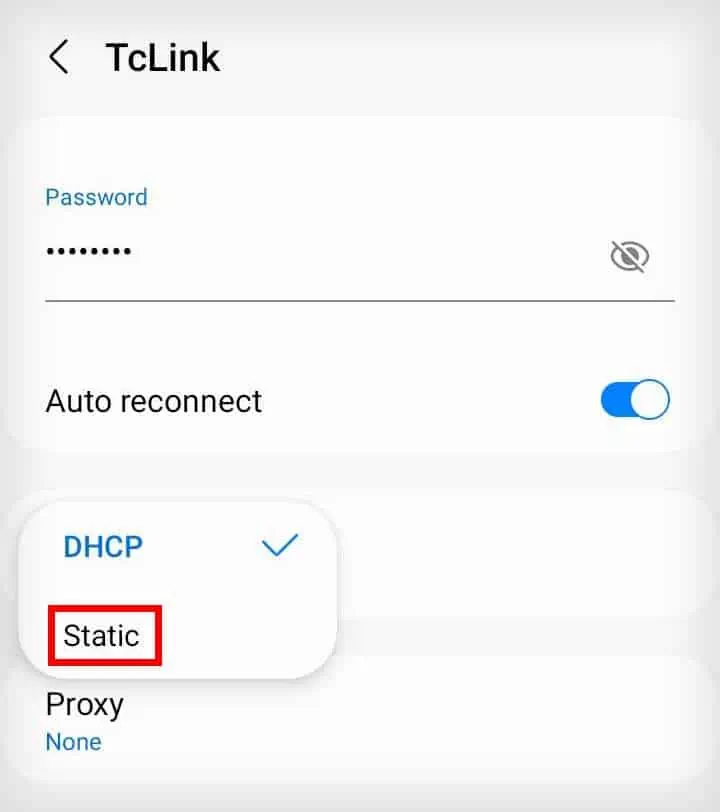
- Under IP settings, tap on DHCP to expand the drop-down menu, and select Static.

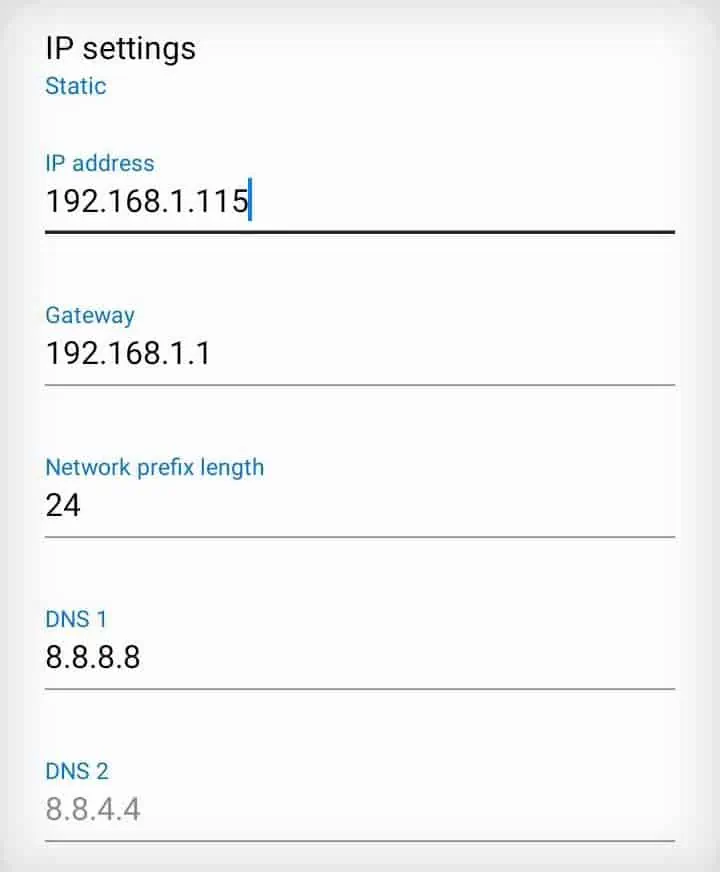
- Under Gateway, enter the IP address of your router. (The IP address of your router can be found at the back of your router on a sticker.)
- Under IP address, enter the IP address of your router, and change the last numeric value to anything from
2-225.
- Under DNS 1 and DNS 2, enter a DNS server of your choice. (If you don’t have a specific DNS server that you want to use, you can use Google’s public DNS server,
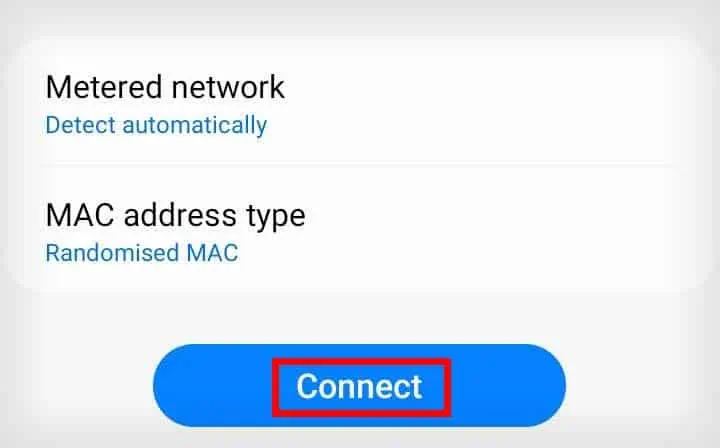
8.8.8.8and8.8.4.4.) - Tap on Connect.

If your phone is connected to the network but has no internet access, you can try changing your static IP address again in Step 8. This error can occur if your manually assigned IP address is already in use by another device.
Reset Network Settings
This error can also be caused by issues in the network settings on your mobile device. So, you can try resetting your network settings to flush out all network related data, and also revert your network settings to default.
- Launch Settings on your phone.
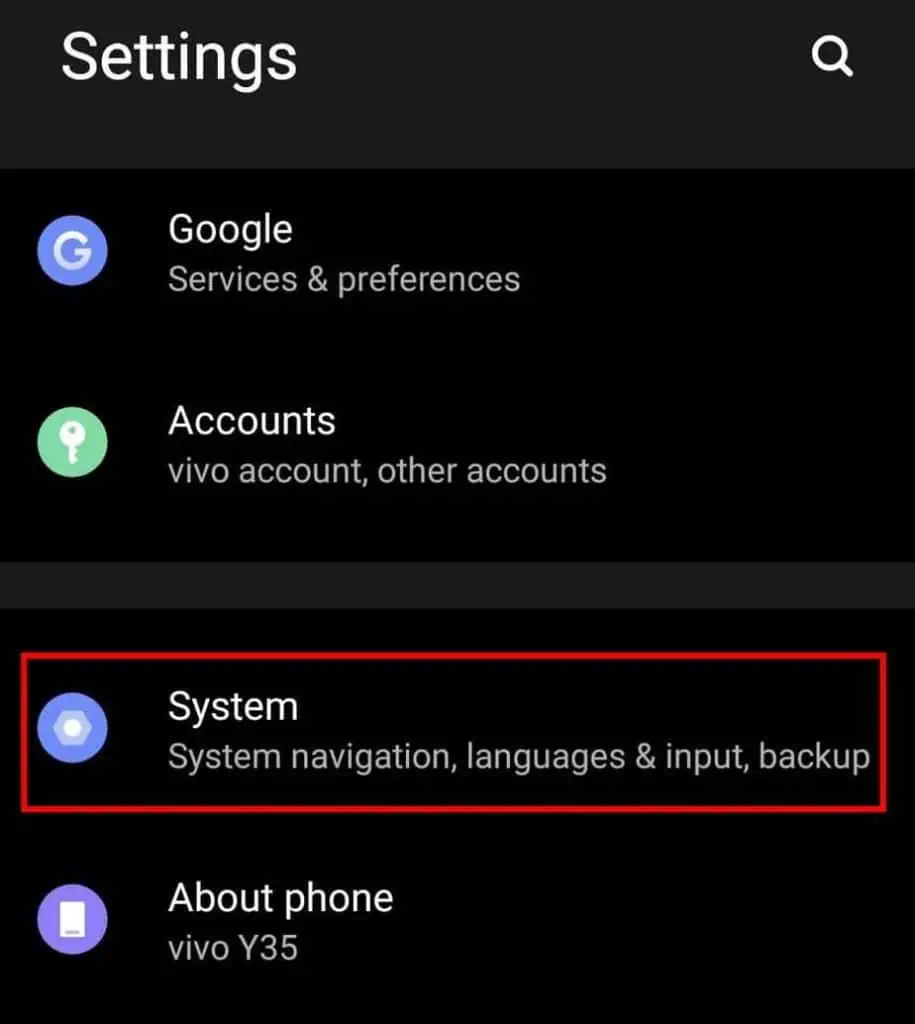
- Scroll down and select System.

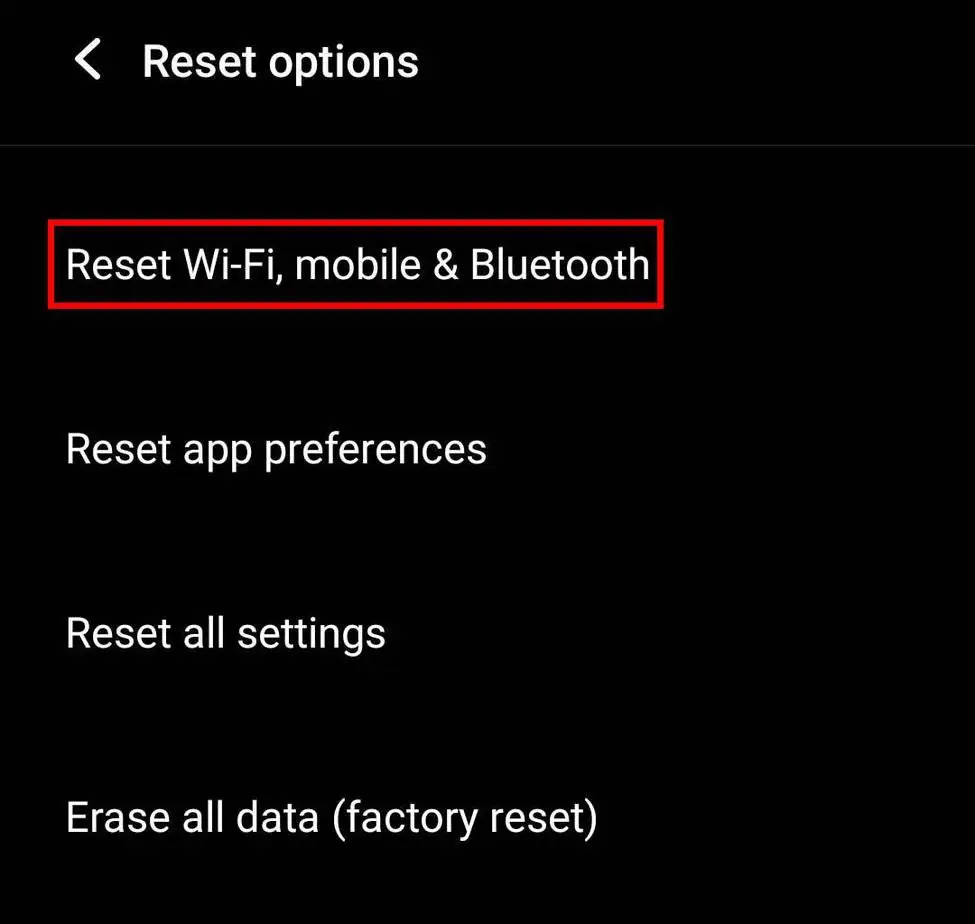
- Tap on Reset options, and select Reset Wi-Fi, mobile & Bluetooth. (If you can’t find this option, you can instead search for
resetin the search bar, and tap on the appropriate setting.)
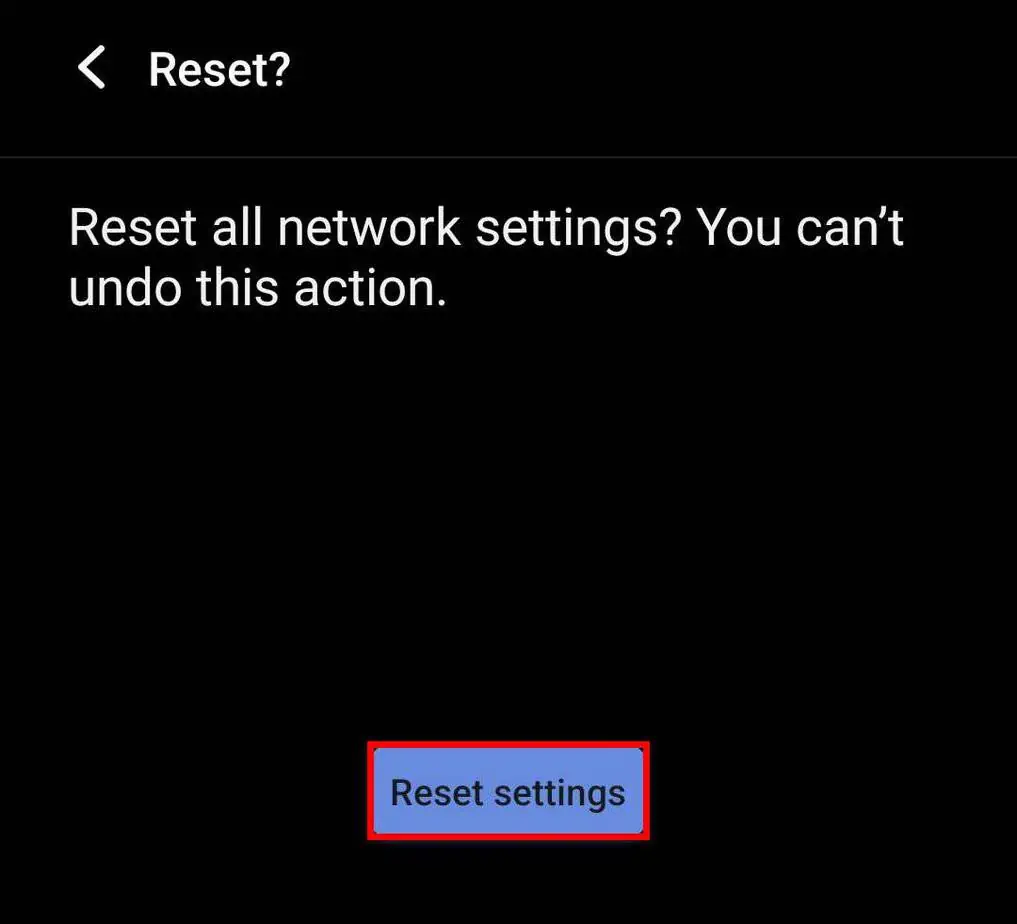
- Tap on Reset settings, and unlock your phone using your login credentials.
- Select Reset settings again.

Reset Your Router
If none of the above methods work, you can try resetting your router to revert all of your router settings to default. This will ensure any misconfigured settings or personal settings like infinite DHCP lease, or a small DHCP pool setting that could have caused this issue to be resolved.
- Make sure your router is plugged in and running.
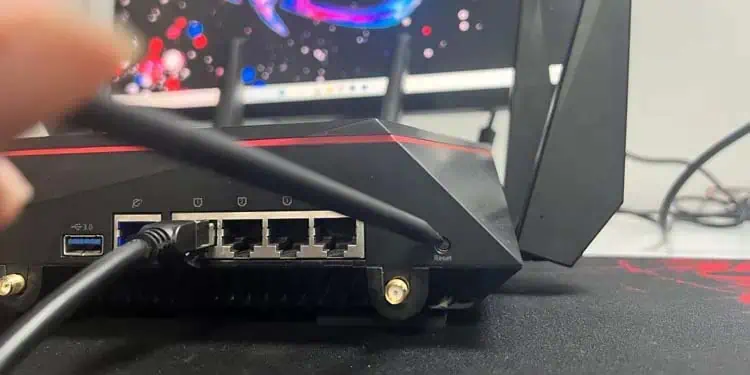
- Locate the small reset button in your router. (It should be labeled reset or have the reset icon.)

- Press and hold the reset button for at least ten seconds.
- After the reset completes, you will need to reconfigure your network.
- Connect to the default network of the router. (The default network SSID and password should be at the back of your router.)
- Open a browser of your choice, and enter the IP address of your router. (The router’s IP address should also be at the back.)
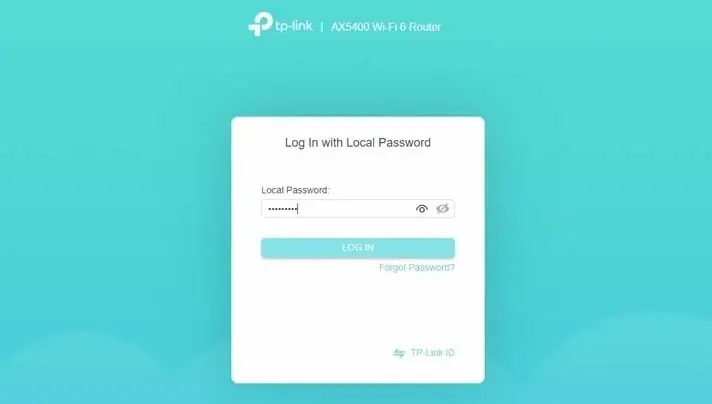
- Login to your router portal using the login details on the back of your router.

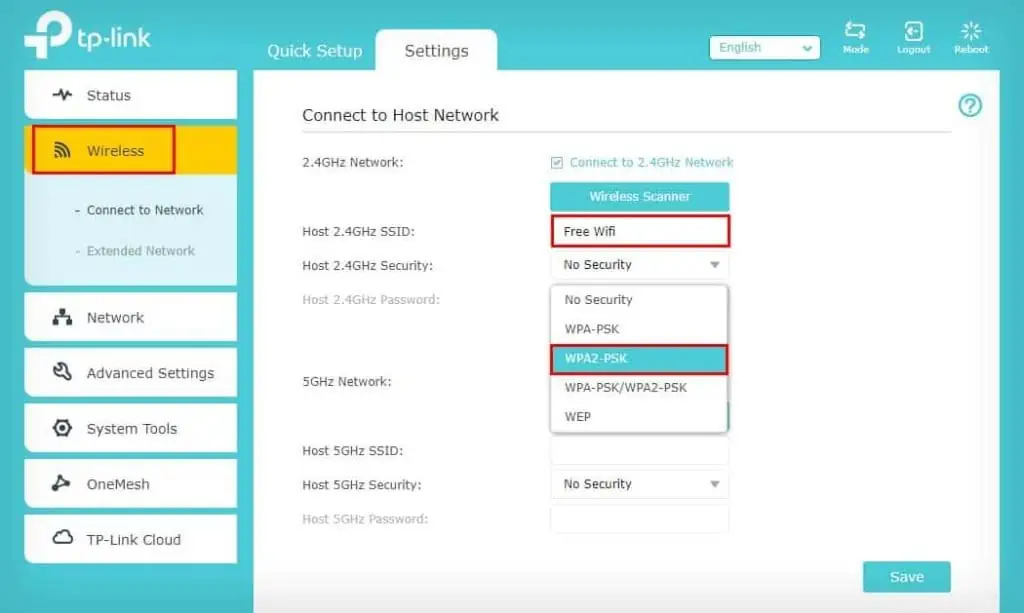
- Go to the Wireless setting or something equivalent. (Different routers have different router portal user interfaces, so you might need to browse the settings a little to find what you’re looking for.)
- In SSID, enter a new name for your Wi-Fi.

- In Security, choose a WPA2 option. (All versions previous to WPA2 like WPA and WEP aren’t secure, and the latest WPA3 version is supported on very few devices.)
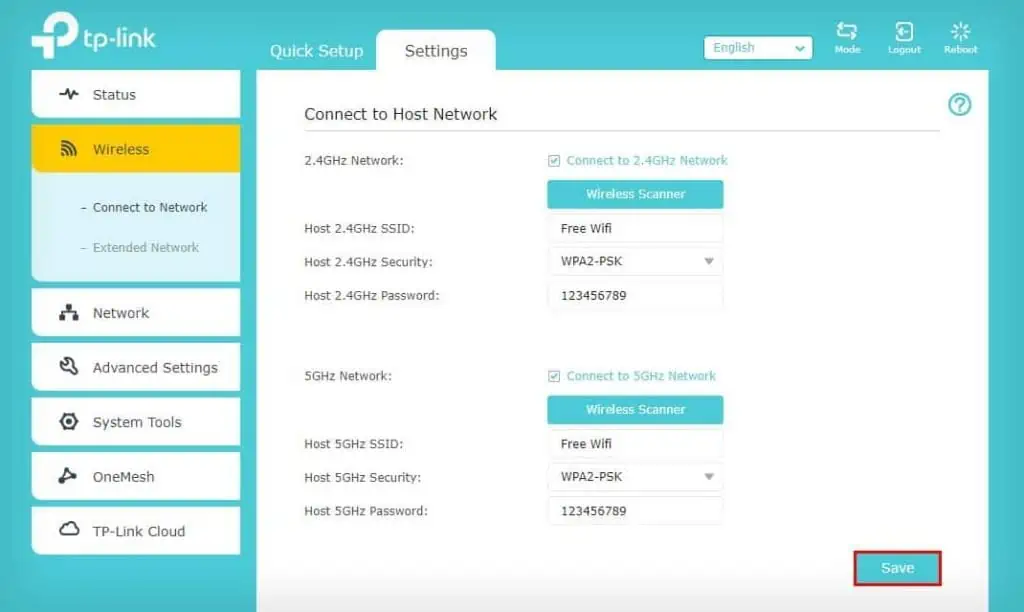
- Set up a password for your Wi-Fi and hit Save.

The above network configuration steps are for a TP-Link router, and the steps will differ a little depending on your router.

