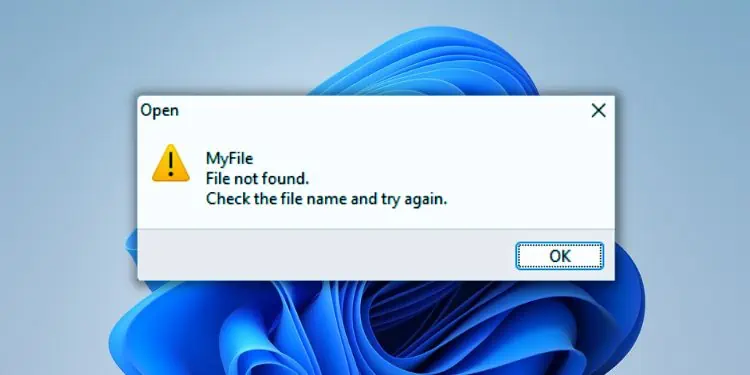
Some users have encountered the “File not found” error when trying to move, open, or save a file when running some applications. Along with it, you’re mostly accompanied by the message, “Check the file name and try again.”
This error may appear if you’re searching for a file that’s already been deleted or moved to another location. While these are just common scenarios, you could also face a situation where the file exists but doesn’t open or save. This can happen due to several reasons, like malicious attacks or corrupted hard drives and Windows.
Allow Your App to Pass Through Controlled Folder Access
The Controlled Folder Access is a Windows Security option that provides additional ransomware protection. If you’ve enabled the feature and made certain unsafe changes, you may not be able to save your work on the protected apps, even if you trust them.
While disabling Controlled Folder Access should eventually solve it, you may not get extra benefits, making the feature kind of worthless. Instead, you can allow the particular application to bypass, and here’s how to do just that:
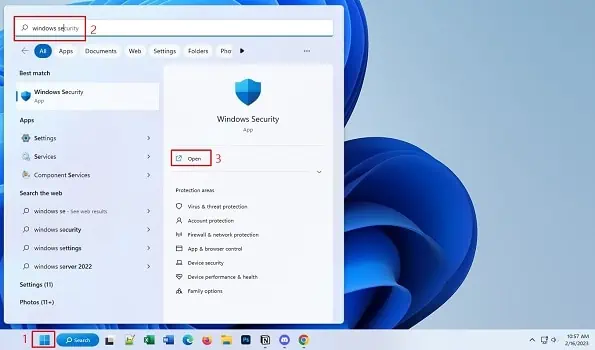
- Press the Windows key, and search for Windows Security.

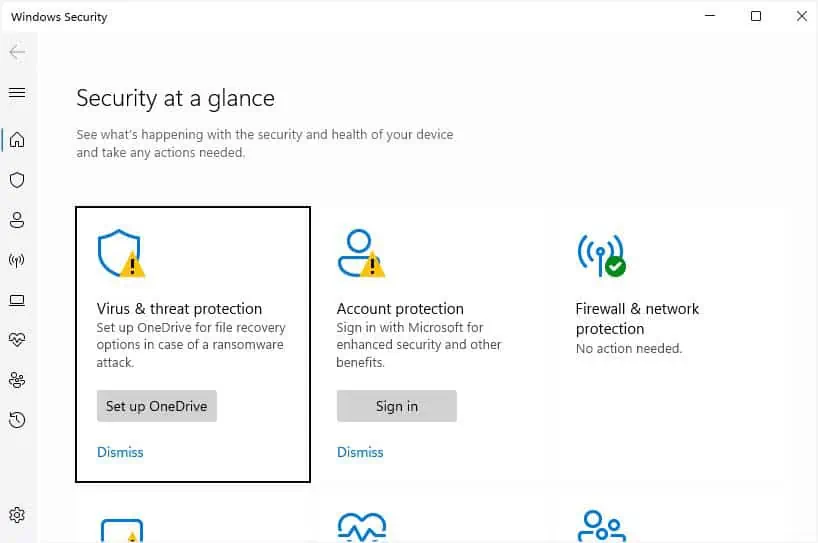
- Launch the utility and move to the Virus & threat protection section.

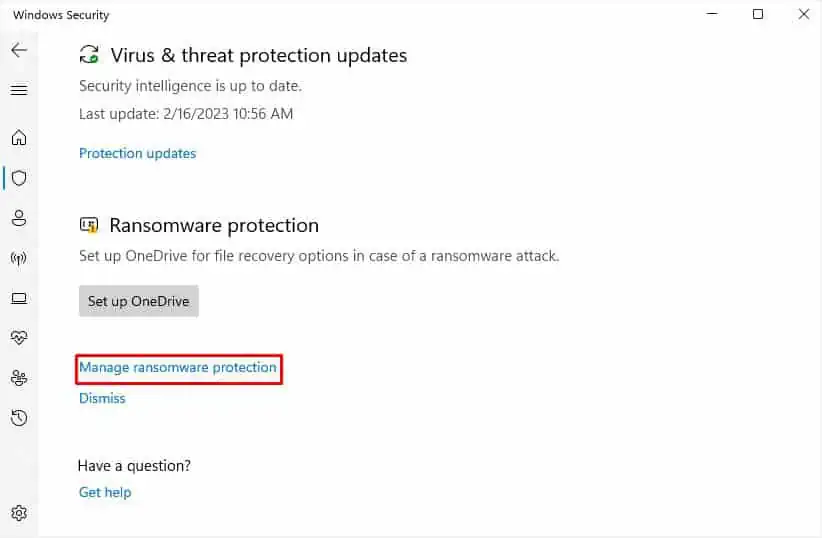
- Under Ransomware protection, click on Manage ransomware protection.

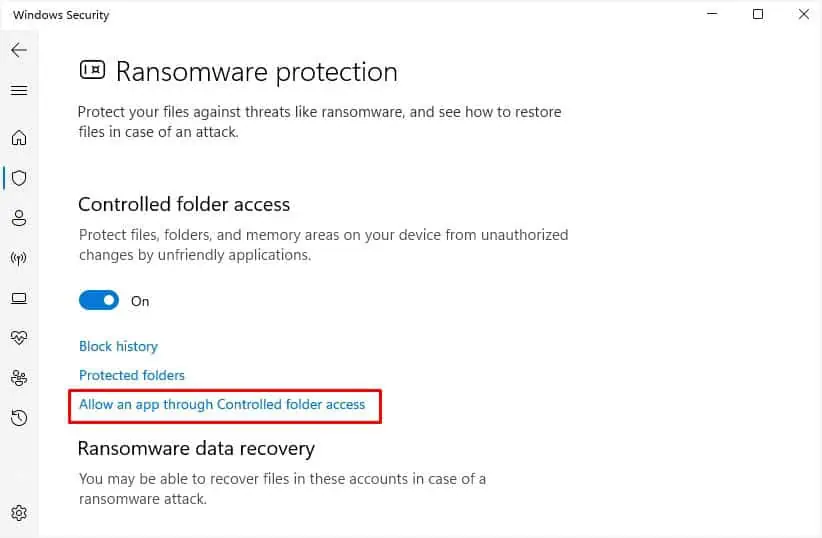
- Next, select Allow an app through Controlled folder access from the Controlled Folder Access section.

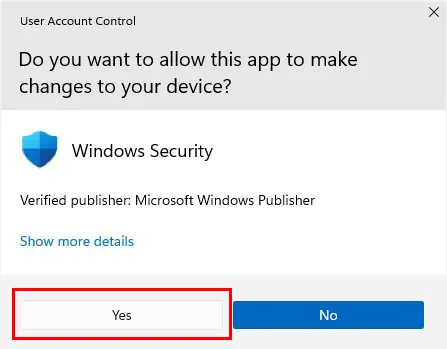
- Once the User Account Control prompt pops up, hit the Yes button to continue.

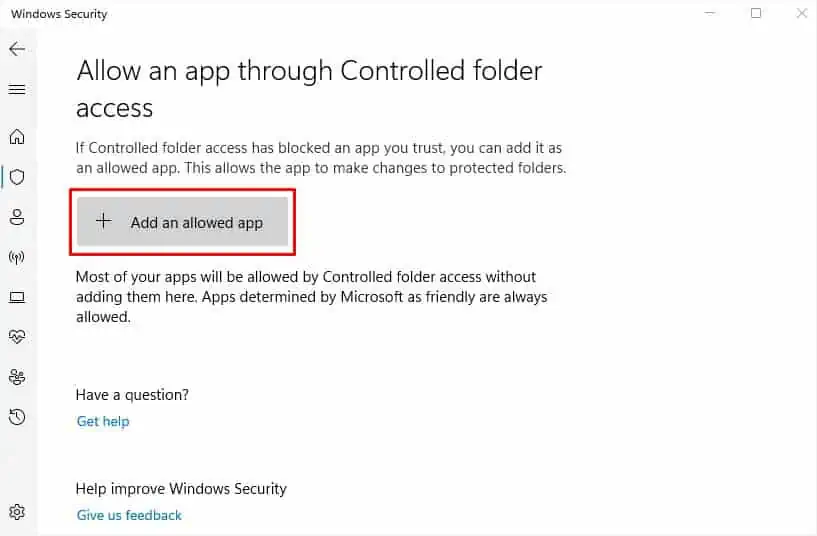
- Then, press the Add an allowed app button, and choose Browse all apps.

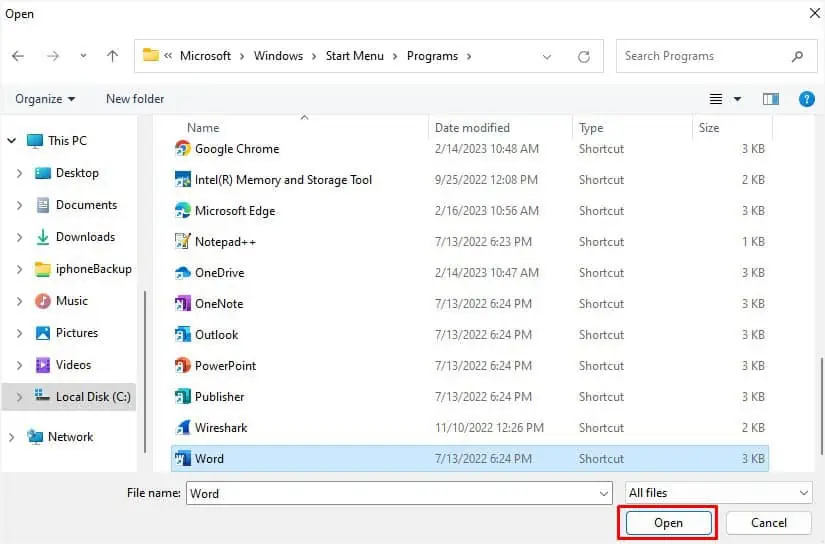
- Finally, find your application and hit Open. This will add the application right below the Add an allowed app button.

Configure Protected Folder
Along with the apps, Controlled Folder Access also protects the configured folders. While you can’t remove the Windows system folders (as they are added by default), you can certainly make changes to your personal ones.
Therefore, if you already trust your folder and do not want to apply the Controlled Folder Access feature, here’s how you can remove it from the list:
- Go to Windows Security > Virus & threat protection > Ransomware protection.
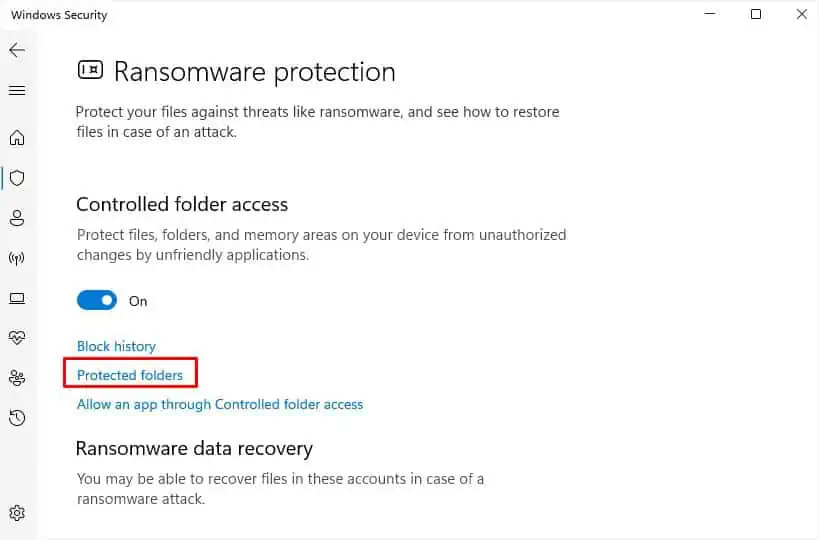
- From the Controlled folder access, select Protected Folders.

- Press Yes to get to the next window.
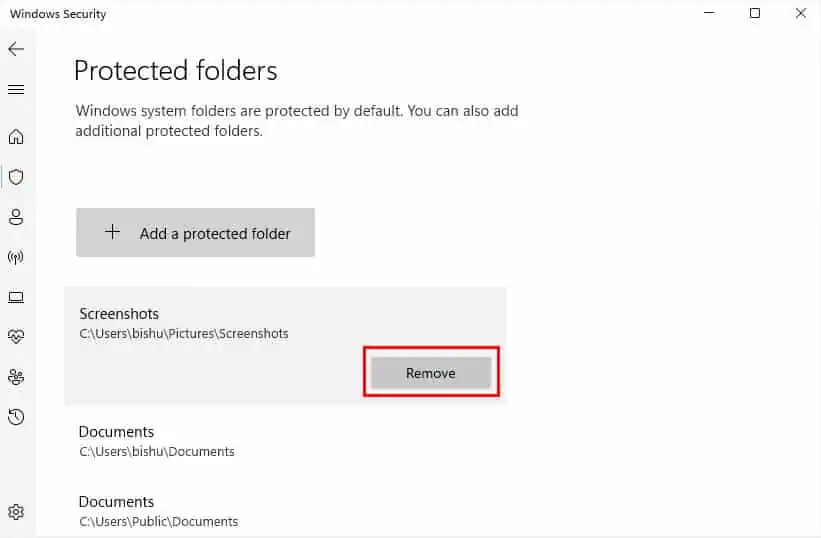
- Now, select your folder, and hit the Remove button.

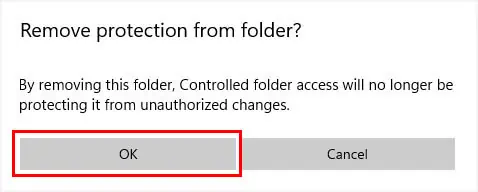
- In the confirmation prompt, press Ok.

Disable Controlled Folder Access
If neither of the two methods is applicable, try disabling the Controlled Folder Access. But before doing so, kindly note that your PC will be exposed to malicious and suspicious threats.
- Open the Windows security application and move to Virus & threat protection > Ransomware protection > Manage ransomware protection.
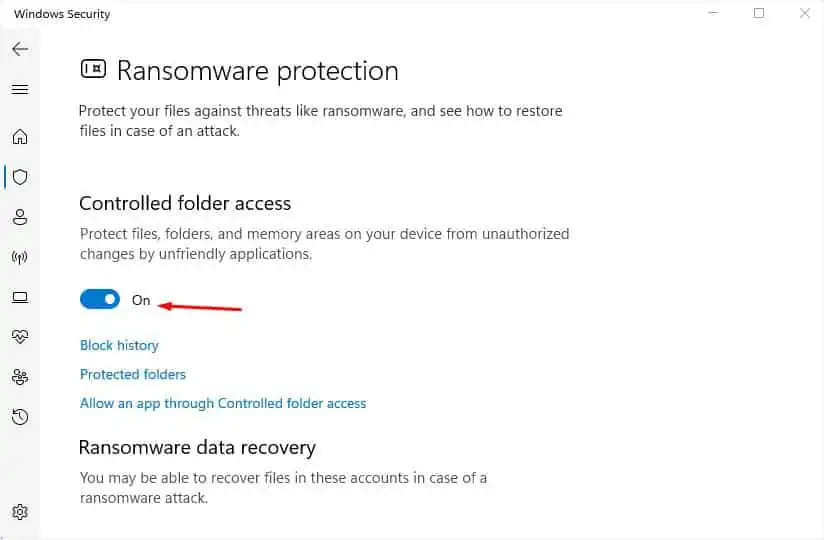
- Under Controlled folder access, toggle off the switch.

- In the User Account Control confirmation prompt, press Yes.
- Now, try saving, opening, or moving your file, and check if the “File not found” error still appears.
Scan for Possible Malware
Even if tweaking Controlled Folder Access settings didn’t help, your folders are probably affected by some viruses. Therefore, it’s a good idea to run a full scan of your PC to remove such malware. While you can use one or more reliable third-party antivirus programs, we would recommend the built-in Windows Security, as it also provides effective protection.
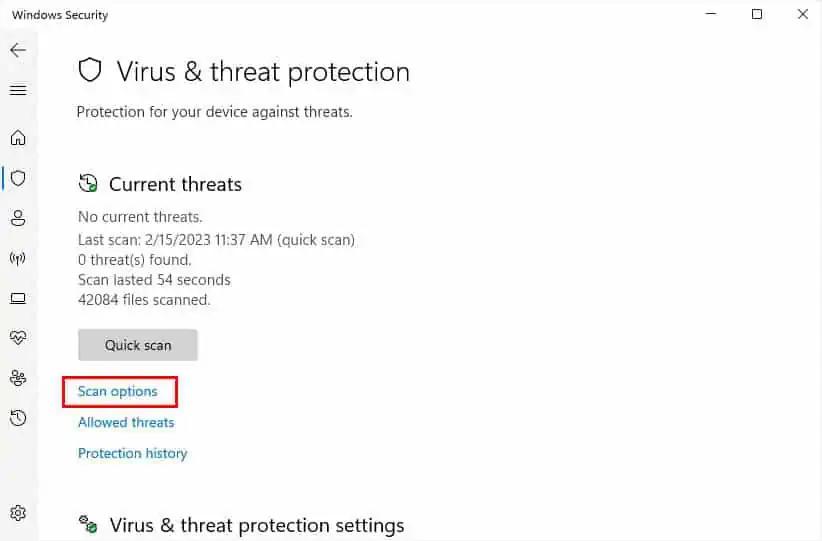
- Navigate to Windows Security > Virus & threat protection.
- From the Current threats section, choose Scan options.

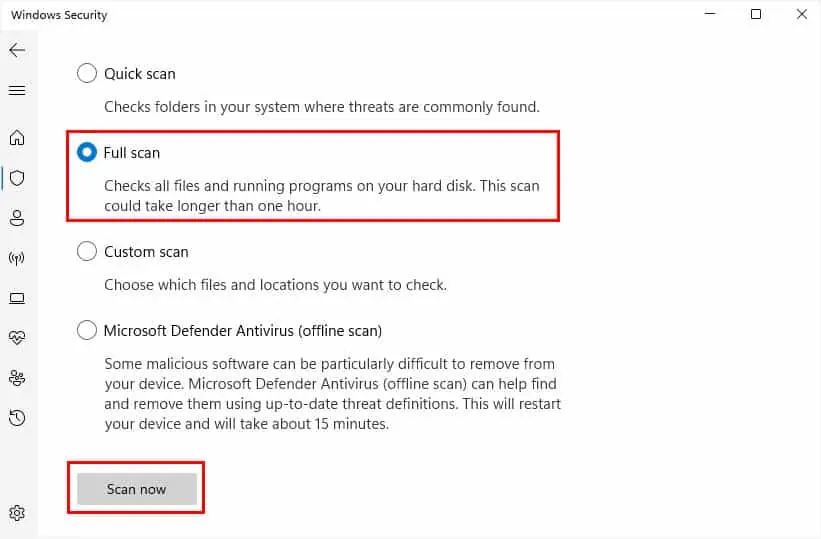
- Pick Full Scan and press the Scan now button.

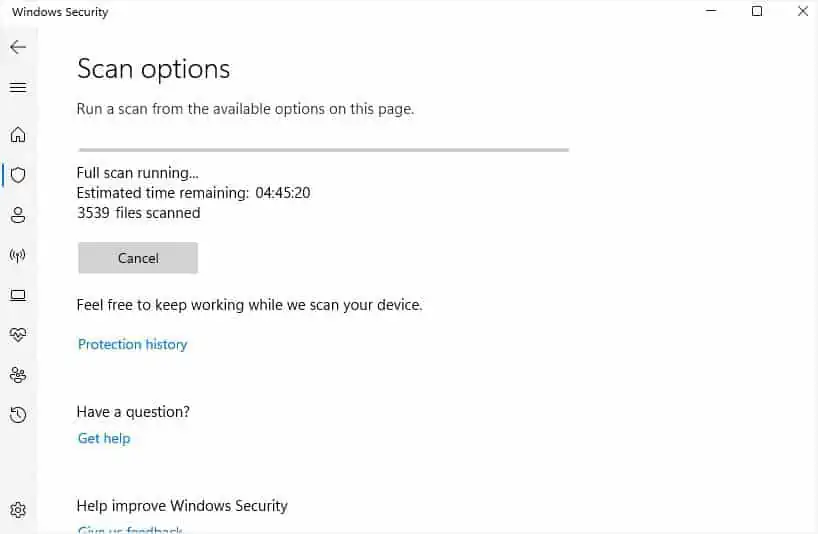
- Wait until all the files are scanned. This may take several minutes.

Run SFC and DISM Commands
When system files get corrupted, they usually do not run. But if they do, you’re probably going to get unexpected errors. If you’re getting a similar error for the Windows files, we suggest running the DISM and SFC commands from a preferred command-line interface (CMD or Powershell). For demonstration, we will use Command Prompt in this section.
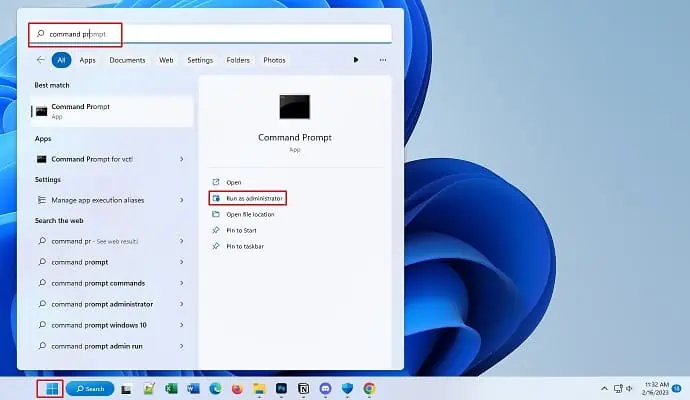
- Get to the Start Menu, search for Command Prompt, and run it as an administrator.

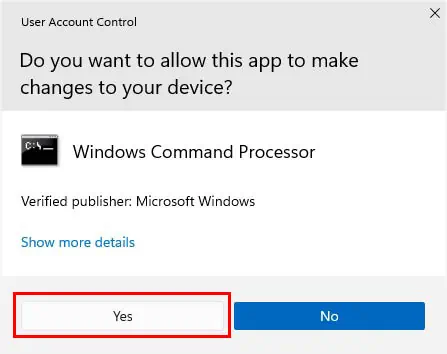
- Press the Yes button to allow the app to make changes to your PC.

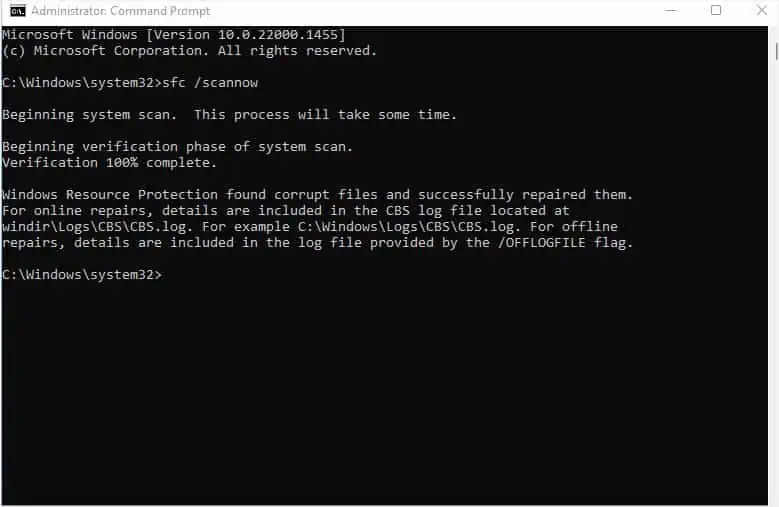
- Copy and paste the below code to fix the corrupted system files:
sfc /scannow - Hit Enter and wait until the system scan is completed. You should get the “Windows Resource Protection found corrupt files and successfully repaired them.” message.

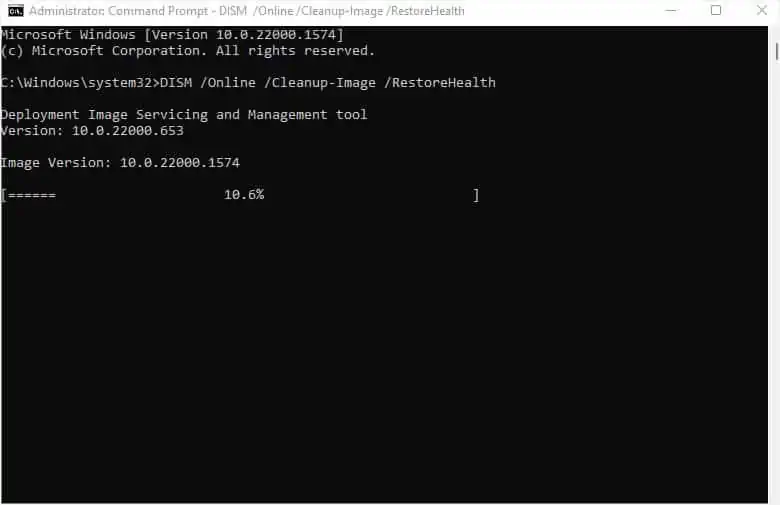
- Then, restart your PC and check if the problem persists. If it does, get back to the command-line interface and this time run the below command:
DISM /Online /Cleanup-Image /RestoreHealth - Now, the Image Servicing and Management tool gets deployed. This should find and repair any corruption within the system files and images.

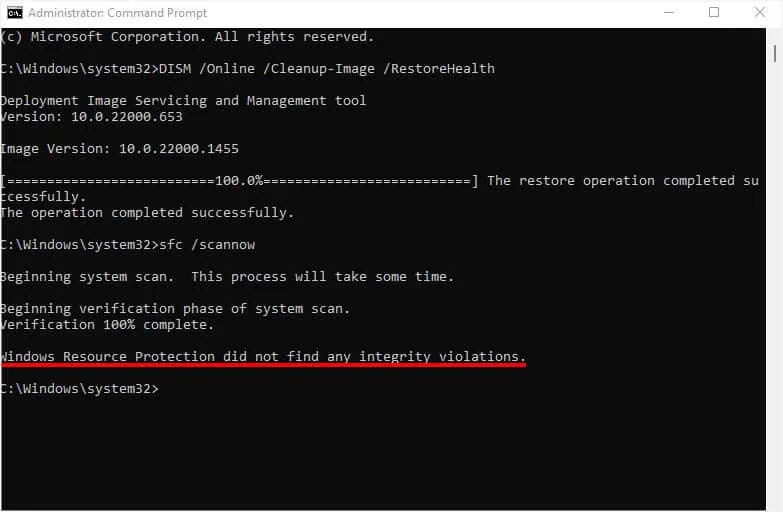
- Once the operation is completed successfully, rerun the SFC command, as shown below.

Additional Tip:
Some users have claimed to get the “File not found” error with the Error 15 code during the startup. When this happens, you probably won’t be able to log in to Windows due to master boot record corruption, bad sector, or other issues.
In such a case, we recommend starting your system in safe mode (with networking), and running the SFC and DISM commands, as discussed above. If the problem persists, try updating or restoring Windows, which we shall discuss ahead.
Update or Restore Windows
When you do not update Windows, your PC becomes prone to security vulnerabilities. Therefore, checking and updating the OS is absolutely essential. You can adopt the following steps and see if it fixes the “File not found” error:
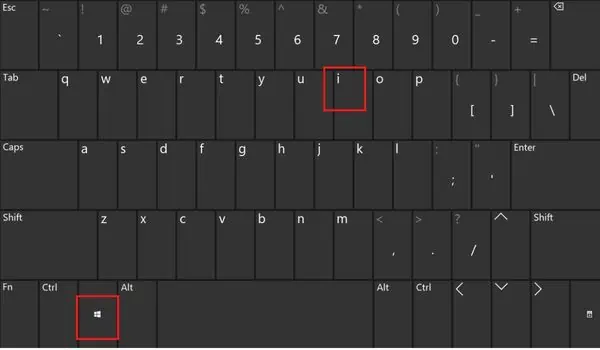
- Use the Windows + I hotkey to open Settings.

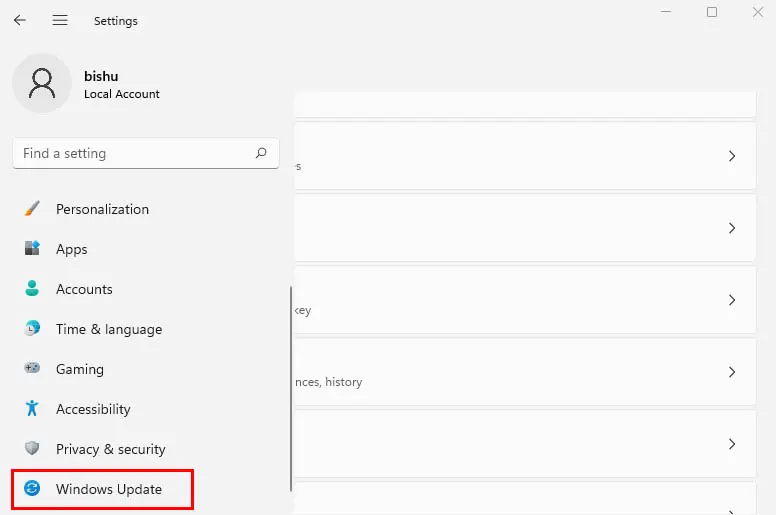
- Next, go to the Windows Update tab.

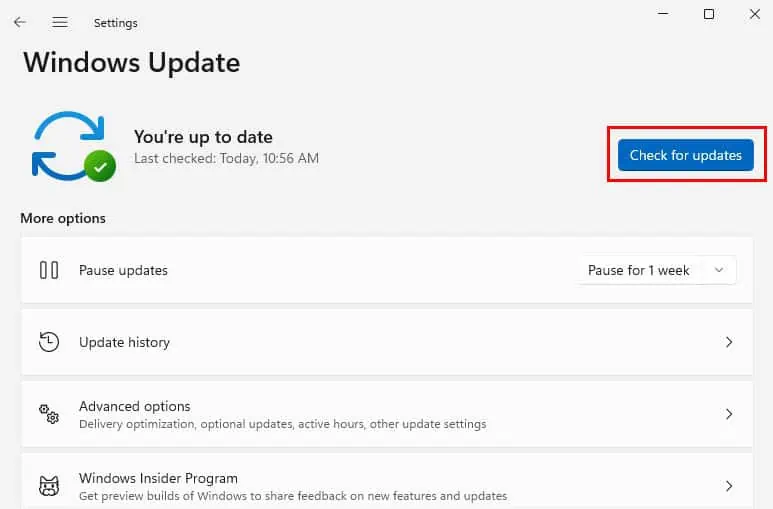
- Then, click on Check for updates.

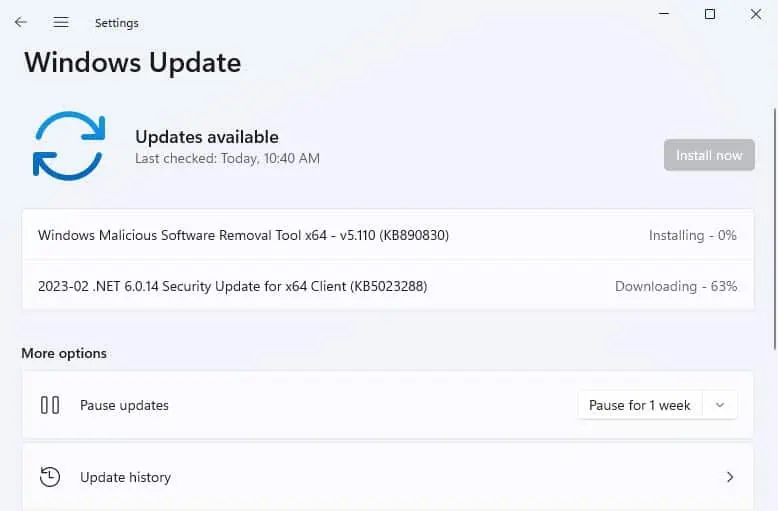
- If there’s a pending cumulative update, you should see the Install now button. Press it to continue.

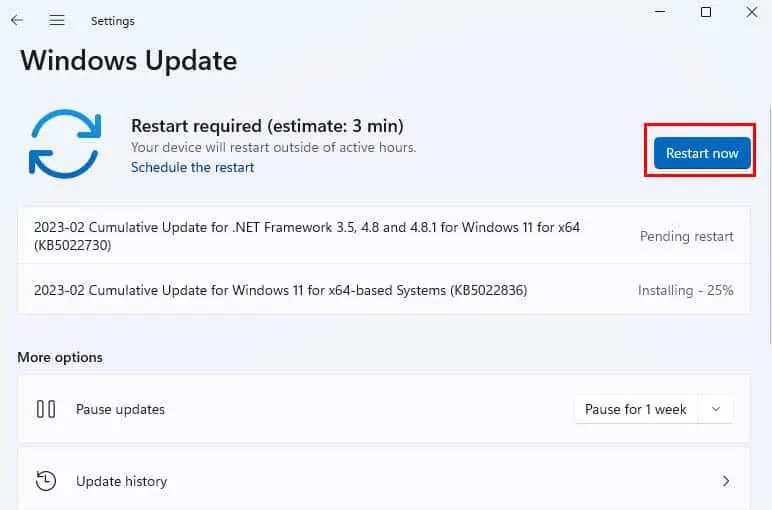
- Now, hit the Restart Now button to reboot your PC and complete the update.

If you got the error after updating Windows, you can try uninstalling it. In case it doesn’t help, we suggest performing a system restore. This will revert your files and settings to the previous state when the error didn’t exist.
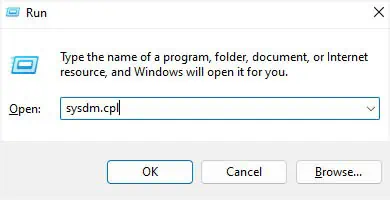
- Open the Run dialogue box using Windows + R. Here, execute the below command:
sysdm.cpl
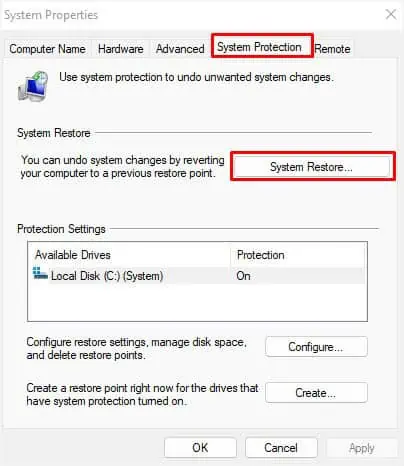
- Once the System Properties window pops up, get to the System Protection tab.
- Now, hit the System Restore button.

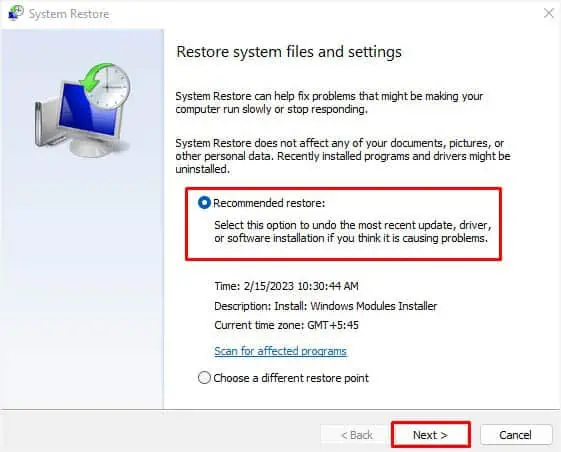
- Select the recommended restore and hit Next.

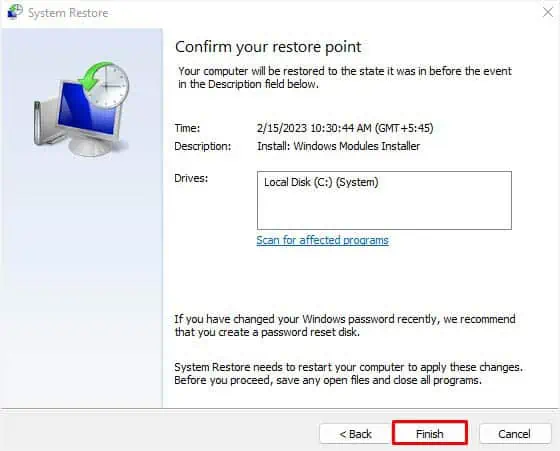
- Then, tap the Finish button to restore Windows to the previous working state.

- Follow the on-screen procedure to successfully restore your system.
- Now, wait for Microsoft to recognize the issue, and brings up a new update that should fix the possible bugs.
Reinstall the Application
In some cases, the issue doesn’t lie with Controlled Folder Access or Windows. Instead, the particular application might be faulty. In such cases, a simple reinstall should solve your problem.
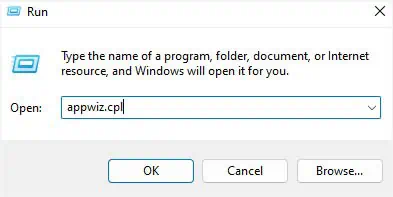
- In the Run interface, execute the following command to get to the Programs and Features window:
appwiz.cpl
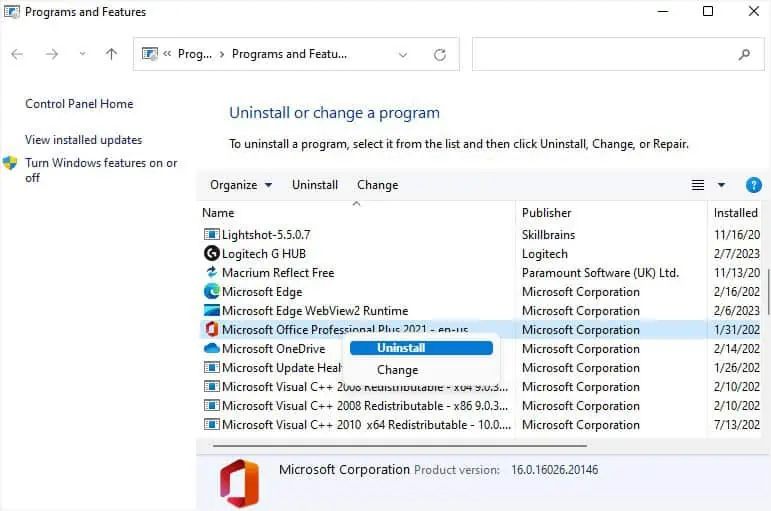
- Look for the application and double-click on it. Alternatively, you can right-click and choose Uninstall.

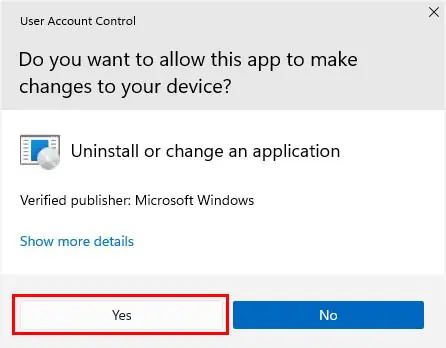
- In the User Account Control prompt, press Yes.

- Follow the on-screen instruction to complete the uninstallation.
- Now, redownload and reinstall the application. Then, check if the error sill pops up.
Run Windows File Recovery
If nothing helps, the file is probably removed. So, check if you’ve backed up your work somewhere. Otherwise, you’ll need to manually recover the lost file using a recovery tool.
Although there are tons of third-party apps that provide this feature, we advise using Windows File Recovery, which is available for free on Microsoft Store. Once you’ve installed this utility, go through the below steps to recover your file:
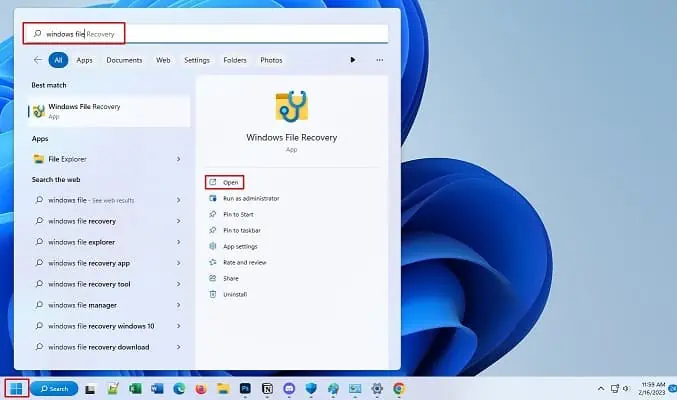
- From the Windows Start Menu, search and launch Windows File Recovery.

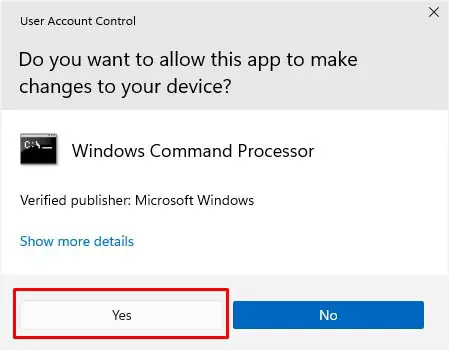
- In the confirmation prompt, press Yes to continue.

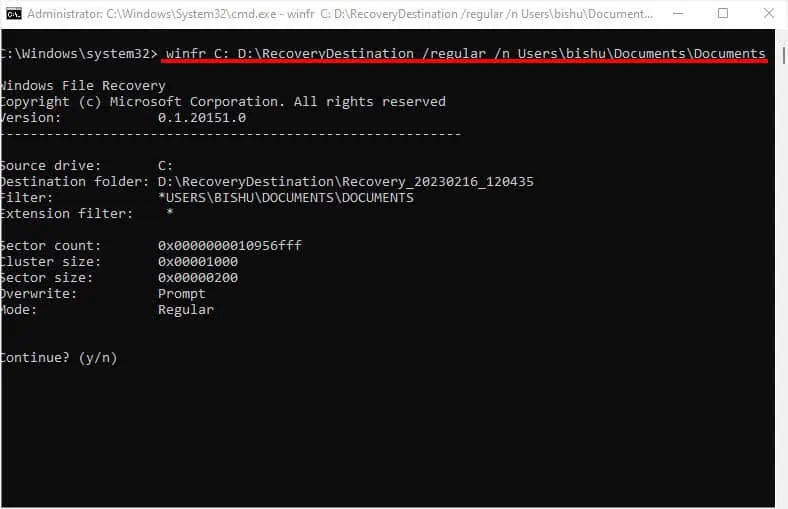
- Once the command-line interface opens up, use the following syntax to start the recovery process:
winfr source-drive: destination-folder [/mode] [/switches]
For example, we are going to recover the lost files from the Document folder in the C drive. For that, we create a recovery partition folder in D drive and use the extensive mode with filter search switch.
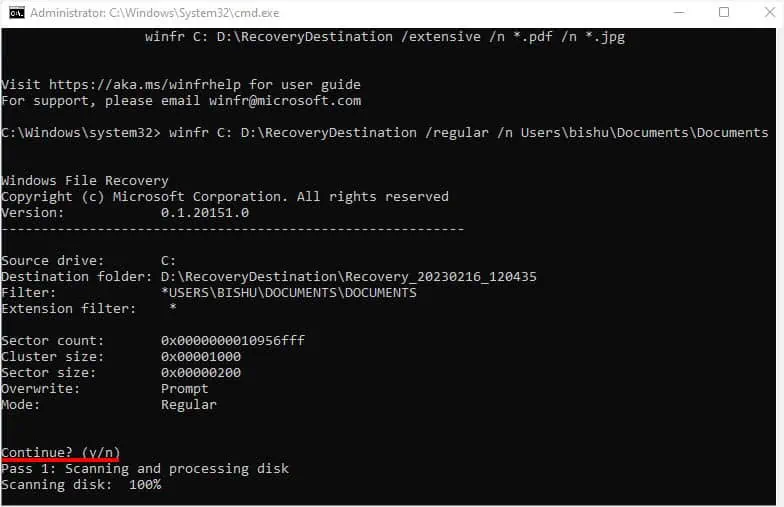
- Hit
yon your keyboard to start and complete the two passes.
- You might also require overwriting or skipping the already existing files.
- Once all the files are recovered, get to the recovery folder and check if your file is now recovered.

