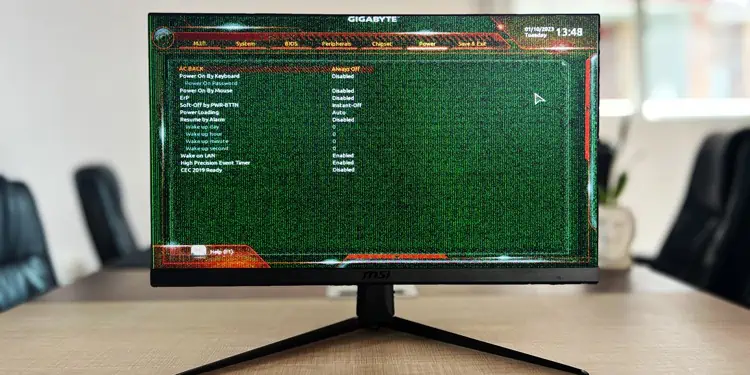
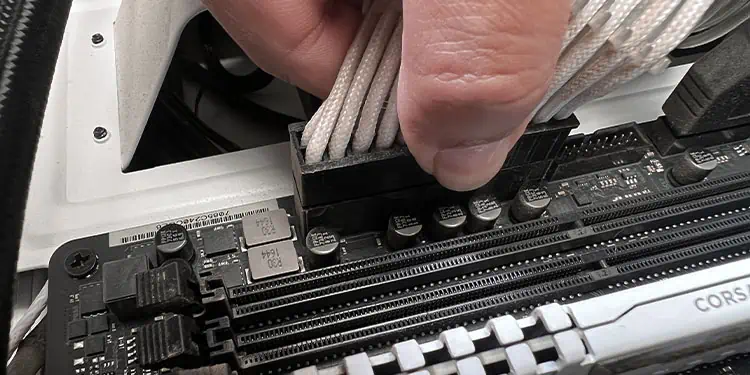
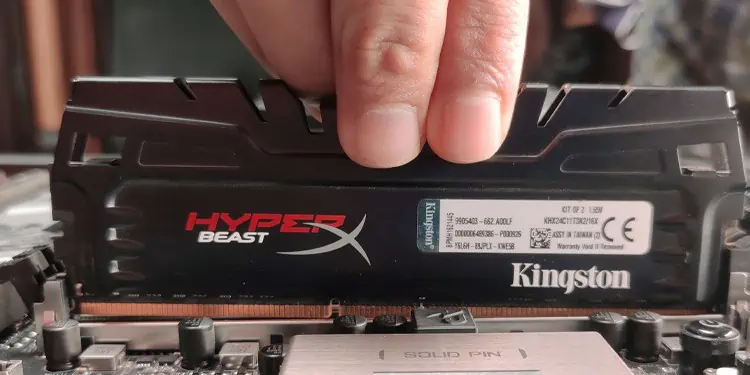
Green lines on your monitor are an artifact when the signal to the display becomes noisy or corrupted. It can also appear if the pixels of the display panel get deformed or damaged.
The error is commonly caused by loose cable connections or software/hardware glitches. However, this can also be a sign of components such as the display, GPU or cables failing.
If neglected, this can cause serious issues with the display component or the GPU on your system. Issues like the monitor not turning on, system instability, and system failure can occur.
Basic Fixes
To start off, reboot your system. It will resolve any issues with drivers and operating system files that do not load properly.
- Save and close any open programs and applications.
- Press the Windows key to open the Start menu.
- Click on the Power icon and select Shut down.

- Boot your device normally and see if the problem is solved.
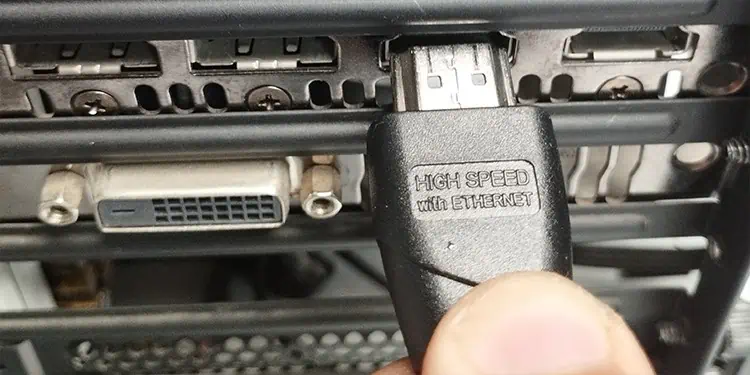
The display cables of your monitor can become loose if connected improperly or if you frequently change the orientation of your system/monitor. It causes your ports and connectors to deform. Also, when dust gets inside the connectors it prevents the cable from connecting securely.
- Power off your device and detach the cables.

- Disconnect the source cable from the display (e.g.: HDMI, VGA or DisplayPort)
- Carefully inspect the cables for any breakages or severe kinks. Also, check the ports and the connectors to remove any foreign particles.

- Reconnect the cables to their respective ports. Make sure they are connected properly to avoid any loose connections.
- If the cables are of older standard (earlier DVI and VGA), hot plugging the cables may not work in which case, you will need to reboot your device.
While inspecting, if the damage is present or if the connector pins are severely tarnished, replace or repair the parts to fix the issue.
At this point, you can also check if there is any issue with the GPU or motherboard display cable. You can power off your device and then change the output source from the motherboard to the GPU or from the GPU to the motherboard.
Reset Monitor Configurations
If you have recently made changes to your monitor different from the default factory configurations, it may cause stability issues. Setting custom resolutions, changing the refresh rate, or modifying adaptive sync settings can cause green lines to appear on the monitor.
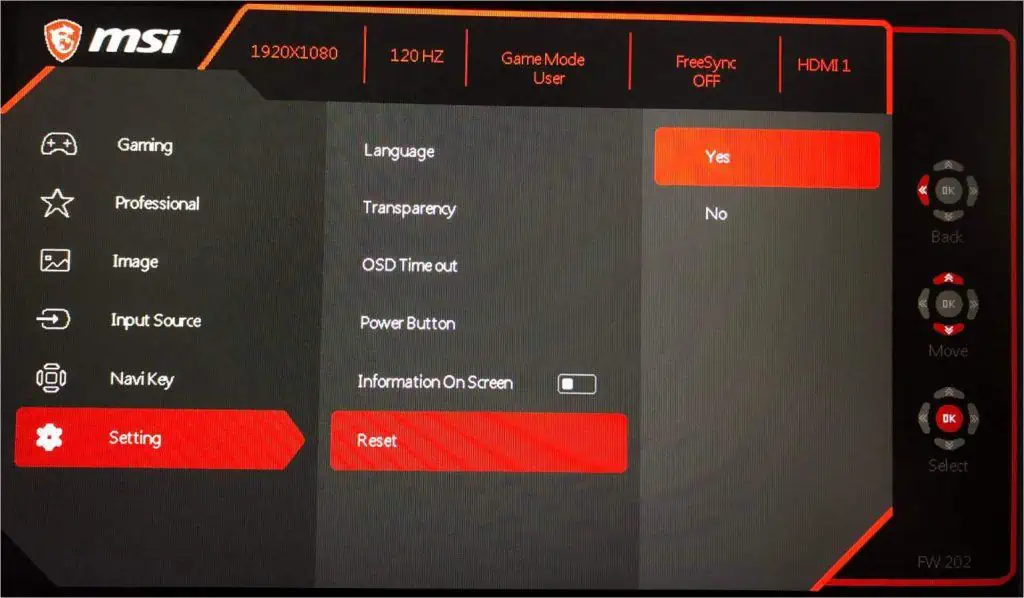
To fix this, you can reset the monitor settings to default configurations to solve the green line issue. As the navigation and labels differ according to the model of your monitor, we have shown here how to reset an MSI G241 monitor to its factory setting.
- On your monitor’s OSD menu, navigate to Settings > Reset.

- Select Yes to Reset the monitor settings to default configurations.
- You may also need to reboot your device to apply the changes.
Update/Reinstall Drivers
Device drivers help the operating system communicate with the hardware components on your device. If the device drivers are incompatible or if they become corrupt, it can cause the monitor to display green lines.
To fix this you can first try updating the driver updates to restore compatibility. If that does not work, the drivers may be corrupted. In this case, you will need to reinstall them.
The most apparent drivers that can cause these errors to appear are displayed adapter drivers and monitor drivers.
First, we’ll try updating the drivers.
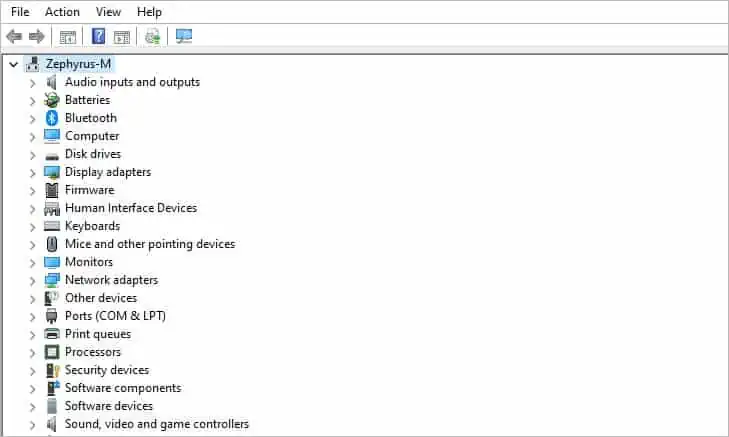
- Open Run by pressing the Windows key + R.
- Type
devmgmt.mscto open the Device Manager.
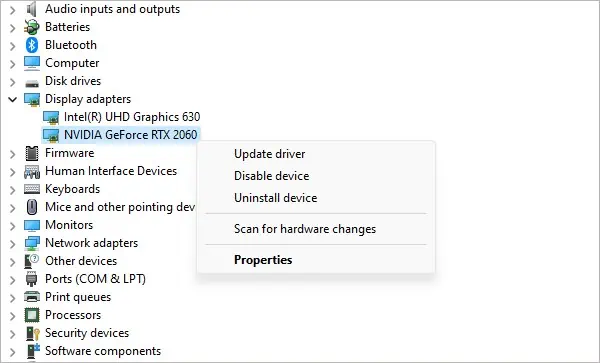
- Here, double-click on the Display adapters to open it.
- Now, right-click on the listed adapters and select Update driver.

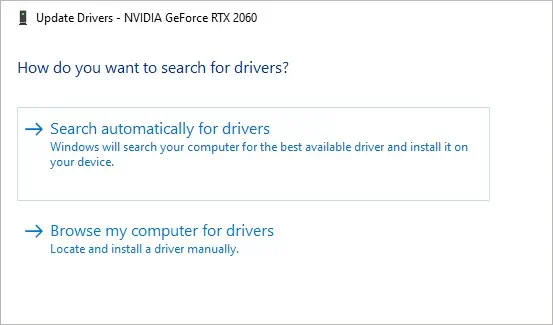
- On the next menu, choose Search automatically for drivers.

- Again, double-click on the Monitors label to expand it.
- From the list, update the monitor drivers by following the same process as above.
- Wait for the updates to finish and restart your device to complete the process.
If updating back drivers do not work, you will need to reinstall the drivers to solve the issue. Usually, the driver files can be downloaded from the manufacturer’s website or your product’s support page.
Also, you may need to uninstall the graphics card drivers, in which case, you’ll need to remove the driver files and delete their registry entries to avoid any errors during the new installation.
Reset the BIOS
If you have enabled overclocking on the GPU or the RAM, this can cause instability issues and cause your monitor to show green lines. Resetting the overclock setting from the BIOS or the overclocking software, will make the system run at manufacturer-recommended speeds which will then solve the issue.
Follow these steps to reset the BIOS settings.
- Restart your system and press the BIOS key before the logo screen appears.
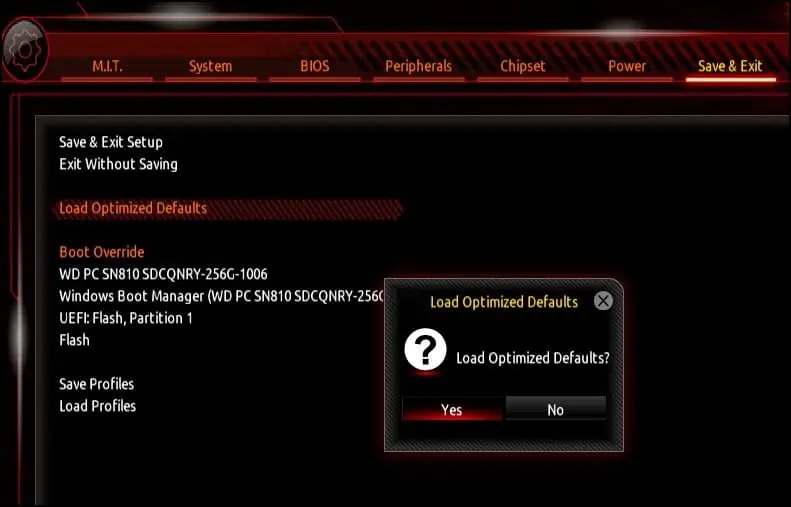
- Once in the BIOS, search for labels that restore the BIOS settings to their original configurations. Usually, it is a key prompt or a label that says “Reset BIOS” or “Load Optimized Defaults.”

- Press the associated key, save and exit to apply the settings.
- Your device will restart with the default clock settings.
- If you cannot access the BIOS, you can manually reset the configurations by removing the CMOS battery.

- If you have installed any third-party overclocking software such as Intel XTU or MSI Afterburner, you can remove the overclocking from there as well.
Relieve Mechanical Pressure
Any external force from the bezel or the monitor’s internal components can damage the pixels. Bezels deforming, and not clamping properly around the joints can deform the display panel and cause green lines to appear on the monitor. Applying excessive force on the monitor can also displace or damage the delicate component and cause this issue.
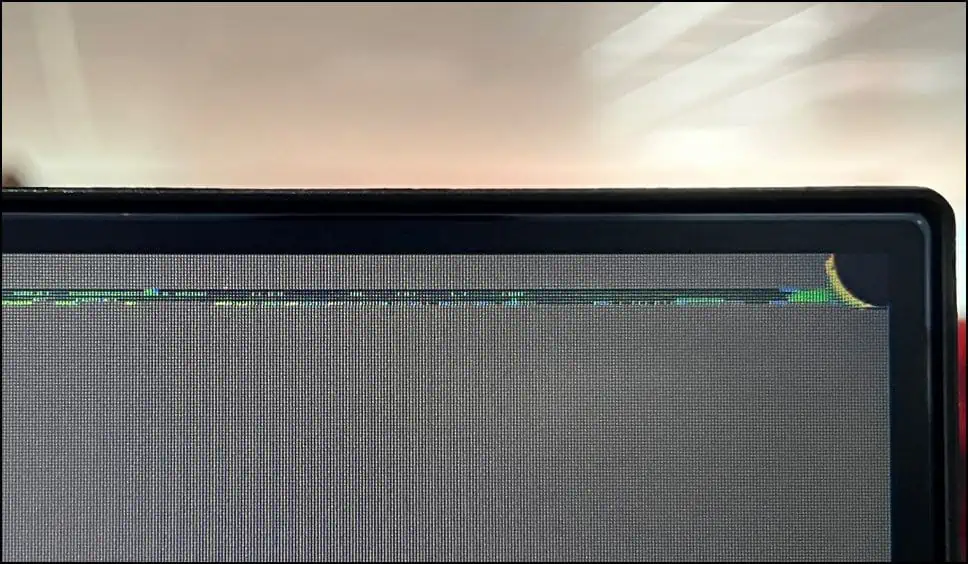
To fix this you will need to relieve tension between the protective housing and the display panel and also re-align any out-of-place components.
Note: Disassembling components haphazardly can cause damage to your device and risk injury. The disassembly procedure depends on the make and model of your monitor. Only disassemble using proper tools. Refer to your product’s user manual for detailed guidelines.
- Power off your system and turn off the monitor.

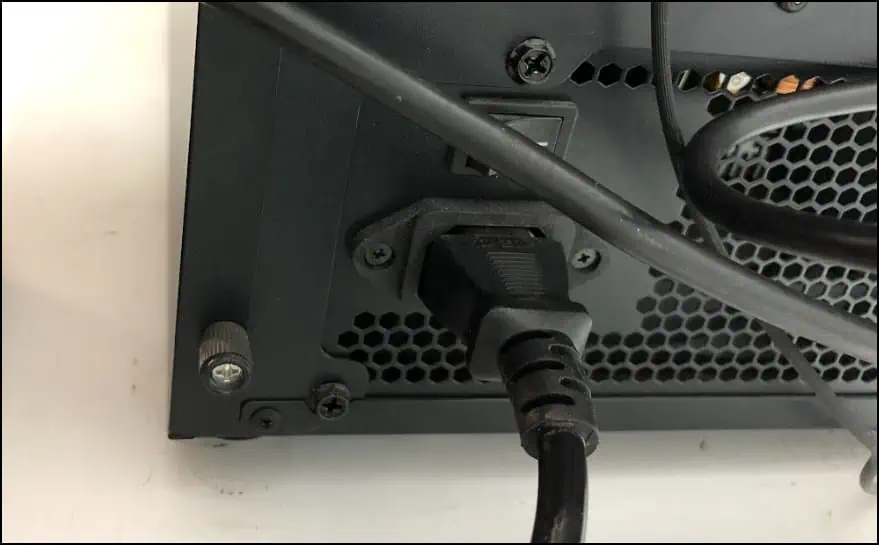
- Remove the power cord and the display/audio cables from it.

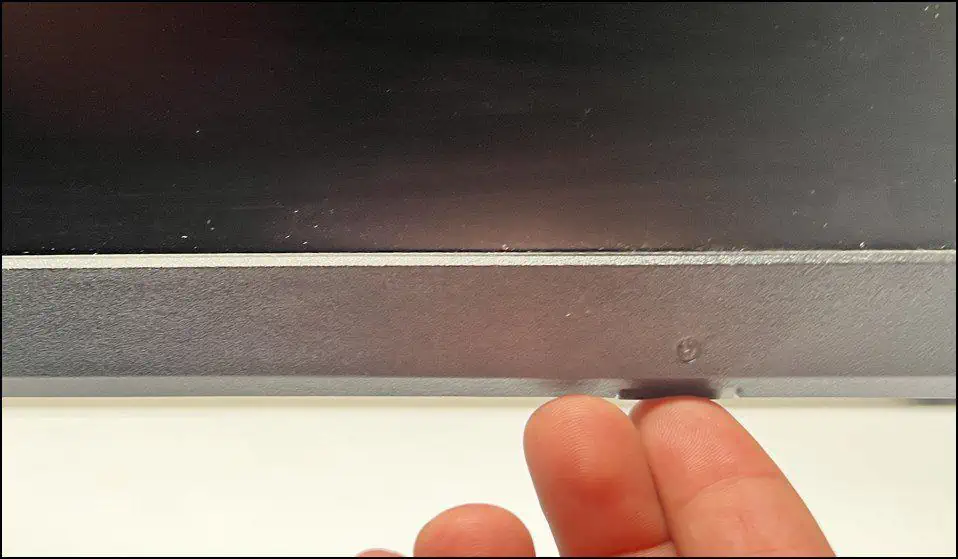
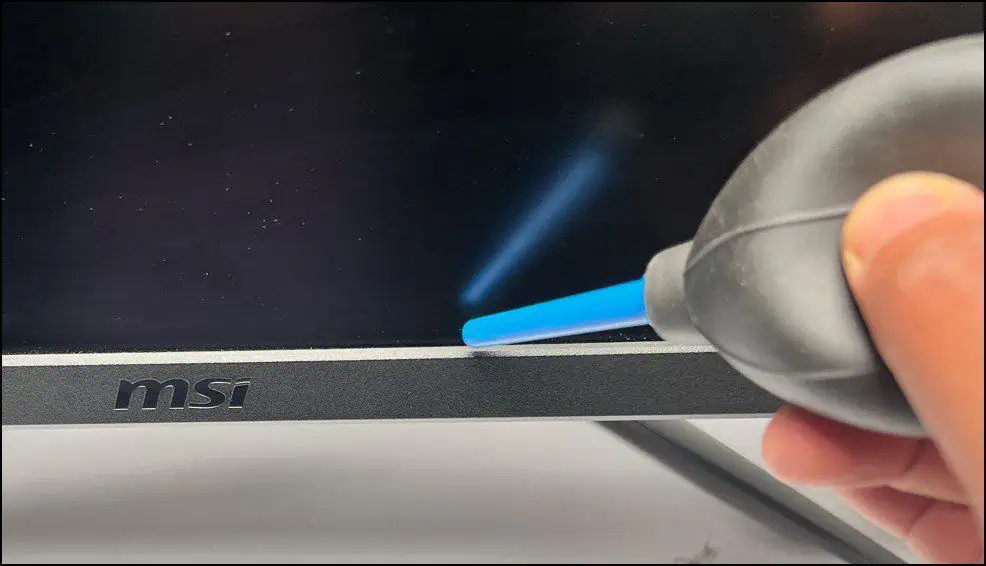
- Check the bezels and remove any grime and dust from the panel gaps to relieve pressure.

- If any part of the bezel is sticking out, align it properly. Make sure to not touch any part of the display panel with the bezel when re-aligning.
Depending on your monitor’s model, you may need to further disassemble the monitor to properly align the panels. To do this,
- Remove the monitor from the stand and place it facing downward on a flat surface.
- Make sure that the surface is free of debris or abrasive material.
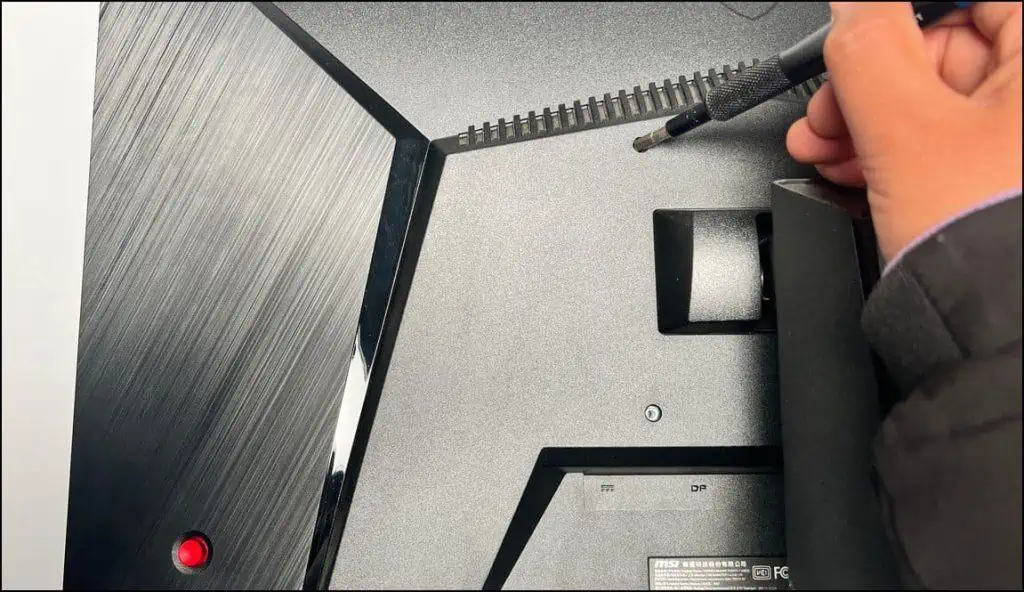
- Remove the back screws, place them aside and remove the back panel.

- Disconnect any cables attached to the controller board.
- Now, remove the display panel. Be mindful as these are fragile components and are prone to breaking.
- Finally, access the outer bezels and align/snap them into place.
- Once done, re-assemble the components and see if this solves the issue.
Reconnect/Reseat Components
If green lines start appearing on your monitor after you have recently handled or transported your system, then loose internal components or cables might be causing this problem. The cables on GPU, RAM and motherboard can come loose or detach entirely from their connectors.
To fix this, you will need to gain access to the internal parts of your system and reseat any loose or misaligned parts.
- First, shut off your system and remove the power cable.

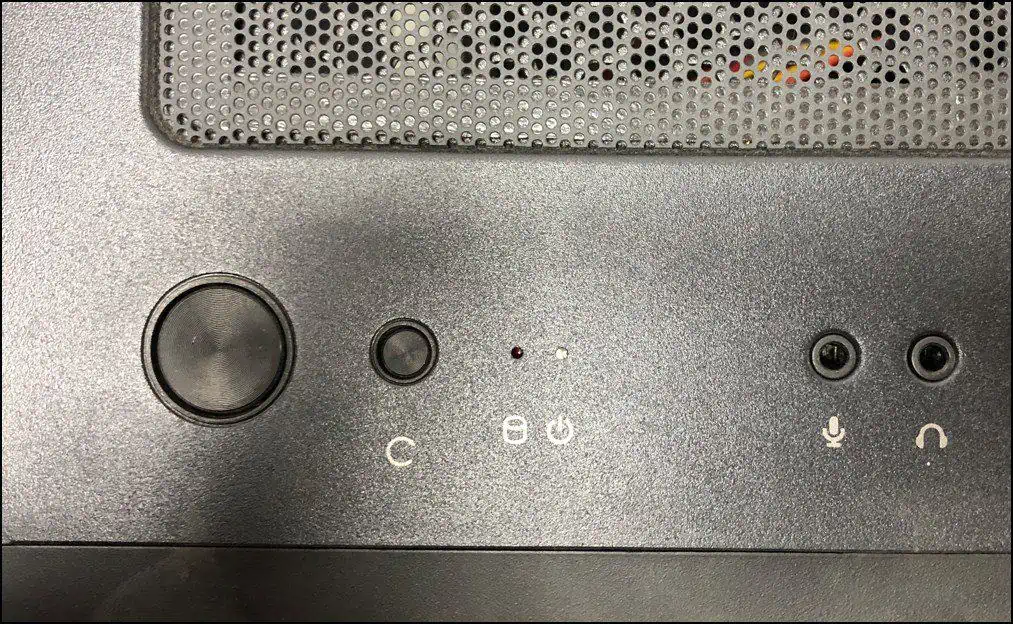
- Press the power button for at least 10 seconds to remove any residual power.

- Now, carefully inspect the RAM, GPU, and motherboard.
- Check the display’s flex/ribbon cables that connect to the motherboard and see if they are loose, damaged or dislodged, and reconnect/replace them.

- If you have installed any adapters or riser cables, check them as well and see if they are properly connected.
- If any modules have come loose or have been detached, reseat them securely.

- After reseating, power on your system again and see if the problem is solved.
If you have extra cables or components lying around, you can try and exchange them to find which component is causing the issue. Exchange cables, display, or internal components to see if the problem is caused by the GPU, wires or the display itself.

