HDMI to DisplayPort (DP) adapter is used to connect HDMI-supported computers to DisplayPort-supported Monitors. This form of connection can be used for setting up multiple display setups. However, this is not a conventional and popular way of connection.
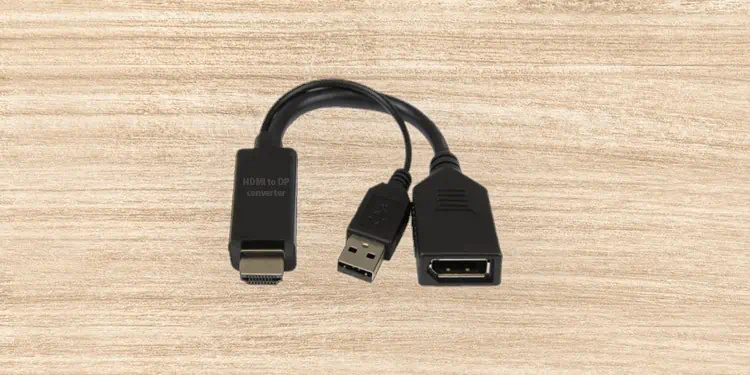
Unlike DisplayPort to HDMI connection, you need an active conversion adapter to make an HDMI to DisplayPort connection. This adapter links the HDMI port on your computer to the monitor’s DisplayPort. However, the HDMI to DP might not work if you haven’t correctly configured the connections using the adapter.
The HDMI to DisplayPort connection also may not work due to port malfunctions, problems with the connectors, adapters, or the display unit itself. When this happens you can receive a “No DP signal from your device” error on the monitor or see artifacts such as green lines on the display.
Power Cycle the Monitor
You can start off by power cycling the monitor. Minor glitches in the system can sometimes trigger such display issues. So, restarting the display unit generally fixes such bugs.
- Turn off the computer and monitor.
- Disconnect the power cables and the display adapters connecting your computer and the monitor.

- Wait for a while and reconnect the cables on the monitor and computer.
- Turn on the computer to see if the HDMI to DisplayPort works now.
Inspect the Adapter, Connectors, and Ports
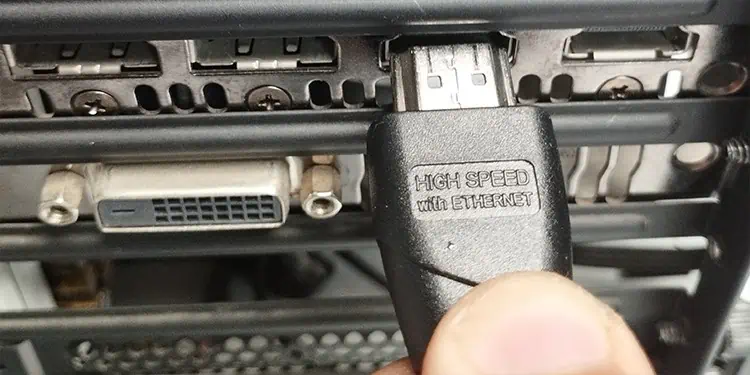
The adapter cables, connectors, and even the ports are sometimes the culprit for this issue. The next thing to do is to check for any unusual bends or damage in the HDMI and the DP cables.
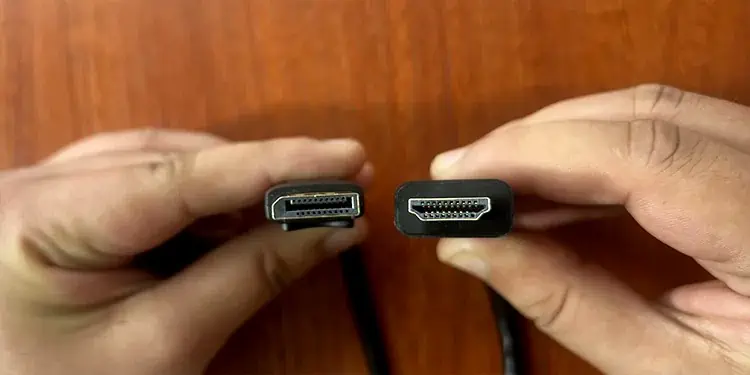
After checking the integrity of the cables, verify the pin configurations on the HDMI and DP connectors. The HDMI connector must feature 19 pins on it while the DP connector comes with a 20-pin configuration. To be sure that the connectors are fine, verify that all the pins are visible and the pin configuration is correct.
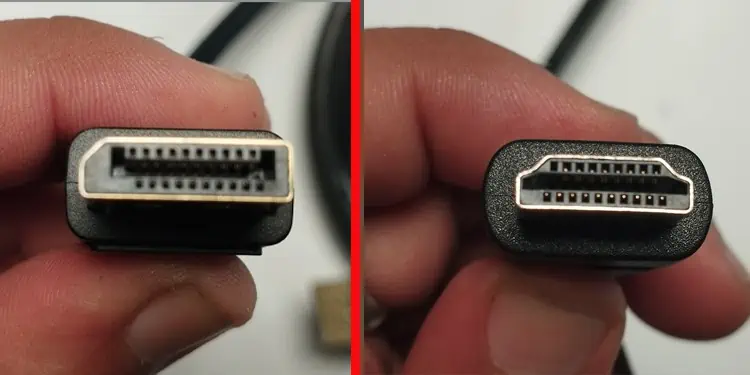
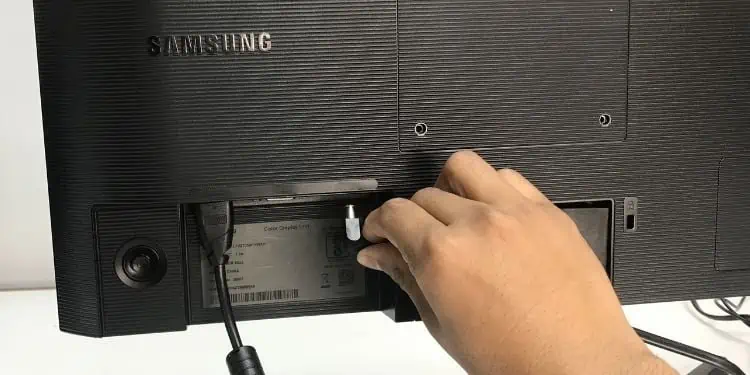
Once the connectors and adapter cables are thoroughly checked, head on to the respective ports on your computer and the monitor. If the ports are broken they can look somehow misaligned from their original position. If there is an issue with the port it’s wise to seek professional help.
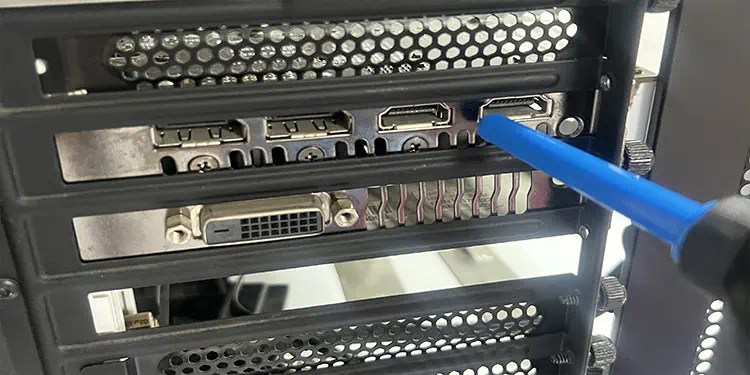
While looking out the cables and ports for damages, check if the ports are clean and free of dust. The display ports and the connectors can also get clogged by dirt and debris that might be affecting its functionality. It is ideal to keep the ports clean to make them perform efficiently.
- Turn off the computer, and disconnect the power cable along with the display cables.
- Locate the ports on your computer and the monitor that you wish to clean.
- Using compressed air or blowers, clean the internals of the ports and use tweezers if needed to get rid of the debris.

- If the ports require in-depth cleaning, use Isopropyl alcohol and a Q-tip to reach every corner of the port.
- Once the cleaning is done leave the ports for some time to let the moisture dry out. Then reconnect the computer and the monitor and see if the problem is now solved.
Check the Connections
Once you have inspected the connectors and the port, the next thing to do is check if you have properly connected the computer to the display unit using the adapter. The correct way to do it is to connect the adapter’s HDMI input connector to the HDMI port of your computer. Then connect the DP cable of the adapter to the monitor. If the adapter does not come with a male DP output connector, use a DP cable to complete the connection.
The HDMI to DP conversion requires an active adapter. These adapters need separate power from the USB port to operate. Thus, check if you have connected its USB cable properly to your computer.
If this does not work for you, follow these troubleshooting measures to get the HDMI to DP connection to work.
- Ensure that you have connected it to the right input and output ports. These adapters are usually uni-directional in nature which means, it only can connect to your HDMI port-equipped computer to a DisplayPort (DP) of the monitor. If you are connecting it the other way, the display will not work and you can get the “No signal” message.

- If the HDMI to DisplayPort adapter isn’t plug-and-play based, you might need to install the driver or software that comes with it. If it is a plug & play-supported device, check that it is properly connected to both ends.
- Try connecting the adapter’s HDMI cable to different ports of your computer if there are multiple vacant ports available. Do the same for the DP connector by plugging it into the other DP ports of the monitor.

Check the Input Source
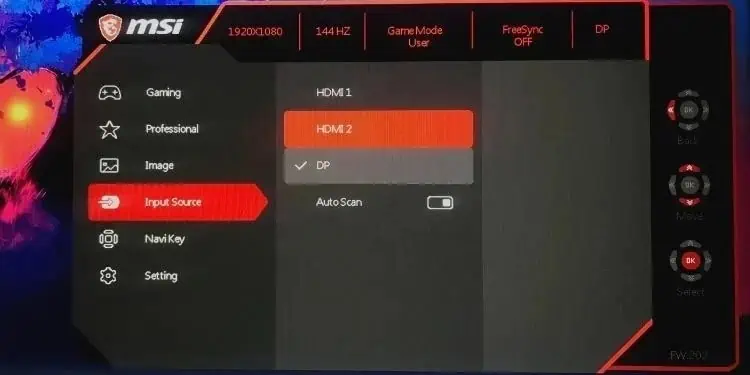
Now that you have checked the connections, the next thing to do is check the input source configurations in your monitor. Most users set the wrong input source on their monitor. This causes the monitor to restrict the signal from the correct input port that in this case the DisplayPort.
The latest models of monitors automatically detect the input source. However, if you have set the automatic detection off or the monitor needs a manual setup for the input source, it might not detect the display signals.
- Locate the menu button on the monitor. It’s usually on the side or at the back of the monitor.
- Find the section for configuring the input source.

- Select DP as the correct input source.
Enable the HDMI Port
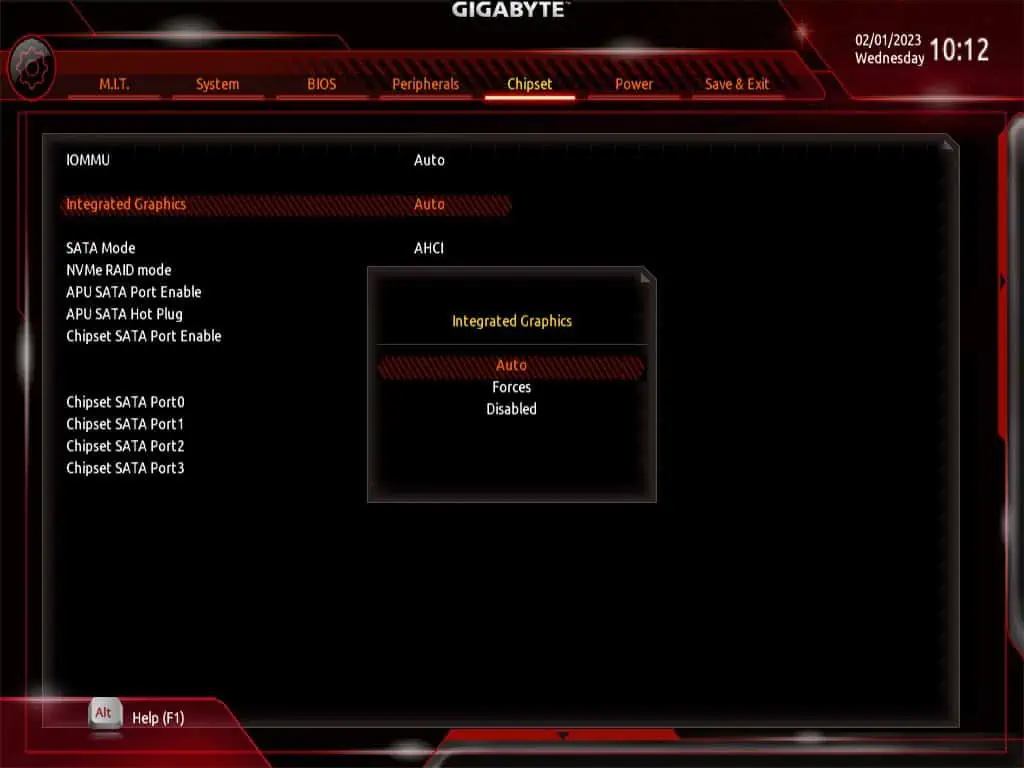
If the computer has a dedicated GPU, the HDMI ports on the motherboard can be disabled. This becomes certain if the connections made from the GPU’s HDMI port work well. In such a case you can make the connections from the GPU’s port. If the port is already occupied you can enable the HDMI port of the motherboard from the BIOS.
- Restart the computer and when you see the manufacturer’s logo press the dedicated key to enter the BIOS. The keys are usually among F1, F2, F8, F12, del, or Esc.
- Once you enter the BIOS, search for the settings for Integrated GPU. On most BIOS settings, this is located on the Advanced tab.
- If you find the options for Integrated GPU or Multiple Display settings ensure that the options are enabled.

- Finally, save and exit from the BIOS. The HDMI to DisplayPort must not work.
Update the Graphics Driver
If you have a multiple display setup and one of the monitors connected using the HDMI to DisplayPort is not working, the issue could be with the graphic card drivers. If the monitor is connected to the HDMI port of your computer’s Graphics card, updating the drivers might solve the issue. An outdated or faulty driver might not be compatible with the display connection and trigger such problems.
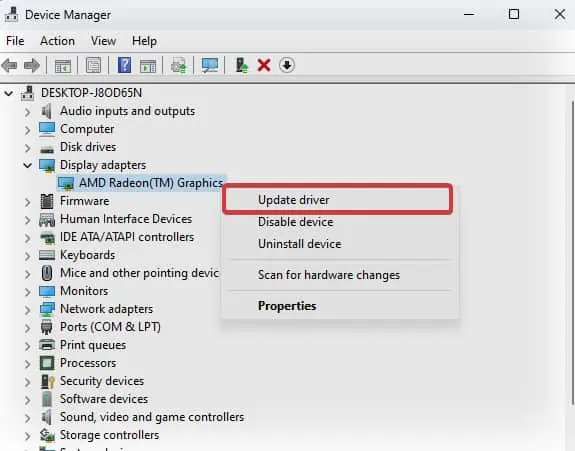
- Press Windows Key + X and open the Device Manager.
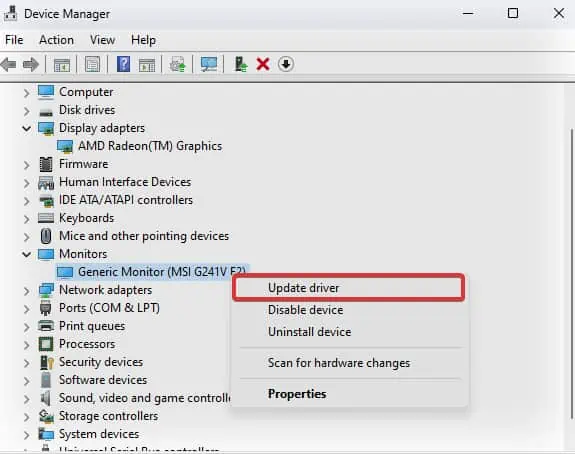
- Click on Display Adapters to expand the list of devices under it.
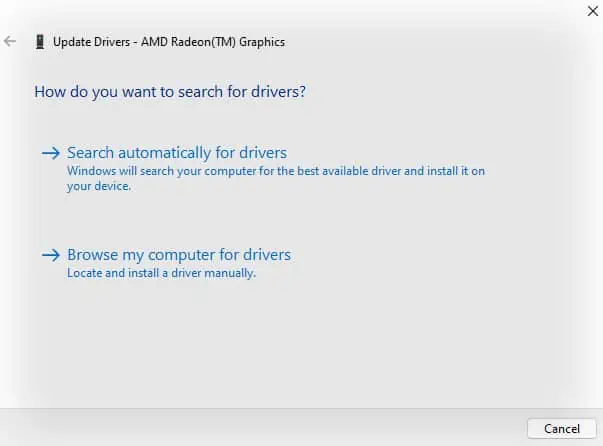
- Right-click on the Graphic driver and select Update driver.

- Click on Search Automatically for drivers and follow the prompt to update the graphic card drivers to their latest version.

- Following the same process update the drivers under the Monitor as well.

Sometimes you might need to manually update the graphic drivers as well. To guide you through the manual update procedure of AMD and NVIDIA graphics drivers we have prepared a detailed article on How to Update Graphics Driver Windows 11.

