You may run into issues powering up your Hisense TV for a number of reasons. While you can usually power on your device with the help of a remote or the power button on your TV, you could be dealing with hardware failure. In such cases, you will have to inspect the fuse, capacitors or the Power Supply Unit (PSU) for damage that may need professional help.
You can, however, check for worn out cables or a damaged wall outlet and ensure correct voltage levels for your TV. Further, you can try conducting a soft or hard reset of your device to resolve the power glitches on the PSU.
If this doesn’t help your case, you can apply other methods we’ve mentioned in this article before you make your move to the repair center.
Check the Indicator Status
When your Hisense TV is not turning on, you should first check if the standby indicator on the TV is glowing.
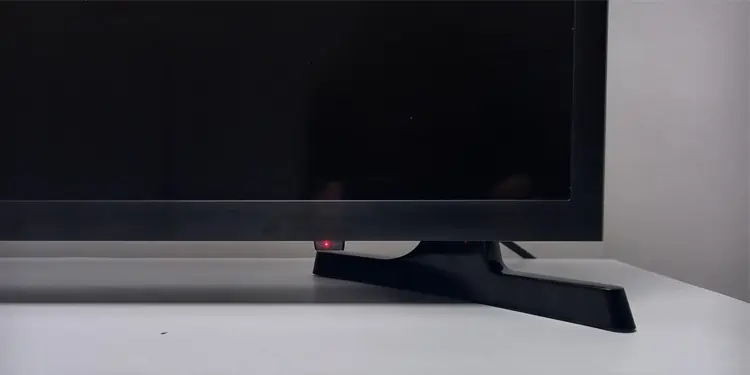
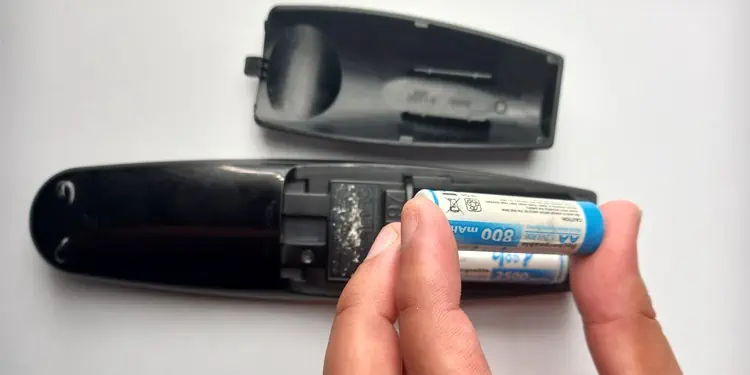
If the indicator is glowing but you are unable to turn it on, issues may lie on the remote side. You can power cycle the remote in such cases. Simply remove the battery and keep pressing the buttons randomly. Then put back the batteries and try to turn on the TV. Also, try replacing the batteries with new ones.
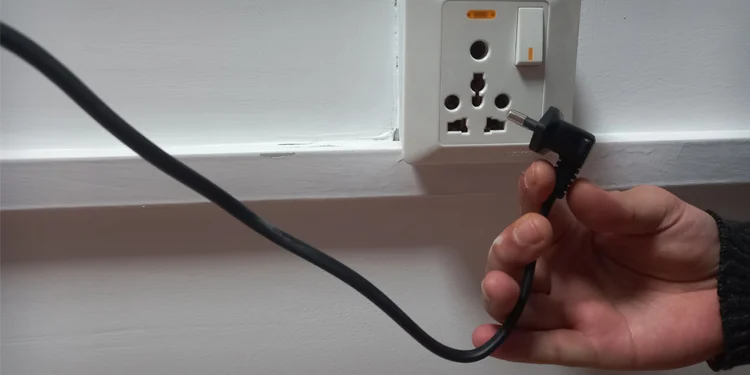
Meanwhile, if the standby indicator is not glowing, issues can lie on the power supply side. Check if the voltage levels are enough to operate the TV. Remove any surge suppressors or voltage stabilizers and connect the power cord directly to the functional wall outlet. Also, try using a new power cord.
Soft Reset Your Hisense TV
Since the issue mostly arises due to a power glitch, you can soft reset the TV and drain any residual charges from the capacitors on the circuit board. Soft resetting will help eliminate the power glitch, so that you can watch it normally again.
- Unplug the TV from the wall outlet.

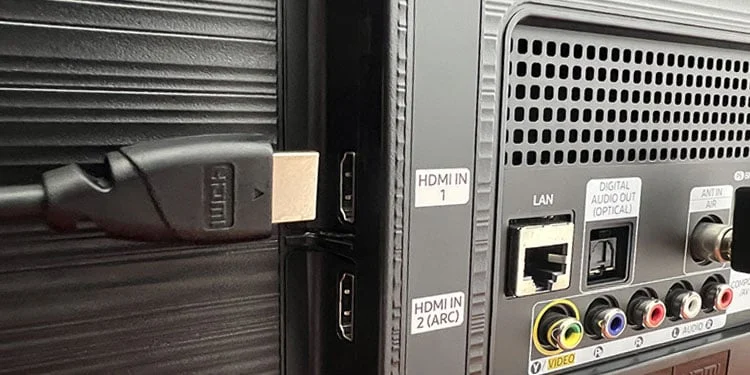
- Remove all other cables connected to the TV and isolate it.

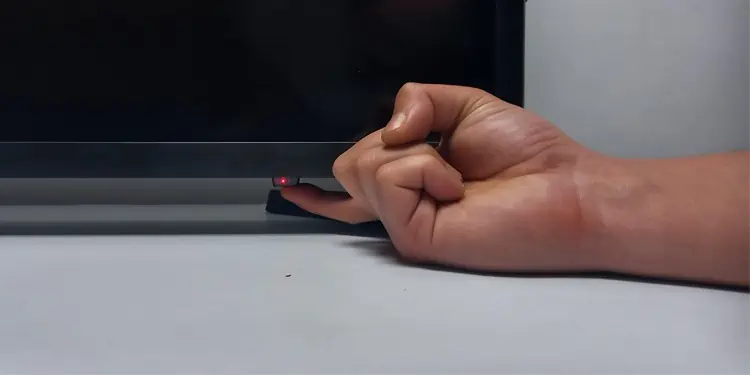
- Press the power button on the TV for a few times.

- Re-plug the power cord and try turning on the TV.
Note: You can also use the method of elimination to troubleshoot the problem. Disconnect all the connected devices and isolate your TV. Then try turning on the TV. If it turns on, probably the source device is faulty and preventing you from watching TV. You can switch to another source device in such cases.
Hard Reset the TV
If soft resetting did not work, you can also perform a hard reset. But how will you reset the TV if doesn’t even turn on? Well, we have got you covered. Hisense TVs have a physical reset hole that you can easily use to hard reset the TV.
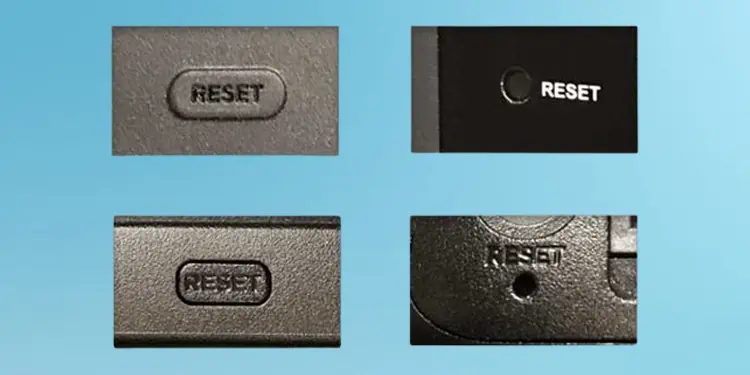
- Locate the Reset hole in your TV. It generally lies in the back panel or side panel of the TV.
- Turn on the power supply of TV.
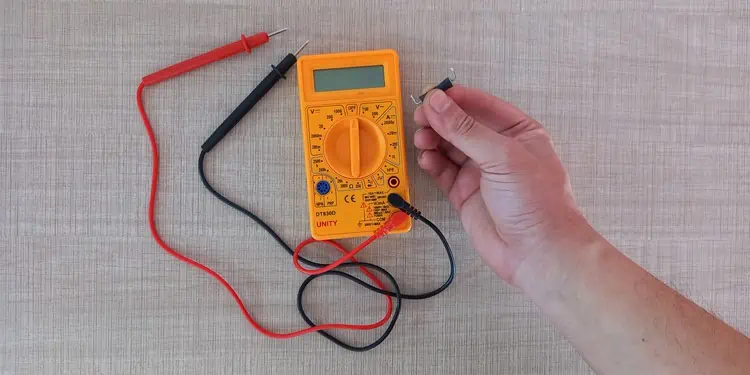
- Take a paper clip and bend it such that you can insert it into the hole.
- Press inside the hole for about 15 seconds. Doing so will hard reset the TV.
Troubleshooting Power Components
If the general fixes discussed above did not fix your problem, you might need to dig deeper into the hardware issues. If you have been facing the problem after a power surge or a lightning strike, there are chances that the power components on your TV have been blown or short-circuited.
You can easily diagnose if that’s the case. You should mainly check the fuse and capacitors for damage. If the damage is severe, you might need to replace the entire circuit board on your TV.
We have a step-by-step guide below on how to troubleshoot the power components on your Hisense TV.
Test and Replace the Fuse
A fuse is a component that damages itself and protects the circuit board of your TV from any voltage fluctuations. When it goes bad, an open loop is formed in the circuit which interrupts the power supply to the TV and prevents it from turning on.
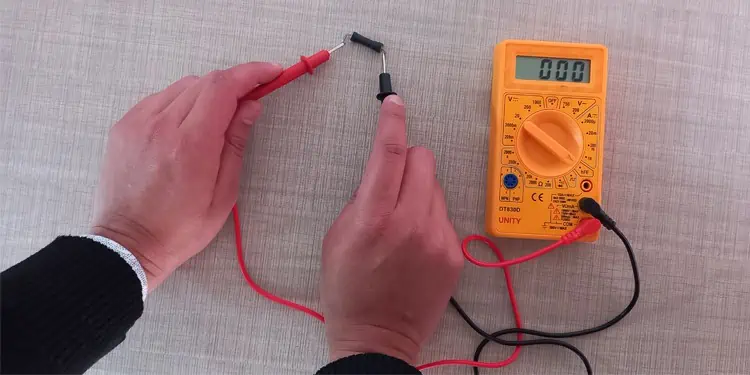
Note: Depending upon the model of your Hisense TV, it may either have a separate fuse or an integrated on-board fuse. If it has a separate one, you can perform a continuity test with the help of a multimeter and know if you need to replace it.
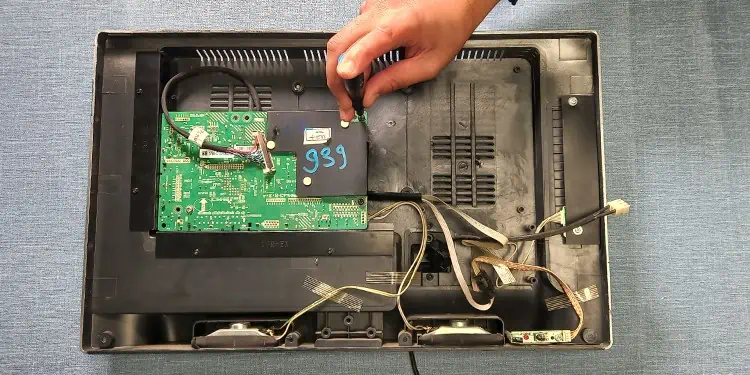
- Power off your Hisense TV and remove its back panel with the help of pry sticks and a screwdriver.

- Locate the PSU (Power Supply Unit). Please note that some TV models may have a single board integrated with PSU and main board.

- Find the fuse located near the AC cable connector. You don’t need to remove the fuse. You can test it on-board.

- Now set your multimeter in Ohm mode.
- Now hold two probes of the multimeter and touch the two fuse ends each with one probe.
- Then analyze the multimeter reading. A zero (0.000) on the multimeter display indicates the fuse is in working condition. While, an (OL) sign on the multimeter display represents a defective fuse.

- Since replacing the fuse is quite complicated, get a professional to replace it.
Check for Bad Capacitors
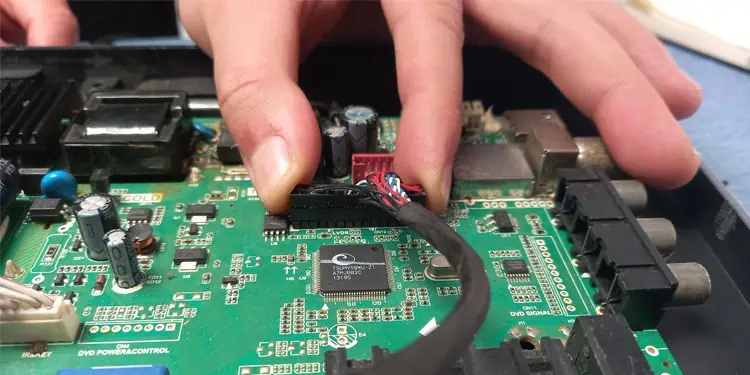
The main function of the capacitor is to store charge and help eliminate the ripples in the circuit board. Hisense TVs can refuse to turn on if only a single capacitor on the board is defective. So, you should check if any of them are damaged.
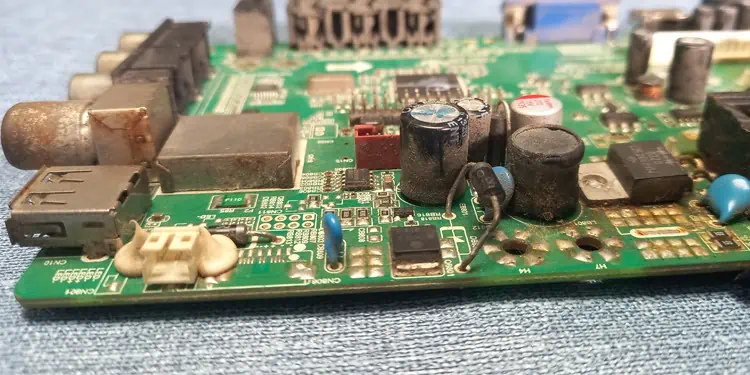
You can easily inspect capacitors for damage. If you see any swelled out capacitor or liquid leaking from any one of them, they are damaged. Please take your TV to the repair center to fix it.
Replace the Power Supply Board
If fixing the capacitors or fuse also did not work, the entire PSU may have been damaged. You can confirm the damage if you see any burnt marks over the board. There can also be damage to the internal components of the board like diodes and rectifiers, that may not be visible to the naked eye.
You can have difficulty diagnosing and replacing those tiny components of the board and need professional help. However, replacing the board can be a good option if you plan to do it on your own.
- Unplug all the wires from the PSU.

- Remove the screws that fasten PSU to the TV chassis.

- Bring a new PSU board that matches the exact specs of the old board.
- Place the new PSU board and tighten it using screws.
- Re-insert all the cables to PSU.

- Try turning on the TV.
Other Issues
There can be display issues too if the standby indicator on the TV goes off after powering it on but there is no picture on the TV screen. Display components like backlight inverter and T-Con board may be defective and need a replacement.
Tampering with the display components can be sophisticated and includes risk of further damage. So, we recommend you take the TV to the authorized repair center to fix it.


