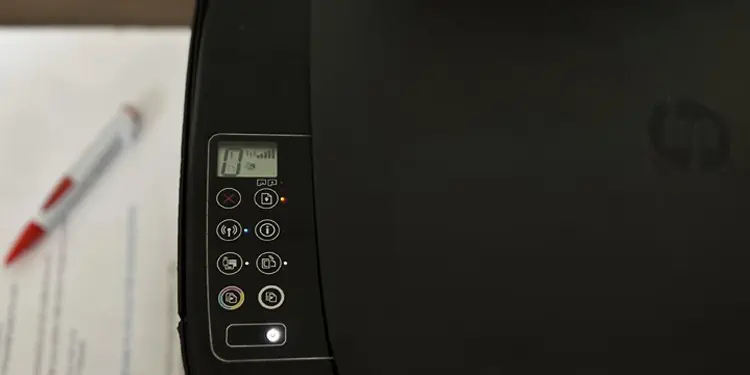
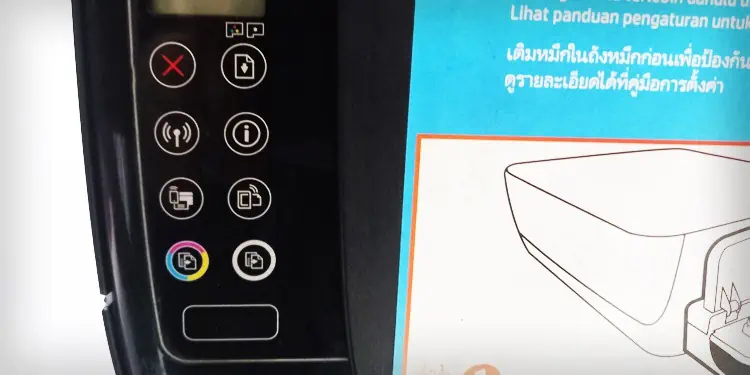
Whenever your HP printer starts flashing lights on the control panel, it generally indicates that the printer has encountered a problem. For instance, a flashing Resume light indicates a paper jam or paper size mismatch error, while a flashing printhead alert light points a low ink level on the cartridges.
However, it is not always easy to know what the flashing pattern indicates—you need to decode the pattern and apply the necessary fixes to use your printer normally again.
Here, I have compiled fixes for the most common flashing patterns you may encounter on your HP printer.
Flashing Power Light
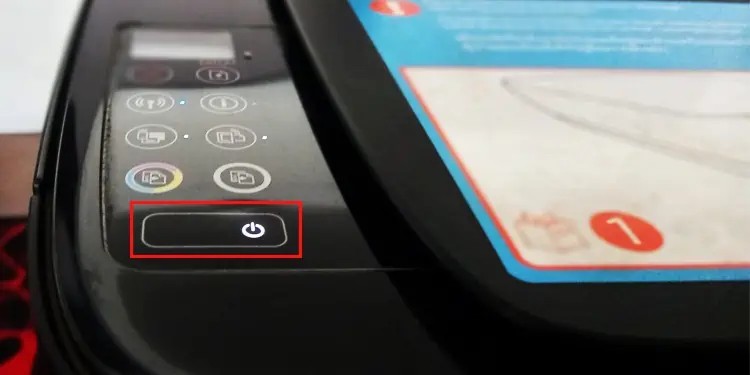
It is normal for the power light on your HP printer to flash for a while when you first turn it on. So, before using your printer, you must wait a few seconds until the power light glows steadily.
However, if the power light keeps flashing continuously, you should be concerned. Generally, your printer will also show an error message when this happens.
For instance, you may see an E2, E3, E4, or P error message along with the flashing power light. I recommend going through the other fixes below to sort out such errors.
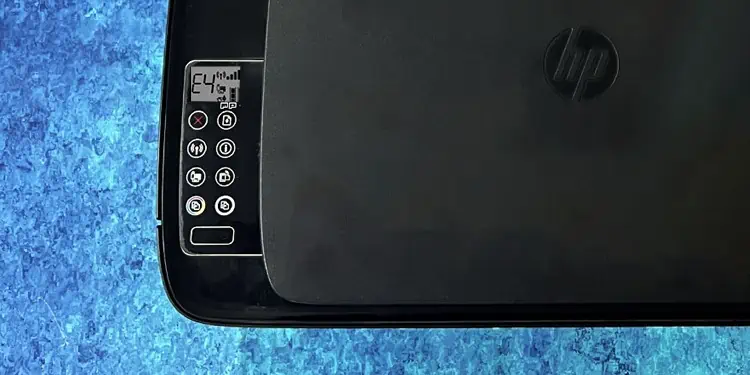
Besides, the power light also keeps flashing when the cartridge access door of your printer is open. To close the cartridge door, you should first open the front access door.

Flashing Power Light and Resume Light With E2 Message
If you see a flashing power light and resume light with the E2 error on the screen, it means the printer encountered a paper size mismatch error. When you encounter the E2 error, you also see an exclamation sign on the display panel with a paper symbol.
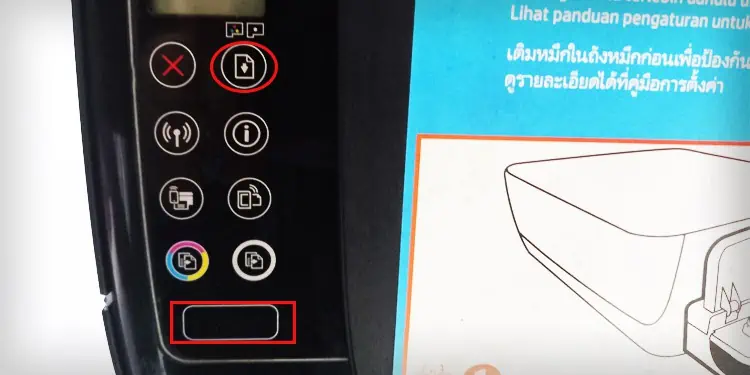
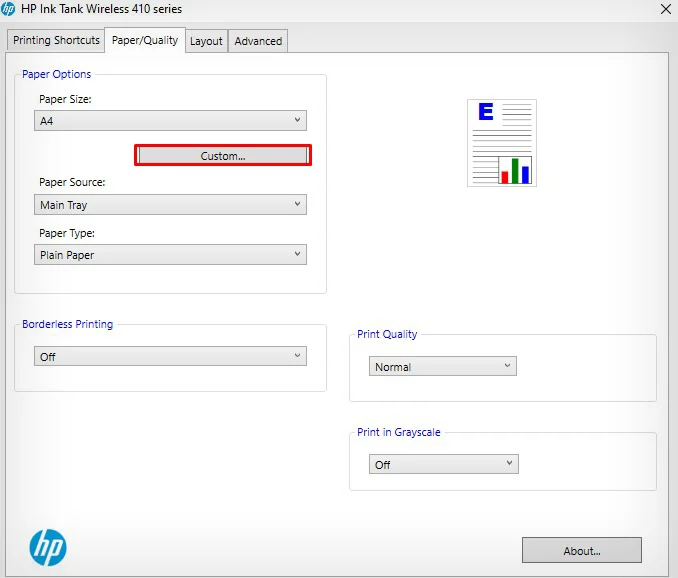
This happens when you do not specify the paper size correctly on the printing preferences of your HP printer. To solve this error, you should first know what Paper size you use and then set it accordingly on the paper size settings.
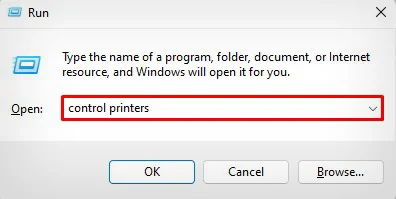
- Right-click the Start button on your computer and click Run.
- Once the Run dialog box opens, type
control printersand hit the Enter key.
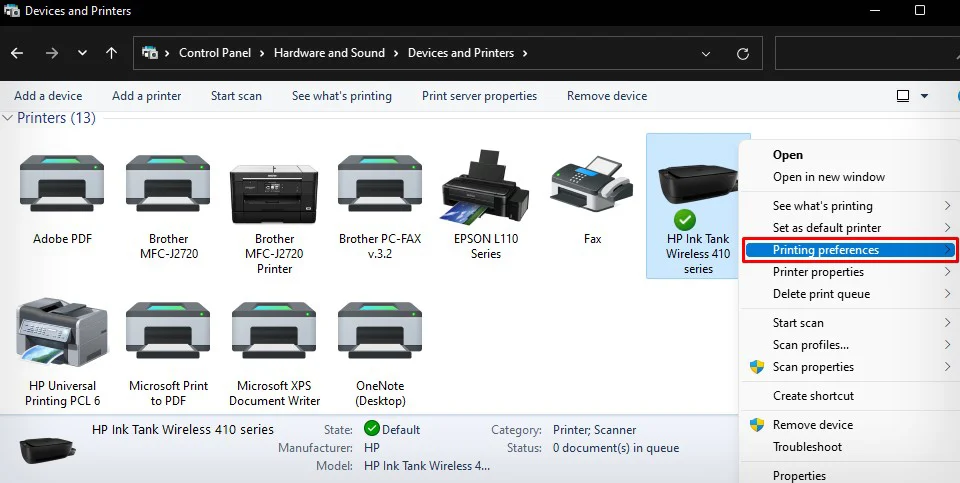
- Go to the HP printer profile, right-click it and select Printing preferences.

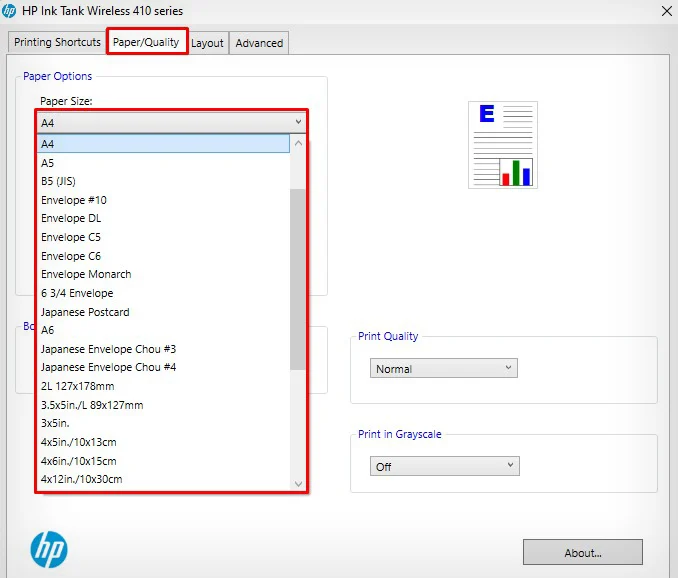
- Click the Paper/Quality tab.
- Choose the paper size from the drop-down.

- You may also specify a custom size by clicking the Custom button.

You can also consult our other article and learn more about how to change the paper size on HP printers.
Flashing Power Light and Resume Light With E3 Message

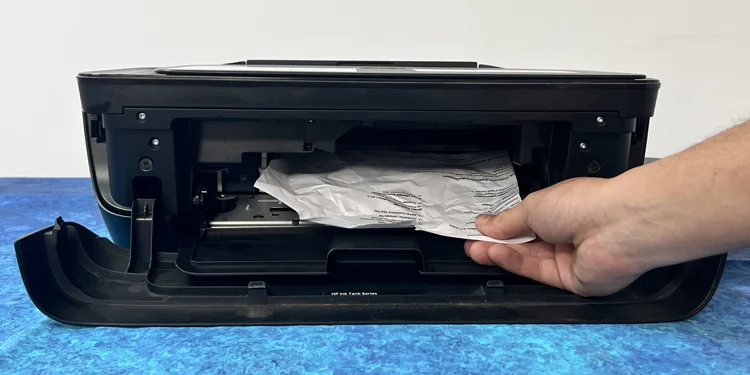
A flashing power light and resume light with an E3 error message on the screen indicates the papers have been stuck in the printer’s carriage area. You can open the cartridge access door and remove anything obstructing the movement of the carriage.
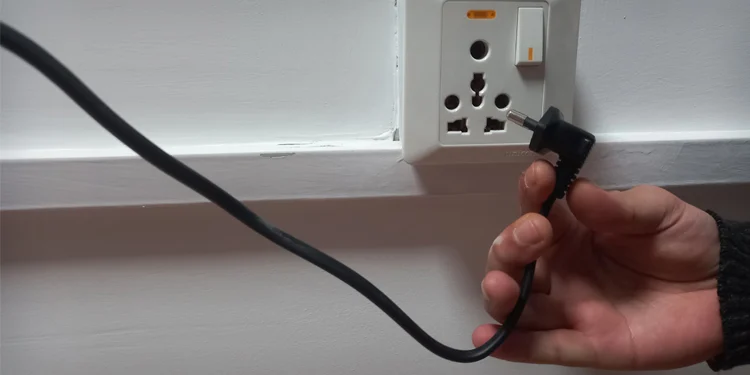
- Turn off the printer. Then, remove the power cables and USB cables.

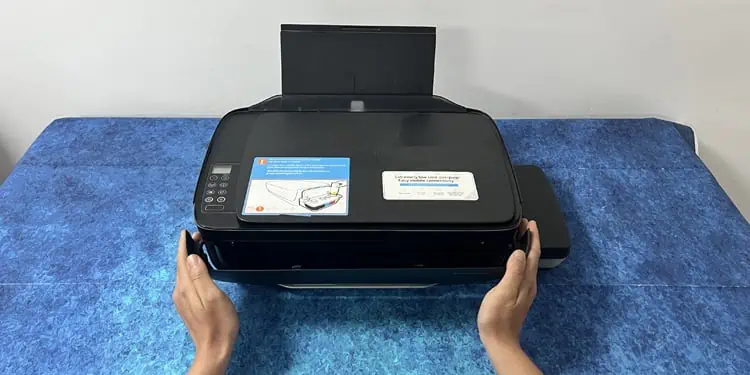
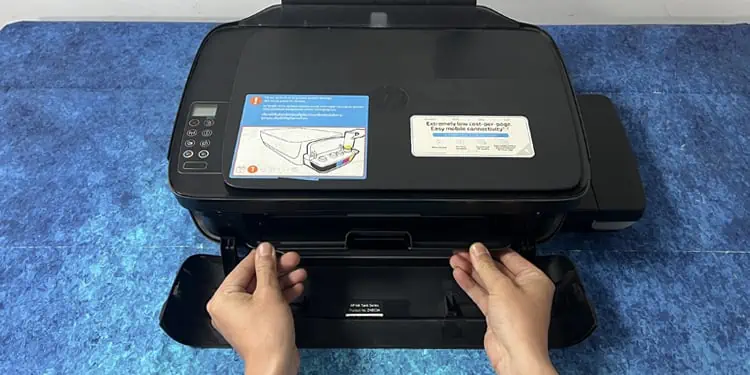
- Open the front door.

- Then open the cartridge access door.

- See if anything is obstructing the carriage. Remove any papers that are crumpled.

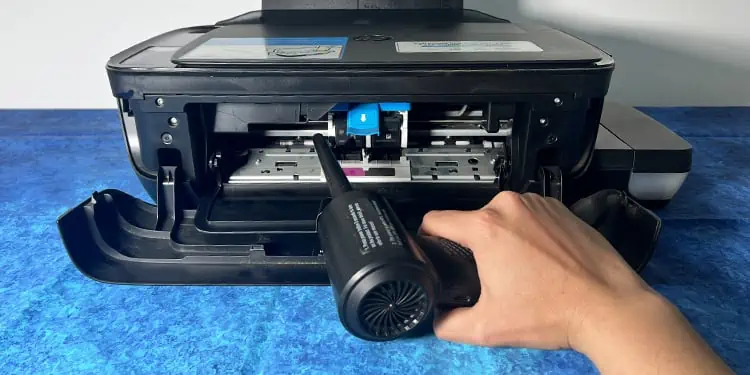
- You can use a blower to blow any foreign bodies out of the carriage area.

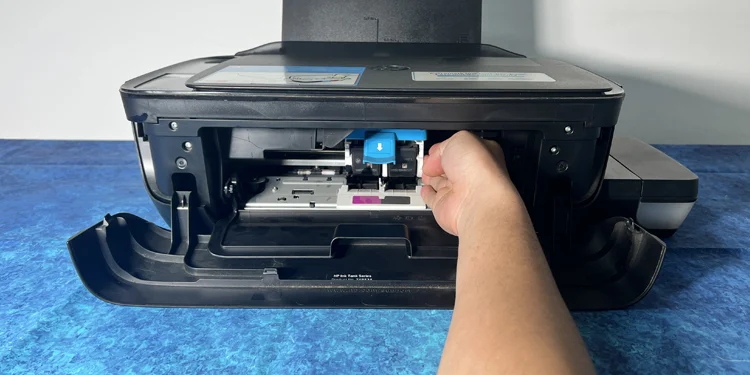
- Try moving the carriage assembly and verify if it can move freely.

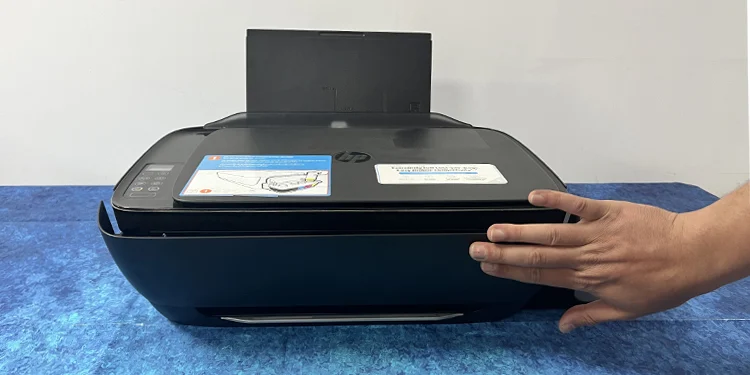
- Close the cartridge door and front doors.

- Turn on the printer and check if the error still exists.
Flashing Power Light and Resume Light With E4 Message
An E4 error message with a flashing power light and resume light also indicates a paper jam on the printer. To solve this error, you should, one by one, check the paper jams on the input tray area, the output tray area, and the paper path area at the bottom of the printer.

While it is easy to clear the paper jams from the input and output tray, the process is a bit different to clear the paper jams from the paper path—you need to turn the printer, open the cleanout door and remove any jammed papers from there.
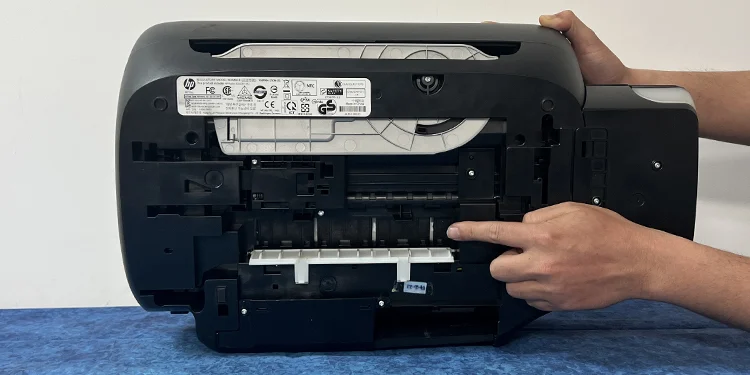
I also recommend going through this guide to solve the E4 error message on HP printers.
Flashing Power Light With P Message
The flashing power light with a P error message on the screen is mainly seen on the HP Deskjet series printer. It generally occurs when there is no paper in the paper tray of your printer. Sometimes, the printer does not detect papers even when the tray is full.
Using glossy and non-printer compatible papers can prevent the printer from detecting the papers. Also, make sure the papers do not have wrinkles and crumples.
You can go through this detailed guide on how to put papers in HP printers to avoid such errors.
All Lights Flashing With E5 Message
It is generally an error in the scanner assembly of your printer when all the lights in its control panel flash and the display panel shows an E5 error message. It is mostly a hardware failure that requires you to take your printer to the service center and get it repaired.
However, you may try solving this problem by repeatedly pressing the Cancel button and Reset button on the printer. Or you can also try soft resetting and factory resetting the printer.
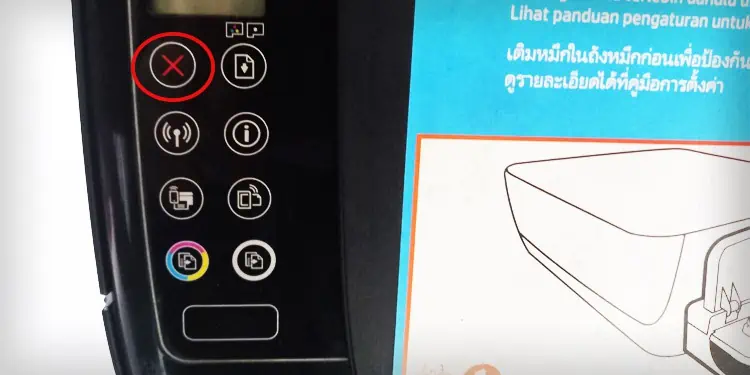
To soft reset the printer:
- Disconnect your printer from the power supply.

- Go to the button panel of your printer and press random buttons for a while. It will help drain any residual electric charge on the circuit board of your printer.

- Give your printer a rest for about five minutes.
- Turn on the printer.
To factory reset the printer:
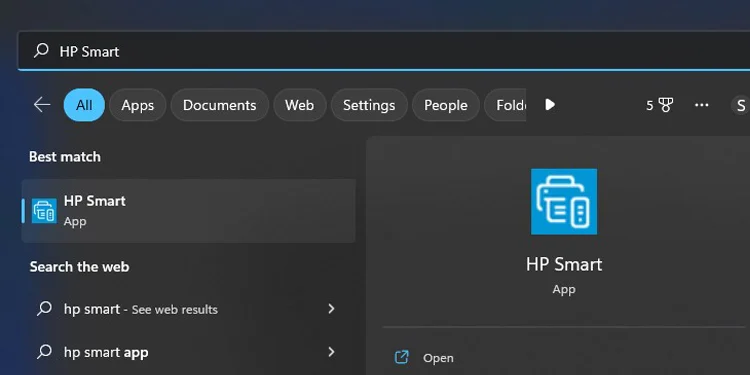
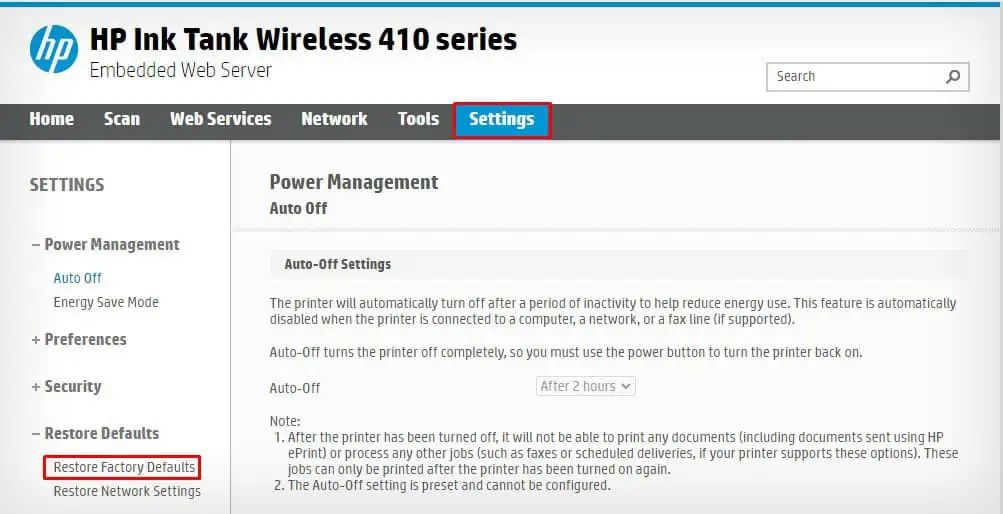
- Launch the HP Smart application.

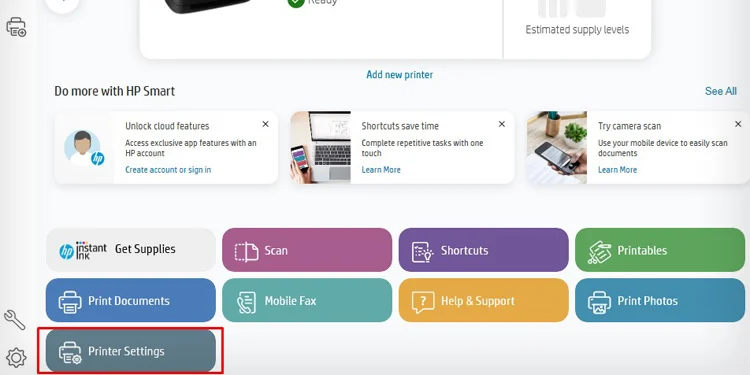
- Go to Printer Settings.

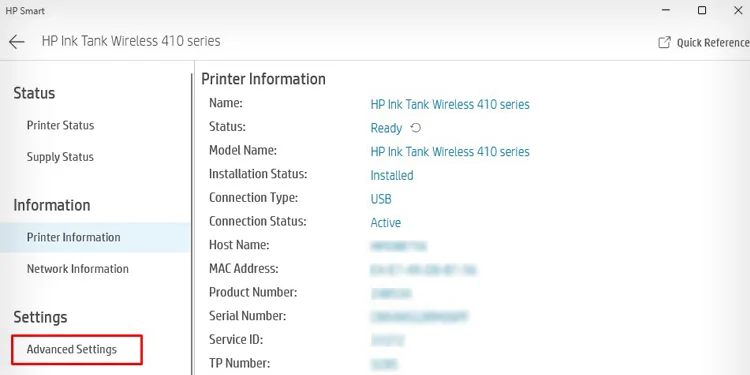
- Open Advanced Settings.

- From the menu bar of the EWS screen, click Settings.
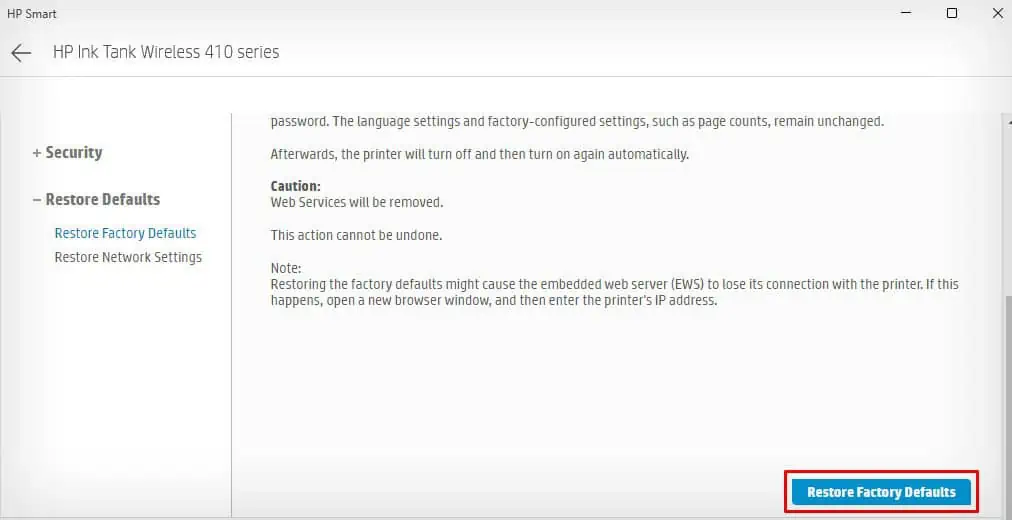
- Click Restore Defaults > Restore Factory Defaults.

- Now press the Restore Factory Defaults button.

All Lights Flashing With E6 Message
If you see an E6 error message on the printer’s screen with all lights on the control panel flashing, it indicates there is a power glitch on the circuit board of your printer. It mostly happens when the printer does not get enough power supply to operate correctly.
You can try removing any voltage control devices like a surge suppressor and then connect the printer directly to a functional wall outlet to see if it fixes the problem. Moreover, you can try soft resetting the printer as well.
- Cut off the power supply of your printer.

- Press random buttons on the printer for a while.

- Isolate your printer for a few minutes.
- Power on the printer and see if the error is gone. If it does not work, you may consult the nearest HP service center and get it fixed.
Flashing Wireless Light
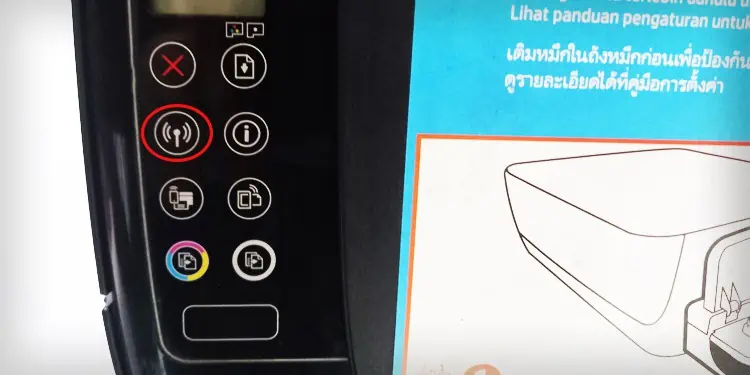
HP printers have a dedicated wireless light on the control panel to indicate the wireless connection status of the printer. The wireless light keeps flashing when the printer attempts to connect to a wireless network or when there is no connection available for the printer.
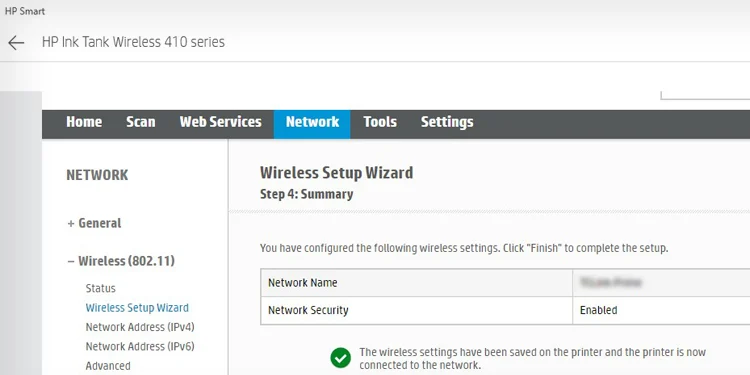
When this light flashes, you will also see a wireless symbol flashing on the display panel. The wireless light will stop flashing once you connect the printer to a Wi-Fi network. You can either use the touch panel on the printer or use HP Smart to connect it to Wi-Fi.
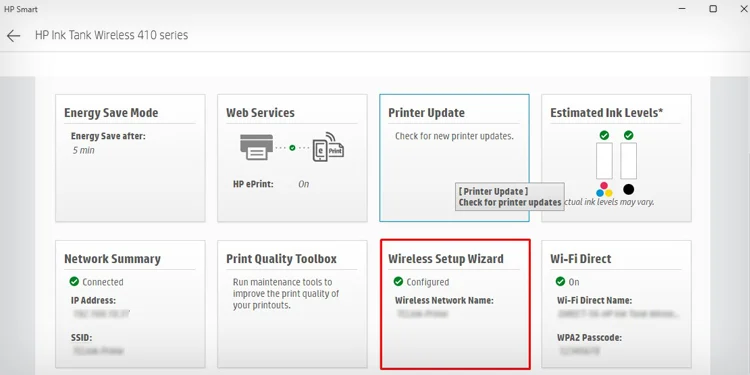
- Open HP Smart.

- Tap Printer Settings.

- Click Advanced Settings.

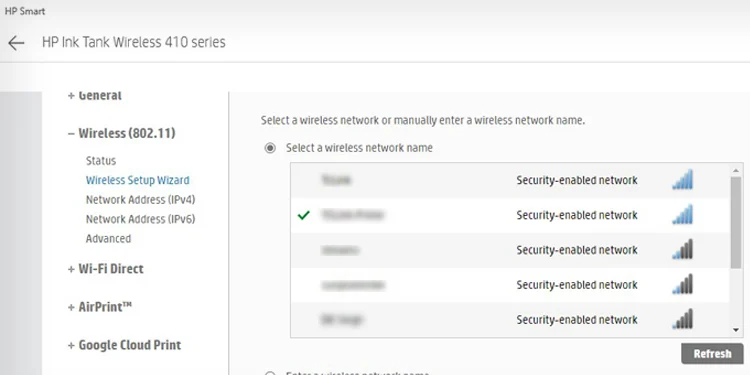
- Click Wireless Setup Wizard.

- Choose the Wi-Fi network.

- Enter the password of your Wi-Fi network and connect to it.

Flashing HP ePrint Light
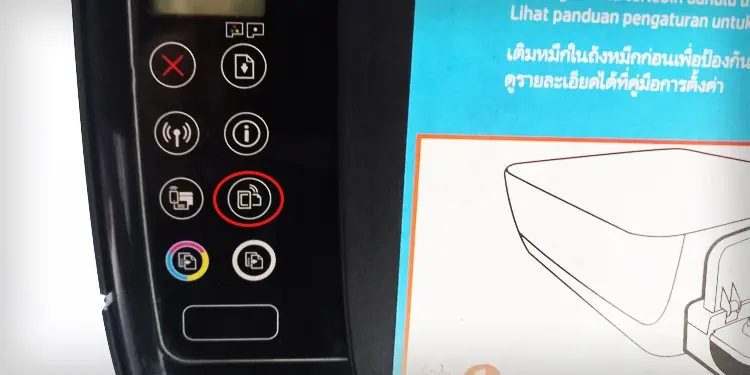
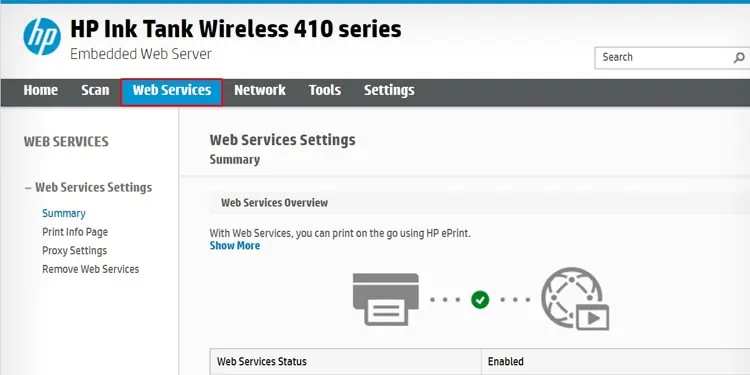
When the HP ePrint button on the printer is flashing, it means the ePrint feature is not properly configured on your printer. You must first connect your printer to Web Services and then enable the ePrint feature to stop this light from flashing.
- Open HP Smart.

- Tap Printer Settings.

- Click Advanced Settings on the left pane.

- Tap the Web Services menu on the menu bar of the EWS screen.
- Enable the Web Services and then turn on HP ePrint.

Flashing Printhead Alert Light
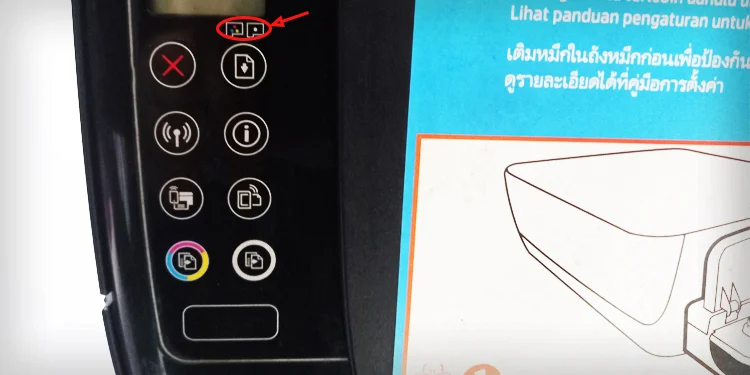
The printhead alert light on the HP printer flashes in yellow color to indicate problems within the ink cartridges—a low ink level or a clogged printhead. Additionally, you will also see an ink indicator flashing on the display panel.
If you have started facing the problem after installing a cartridge, I recommend using a genuine HP ink cartridge. Also, don’t forget to remove the plastic covering of the cartridge before installing it.
Moreover, if you tried using a cartridge from your friend’s printer, it may not work with your printer because of the cartridge protection policy of HP.
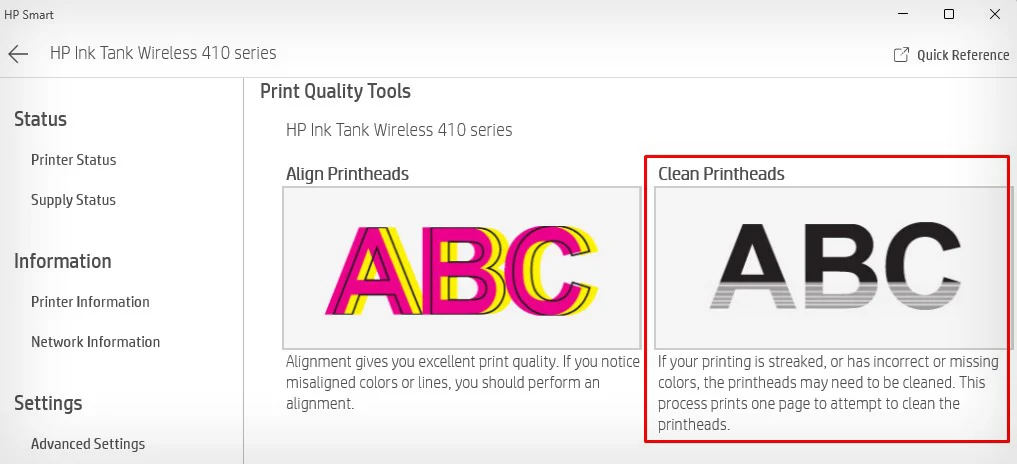
Follow these steps to check ink levels on your HP printer and clean the printheads.
- Open HP Smart.

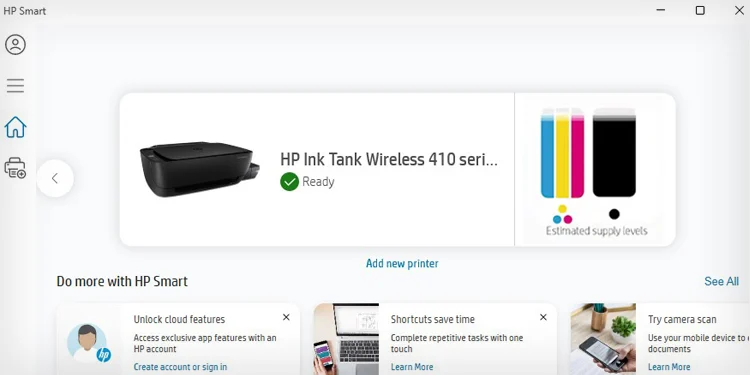
- See ink levels on the home screen.

- Now, tap Printer Settings.

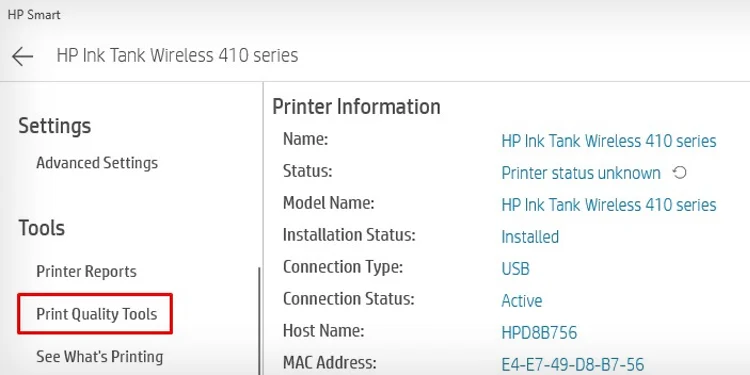
- Select Print Quality Tools on the left pane.

- Tap Clean Printheads.

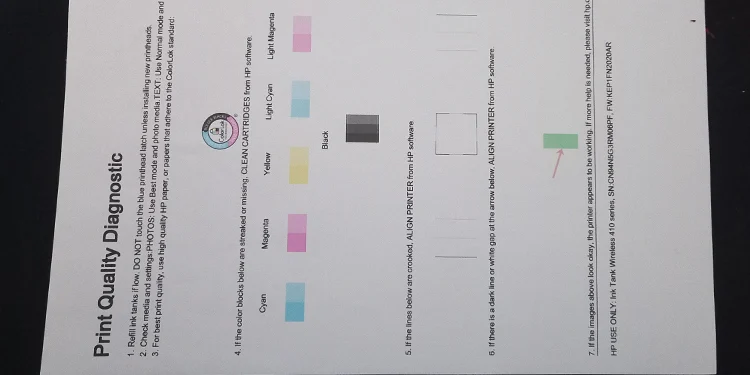
- Wait until the printer ejects a Print Quality Diagnostic report.

- Check if the printhead alert lights are off. If not, you may run another cycle of printhead cleaning.
Use HP Print and Scan Doctor
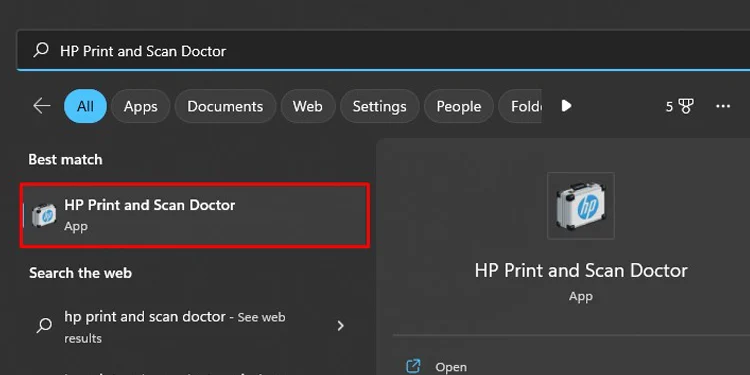
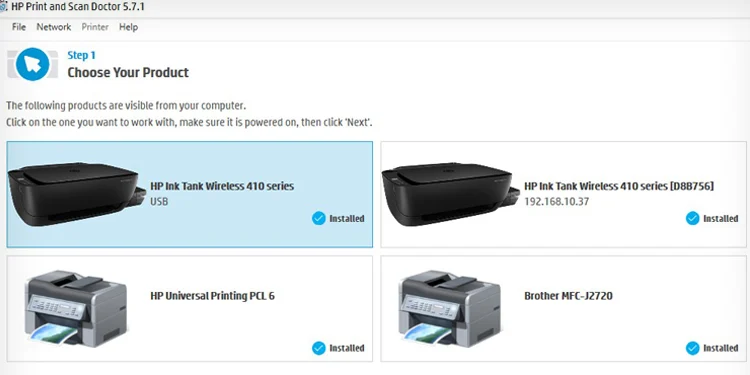
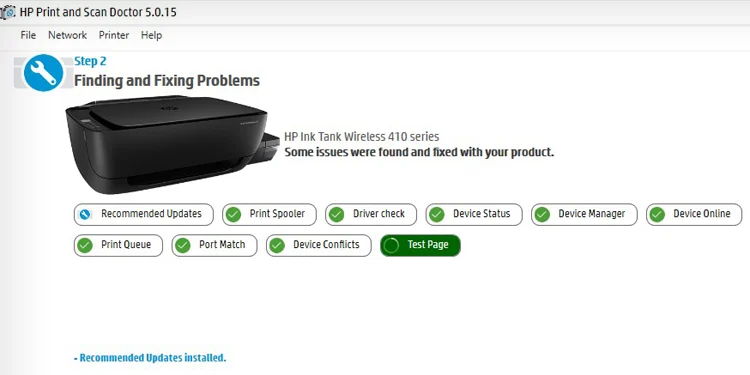
If you are facing a specific flashing pattern other than that discussed in this article, your best bet is to run the HP Print and Scan Doctor application. It will help you find the root cause of the lights flashing.
- Open HP Print and Scan Doctor.

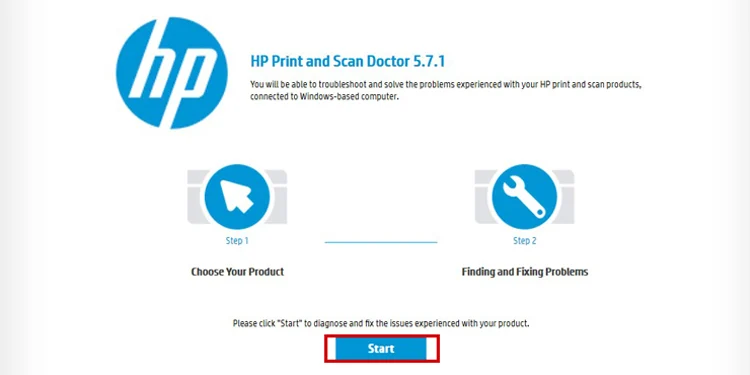
- Click the Start button.

- Select your printer on the next screen.

- Wait for the troubleshooter to diagnose the issue.


