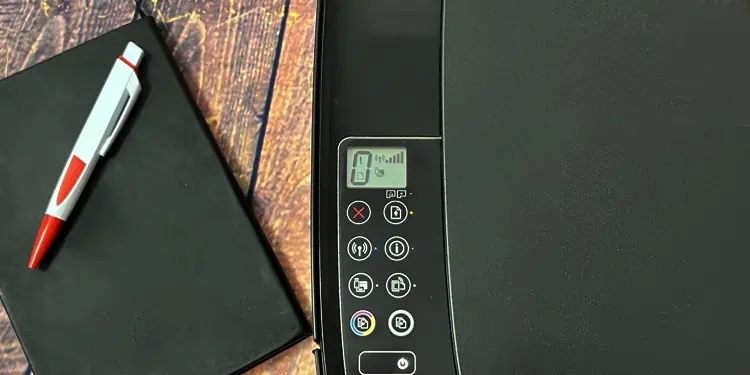
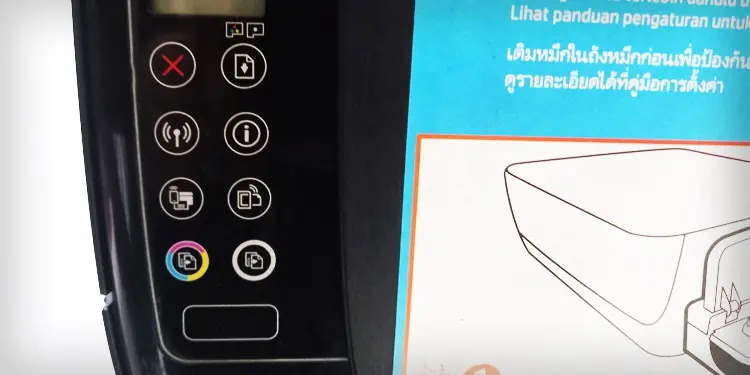
HP printers come equipped with two yellow light indicators—one on the Resume button and the other on the Printhead alert icon. Such indicators are found mostly on HP Deskjet, Smart Tank, and Envy series printers.
When the printhead alert icon glows yellow, the issue mainly lies on the cartridge side. It indicates a low ink level on the cartridge or that it’s time to clean the printheads. If the Resume button indicator glows yellow, it means an empty paper tray, paper size mismatch, or paper jams on your printer.
Here, I have compiled methods to fix the yellow lights on your printer.
Fixing Yellow Light on the Printhead Alert Icon
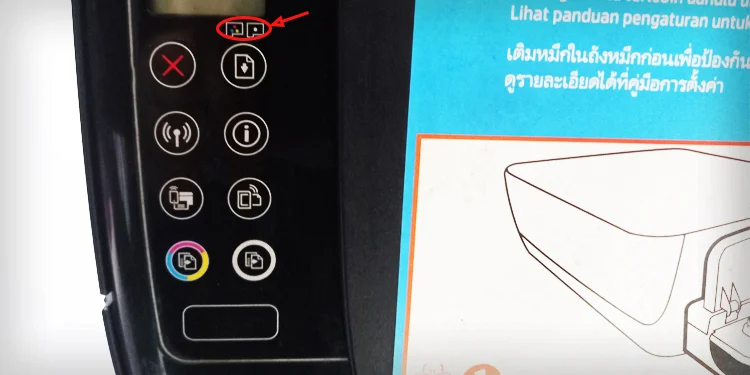
If the printhead alert indicator is glowing yellow, it indicates there is a problem with the ink cartridge of your HP printer. It can either be issues with the ink levels or the printhead of your printer.
Check the Ink Levels
Trying to print a document without sufficient ink levels can lead to a yellow light blinking error. So, you should always check if there is enough ink on the printer and refill the ink if the levels are too low.
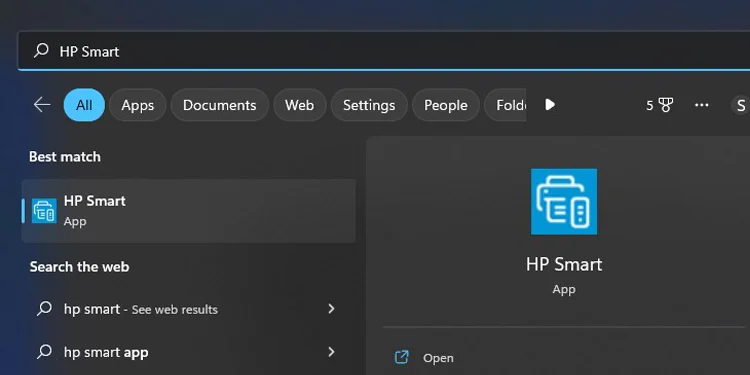
- Open HP Smart on your computer.

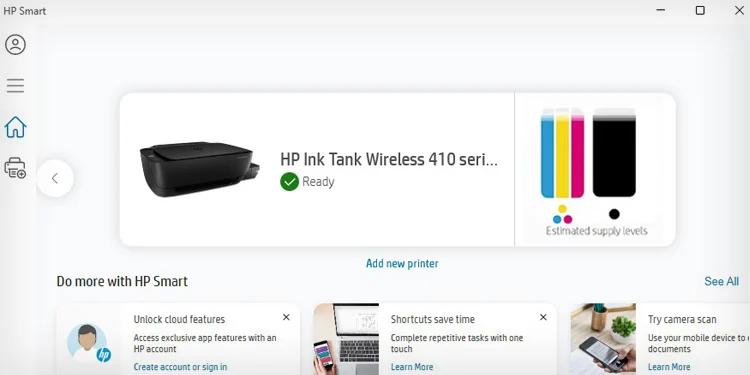
- See the ink levels in the Estimated supply levels section.

Clean the Printheads
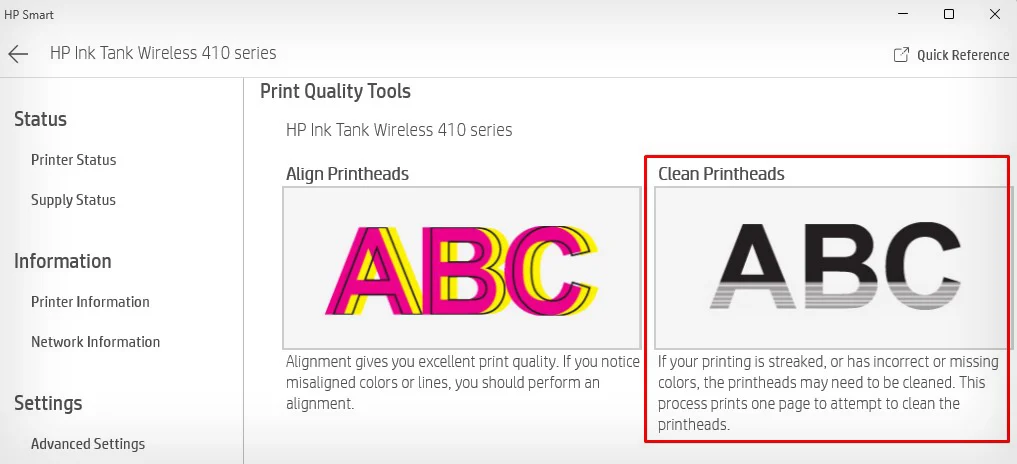
Similarly, the yellow light indicates the printhead is clogged and it’s time to clean it. The printer can not spray ink onto the paper if the printhead is clogged with dirt and residue. You can try running the printhead cleaning cycle using the HP Smart app.
- Install the HP Smart app on your PC and open it.

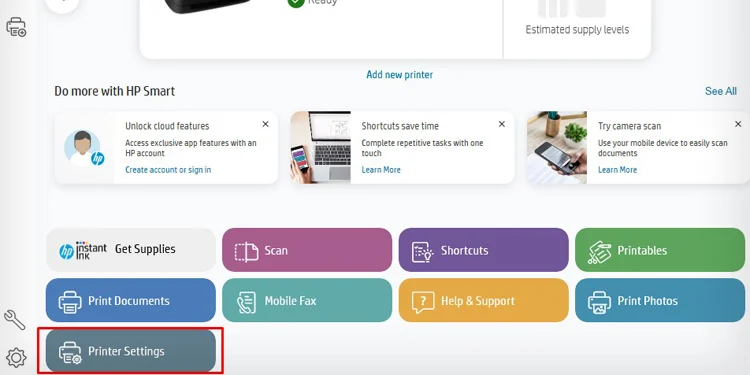
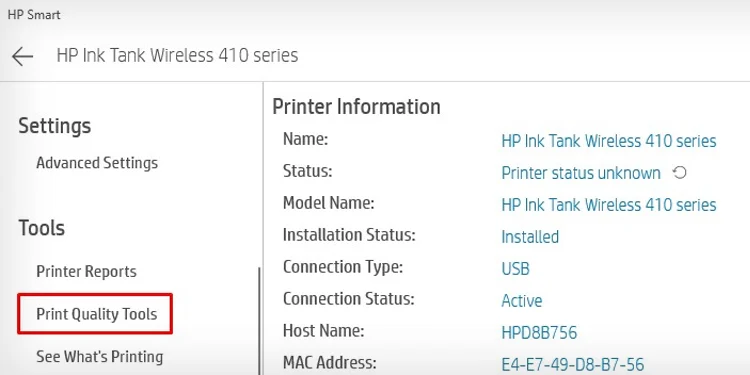
- Click Printer Settings.

- Select Print Quality Tools.

- Choose Clean Printheads.

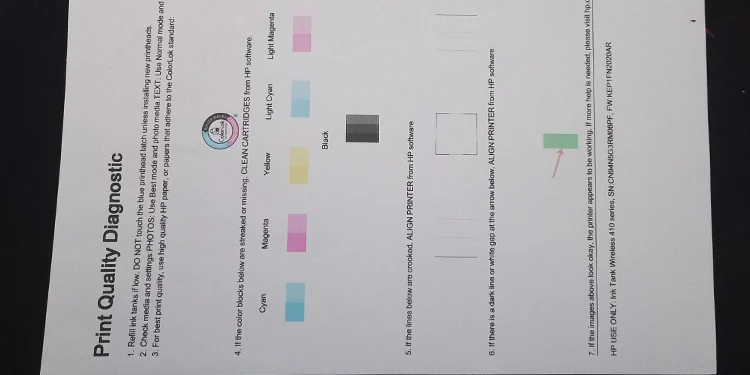
- Wait for a few minutes to complete the cleaning process. You will get a Print Quality Diagnostic page after the process is complete.

- You may run the next cleaning cycle if the cleaning does not seem to produce good results.
Fixing Yellow Light on the Resume Button
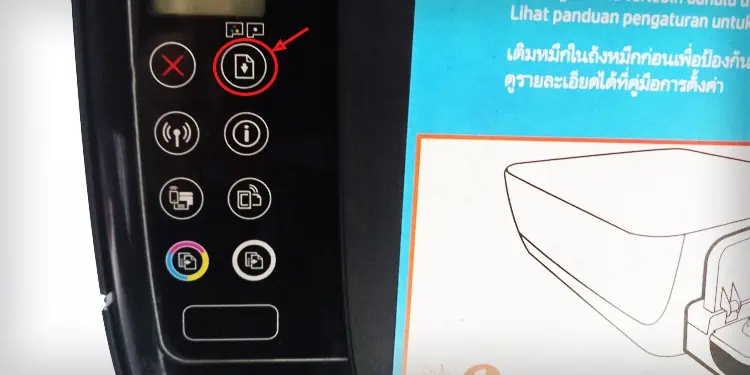
There might be multiple cases if the yellow light is glowing on the Resume button. You can go through each of the fixes discussed below to sort out the problem.
Check the Printer’s Status
You can first check the status of your printer using the HP Smart app and find the cause behind the yellow light.
- Download and install HP Smart from the Microsoft store.
- Then, launch it.

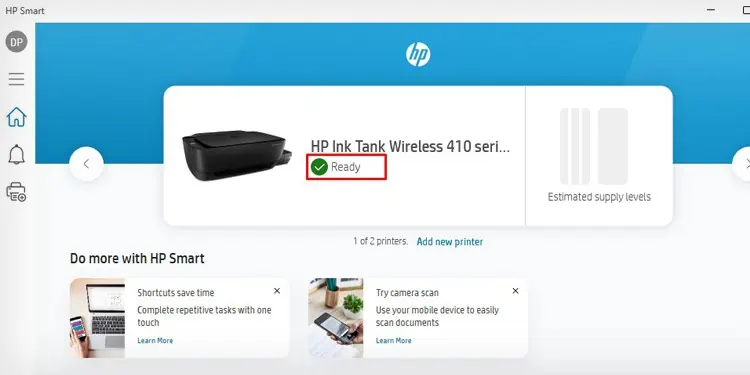
- You will see the status of your printer on the home screen.
- It should be on the Ready status to start printing. If you see any errors here, seek the fixes accordingly.

Insert the Papers Correctly
A yellow light on the Resume button also comes with an error message on the display panel. Generally, you will see an exclamation mark and a paper symbol inside zero when the yellow light keeps glowing constantly. It means the paper tray is empty, or the paper detection sensor has failed to detect the papers.
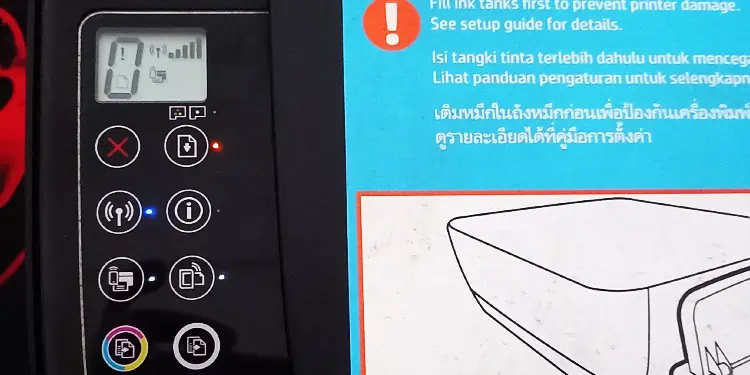
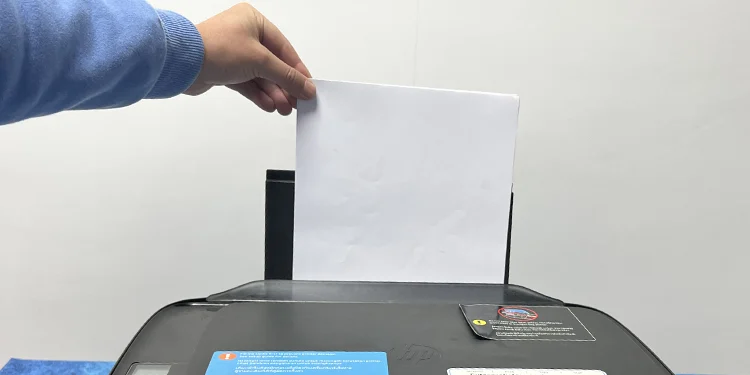
You can try removing and reinserting the papers in the tray. Make sure you insert the HP printer-compatible papers, and there are no any twists and turns while inserting them. For further details,, refer to our detailed guide on properly putting paper in an HP printer.
Troubleshoot the E2 Error
You may also see an E2 error message along with the yellow light. This error message pops up when the printer has a paper size mismatch error. You can follow these steps to solve the paper size mismatch error.
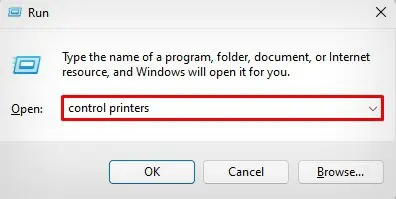
- Right-click the Start button on your computer’s taskbar and click Run.
- Type
control printersand press OK.
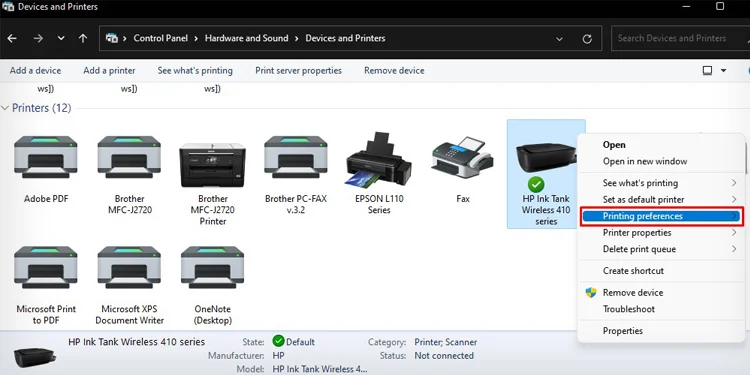
- Right-click HP printer and choose Printing preferences.

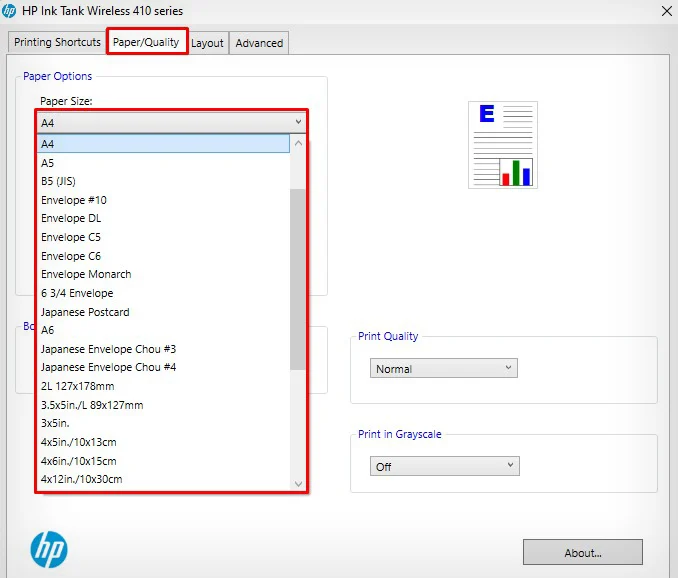
- Click Paper/Quality tab.
- Choose the correct paper size. Then click OK.

Soft Reset the Printer
If you encounter yellow light issues despite placing the papers properly in the paper tray, there might be some glitches in the internal memory of your printer, or the paper sensor could have malfunctioned. You may try soft resetting your HP printer in such cases.
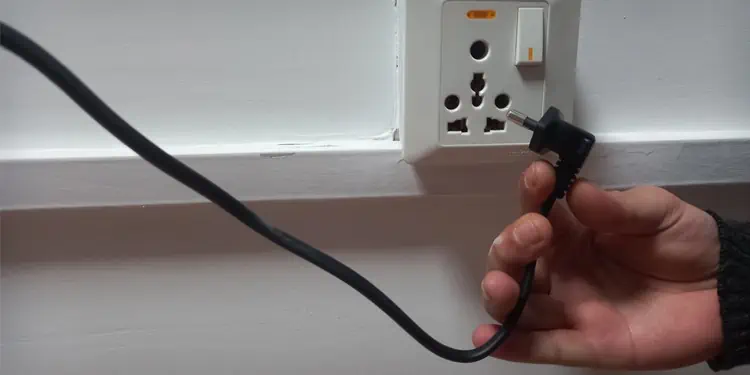
- Remove the power cable from your printer.

- Then randomly press buttons on your printer to drain any residual charges.

- Wait for a few minutes.
- Re-connect the power cable to the power supply and turn on the printer.
- Check if the yellow light is still glowing.
Clear the Paper Jams
If the yellow light on the Resume button is blinking, it means there is either a paper jam in the carriage area of your printer, or the papers have just finished up during the printing process.
First, check if there are sufficient papers in the tray. If not, insert the required number of papers to complete your print job. Then press the Resume button to start printing again.
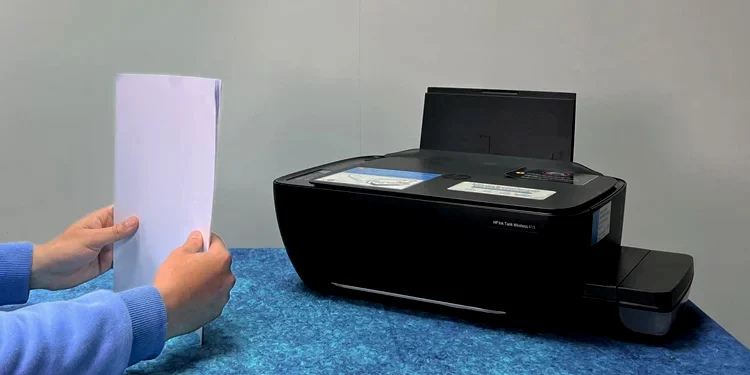
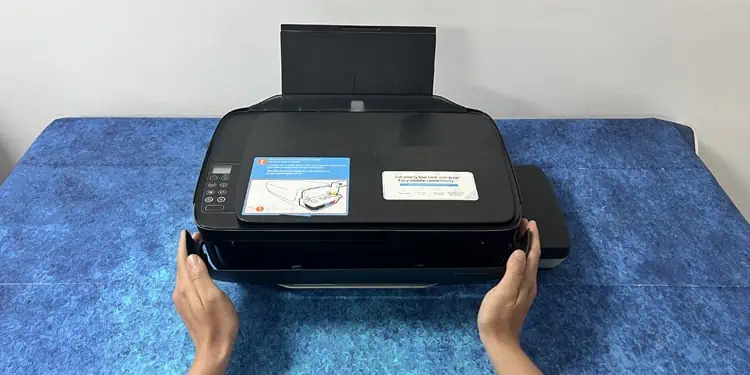
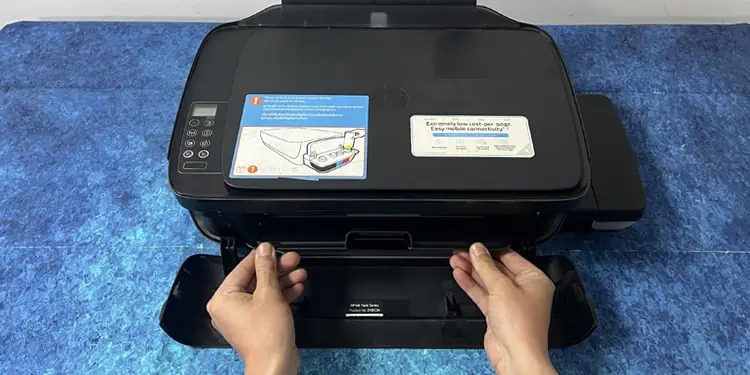
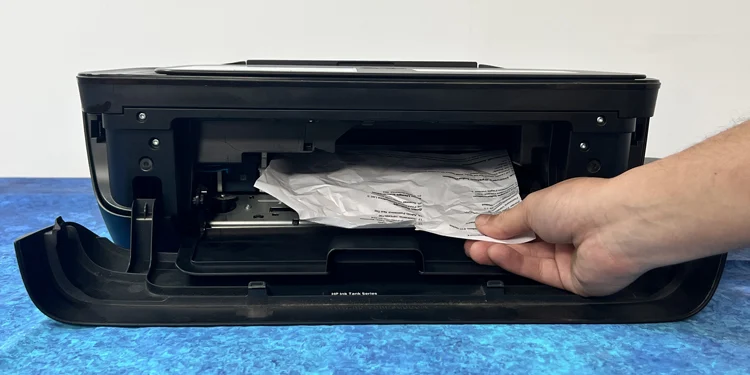
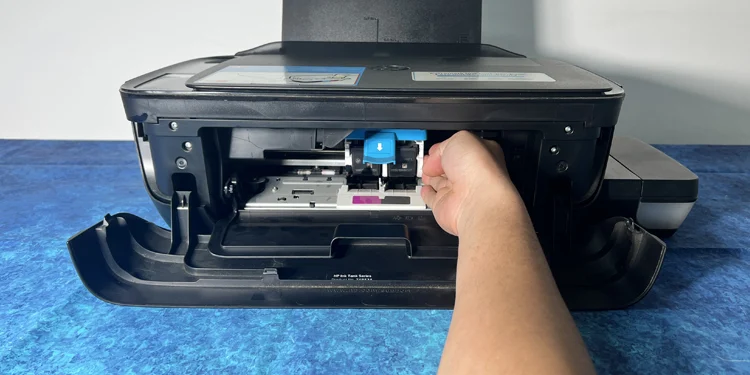
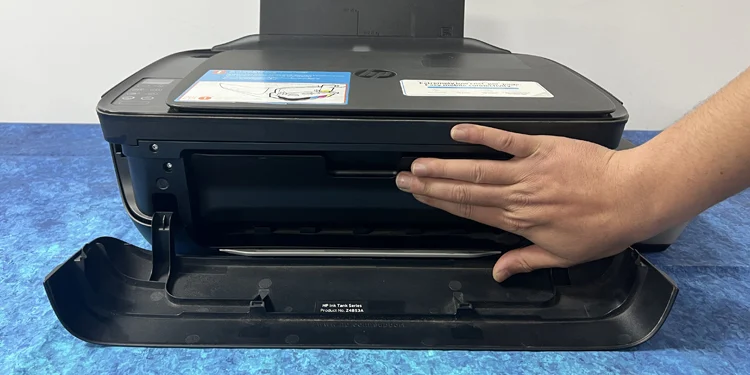
Next, check for paper jams in the carriage area. The carriage area is the passage between your printer’s input and output tray. You can open the front access door to access the carriage area of your printer and remove any jammed papers from there.
- Turn off your printer and remove the power and USB cables.
- Open the front door of your printer.

- Open the cartridge door.

- See if there are any torn pieces of papers or stuck papers in the carriage area and remove them.

- You may gently move the carriage to see if it can move freely.

- Close both the doors—cartridge access door and front door.

- Replug the power and USB cables and turn on the printer.
- See if you still face the problem.

