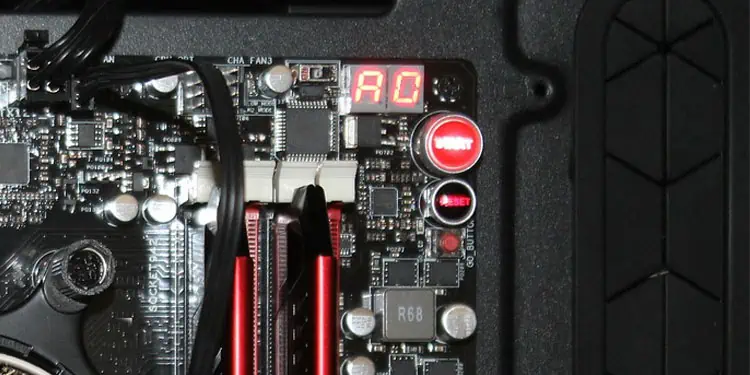
During boot, your motherboard cycles through different error codes. When it passes the POST, the Q-code will finally settle on A0. It means IDE Initialization is started.
This is not exactly an error code but an indication that the BIOS has successfully completed all POST tests and is now ready to run the OS. However, the system may still fail to load the OS and display a black screen.
In such a situation, the most probable culprit is either the display/GPU or the boot drive.
Check the Display Cable and Connection
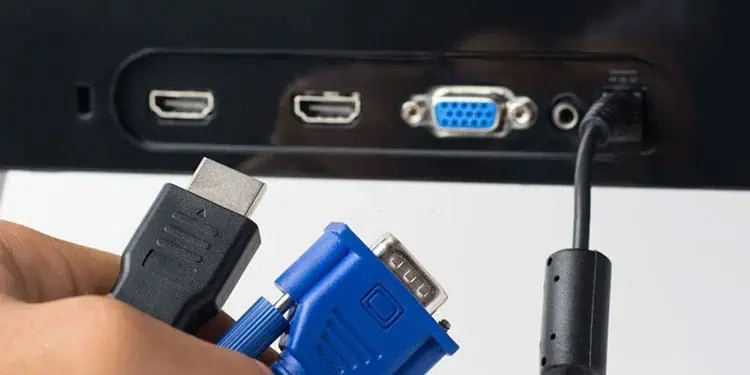
The motherboard fails to communicate with the monitor when the display cable is damaged.
To troubleshoot the display, check whether the display cable works on another PC. If it does not work, replace the cable and check if it fixes the issue.
If the cable works on another PC, the display cable is fine. So, it is possible that you are not using the correct port for display. Try plugging the display cable into the other available port on your monitor and motherboard.
Check Primary Display on BIOS
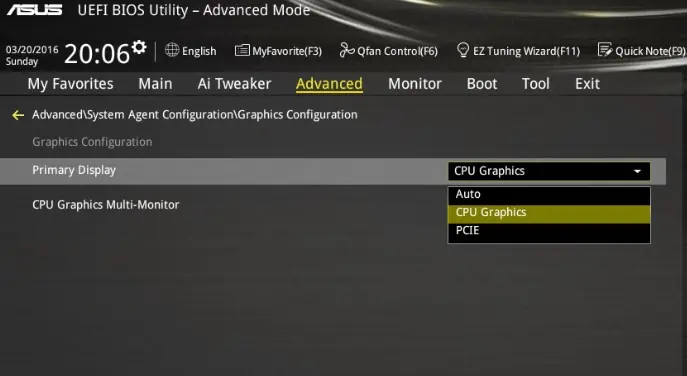
In some motherboards, you need to set the correct graphics priority in order to use the desired display port. The graphics priority setting in BIOS determines the port the motherboard uses for display. This will be the primary display port.
If you have tweaked the graphics configuration, the motherboard could be using a different display port as the primary display port.
For instance, you have a graphics card installed on your system, but if you connect the display cable to the I/O port on the motherboard and not the graphics card, you will not get a display on the monitor.
- Boot into the motherboard’s BIOS.
- Go to Advanced > System Agent (SA) Configuration > Graphics Configuration.
- Here set Primary Display to PCIe graphics if the system has a dedicated GPU and CPU graphics if the system runs on an integrated GPU.

- Press F10 to save and exit the BIOS.
- Click on Yes if it asks for any confirmation.
Set Boot Order
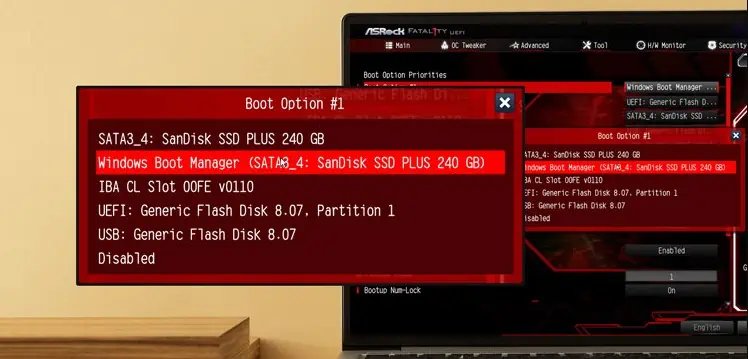
The motherboard BIOS should also have a correct boot order meaning the storage device containing the OS should have a top priority. If you are booting the system for the first time, you need to set the correct boot order.
By doing this, the motherboard always boots using the storage device on top of the list.
- Turn on the PC and repeatedly press the BIOS key (usually Delete Key) to boot into the motherboard’s BIOS.
- On the right side of the BIOS, under Boot Priority, click and drag the storage device containing the OS to the top.

- Press F10 to Save and Exit the BIOS.
- Click on OK.
Reconnect Storage Device
Since the issue started after initializing, complications within the storage device containing the OS could stop the system from loading. First, you can try reconnecting the storage device.
- Turn off the PC.
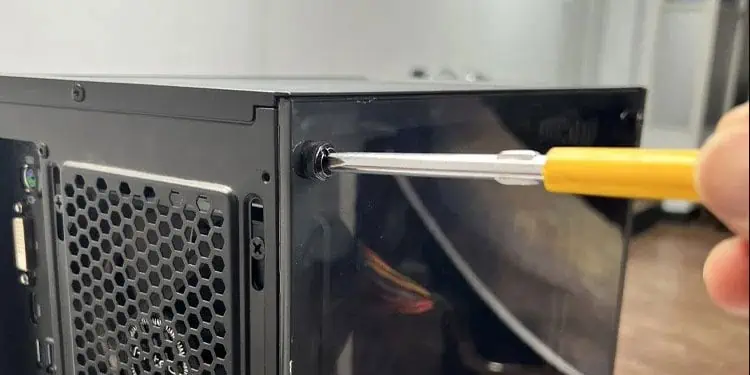
- Remove all the screws that hold the side panel in the CPU case to detach it.

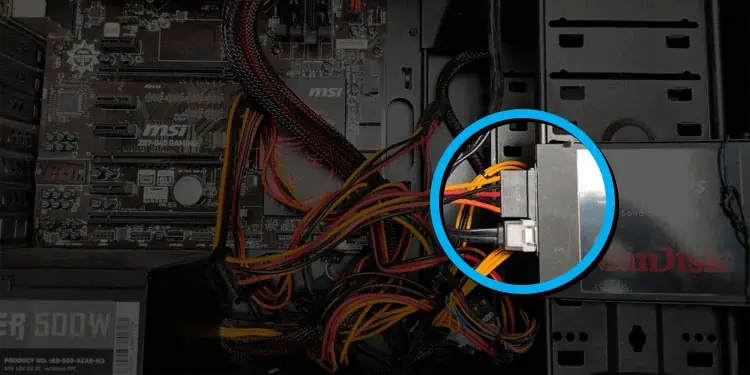
- Once you can access the motherboard, gently remove and reconnect cables from the storage device, both SATA power and SATA data.

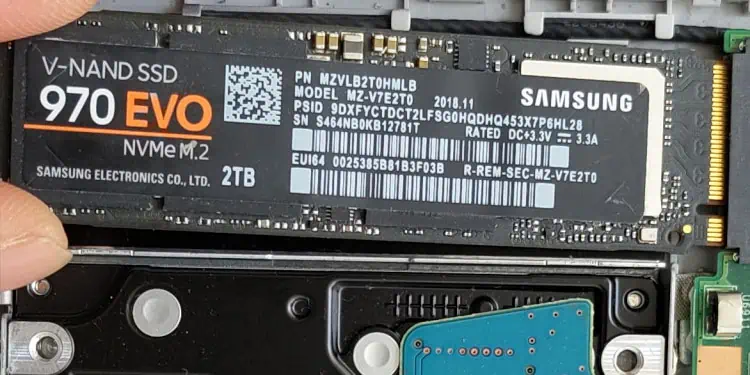
- If you are using an M.2 storage device, remove the screw to detach it from the motherboard. Clean the connector side of the chip.

- Slide the M.2 back to the slot and screw it in place.
- Check if the PC boots.
Reseat Graphics Card
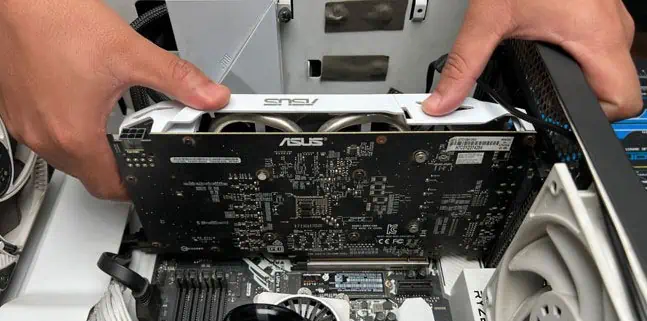
The monitor only displays the content if it gets data from the graphics card. If you are facing problems with it, it could result in display errors or a blank screen. So, you can reseat the graphics card and check if it solves the issue.
- Turn off the PC.
- Unplug the display cable from the graphic card.
- Remove the side panel from the CPU case.

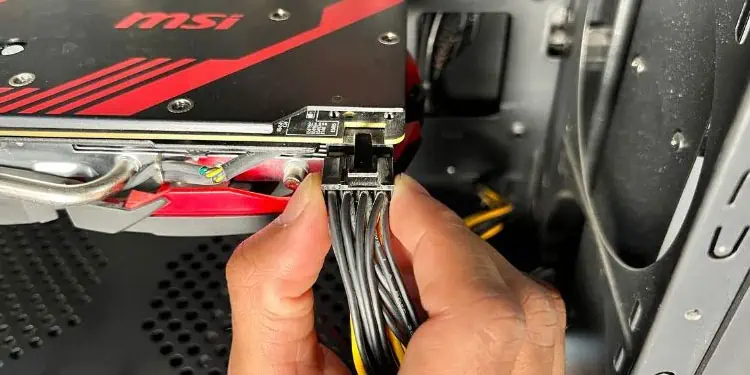
- Unplug the power cable that connects to the graphics card.

- Push the lock on the PCIe slot outwards to unlock the GPU from the motherboard.
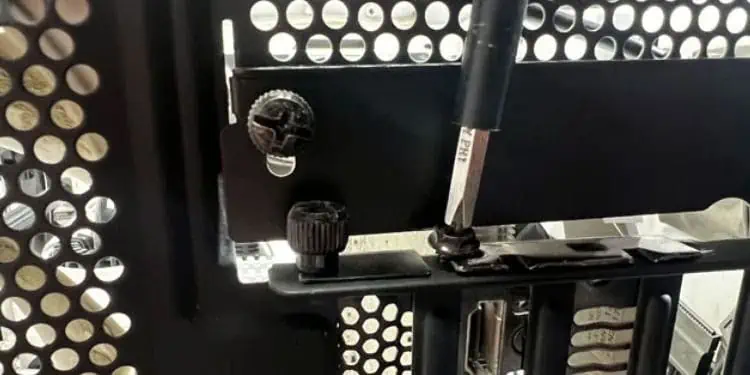
- Remove the screws that hold the GPU to the CPU case.

- Take the GPU out of the system.
- Now, insert the GPU back into the motherboard and reconnect everything.

- Turn on the PC and check if the system boots into the OS.
- If this fails, connect the graphics card to another PCIe slot.
- Turn on the system and check whether the PC boots.
If none of these steps works, try booting the system using an integrated graphics card.
- Remove the graphics card from the PC
- Connect the monitor to the display port on your motherboard.

- Turn on the system and check if the monitor displays
If the system turns on with the iGPU, the problem is likely with the dedicated GPU. You can refer to our other article on troubleshooting any issues with the graphics card.
Check RAM Module
Once the IDE initialization starts, the system starts to load the OS to the primary memory. If you have a faulty RAM, it cannot load the OS. This can result in the motherboard to display an A0 code, but you will not get any display on the screen.
To ensure that this is not the case, you can check your memory module.
- Remove the side panel from the CPU case.

- Check the motherboard for RAM sticks.
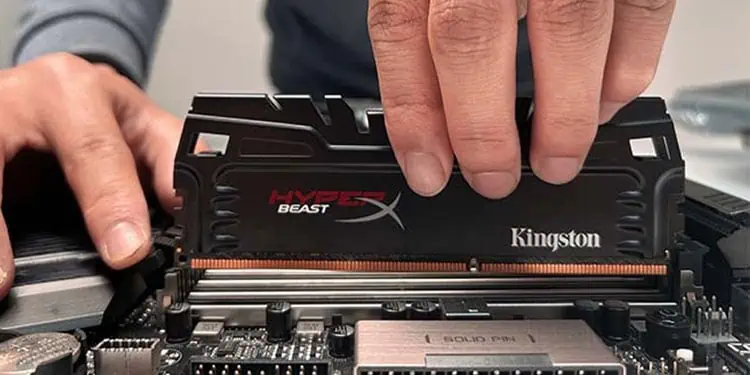
- Pull the lock outwards. The memory stick should pop right out.

- Take one RAM stick out of the motherboard and turn on the PC.
- If the PC fails to boot, turn off the PC and try turning it on only using the RAM stick that you removed previously.
This will help you determine the faulty RAM stick. This troubleshooting step only works if you have two or more memory modules.
If you are running the system on a single RAM stick, you will need another RAM stick to determine if your RAM is faulty.
Update BIOS
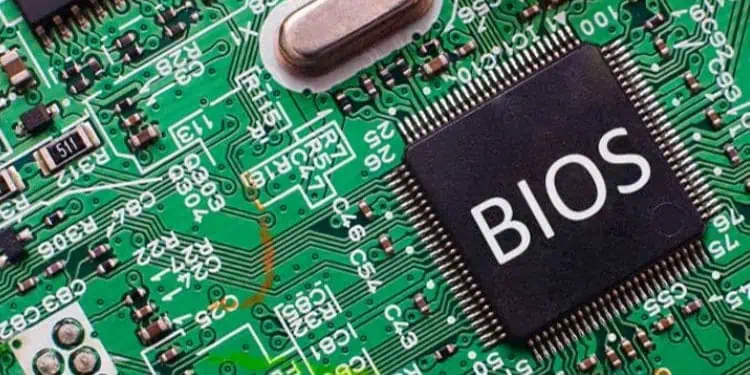
Updating the BIOS brings several features and newer hardware compatibility to the table. If you are using a fairly older motherboard paired with newer hardware, the motherboard may run into compatibility issues when paired with the latest hardware.
These complications with newer hardware could cause the system to display the A0 Q-code, but the system fails to boot.
Updating the BIOS could be tricky, especially if you are doing it for the first time. We have a detailed article on updating BIOS safely with a step-by-step guide that you can follow to update the BIOS.
Reinstall the OS
Incorrect installation of the OS is also another potential reason the OS fails to load. If the installation process is interrupted amidst OS installation or the OS is corrupted, it could cause the motherboard to display All OK (A0) but fail to initialize.
So, the best option is to reinstall the OS and check if it boots after the installation.

