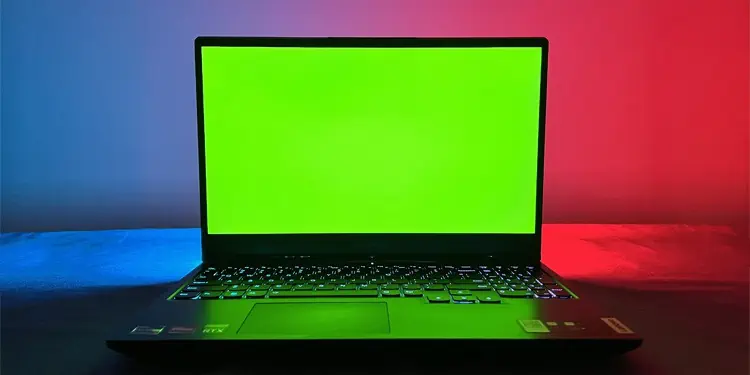
You may observe your laptop display turning green as soon as the computer powers up or after a while. It can appear as a solid block of green that entirely covers the display or patches/lines that still show the rest of the display properly.
Regardless of their nature, these issues usually occur because of similar reasons. The most common cause includes improper display connection due to loose or broken cables or ports.
Issues with the GPU hardware are also likely, especially if the screen keeps showing solid or flashing green. And while a faulty GPU can also cause green bars/patches, these problems mainly occur due to a corrupt graphics driver, if not a bad connection.
Before you begin with the solutions, try restarting your PC in case some temporary system issues are causing this glitch. If the display still displays green, apply the possible solutions below.
Check Cable Connection
First, you should connect your laptop to an external monitor and force restart it. If the monitor works in this situation, then there might be some issues with your laptop’s display cable or panel. These inner components are not that easy to replace, so we recommend taking the laptop to a hardware expert for replacement. But if you are confident in being able to do so yourself, here’s what you need to do:
- Remove the external battery and power cables.
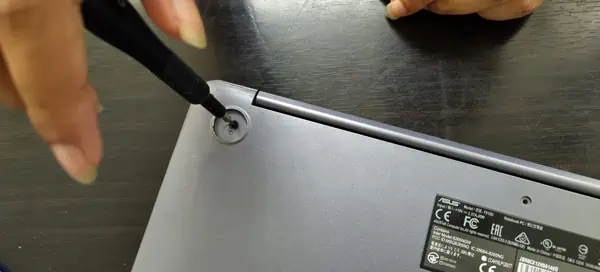
- Unscrew the back panel (all of them if there are multiple panels) and take it off using a prying tool. Make sure to check the rubber feet or stickers for hidden screws.

- Disconnect all internal batteries. You may need to unscrew them before removing their connector.
- Then, look for the display cable. It should be coming out of the laptop hinge and usually contains a plastic cap on the connector.
- Pull it off gently by putting pressure on the connector and not the cable as it is more fragile.

- Reinsert it in while ensuring proper connection, and reconnect the batteries as well.
- Put the case back without screwing it (you may need to open it again) and put back any external battery as well.
- Power up the laptop and check if the issue persists.
- If so, open the case again and disconnect all batteries.
- Now you need to take out the screen’s bezel. Use a prying tool on the outward and the inward seams to unlock it from the laptop.

- After removing it, unscrew the panel on all sides.
- Take out the panel and lay it with its face downwards.
- Remove and reconnect the display cable on the panel in a similar way as above.
- Put back the panel, reconnect the batteries, and power up the PC.
If the green screen is still present, the issue is with your panel or cable. You can change the display panel easily using the same steps as above. However, to remove the cable,
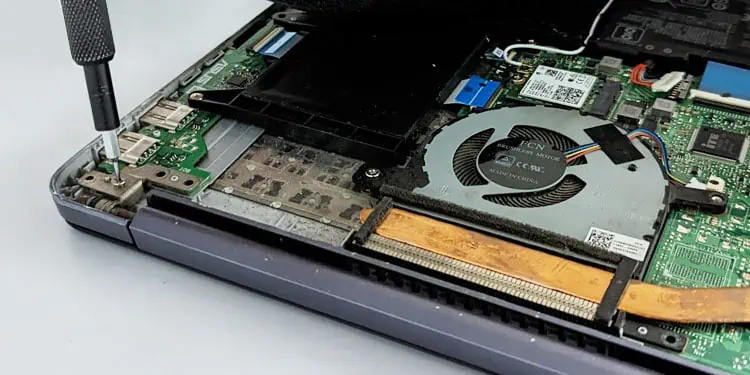
- Open the back panel of the laptop and unscrew the hinge.

- Take apart the hinge by using the prying tool on its seams.
- Disconnect the cable connectors from both the system board and the panel (use the above steps)
- Take out the cable while making sure not to damage any hooks or locks.
- Put the new cable back in a similar way. Connect it to both ends and reassemble everything by reversing the above steps.
Update or Reinstall Graphics Drivers
Sometimes, faulty graphics drivers may also cause this issue. If so, the problem should not happen abruptly but after updating your system or making some changes to the graphics settings.
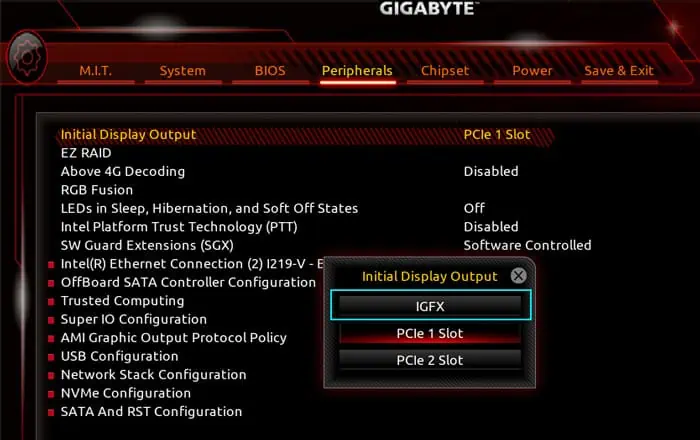
You need to update or reinstall your graphics drivers in such a situation. But if you can’t see the necessary portion of the screen, you need to go to the BIOS and enable using the integrated graphics device for display.
- Restart or power up your PC and press the BIOS key to get to BIOS Settings. If the BIOS also shows the green screen error, you have a hardware problem, so move on to the next solution.
- If not, search for Onboard Graphics or a similar setting and enable it. For some devices, you need to set the Primary Display to IGP or IGFX.

The BIOS interface and options differ significantly between different devices. So we recommend visiting the manufacturer’s website to learn the exact method.
After that, boot to your operating system and log in to your user account. Then, follow the steps below to update the GPU driver.
- Open Run by pressing Win + R.
- Type
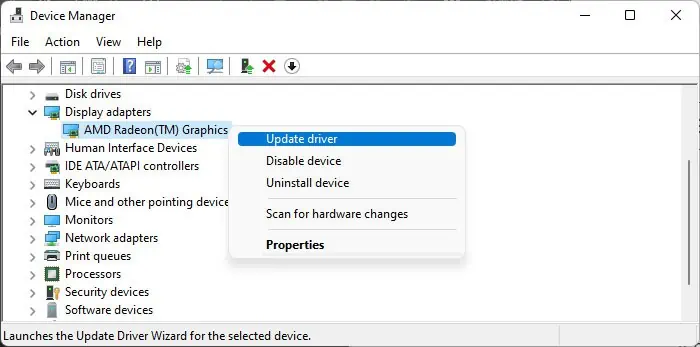
devmgmt.mscand press Enter to open the Device Manager. - Expand Display Adapters and right-click on your dedicated GPU.
- Select Update driver and then Search automatically for drivers.

If you already have the latest drivers,
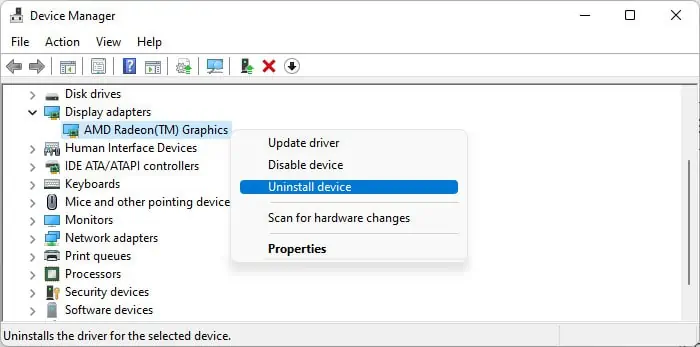
- On the Device Manager, right-click on your graphics device and select Uninstall device.

- Confirm with Uninstall.
- Then, install the latest driver from the manufacturer’s device.
You can also use the Display Driver Uninstaller to completely remove the driver and then reinstall it from its official website.
Repair or Replace GPU
If you can’t resolve the issue using the above methods and it shows up on other monitors as well, your GPU is likely damaged. A laptop’s GPU is not easily detachable. So, we highly recommend seeking help from a specialist to repair or replace it.
Change Color Calibration
If your display shows a uniform tint of green after your system loads the welcome screen (just after entering the password), it indicates a color balance issue. You need to recalibrate your display to resolve it.
- Open Run.
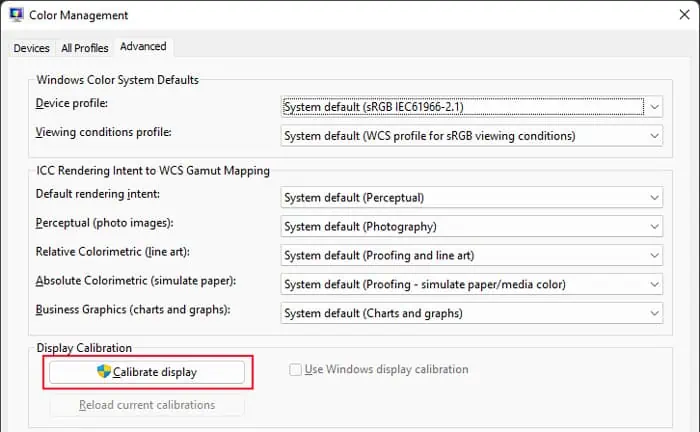
- Type
colorcpland press Enter to open Color Management. - Go to the Advanced tab and click on Calibrate display.

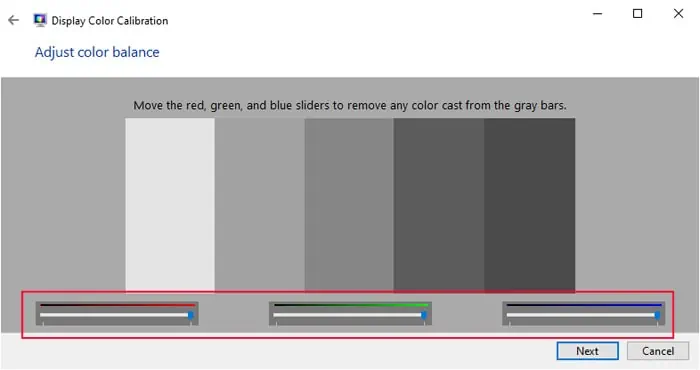
- Follow the on-screen instructions. On the color balance page, make sure that all the sliders (Red, Green, and Blue) are set to the maximum value.

- Then, follow the rest of the instructions accordingly.
