Lenovo has captured a large portion of the laptop market with its gaming and budget lines. These laptops come with top-of-the-game hardware, including keyboards that are well built and come with the latest technologies and features. But, like every other piece of hardware, it does run into problems.
The problem could be an outdated/corrupted driver or a battery problem. Regardless, when troubleshooting a broken keyboard, you should take everything into account. Let’s look at all the possible reasons why your keyboard may be acting this way and how you can fix it.
Why is My Lenovo Keyboard Not Working?
Because the keyboard is an in-built piece of hardware in your laptop, there are multiple reasons why it may be behaving this way. The list below contains all the possible reasons.
- Missing or corrupted drivers.
- Outdated Operating system.
- Insufficient power supply.
- Presence of dust, and debris.
- Faulty keyboard.
How to Fix the Lenovo Keyboard?
Now that we have discussed a few of the possible reasons, let’s look at how we can fix them. These methods may differ from user to user, but in general, we ask that you go through each of them.
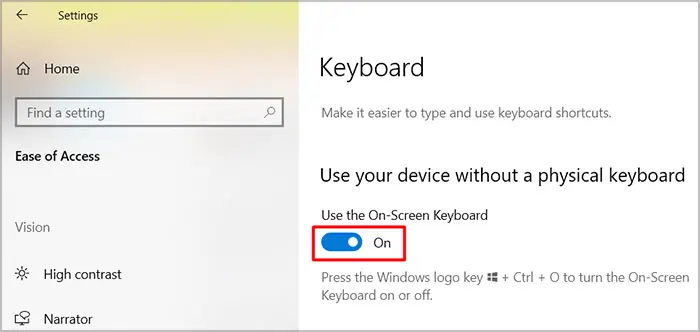
Here’re the steps to enable the on-screen keyboard:
- Right-click the Start menu button, and click on Ease of Access.
- Next, Interaction > Keyboard.

- Under Use the On-Screen Keyboard, turn the switch on.
Restart the Laptop
This may sound obvious but before you do try anything else, restart your laptop once. It helps with clearing memory, fixing any software/hardware glitches, and many more. Many people have fixed issues with their laptops with just a restart.
Hence, it is recommended that you try restarting once before going over any other methods.
Turn Off the Filter Keys
Filter keys is a feature that comes in Windows, it commands your laptop to not respond to repeated key presses over some time. If your Lenovo keyboard is not working as it should, try turning the Filter Keys settings off.
- Right-click the Start menu button and click on Run, and type in control.
- Click on Ease of Access.
- Next, click on Change how your keyboard works.
- Now, untick the box that reads: Turn on Filter Keys.

- Hit Apply and Ok.
Inspect the Keyboard
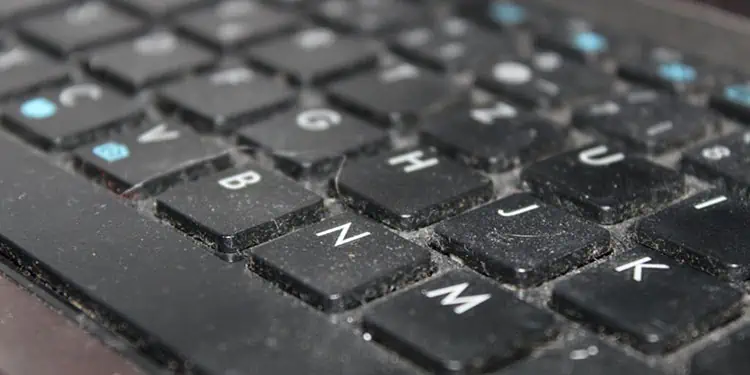
If restarting did not work. The next thing to do is, inspect the keyboard thoroughly. The reason it might not be working could be dust particles stuck. Grab a Q-tip or a toothpick and attempt to remove such particles away from the keyboard. Also, get a soft material cloth and get rid of spill marks and such. Deep cleaning might be needed depending on how dirty the keyboard is.
In general, it is always ideal to have a clean keyboard to prevent any external problems. Try to clean it almost consistently. Additionally, connect an external keyboard to see if it works or not. If it does work, then your keyboard is undoubtedly at fault.
Troubleshooting For Individual Keys
Instead of the entire keyboard, if only some keys are not working, it might mean that it is either locked or something is blocking the keystroke. This is a very common problem with keyboards, and the fix is pretty simple.
If you see any foreign particle stuck in between, try getting rid of it using a toothpick. Else, if you do not see any dust particles, the individual key might be locked. To fix this, hit the lower-left side of the specific key a few times. Refrain from applying too much pressure when doing this, you might damage the keys otherwise.
Run Windows Troubleshooter
Windows has an in-built troubleshooter tool that scans and attempts to fix any found problems. This does not perform a very detailed diagnosis however it can find common problems and try to fix them.
Follow these steps to perform troubleshooting specifically for your Keyboard.
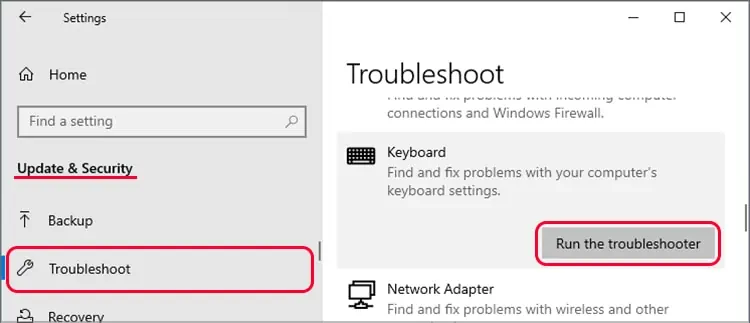
On Windows 10
- Right-click on Start menu and click Settings, and click on Update & Security.
- Next, Troubleshoot > Additional troubleshooters.

- Click on Keyboard and then Run the troubleshooter.
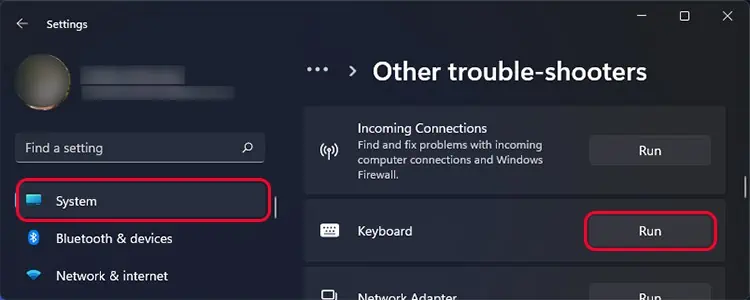
On Windows 11
- Right-click on the Start menu and click Settings.
- Under System, click on Troubleshoot.
- Next, click on Other troubleshooters.

- Find Keyboard from the list and hit Run.
Update the Drivers
Drivers are very important for any component. Updating drivers ensures that there are no unnecessary issues and the component is working as it should. If your keyboard is still not working, look into updating the drivers to it.
You can update the drivers through the Device Manager. Lenovo also has a specific section on its website where you can download all the necessary drivers for your laptop.
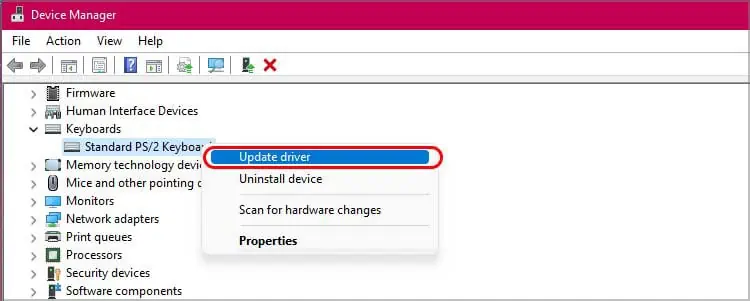
Here’re the steps to update your keyboard driver:
- Press Windows key + R to open the Run command line, and type in
devmgmt.msc. - Expand Keyboard, right-click the keyboard device, and click on the Update driver.

- Next, click on Search automatically for drivers. Windows now automatically looks for the latest drivers and updates them accordingly.
- Or, choose Browse my computer for drivers to manually install the driver files if you have the download files but are not registered.
To update drivers through Lenovo’s official site.
- First, navigate to the Lenovo support site.
- Next hover over the PC and select View PC Support.
- Now, choose Browse Product > Laptops.
- Select your specific Laptop model from the drop-down menu.

- Finally, click on Drivers & Software. Now you can either choose Manual Update for specific driver updates or Automatic Driver Update to let it scan for updates.
Update Windows
If everything else failed, we suggest that you verify if there are any Windows updates due. Sometimes, running an old version of Windows can invite glitches and errors that can cause malfunctions in your keyboard. Therefore, make sure that you are always on the latest build.
To check for Windows updates, follow these steps.
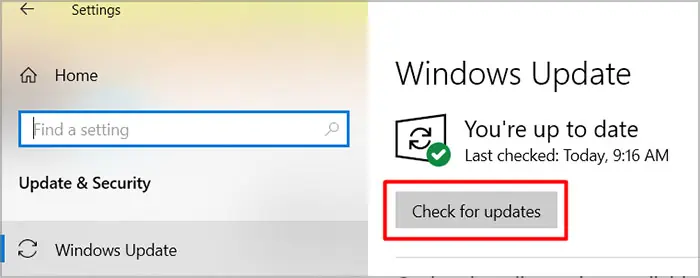
- Press Win + I to open up Settings, and next click on Update & Security.

- Under Windows Update, hit Check for updates.
Windows will now start searching for any updates available on your device and automatically start the download (if there are any).
Reconnect Battery and Power Cord
Your laptop’s battery is what powers the laptop and supports the proper functioning of all the components. Likewise, it is also responsible for powering the keyboard and other features like back-lighting and such.
Therefore, you should try reconnecting your battery again alongside the power cord. This has proven to work for many people. You should give it a go.
- First of all, turn your laptop off completely and remove the power cord.

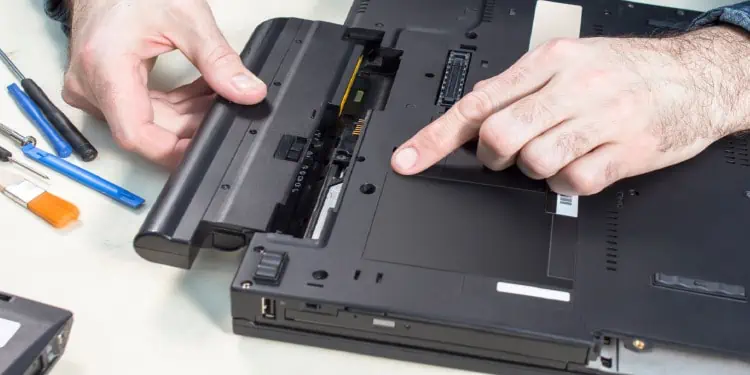
- The next step is removing the battery. This depends on if you have an external battery or an internal one.
- With external, it is relatively easier than internal. All you need to do is unlock the latch holding the battery (if any) and just slide it out.

- Removing the internal battery takes skills, you will need to remove the back panel completely. Please proceed with caution when doing this.
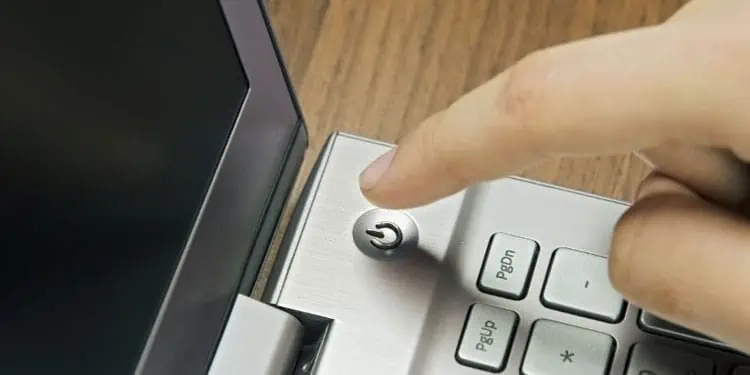
- While the battery is removed, perform a power drain by holding the power button for about 15 seconds.
- To reconnect the battery it is as simple as placing it back and locking the latch if it is external. For internal batteries, you will need to plug the cables back (if any) and screw it back in place.
Take It to Customer Care
Despite trying all the fixes, if nothing worked for you then it might mean that it is internally damaged, or something within your laptop is malfunctioning. If that is the case, you will have to take it to Lenovo’s customer care center or any laptop repair specialist around you.

