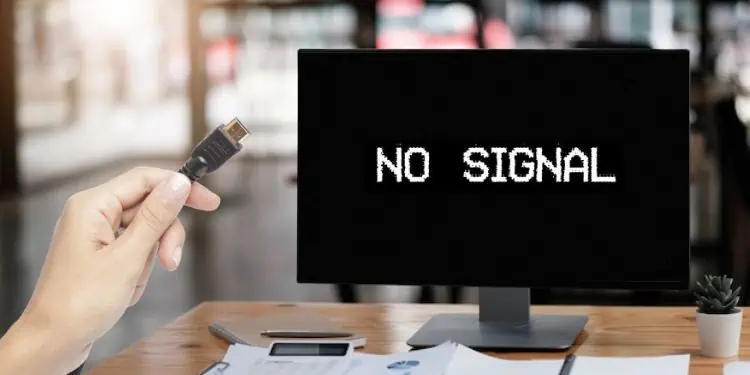
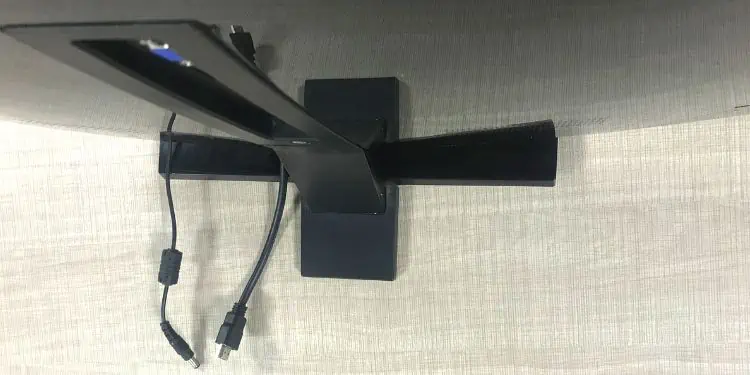
Whether you’re trying to set up multiple monitors or use an external display for your laptop, the “No HDMI signal” error might pop up. This message could indicate issues with either of your devices (source or destination).
You could also experience it due to incorrect source/projection settings, outdated drivers/firmware, or damaged components. But before diving into the related fixes, we recommend checking the loose connections first and try replugging the HDMI cable.
Verify Input Source
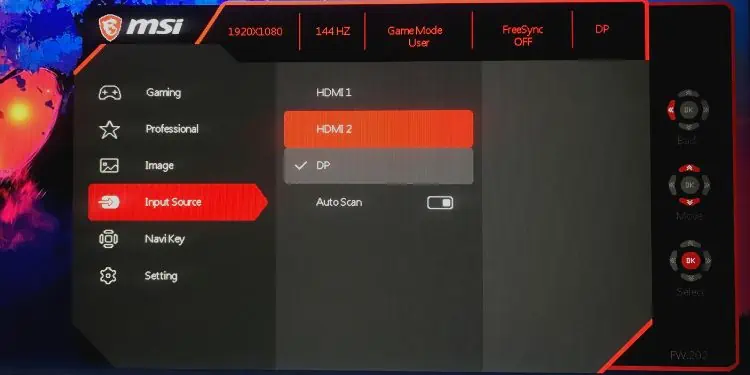
Adjusting the correct input source is an important thing to consider. If you’ve plugged in your HDMI cable to one port and set the input source to another, your monitor won’t display anything or will likely throw the “No HDMI Signal” error. Here’s a quick workaround to this problem:
- Find and press the On-Screen Display (OSD) button to launch the monitor settings. If you’re on a TV, you could also utilize the dedicated button on its remote controller.

- Next, find the Input Source option and expand it, as demonstrated below.
- Now, set the input source to HDMI 1 or 2, depending on where you’ve plugged in the cable.

Change Projection Setting
If you get the “No HDMI signal” error after connecting your laptop to an external monitor, there may be an issue with the projection setting.
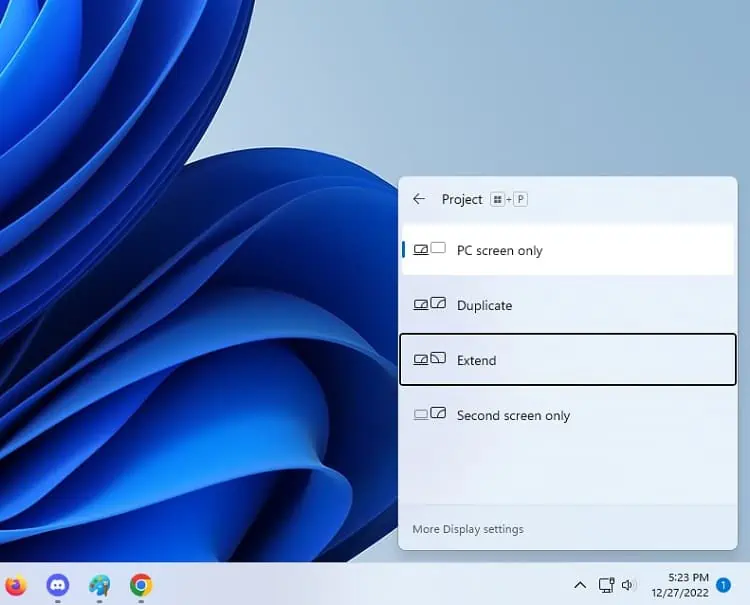
There are four different options available – PC Screen Only, Duplicate, Extend, and Secondary Screen Only. While the latter three options will cast your laptop content, the first one will not send an HDMI signal to the external display. Here’s a simple guide to changing the projection setting to fix this problem:
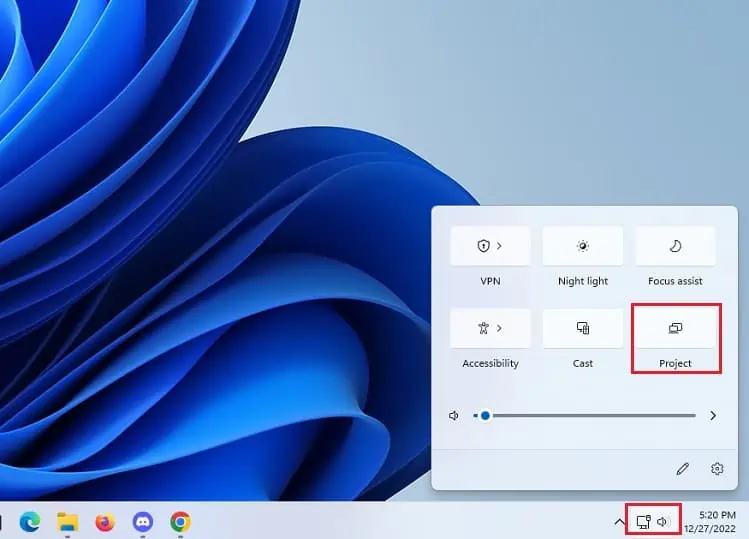
- Click on System Tray from the Windows Taskbar.
- Now, select Project. If it’s unavailable, you can manually add it from the Edit icon.

Alternatively, you can use the Windows + P hotkey. - Here, select Duplicate or Extend, as per your choice. In a second or so, the monitor should show the laptop content.

Power Cycle Your Monitor
Sometimes, the bugs and glitches within your monitor could interfere with the HDMI signals. In such a scenario, performing a power cycle (turning the monitor on and off) will reset the configuration parameters, which might fix the error.
Here’s how you can do this the right way:
- Firstly, turn off the monitor using the power button.
- Next, unplug both the HDMI cable and the power cord.

- Wait for at least two to five minutes before you plug in the power cord.
- Now, connect the HDMI cable and check if you still get the “No HDMI signal” error.
Try Using Another HDMI Port or Cable
Damaged ports and cables could be the other reason you’re facing a signal problem on your device. To identify whether HDMI is working or not, check for bent/broken ports and cables.
You may even plug in another HDMI device on the port to identify if it has some sort of issue. Likewise, you can try a spare cable to find out if the former one was faulty. If you encounter any problems with the HDMI cable, kindly replace it with a new one.
Well, you may even get a Syncwire HDMI cable for better durability and flawless transmission. Thanks to its metal construction, the cable won’t get damaged even after being bent over 3000 times.
Check Problem in Another Monitor
Another method to solve the “No HDMI signal” is to check the issue on another working monitor. This is to identify whether any components of your display device are damaged.
If you do not get any signal, know that there are problems with your PC, cables, and ports. However, if the desired content is displayed on the screen, it’s a clear sign to troubleshoot your monitor or you might even need to replace it!
Update Your Display & Monitor Adapters
The display adapters are responsible for sending display images to the monitor or related devices. Any issues with its drivers can directly affect the signals despite the type of monitor connection you’re using.
Likewise, only one display in a multi-monitor setup may show the “No HDMI signal” error. This is probably due to an outdated or corrupted monitor driver.
If you’re able to access the source device, we advise checking the issue in safe mode first. If the problem prevails, follow the below steps to check and update the device drivers:
- Press Windows + X to open the Quick Link menu and select Device Manager.

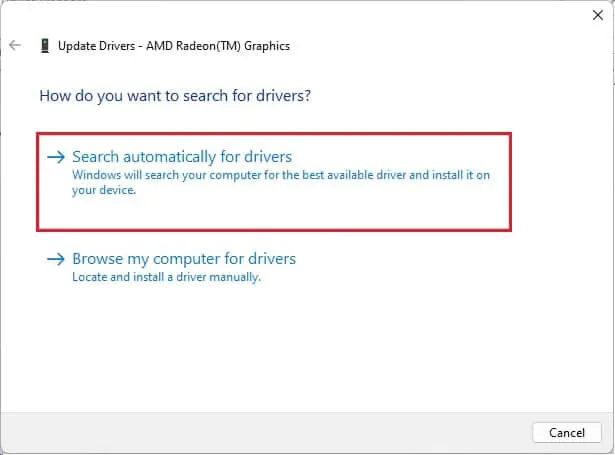
- Now, expand Display adapters, right-click on the device driver, and choose Update driver.

- Next, pick Search automatically for drivers to run an automatic update.

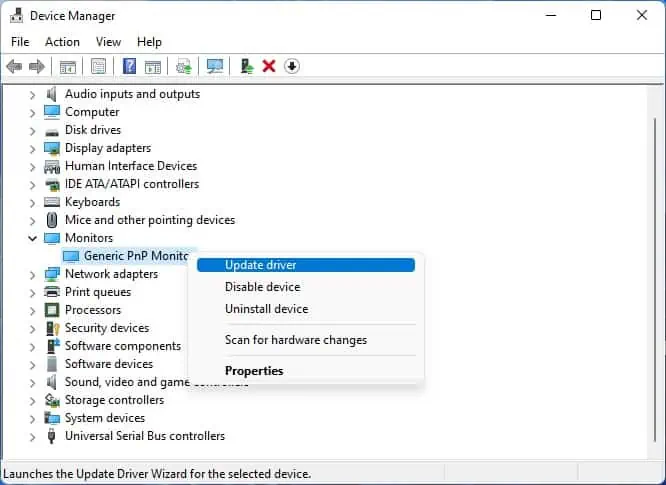
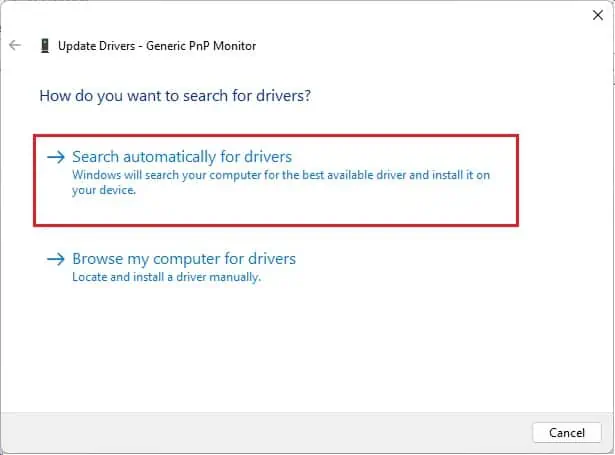
- If this didn’t help, navigate back to Device Manager. This time, expand Monitors, right-click on the driver, and pick Update driver.

- Again, choose ‘Search automatically for drivers’ and see if this fixes your problem.

- Lastly, restart your computer. Now, the monitor should detect the HDMI signal.
Reseat Memory Modules
If the memory module hasn’t been installed properly, your device simply won’t boot. So, there’s a maximum chance that your output device won’t display anything or throw a signal error.
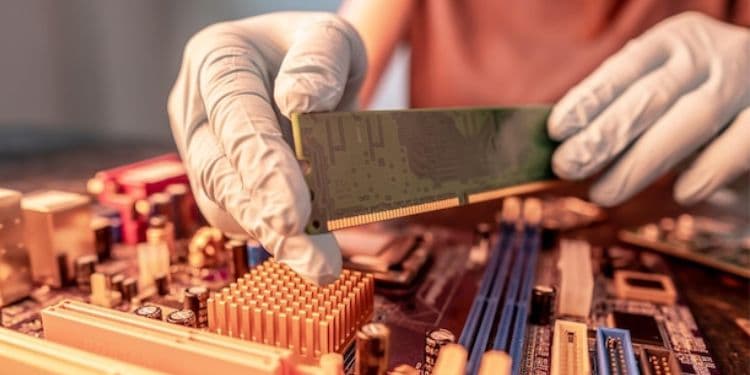
In this case, we recommend reseating the RAM sticks and cleaning the slots well. This ensures no debris or dust is stuck while the memory module is seated. Below is a simple guide that should help you clean and reseat the RAM:
- First of all, properly shut down your computer.
- Then, unplug all the connectors.
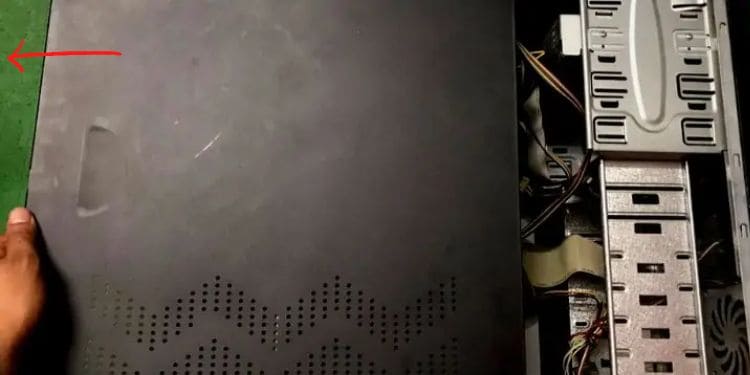
- Next, use the right-sized screwdriver to untighten the PC casing and carefully remove it.

- Push the two clips in opposite direction and remove the memory module from its dedicated slot.
- Now, clean the slot and the RAM stick using a brush and compressed air.
- Reinstall or reseat the memory module and assemble all the parts.

- Finally, turn on the computer and reconnect the HDMI cable. This time, you shouldn’t get the “No HDMI signal” error on your monitor.
Update Monitor Firmware
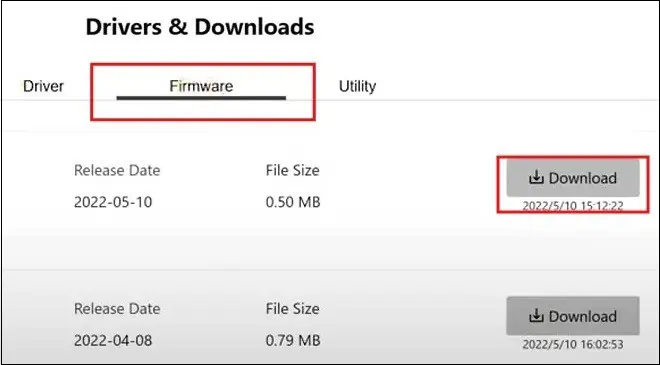
A corrupted monitor firmware often leads to unexpected display errors. Even when everything looks fine, the “No HDMI signal” might pop up on your output device. Regarding the same, here are the necessary steps you need to adopt for updating the monitor firmware:
- Firstly, connect your monitor to a working laptop.
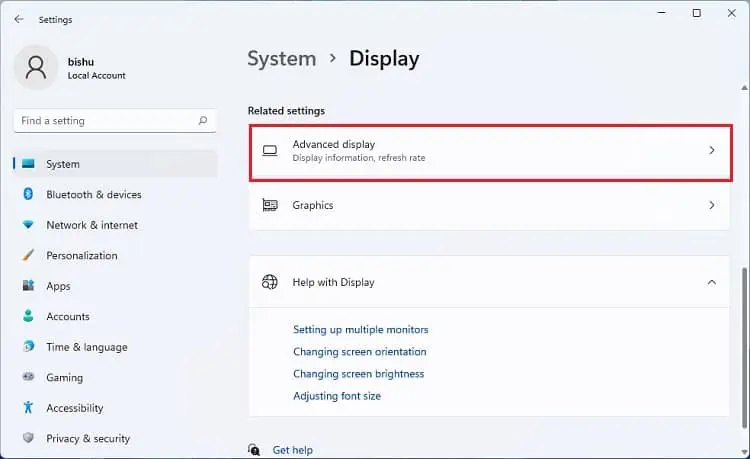
- Next, press Windows + I to open the Setting app, and navigate to System > Display > Advanced Display.

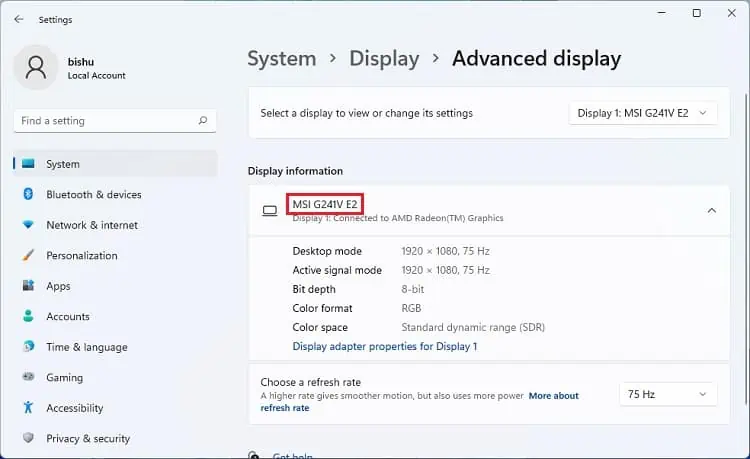
- Under Display information, find your monitor model.

- Now, open any web browser, and visit the brand’s official website. Here, search for the monitor firmware for your model.

- Download and install the required firmware and this should do the trick.
Factory Reset Your Display
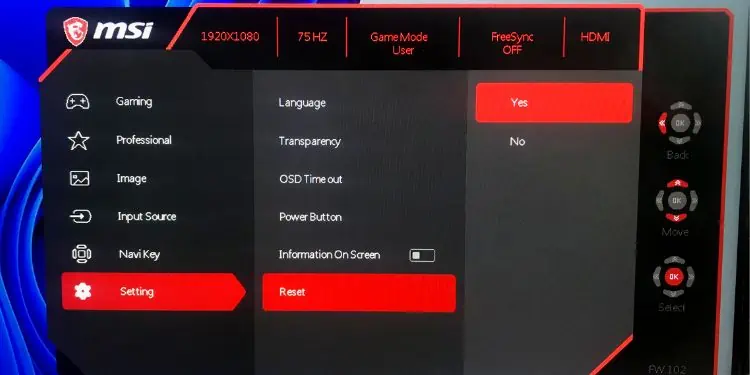
The final option is to perform a factory reset to restore the monitor to its original configuration. This will fix any bugs or glitches that might have interrupted the HDMI signal. For demonstration, we have used the MSI Optix G241V E2 model. But the steps should be similar on other monitors too:
- Press the OSD button located on the rear side of the monitor.
- Then, navigate to the Settings section.
- Select the Reset option.
- Then, hit Yes and wait until your monitor settings are restored to default.


