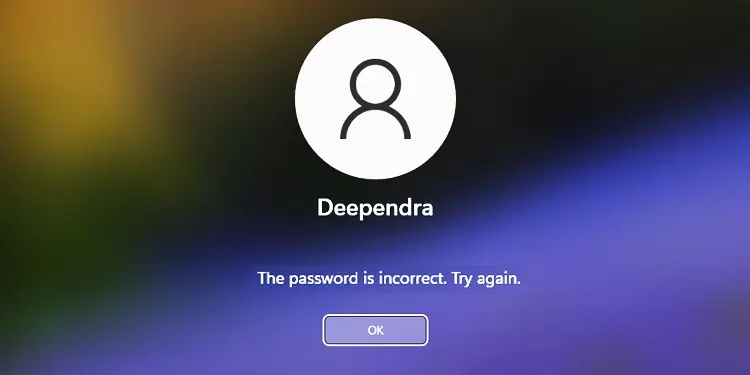
Enabling password protection on your Windows computer is an effective way to enhance security and prevent unauthorized access to the system. However, it can be quite intimidating to see the “Password is incorrect” message even while trying to access your own system.
In most cases, this message usually pops up due to a simple human error rather than a technical one. So, checking for typos and re-entering them correctly will often fix the issue.
If that doesn’t work, you need to seek more advanced fixes, like using a password reset disk or completely removing the password from your system.
Check the Password
First things first.
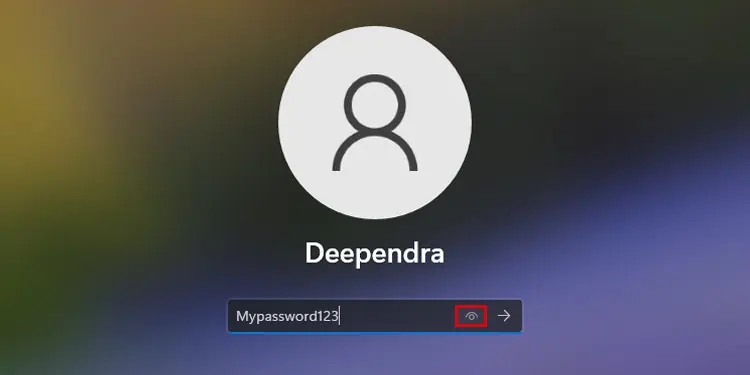
Check if you are missing out on capitalization, typing numbers, or special characters. You can always press the Eye button on the password field to see if you have entered the password correctly.
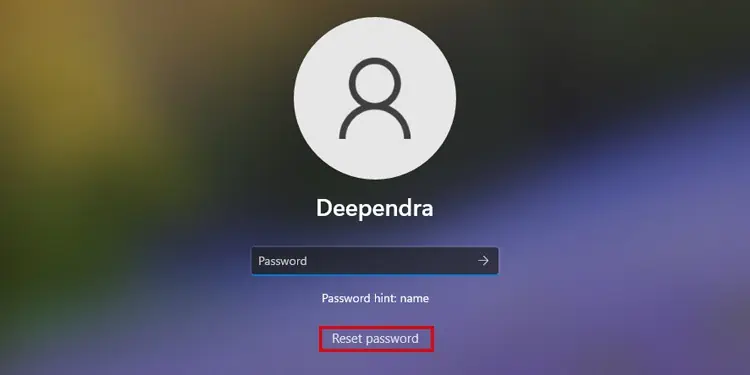
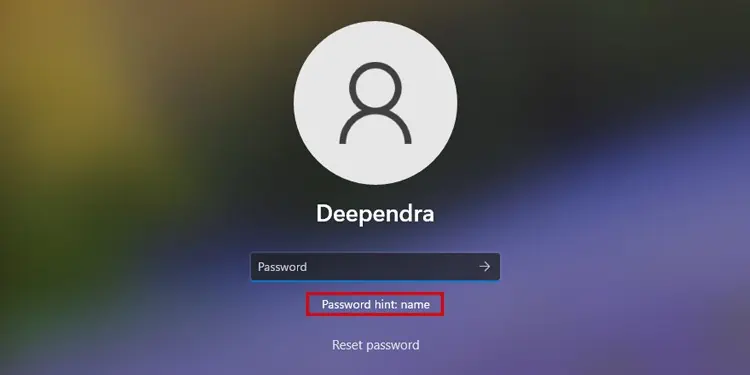
Further, you will also see a password hint once you enter an incorrect password. Maybe it could help you remember the password.
Similarly, if you have multiple accounts on your computer, you may be entering the password of one account into another. Verify that the password you are entering belongs to that specific user account.
Sometimes, choosing an incorrect keyboard layout will also cause the issue. In such cases, you can use the on-screen keyboard that is readily available on the login screen to type the password and regain access to the system.

Recover Password Using Microsoft Account
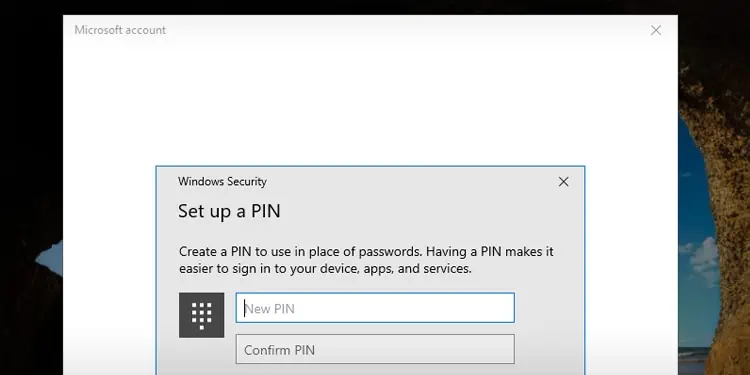
Microsoft does not allow creating a password to log into your system if you use a Microsoft account instead of a local one. Rather, you should enter the Microsoft account’s password or PIN at the time of login.
As such, if you forget the PIN and enter the wrong PIN, it will show a “PIN is incorrect” message.
In such cases, you can easily recover the PIN using the Microsoft password recovery page that is displayed on the login screen. Follow the on-screen prompts, and you will be able to set the new PIN.
Reset Password Using Reset Disk
If you remember creating a password reset disk earlier, you can easily insert the disk into your PC and reset the password.
- Click Reset password on the login screen.

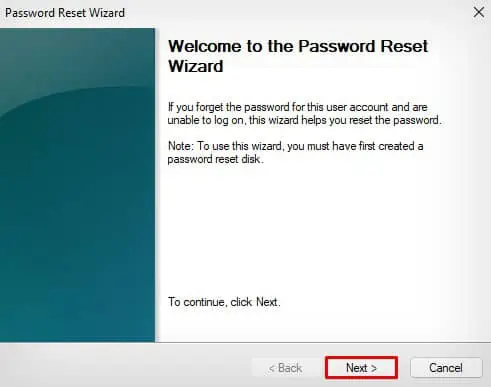
- Click Next in the Password Reset Wizard window.

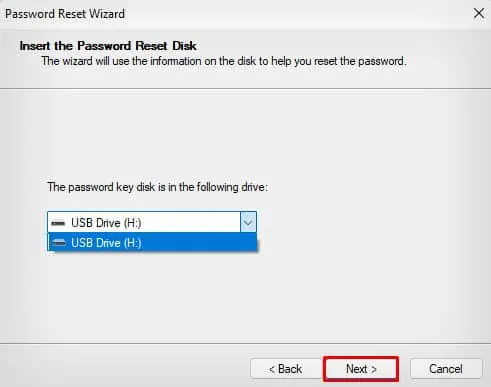
- Choose the reset disk > click Next and follow on-screen instructions to complete the reset.

Remove Password Using Administrator Account
Windows has an integrated administrator account that is, by default, disabled for security reasons. You can use this account to remove the passwords from the local user accounts.
Depending on whether you have enabled the administrator account already or not, the steps to remove the password vary. Here, I will be discussing both of the cases.
If You Have Access to Administrator Account
Follow these steps to remove the password if you have already enabled the administrator account on your computer.
- While you are at the login screen, choose the Administrator account and sign in to it.

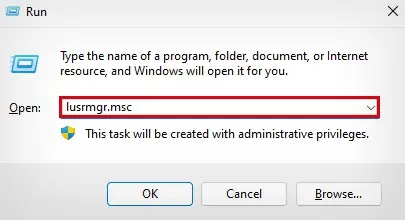
- Open Run.
- Type
lusrmgr.mscthere and hit Enter key.
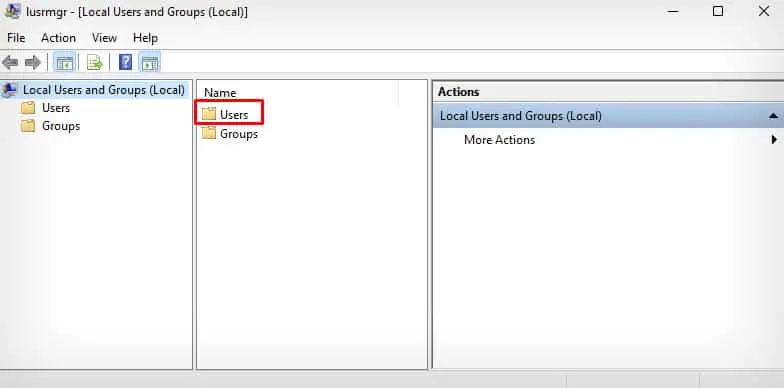
- Double-click the Users folder.

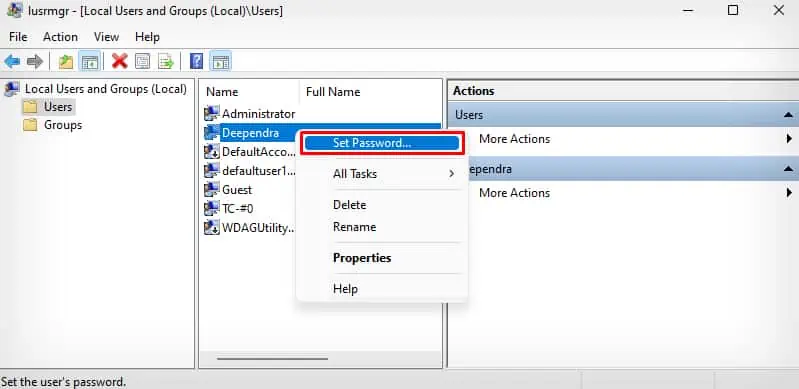
- Locate the account whose password you want to remove and right-click over it.
- Tap Set password.

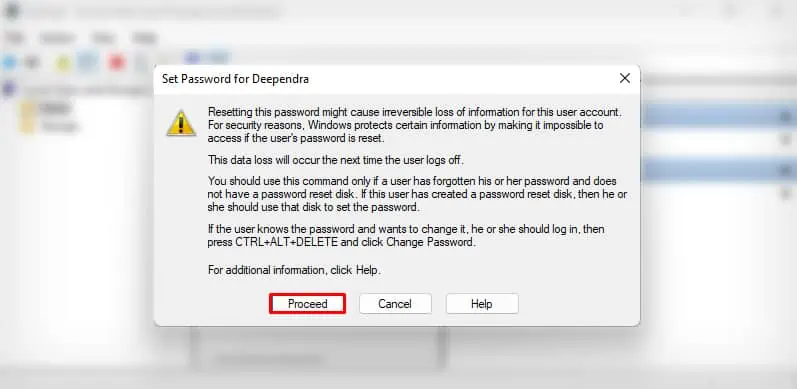
- Tap Proceed.

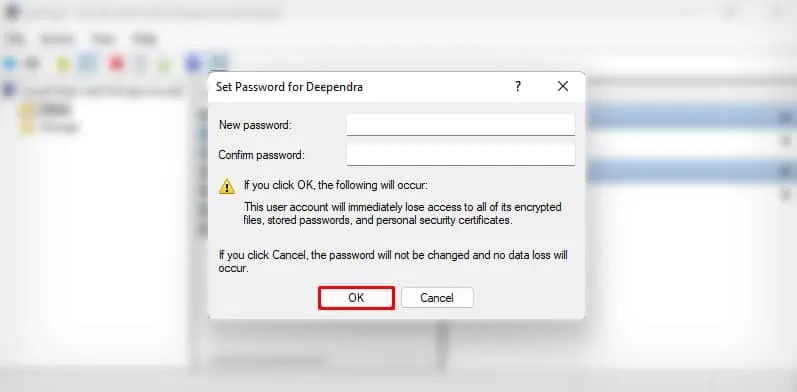
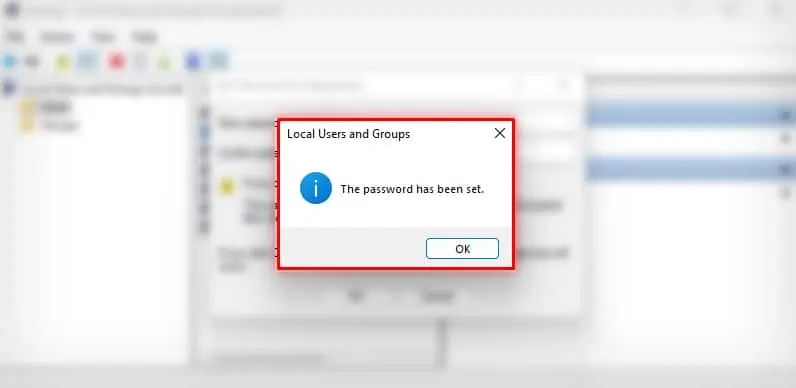
- Leave both the fields empty > click OK.

- The password will now be removed from your local account.

If You Do Not Have Access to Administrator Account
Windows computer utilizes a dedicated Security Account Manager (SAM) database file in the registry to store the passwords. You can make a few tweaks in this registry file to enable the administrator account if you have not already enabled it. Once enabled, you will then be able to remove the password from the local account.
Assuming that you are not able to log in to the system, you should access the Windows Recovery Environment to open the registry editor and enable the administrator account. Here’s how.
- While at the login screen, click the Power button in the lower right corner.

- Keep pressing the Shift key on the keyboard and tap Restart.

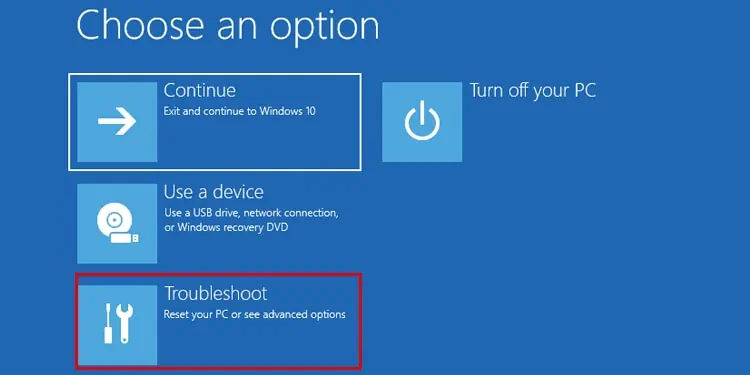
- Once the computer restarts, you will see a Windows Recovery Environment screen.
- Choose Troubleshoot first.

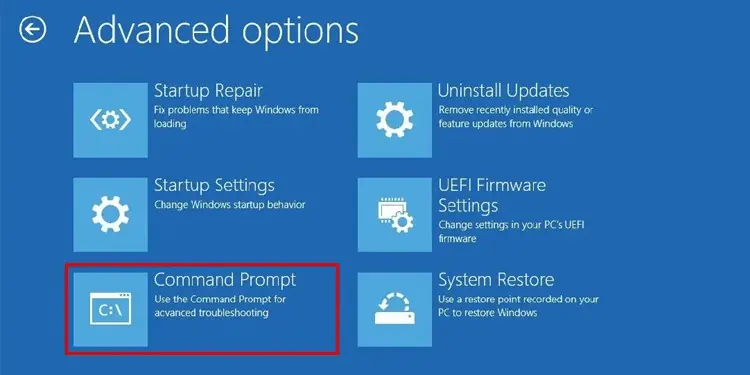
- Then Advanced options > Command Prompt.

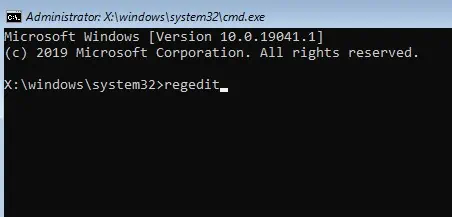
- On the command window, type
regeditand then hit Enter key.
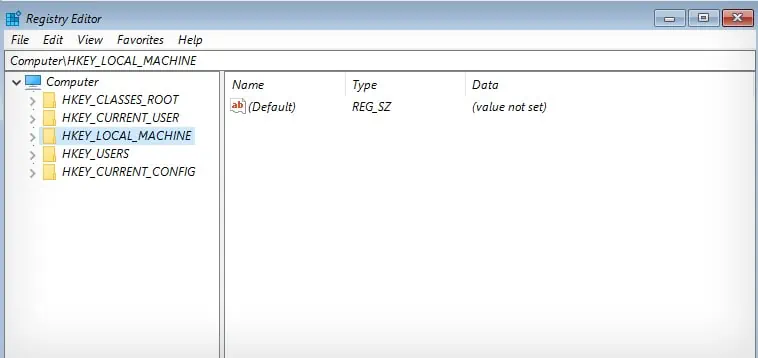
- Choose the
HKEY_LOCAL_MACHINEregistry.
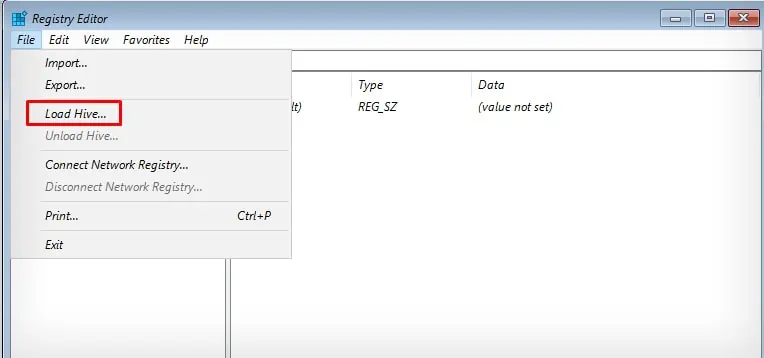
- Go to File > Load Hive.

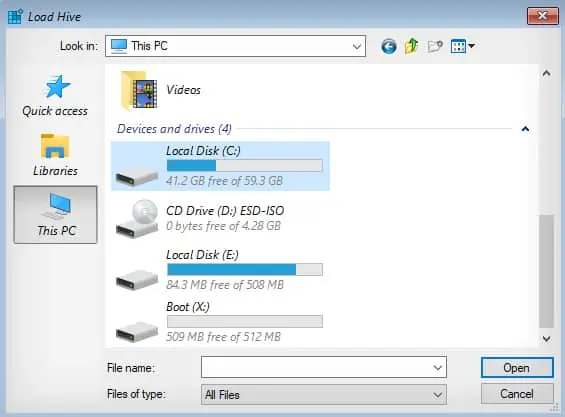
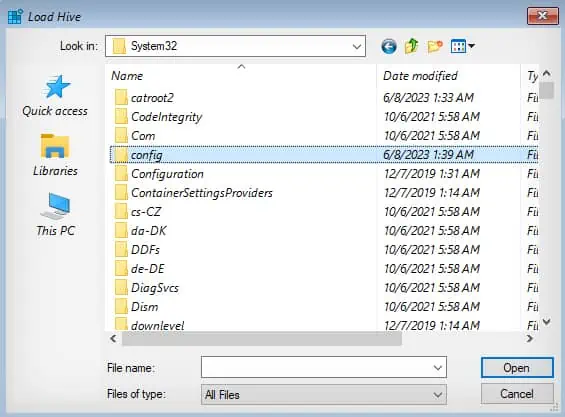
- Select the disk that contains the operating system (OS) of your computer. Generally, it is a C: drive. If you have your OS on another disk, choose accordingly.

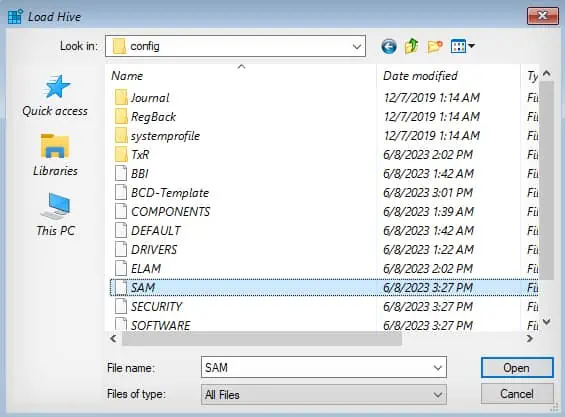
- Open the disk and navigate to Windows > System32 > Config.

- Click the SAM file > press Enter key.

- In the Key Name field, type DEEPEN and then click OK.

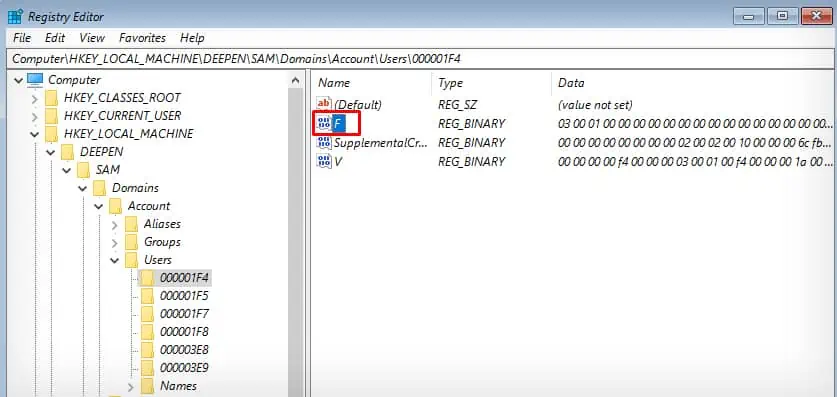
- Open this path now.
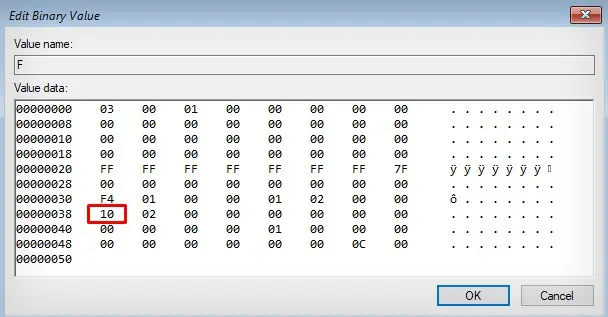
Computer\HKEY_LOCAL_MACHINE\DEEPEN\SAM\Domains\Account\Users\000001F4. - Double-click F.

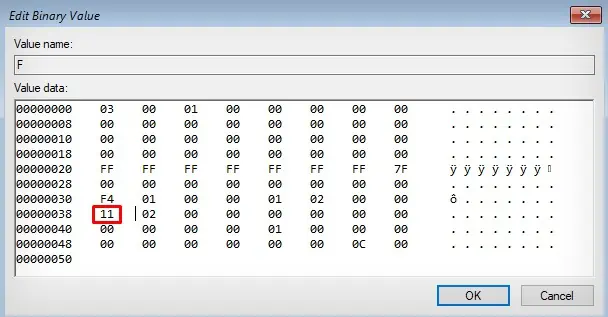
- Bring the cursor down to 00000038. You will see that the first value is 11.

- Change this value to 10 > click OK.

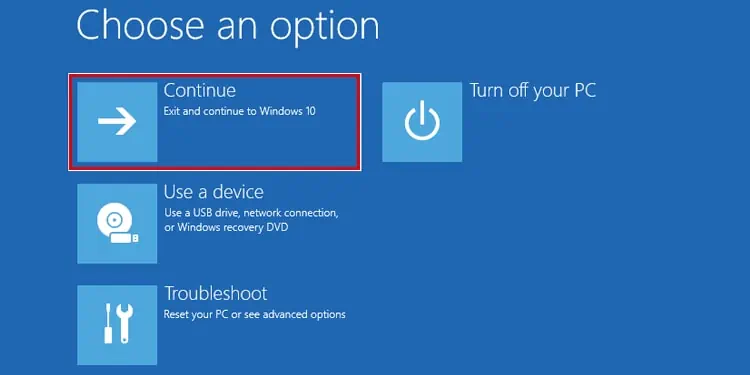
- Exit from there and click Continue from the Choose an option screen.

- Once you are at the login screen, choose the new Administrator account you just created and sign in to it.

- Then use the method discussed in the above section to remove the password from another account.
- Once you remove the password, login to the local account.

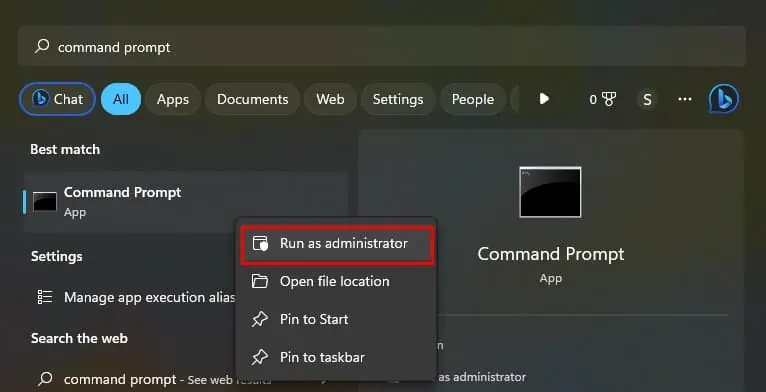
- Run Command Prompt as administrator there.

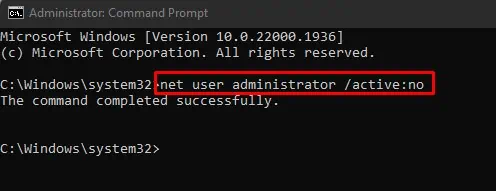
- Type
net user administrator /active:noand press Enter. It will again disable the administrator account on your computer.

