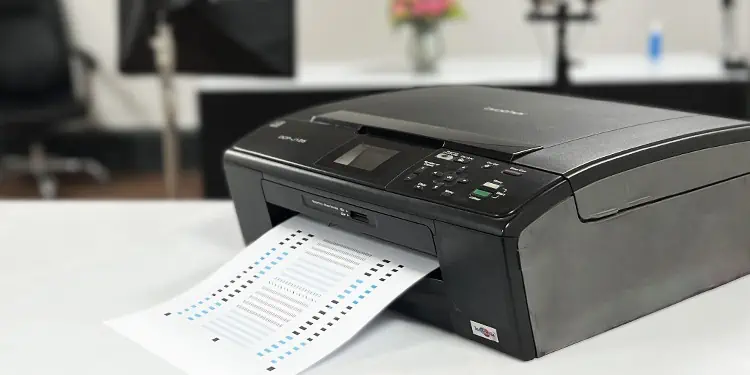
It is very common for printers to generate misaligned or skewed texts over time. It generally happens due to the mispositioning of the printhead. Sometimes, you might even encounter printouts with overlapping texts or cut-off margins.
When you face such issues on your printer, you can fix the problem by simply using the printhead alignment tool integrated into the printer driver or navigating through the maintenance options on the printer’s LCD control.
Before you begin, load some unused papers in the input tray and make sure there is enough ink on the printer.
Fix Printer Alignment On HP Printer
If you own an HP printer, you can basically use two methods to fix printer alignment—the HP assistant tool and the printer’s LCD screen. Let’s check them out one by one.
Using HP Assistant Tool
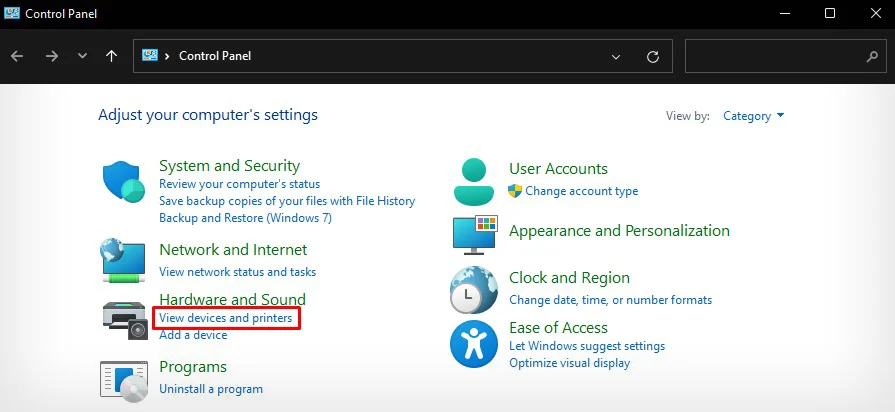
- Open Control Panel.

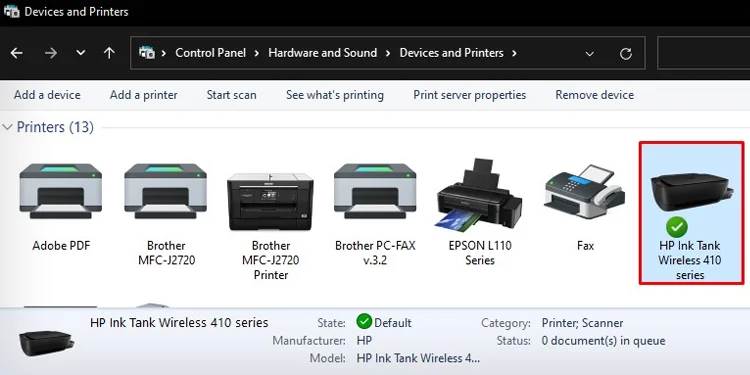
- Select the View devices and printers menu.

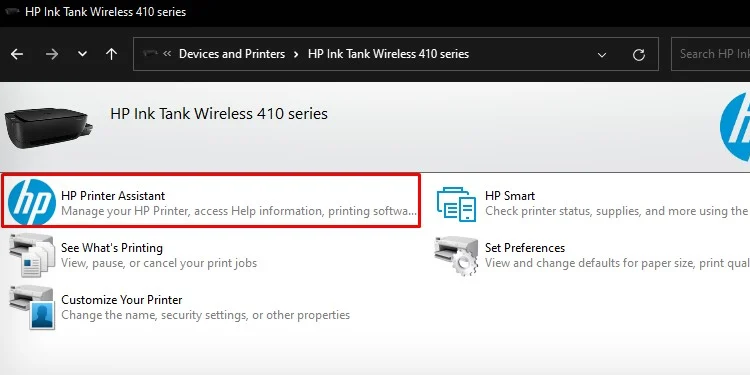
- Double-click HP printer.

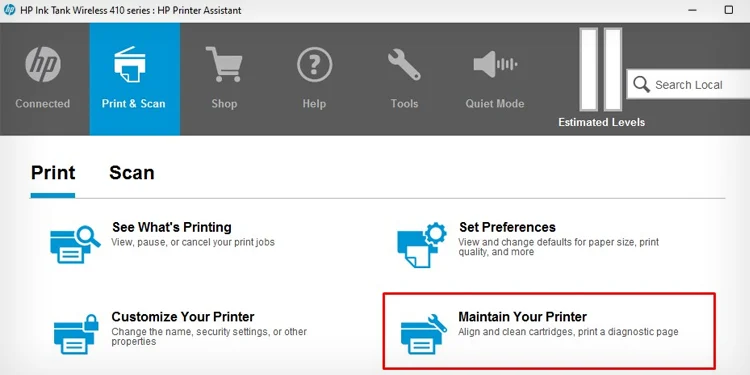
- Open HP Printer Assistant.

- Tap Maintain Your Printer.

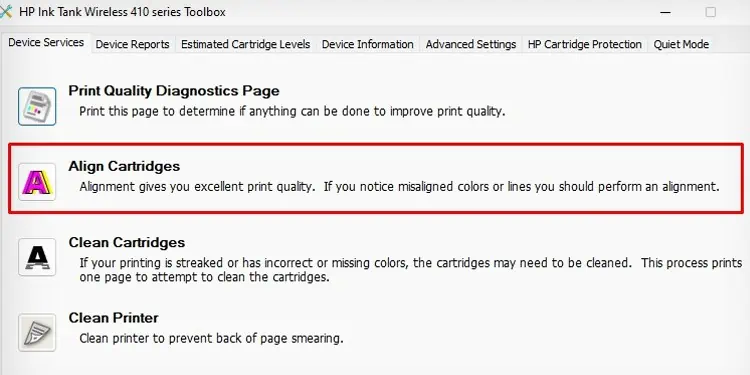
- Select the Align Cartridges option.

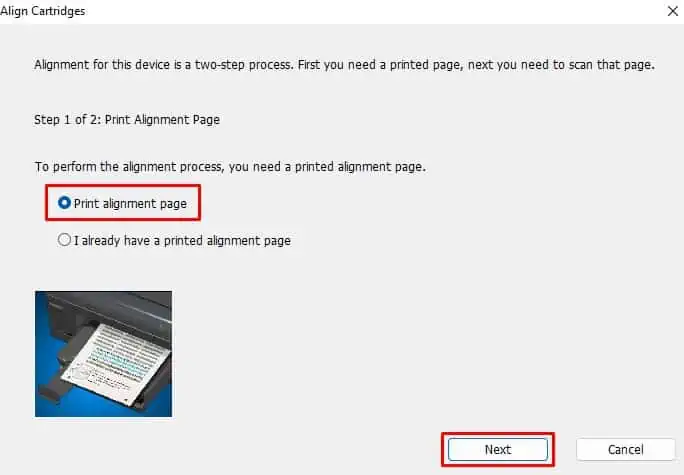
- Choose Print alignment page option, then click Next.

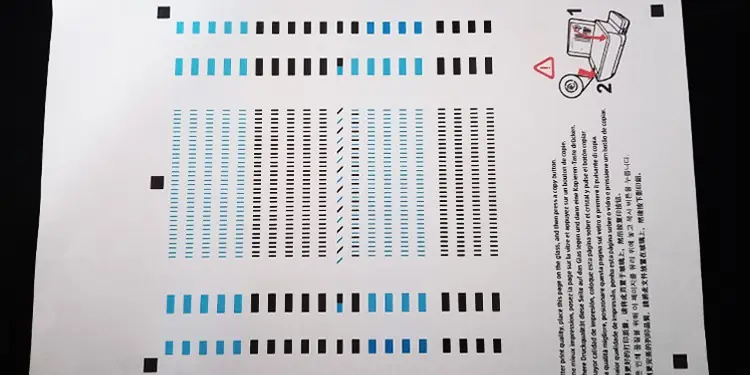
- Alignment page looks similar to this.

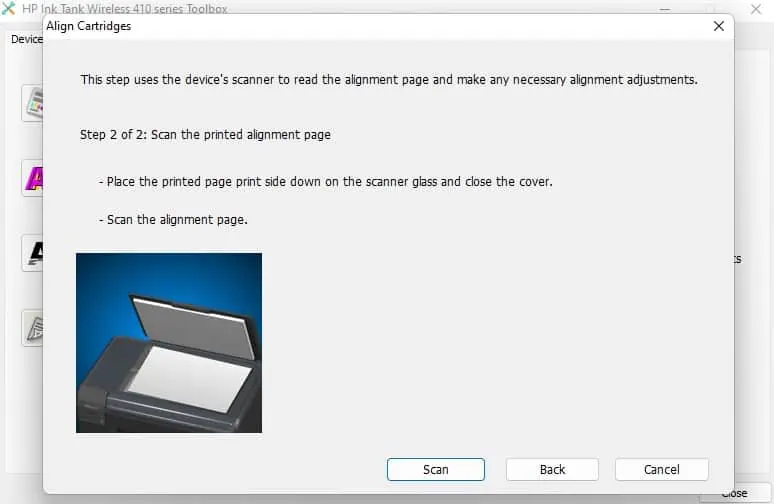
- Now put the printed page over the scanner bed.
- Click Scan.

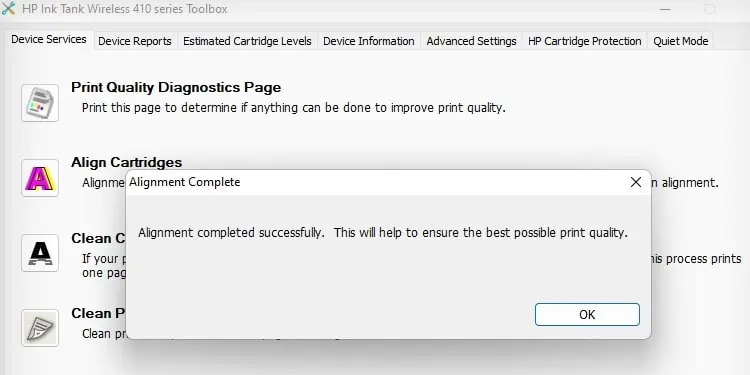
- Now, your printer will do the needful to fix the alignment issues.

- Once you see this screen, it indicates the alignment is now complete. Now, try printing your document.

Using Printer’s Screen
- Touch the Settings icon on the home screen of your printer.

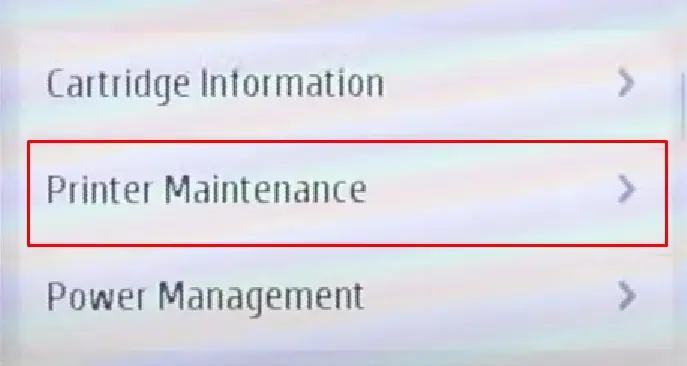
- Tap Printer Maintenance.

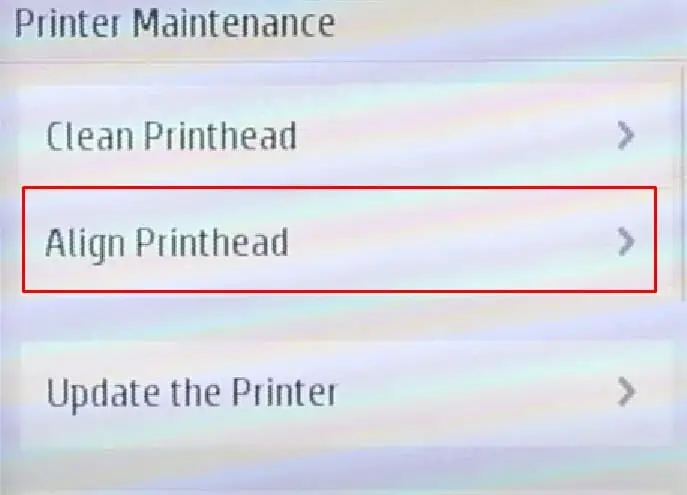
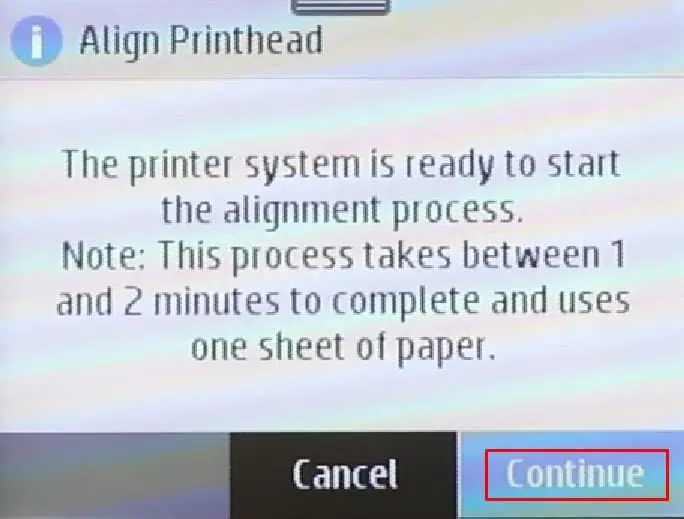
- Go with the Align Printhead option.

- Select Continue. The printer will start the alignment and notify you once completed.

Fix Printer Alignment On Canon Printer
Depending upon the model of your Canon printer, there are multiple ways to fix the printer alignment. In some models, you may simply use a combination of a few buttons to perform the alignment. At the same time, others may require you to use the printer driver or the LCD control panel.
Using Printer Driver
- Open View devices and printers from Control Panel.

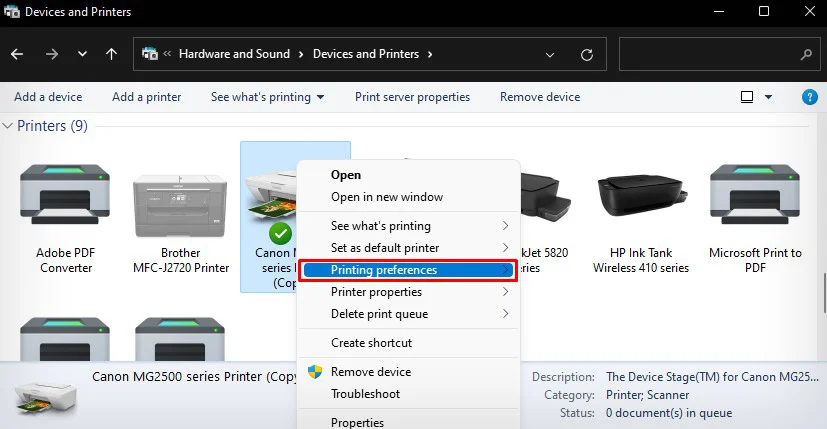
- Right-click and open Printing preferences of Canon printer.

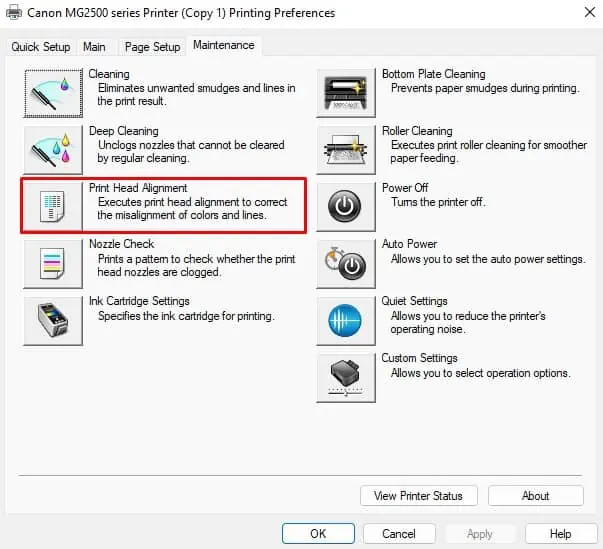
- Jump to the Maintenance tab.
- Tap Print Head Alignment.

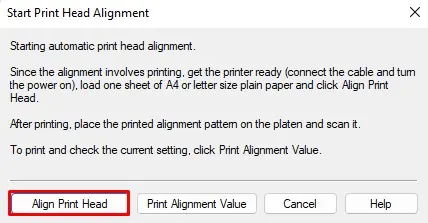
- Click Align Printhead on the popup and follow the instructions to complete the process.

Using Printer’s Screen
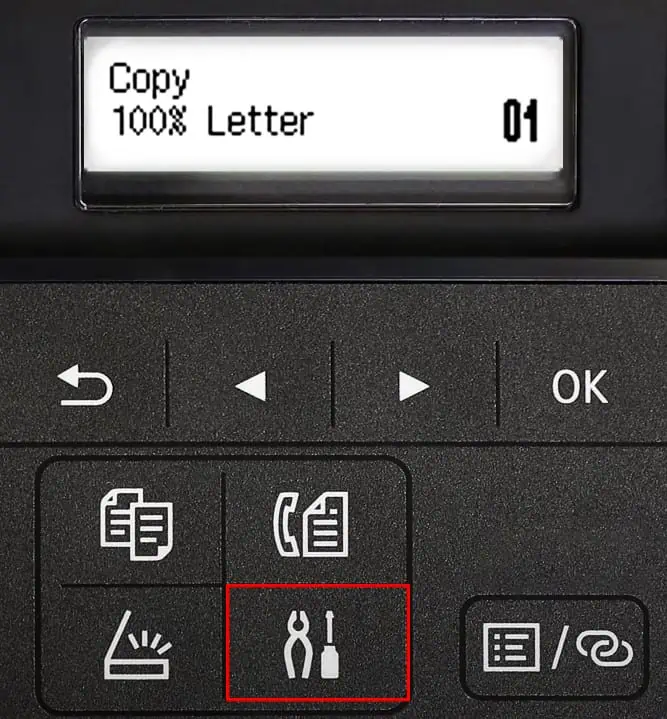
- Push the Utility button on the button panel.

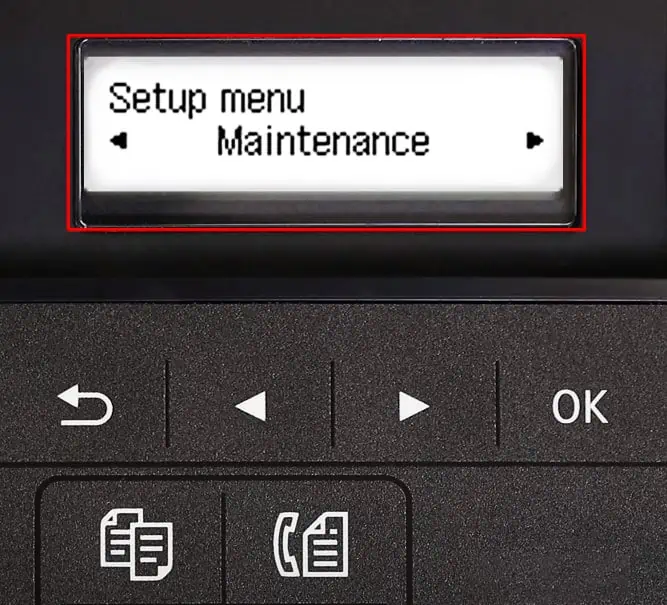
- Use the Right Arrow button to go to Maintenance and hit OK.

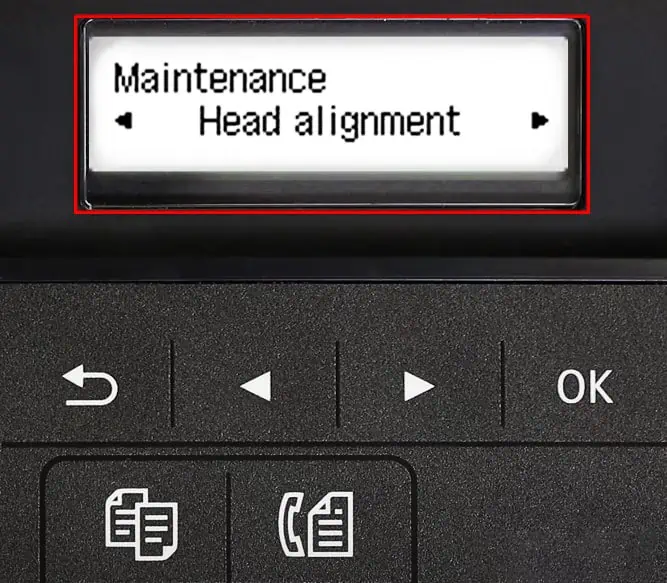
- Again navigate to the right to go to Head alignment and push the OK button.

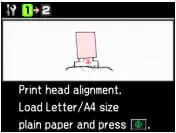
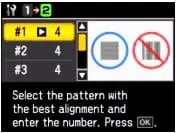
- You will get an alignment sheet out of your printer.
- Place the sheet over the scanner bed.
- Now press the Color Copy or Black Copy button.

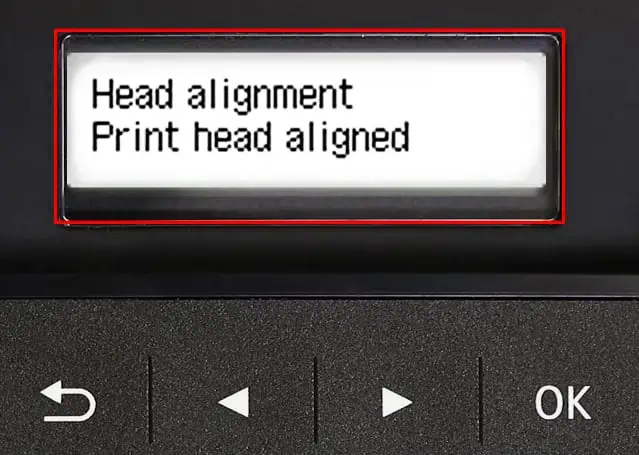
- You will see the “Print head aligned” message once alignment is done.

Using Printer’s Button
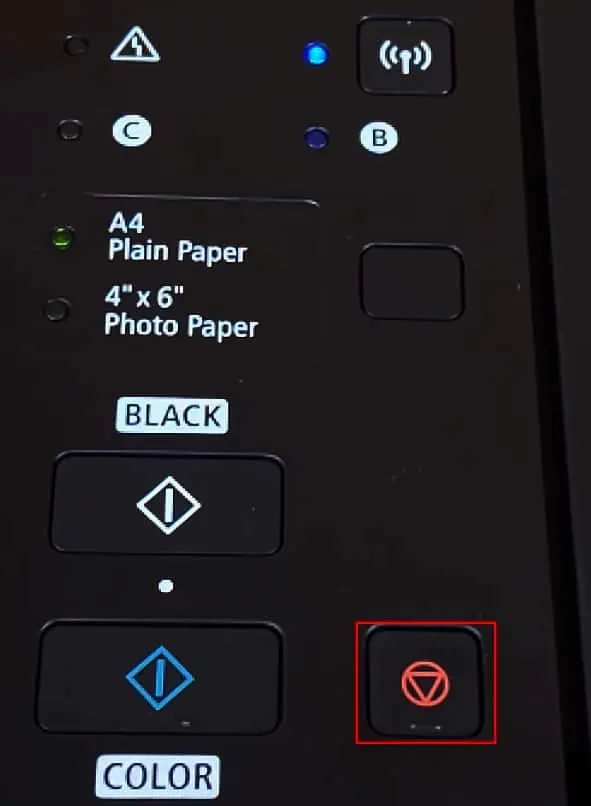
- Press and keep pressing the Stop button on the printer.

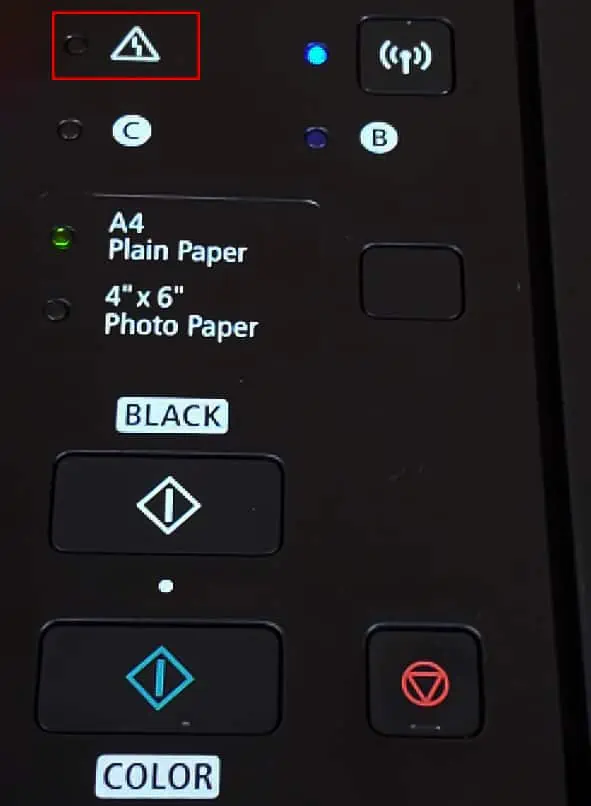
- Release it as soon as the Alarm indicator blinks four times.

- Your printer will print the alignment page.
- Open the scanner bed and lay down the page there.
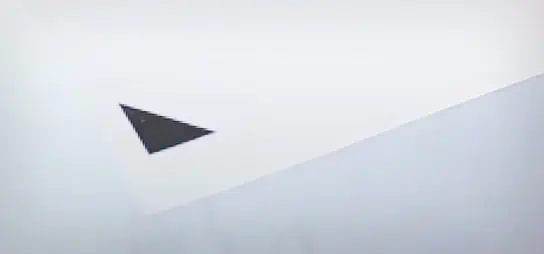
- While laying the page, make sure the triangle sign on the printed side faces downwards and coincides with the top left of the scanner glass.

- Close the scanner lid.
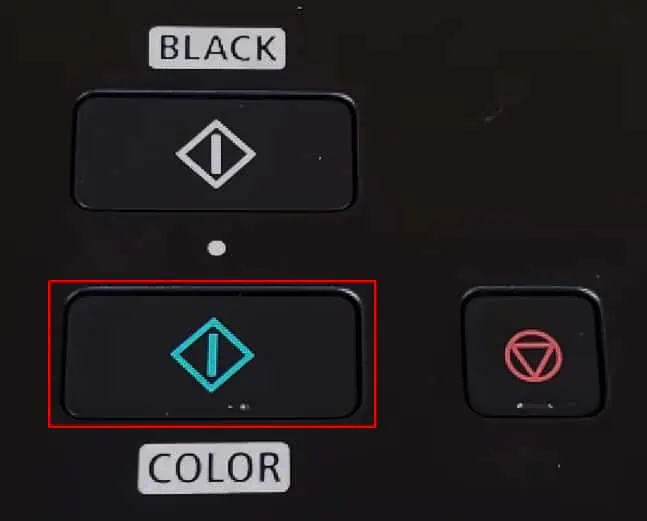
- Push the Color Copy button. The alignment process will begin.

- Remove the paper from the scanner bed once the printer stops generating scanning noises.
Fix Printer Alignment On Epson Printer
Most of the Epson printers come without a screen. So, using the printer driver would be a good option to fix the alignment. However, you can also use the screen if your printer has one.
Using Printer Driver
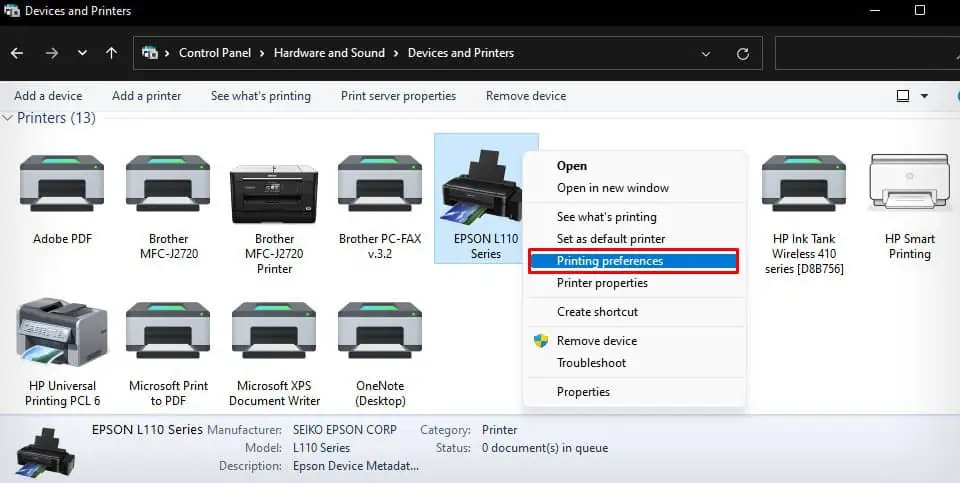
- First, open Control Panel and then open View devices and printers.

- Right-click and open Printing preferences of the Epson printer.

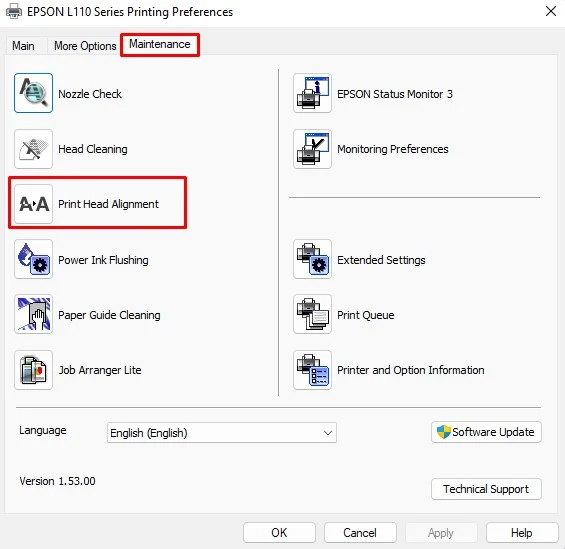
- Go to Maintenance.
- Tap this option: Print Head Alignment.

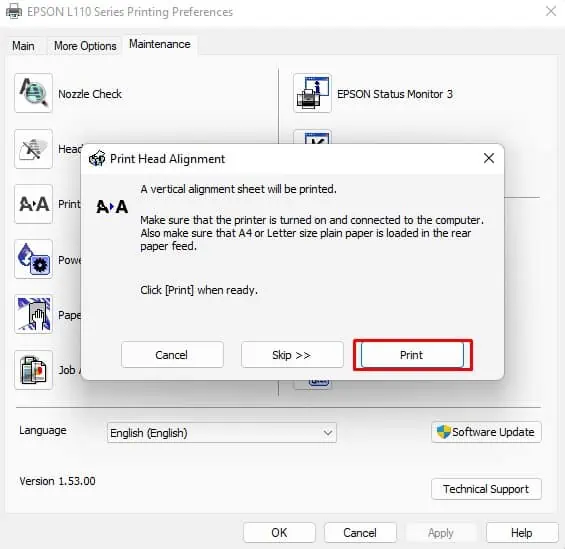
- Click Next in the popup window.
- Tap Print and follow the steps on the screen to accomplish the head alignment.

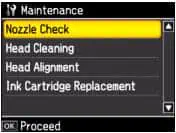
Using Printer’s Screen
- Push the Home button on your printer to load the home screen.
- Use the arrow keys to navigate to Setup and press OK.
- Navigate to the Maintenance menu.

- Go to Head Alignment and push the OK button.
- Push the Start button. The printer will now start printing an alignment page.

- Follow the instructions on the printer’s screen to complete the process.

Fix Printer Alignment On Brother Printer
Since most of the Brother printers come with a screen, you can easily navigate through it to align the printheads. If not, you can use a combination of a few buttons to accomplish the job.
Using Printer’s Screen
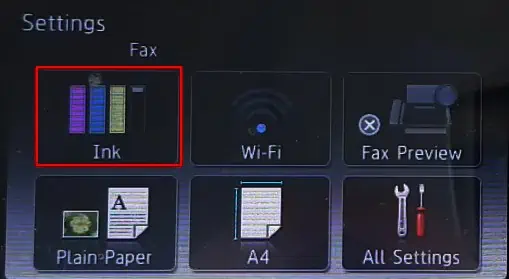
- Open Settings.

- Tap the Ink button.

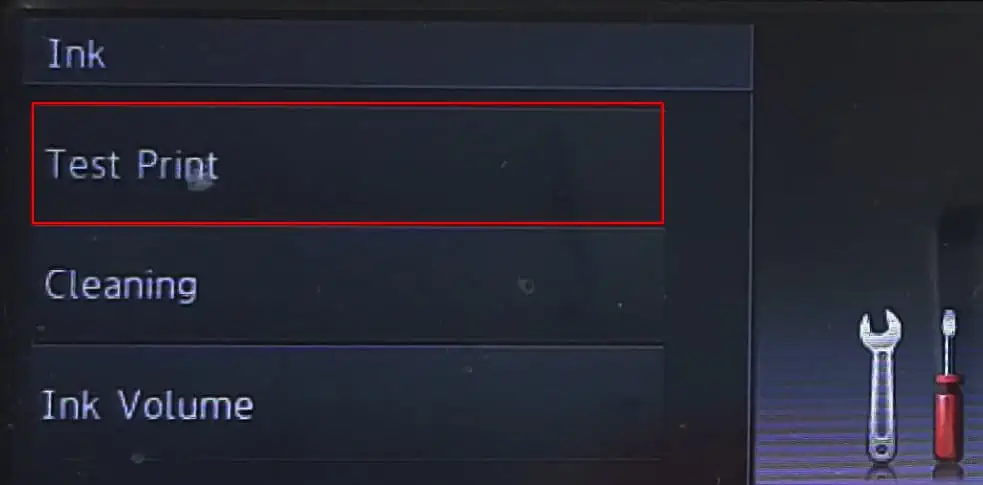
- Click Test Print.

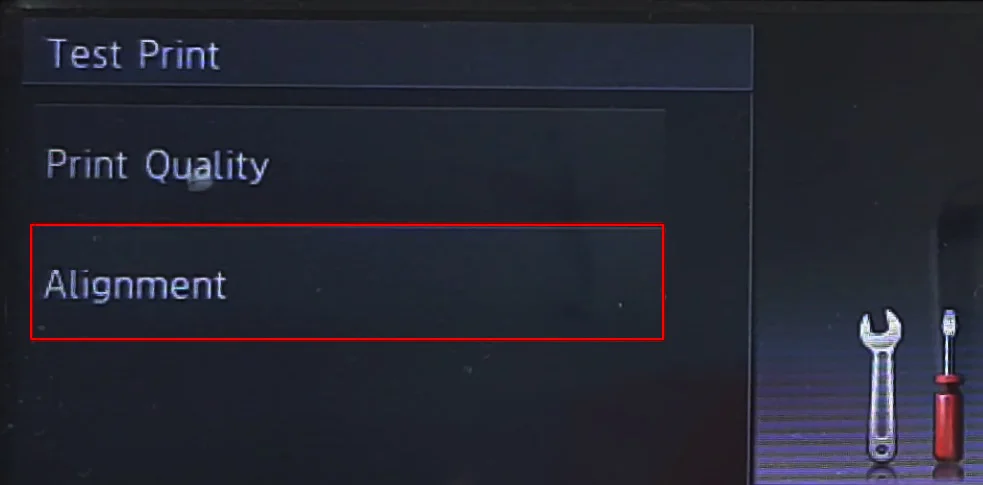
- Select Alignment.

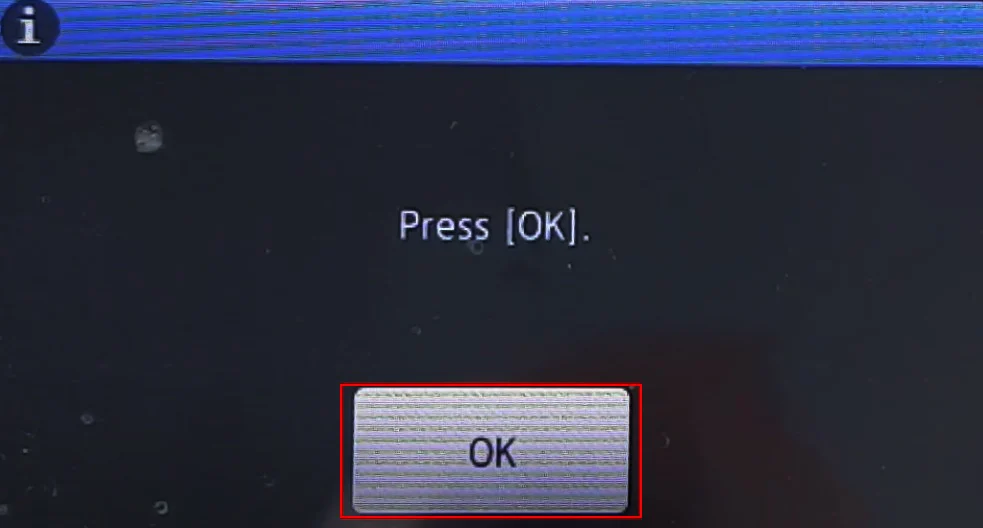
- Press OK.

Using Printer’s Button
- Power off your Brother printer.
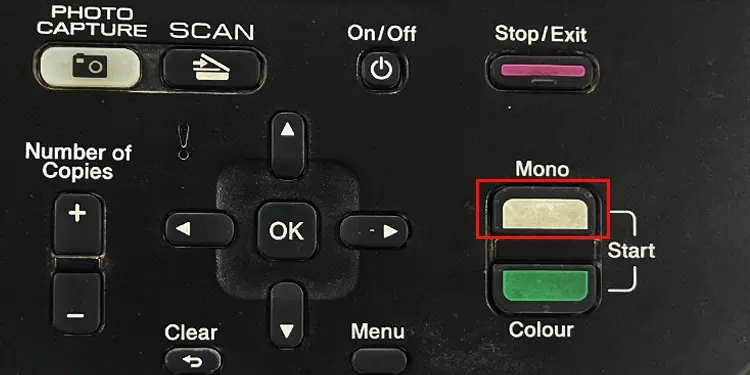
- Push and keep pushing the Mono Copy button on the printer.
- While you are still pressing the button, power on the printer—don’t release the Mono Copy button yet.

- Release the button once the printer ejects an alignment page.
- Place the page in the scanner bed so the mark lies on the lower right edge of the glass.

- Press the Mono or Color Copy button. The power indicator keeps blinking when the printer is aligning itself.
- Once the indicator stops blinking, check if you are still facing alignment issues.

