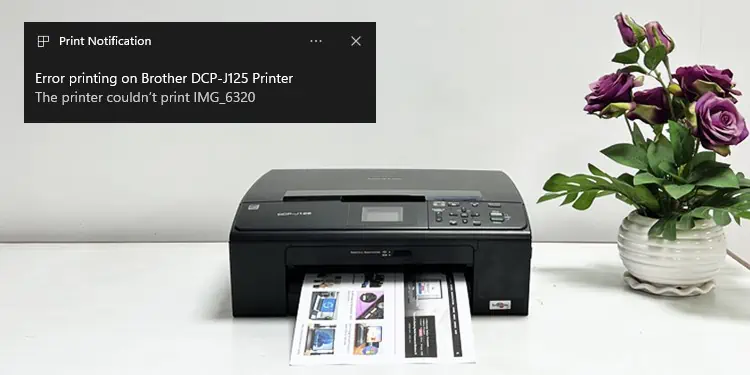
You can generally connect your printer to the PC via wired and wireless mode. While wired printers are known for providing stable connections, wireless printers are notorious for their connection issues.
So, if you encounter errors while using a wireless printer, a major reason is a communication cut-off caused due to poor signal reception or IP address mismatch.
Similarly, printers can also enter an error state due to a pile of clogged print jobs in the queue. With a stuck queue, new print jobs can not enter the queue and you get the error after initiating a print.
Check Connection
In most cases, you don’t have to dig much deeper to resolve any kind of printing error. Simply performing a basic connection check will help your printer get back to work again.
You can begin by restarting the printer and reconnecting it to Wi-Fi. Make sure there is no obstruction between the printer and your Wi-Fi router that might possibly cause signal reception issues. If possible, place the printer and router close to each other.
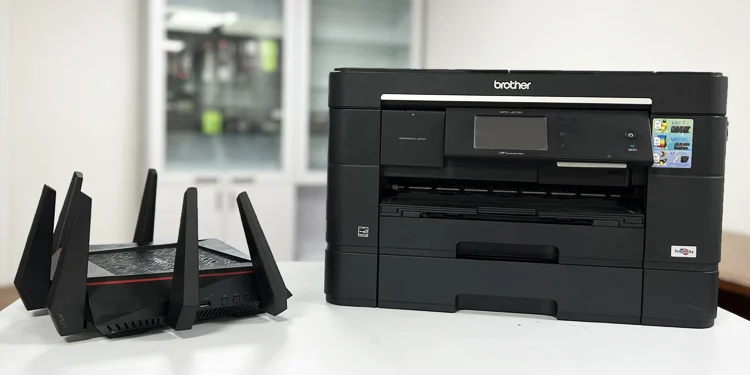
Moving further, make sure the display panel of your printer is lit. It indicates the printer is not in sleep mode. You can not initiate a print when the printer is sleeping. Also, check if the Wi-Fi indicator is glowing steadily and not blinking.
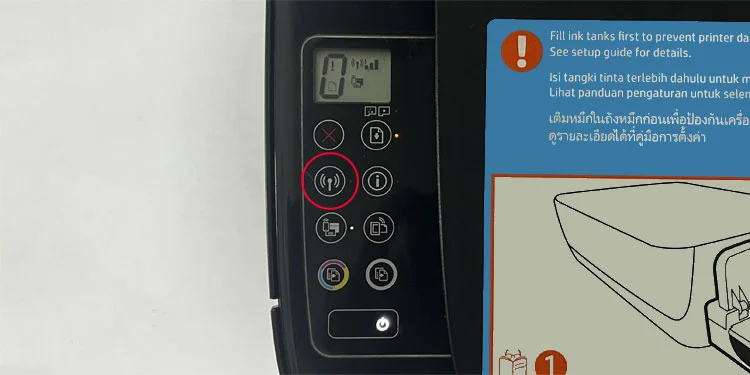
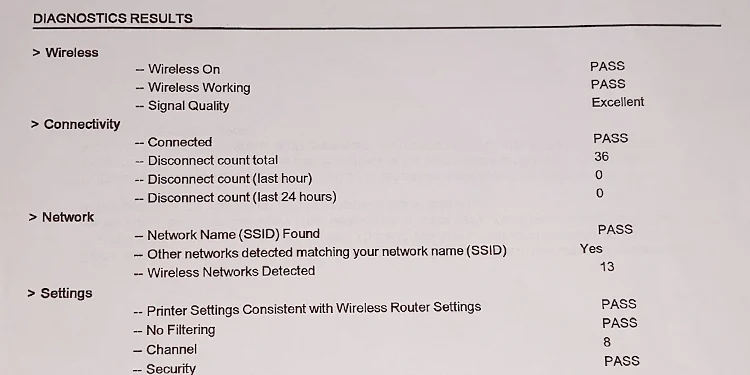
Since most printer manufacturers allow printing a network configuration page to know the current network status of the printer, you may also consult the printer’s manual and print one to check the status.
Besides, do not forget to install official drivers from your printer manufacturer. Trying to print without installing the drivers will result in a printer error.
Check the Printer Consumables
Printers can not communicate as we humans do. So, whenever they run out of consumables like ink or paper, they show an error message on the screen or flash the indicators.
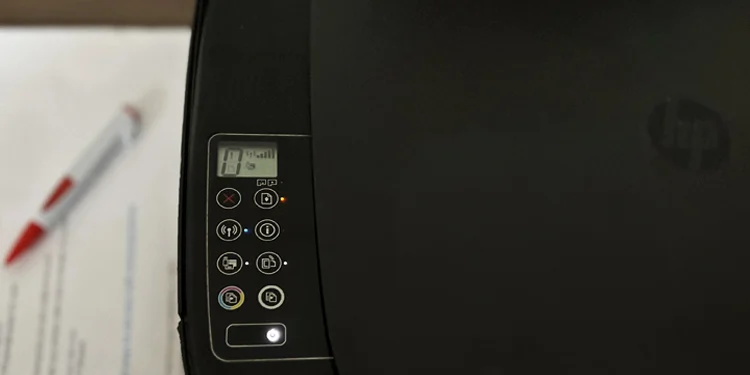
You should never let the printer run low on ink and give the print command without inserting a sufficient amount of paper in the paper tray.
Check the display panel of the printer for any messages and look for the fixes according to the error.
For instance, if you are on an HP printer and see E and 4 flashing on the screen along with a blinking Paper indicator, it means a paper jam has occurred in the printer.
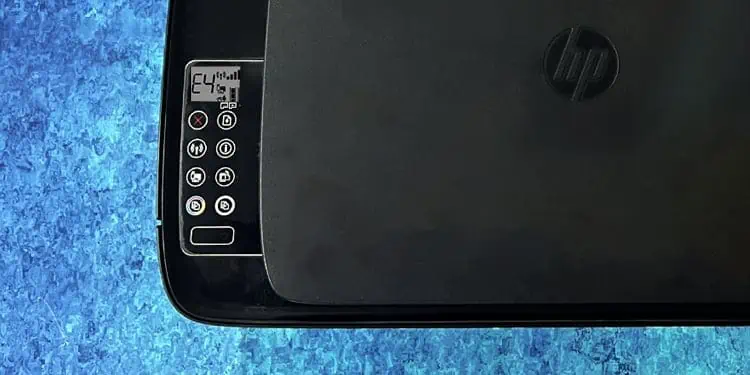
Note the error message or blinking patterns and do a quick Google search to know what is causing the issue.
Run the Printer Troubleshooter
Although some printer manufacturers provide proprietary printer troubleshooting tools for advanced troubleshooting, you can still use the built-in printer troubleshooter on your Windows computer to fix a range of printer errors.
The troubleshooter will help set your printer to default. Besides, it also clears print jobs from the queue.
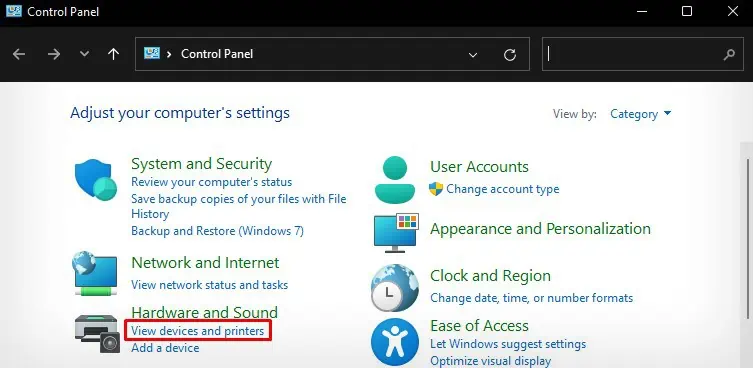
- Open Control Panel > View devices and printers.

- Locate your printer and right-click it.
- Choose Troubleshoot.

- Let the troubleshooter run.

- Try printing after the troubleshooting completes.

Clear Stuck Queue
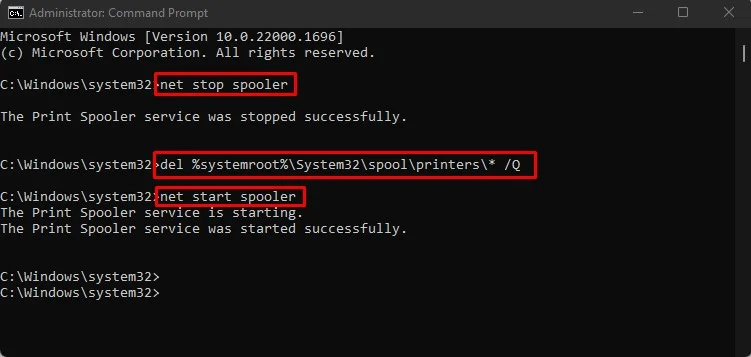
The print queue should clear after running the printer troubleshooter. However, it might get stuck sometimes and refuse to clear. In such cases, you should force delete the stuck print jobs from the spooler cache.
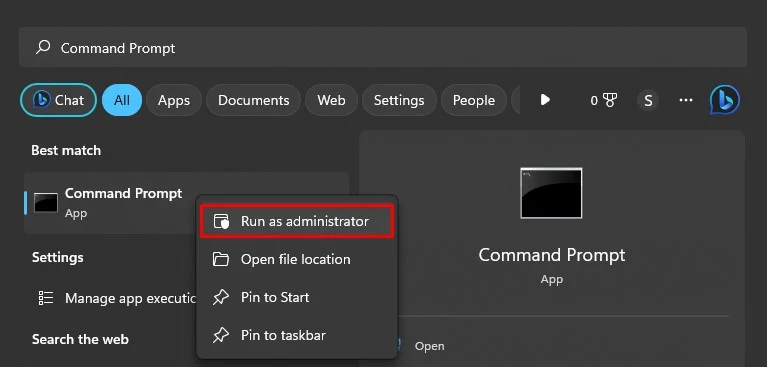
- Press Windows and S keys together and type Command Prompt there.
- Run it as administrator.

- While you are on the command window, copy and paste these commands one by one and hit Enter.
net stop spoolerdel %systemroot%\System32\spool\printers\* /Qnet start spoolerexit
Print a document now and see if the issue exists.
Install the Printer on Correct Port
Port mismatch issues are most likely to occur when you have multiple print profiles installed on your computer. You should always check and assign the correct port through which you are using the printer. Otherwise, you will face a printer error.
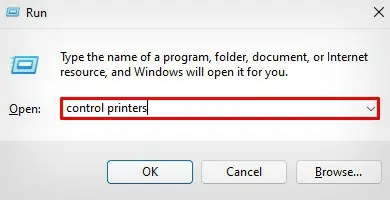
- Open Run and type
control printersthere.
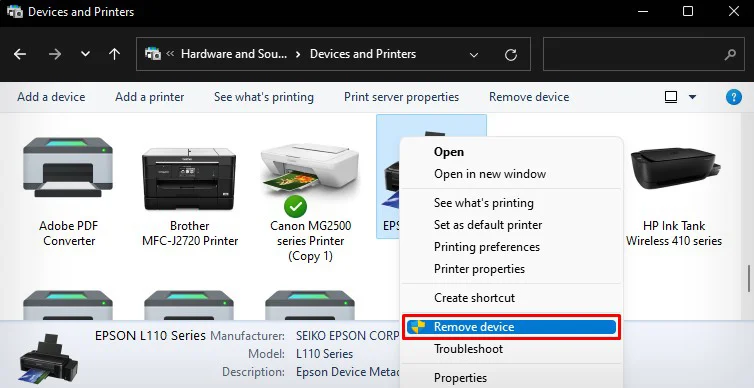
- First, right-click over all other unused print profiles and select Remove device. Do not remove the printer you are trying to troubleshoot.

- Click Yes.
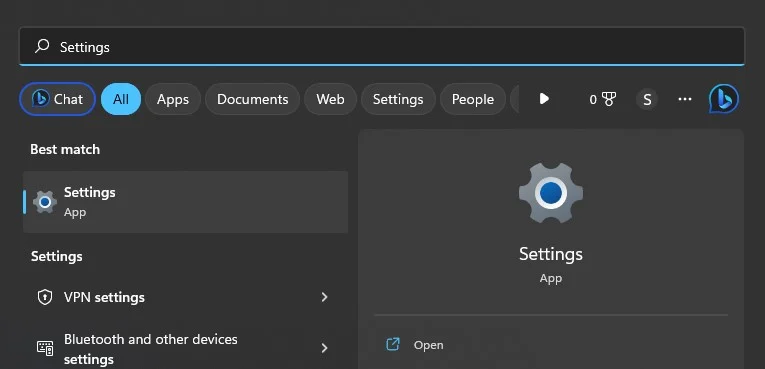
- Now open Settings.

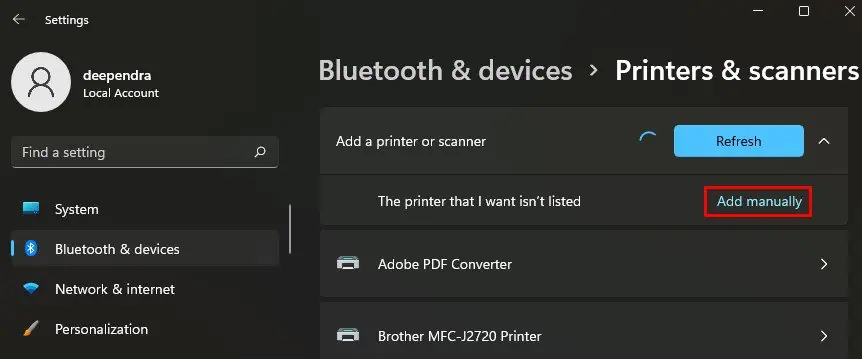
- Select Bluetooth & devices > Printers & scanners.

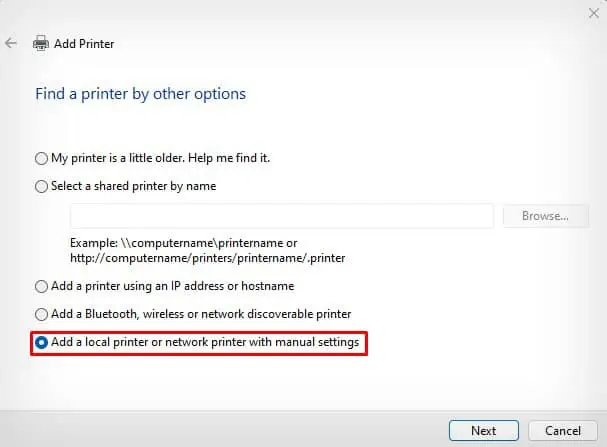
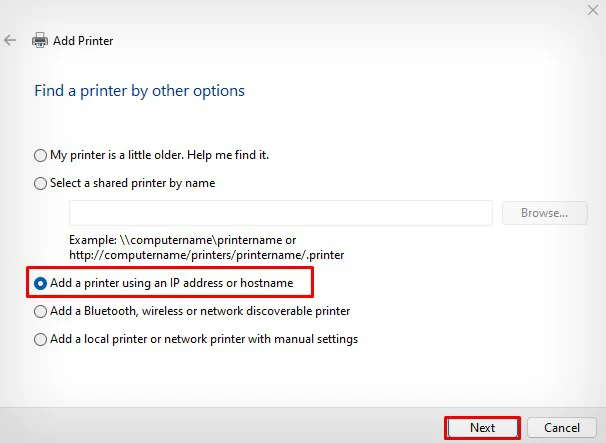
- On the new window, tap Add device and tap Add manually after some time.

- Choose this option. Click Next.

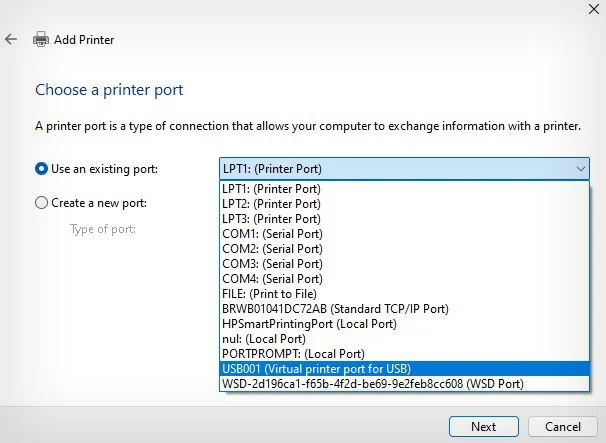
- Choose the port. If you have a USB printer, choose USB. Or select WSD or TCP/IP whichever port you are using. Click Next.

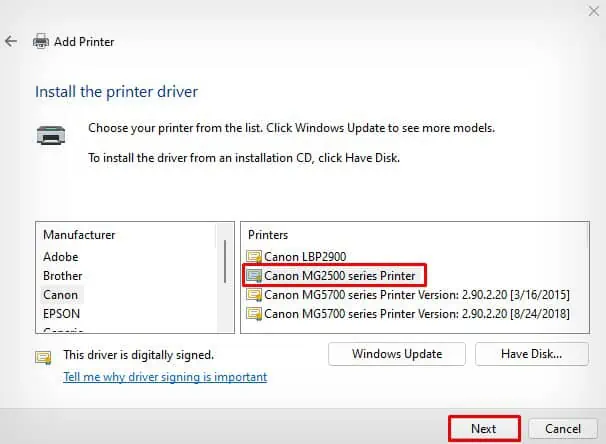
- Select the driver for your printer > Next.

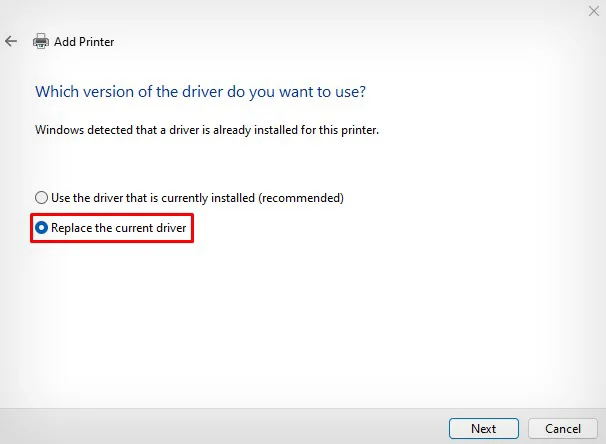
- Click Replace the current driver and follow on-screen instructions.

Resolve Offline Status
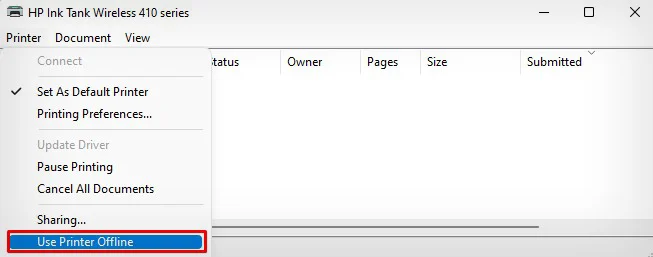
The printer also enters an error state if the “Use printer offline” mode is enabled. Check and disable it.
- Open Run and type
control printersthere.
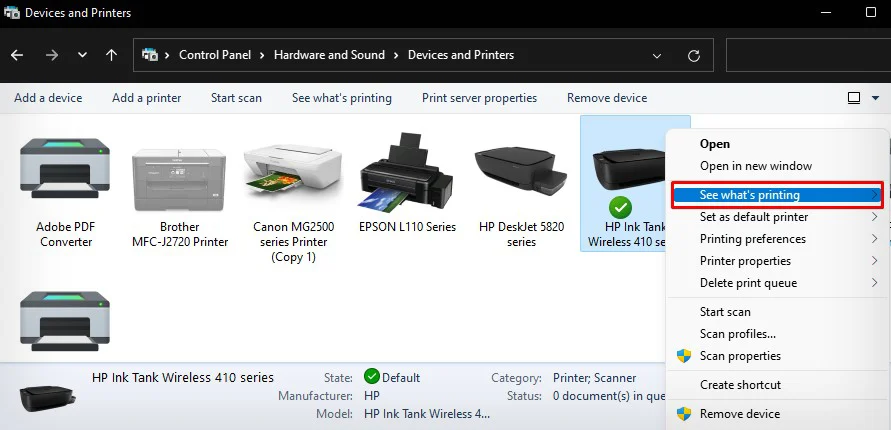
- Right-click your printer > choose See what’s printing.

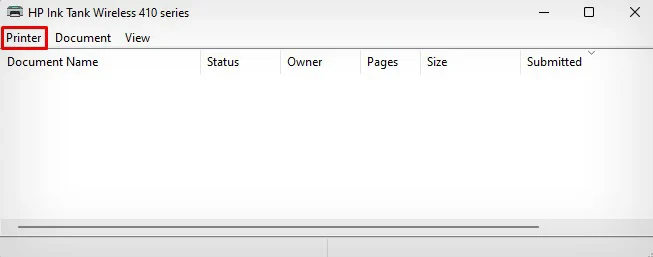
- Click the Printer tab.

- Uncheck Use Printer Offline option.

Fix IP Address Issues
Wireless printers generally get DHCP IP addresses from the Wi-Fi router. Such IP addresses however expire after a certain lease time, creating an IP address discrepancy between your PC and printer.
When this happens, it cuts off the communication path of the printer and PC, ultimately resulting in a printer error.
You can specify a static IP to your printer from the router portal to overcome this issue.
- Connect your printer to Wi-Fi.
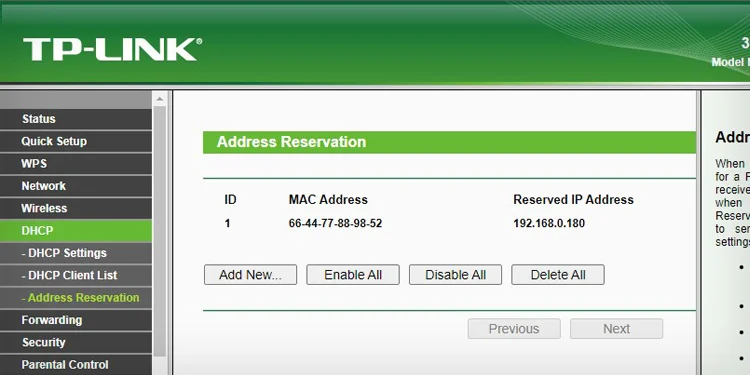
- Use the IP address of your router and access its configuration page.
- Then open the DHCP settings and go to Address Reservation. Please note that your router may have a different term for static IP reservation function. You may read the user manual or take Google’s assistance to know more about it.

- Set a static IP for your printer.
- Now go to your computer and open Settings.

- Select Bluetooth & devices > Printers & scanners.

- On the new window, first tap Add device. Then tap Add manually.

- Choose this option.

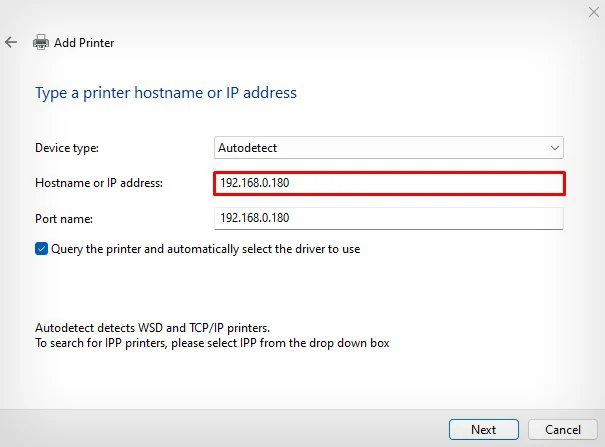
- Enter the IP address of your printer.

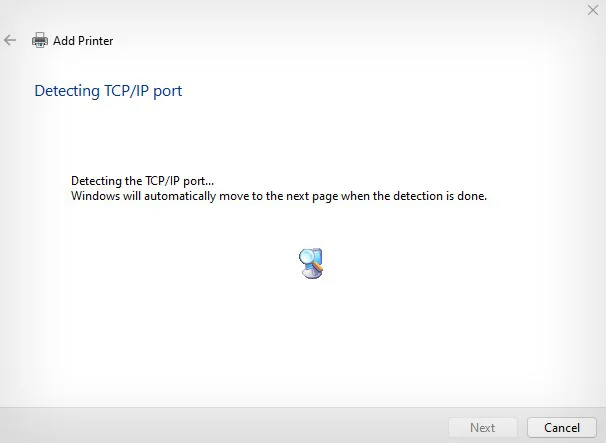
- Click Next. It will add the printer on your computer with a static IP.


