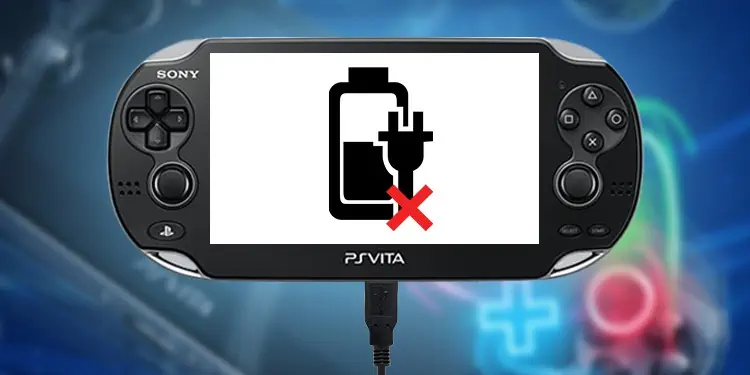
PlayStation’s portable console remains a popular choice for playing on the go. It has a nice catalog of games you can play, but it also comes without drawbacks. To help you with the device, we’re teaching you what to do when the PS Vita doesn’t charge.
The PlayStation Vita is a small item, making it susceptible to heat, time, firmware errors, and physical damage.
The final solution revolves around the system’s Safe Mode. You’d often find the issue relies on the charging port. Before that, though, there’s plenty to do, like resetting the console or changing the charging cables.
PS Vita Won’t Charge Causes
There’re various reasons why your PS Vita can’t get a charge. A related problem is a responsive screen, the console not powering up. These three issues share similar problems, though.
- Malfunctioning software or firmware issues. If you see the console’s lights blinking orange twice before shutting down, this is your issue.
- The charger is not plugged in correctly, or the AC charger is not working. You can test the chargers elsewhere to see if they are the culprit.
- Physical damage. If the regular solutions don’t work, you can try opening the handheld console to fix obvious damage.
- The battery is dead. The piece can only run for so long before passing over to another world.
- There’s a widespread bug in the system. This is the type of bug that can’t go away with a simple hard reset. Using the console’s Safe Mode can fix it.
How to Fix PS Vita Won’t Charge?
We’re running down various simple solutions for your issue. You can try them, one by one until you manage to charge your device.
Sadly, because the PS Vita is a simple device, there’s not much we can do at home before taking the console to repairs.
Hard Reset the PS Vita
The first solution is probably all you need because the most common error the PS Vita faces is bugs and glitches.
So, you need to hard reset the console to erase these errors:
- Use the PS Vita’s AC charger (rather than the USB charger) for at least 5 minutes. You want to make sure the system has a bit of charge.
- Unplug the charger after 5 or 10 minutes.
- Press and hold the power button for 30 seconds.

The handheld console should turn on by now, without blinking orange lights. After this happens, you should leave it charging again.
Ensure the Charger Is Working Properly
A simple fix is making sure the charger is working properly. So, here’re some tips to follow:
- Plug the charger properly into the handheld console. The charging strip should match the system (the PS logo should be facing up when you plug it into the system).

- Test the charger elsewhere to see if it works. Alternatively, try charging your PS Vita with a USB charger. Similarly, you could test third-party chargers.
- Try charging the system on other USB ports, such as your PC, a PS4, or a PS5. However, before charging the device, turn it off completely – it can’t charge on standby mode.
- Charge the system in environments between 10 °C and 30 °C. If you’re changing above or below those temperatures, the battery may have decreased its lifespan.
- When you see the PS button blinking during charging, it means the battery is too low. You must wait until the light stops blinking before turning the system back on.
Change the Battery
starts giving problems after about two years of use.
To test the battery, here’s what you can do:
- Plug the console into the AC adapter and the AC adapter into the wall.

- Blinking orange light means the Vita has no charge left.
- Wait until the orange light turns solid.
- Turn the console on by holding down the power button for 5 seconds.
- If the screen doesn’t respond, hold the power button down for 30 seconds to shut it down. Wait for about a minute until powering the system back up.
If you receive the same problem by this point, the battery is probably dead. You’d have to take it to a store to change the battery.
Engage the Console’s Safe Mode
The Safe Mode troubleshooter will void your warranty, but it’s a last-ditch effort to solve the problem.
The process is risky, though, so if you have the warranty, you’d better take it for repairs. That’s because Safe Mode will erase your data and could brick the system.
Either way, here’s how to do it:
- Ensure the system is off and unplugged. Press and hold the power button for 30 seconds if it’s on.
- While it’s OFF (not standby), press and hold these buttons for 5 seconds: R + PS button + Power button.

- In the Safe mode, you’ll find these options:
- Restart the PS Vita: It will reboot the system regularly.
- Rebuild Database: It returns everything to its original settings, wipes memory, and organizes the Database.
- Format Memory card: It wipes the memory.
- Restore the PS Vita System: It restores the system default.
- Update System Software: It allows you to force an update.
You should select Restore the PS Vita System. Afterward, you can try charging the console again.
Take Your Console to Repairs
We don’t recommend opening the PS Vita for home repairs. That’s because the pieces within its enclosure are too close-by, too small, and too delicate.
Moreover, you’d be working directly atop the motherboard, making it too easy to break something.
Instead, you can take the console for repairs and let the professionals find the culprit. If you have the warranty, it won’t cost you anything extra.


