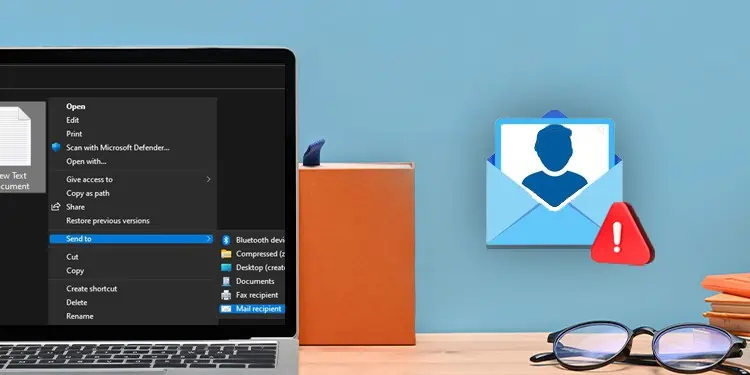
We generally right-click and choose the “Send to-mail recipient” option from the context menu for sharing attachments via email. But sometimes, the Mail recipient option might not appear at all. There isn’t much information available on the internet about this issue. However, we can confirm that it is a bug in the Mail app itself that restricts synchronization with the “Send to” feature of Windows.
You can encounter the error despite an account logged in on the Mail app. Even changing the default mailing app to Mail does not work. Therefore, using Microsoft Outlook can be a good idea to overcome this problem. However, you can tweak a few settings beforehand to get it working again.
How to Fix “Right Click and Send to Mail Recipient” Not Working?
The problem often arises with Windows’s default Mail app rather than Outlook, as reported by many users in the tech forum. However, irrespective of the mail service you use, you need to recreate the mail recipient service first as a preliminary fix. Then only move with the further fixes.
Recreate Mail Recipient Service
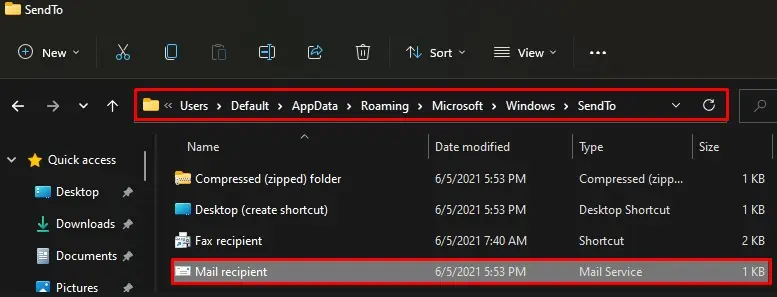
The Mail recipient shortcut is stored in the SendTo folder inside the AppData of your computer. But sometimes, if the file gets corrupted or deleted, you won’t see the Mail Recipient option in the context menu. To solve this, you need to recreate the service by copying the original service file from the default AppData folder of your computer to the user folder.
- Open This PC on your computer.
- Then open Local Disk (C:)
- Click View from the top of the window and choose Show > Hidden items.
- After that, navigate to this location:
C:\Users\Default\AppData\Roaming\Microsoft\Windows\SendTo
- Right-click Mail recipient and choose Copy from the context menu. You can also press Ctrl + C after selecting the file.
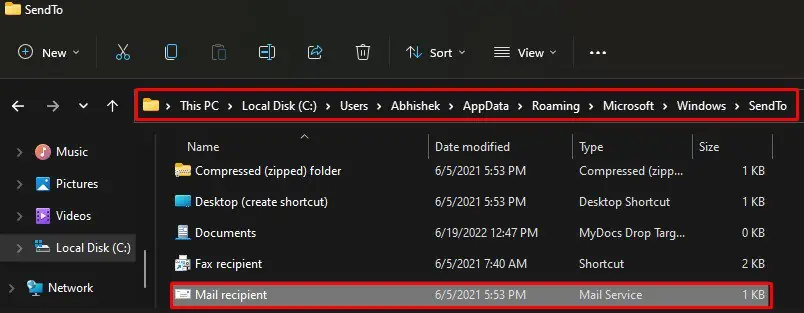
- After copying the file, navigate to this location:
C:\Users\YourPCName\AppData\Roaming\Microsoft\Windows\SendTo
- Locate and delete the Mail recipient service from there.
- Now paste the file that you copied earlier from the default folder.
- After you complete these steps, you will see that the Mail recipient option is back in the Send To context menu.
Use the Share Option
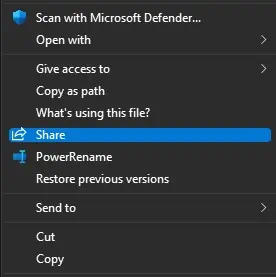
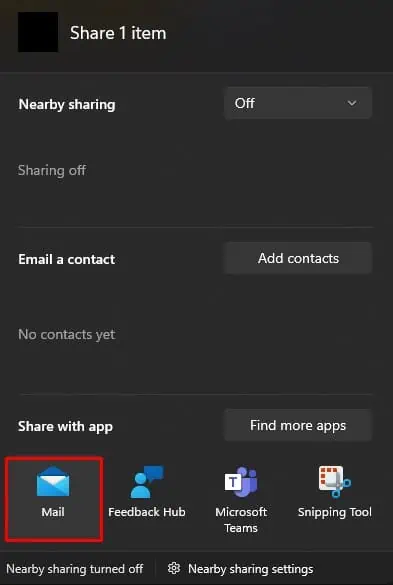
Next, you can use the Share option in the context menu if the Send to Mail Recipient option does not seem to work. It is a hassle-free process for sending emails, as you can opt-in for different sharing options.
- Locate the file you are willing to send via email and right-click over it.
- Choose Share from the list of options.

- In the small popup window, choose Mail.

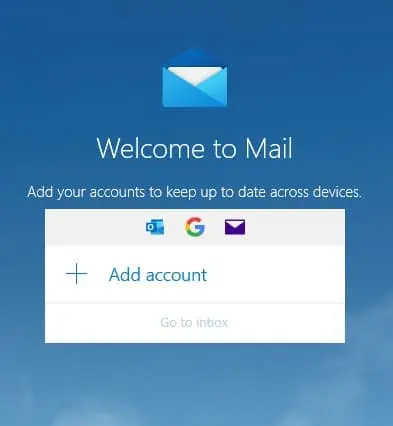
- Choose your preferred account for sending the email. Please add an email account and proceed if you are not already signed in.

Setup Outlook on Your Computer
After some research, we concluded that Windows could not use the default Mail app with Send To feature. So we recommend you use Outlook instead of the Mail app. You need to install Outlook on your PC, and the Send To feature will automatically sync with it, thus giving you the Send To functionality back.
- Download Microsoft Office package from Microsoft Store.
- Install the office package. It will also install Microsoft Outlook.
- Now you need to set Outlook as a default mailing app for Windows.
- For this, hit Windows + I on your keyboard. It will open Settings.
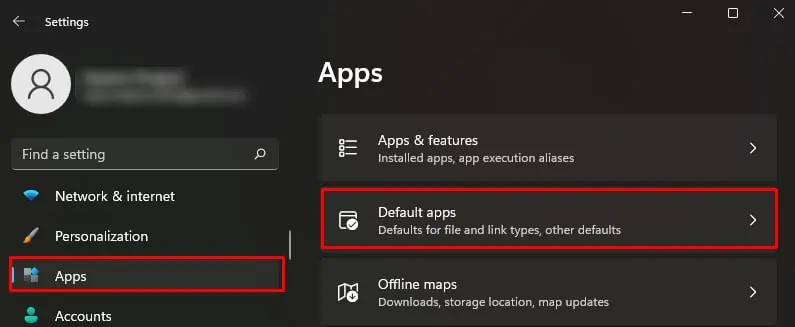
- Select Apps from the left and click Default Apps on the right.

- In the Search apps text box, type outlook.

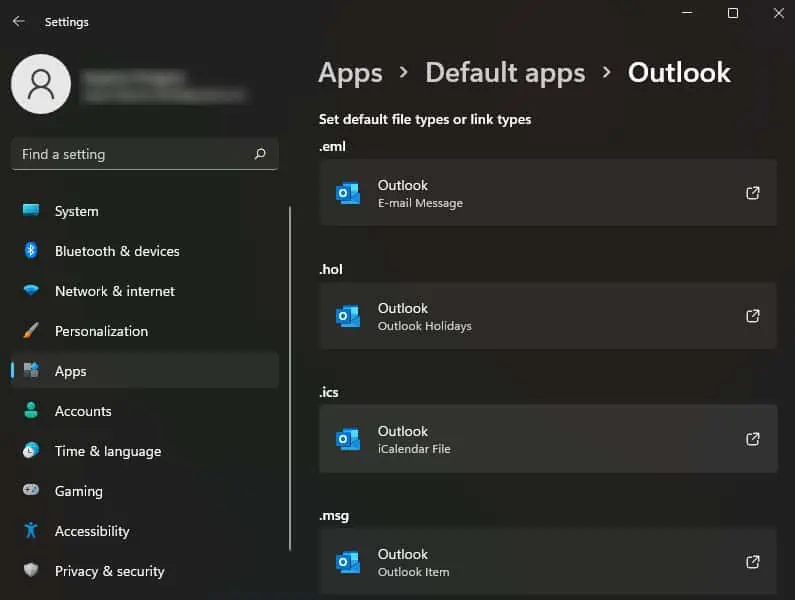
- Click Choose a default and select Outlook from the popup for every file type.

- After the settings are made, go to the file you are willing to share and right-click over it.
- Choose Send to > Mail recipient, and you will be redirected to Outlook.
Repair or Reinstall Office Package
If you are using Outlook on your computer, chances are there that the installation is corrupted and needs a repair. If that’s the case, repairing the installation should work, and you will get the Send To feature back.
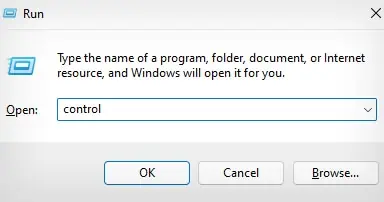
- Hit Windows + R. It will open Run dialog box.
- Type
controland press Enter key to open Control Panel.
- Choose Programs > Programs and Features.
- Locate Microsoft Office Package and right-click over it.
- Click Change.

- Select Yes in the UAC popup.
- Check Quick Repair in the popup and click Repair button. You can also opt for Online Repair if the issue persists after a quick repair.


