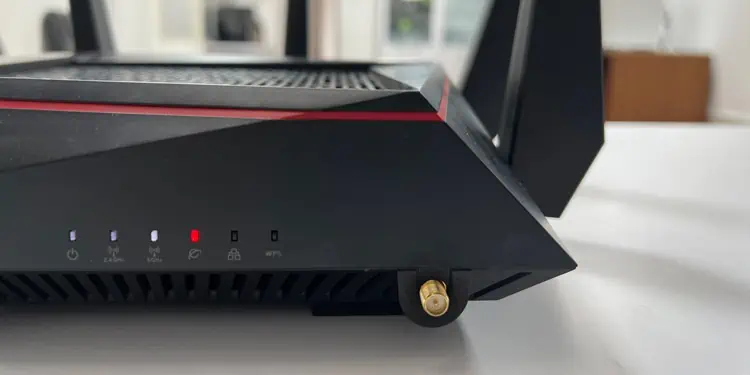
A blinking red light typically indicates connectivity issues. This problem could be specific to you (no signal to the router, authentication/pairing failure with ISP, etc.) or it could be due to a service outage in the area.
Similarly, a fast-blinking red light typically indicates overheating, while static red indicates critical issues like hardware or system failure. These are just commonly used patterns, though.
The red light can indicate different things depending on the manufacturer. I recommend checking the router manual to best understand your exact router model. Once you’ve done that, you can apply the appropriate solution from this guide to fix the issue.
How to Fix Router Red Light?
Restarting or resetting the router is often all that’s needed to fix whatever is causing the red light. It’s worth trying these before you start troubleshooting.
Check the Connections
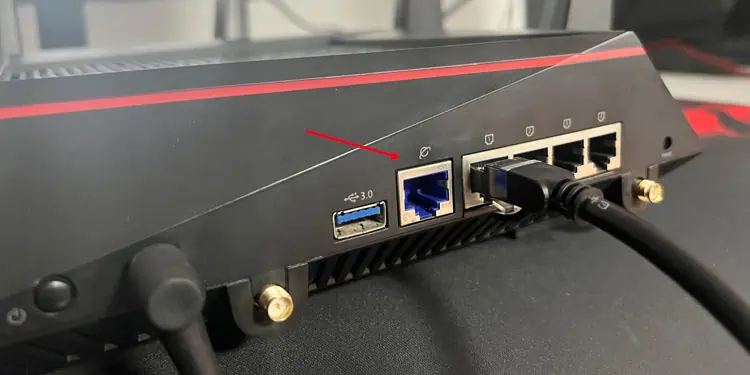
A red WAN light indicates that you have no internet access. On the users’ end, this sometimes happens because the Internet cable isn’t connected properly.
- Ensure the Internet cable from the ISP is firmly connected to the Internet/WAN port on the router. You can also try reseating it.

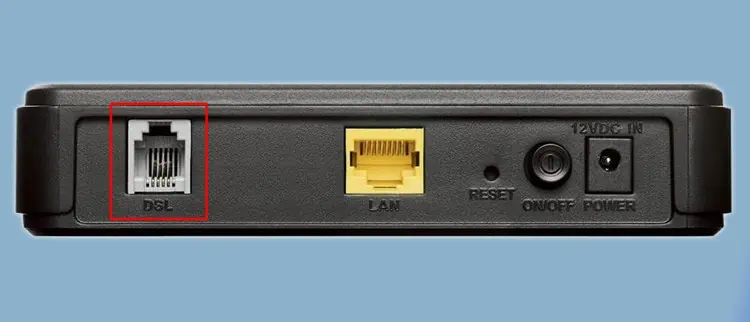
- If using separate routers and modems, ensure the Ethernet connection from the modem to the router’s WAN port is good. You can connect a device directly to the modem and check internet connectivity, or try a different Ethernet cable to test this.
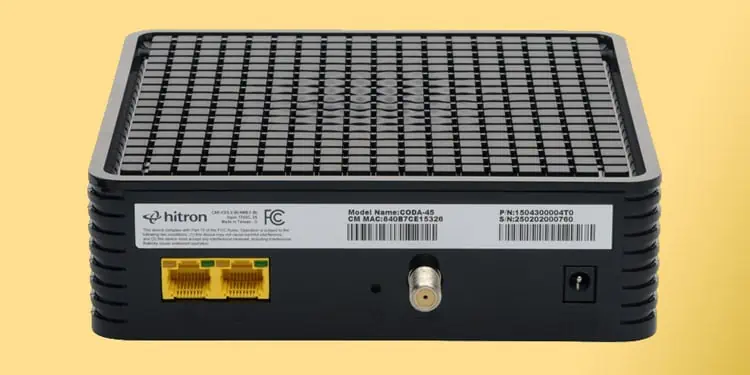
- If using a separate cable modem, verify the coax cable connection.

- You can also check the cables and ports for physical damage, but damage won’t always be apparent.
Reset MAC Address Binding
I mentioned earlier that you can connect a device directly to the modem to check internet connectivity. In many cases, users are trying to fix some other issue and the red light starts at this point.
This happens because the modem becomes bound to the device you used for testing and it can’t recognize the router’s MAC address anymore. You can reset the MAC address binding to fix the issue in this case.
- Turn off the modem and router and remove the power cord.
- Remove the Internet cable from the modem.

- Connect the modem’s power cord only and turn it on.
- After the modem boots fully, plug in the Internet cable as well.
- Now, turn on the router and connect the modem to the router’s WAN port with an Ethernet cable.
Change Router Operation Mode
When using multiple routers, only one device should actually be set up as a router while the rest should be in other modes (e.g., Access Point – AP). If multiple devices are operating in router mode, it’ll create double or triple NAT which can lead to a red light on the routers.
Typically, this scenario happens when people use a router-modem combo device provided by the ISP, with a second router that they purchased themselves. To resolve this problem, you can ask the ISP to configure the first device in bridging mode. Alternatively, you can configure one of the devices as an AP as shown below:
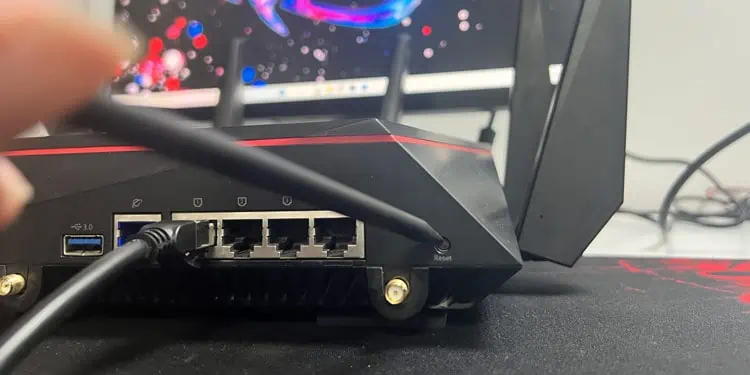
- Hold the Reset button on the second router for around 10 seconds.

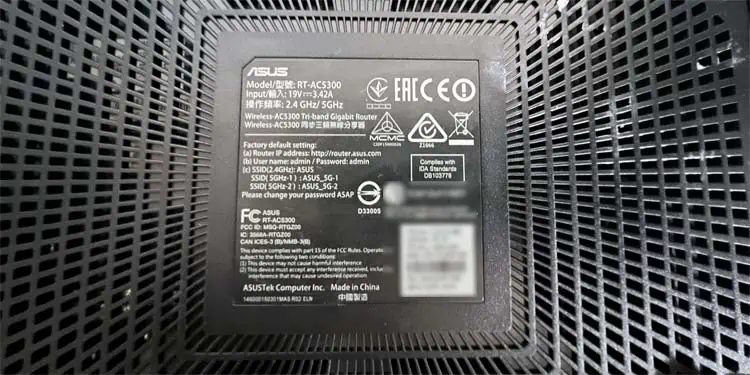
- Note the router’s default IP, username, and password from the sticker at the back.

- Connect the LAN ports on the two routers with an Ethernet cable.
- Connect your PC to the second router’s network via Ethernet or WiFi.
- Use the values from Step 2 in a web browser to log in to the router setup page.
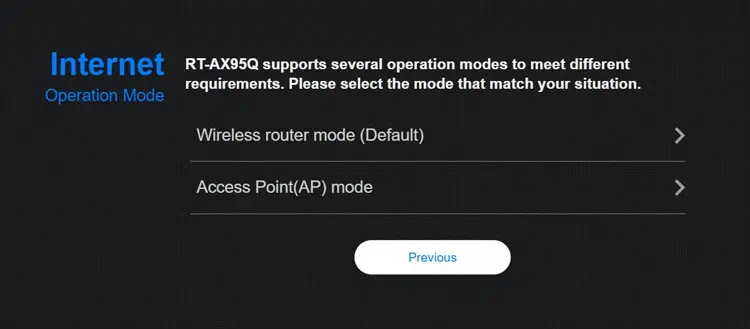
- Select Access Point (AP) mode as the operation mode.

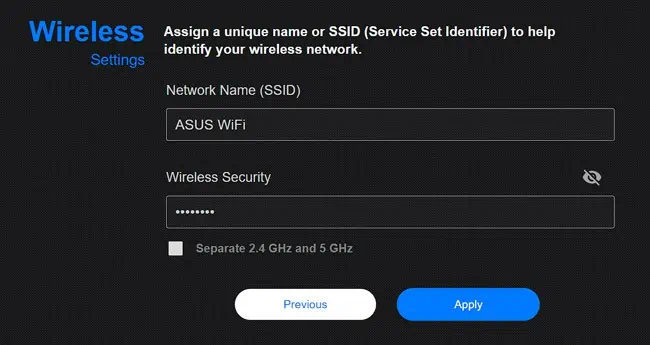
- Set up a new SSID and password for the WiFi and you’re done.

Contact Your ISP
As mentioned earlier, the red light most often indicates a service outage. In rarer cases, it could also be due to faulty hardware (router, modem, internet line). Either way, it’s best to contact your ISP for support.
If it’s an area-wide outage, they’ll let you know when it’ll be fixed. If the problem is specific to you, their tech will diagnose whatever component is faulty and suggest the best course of action.

