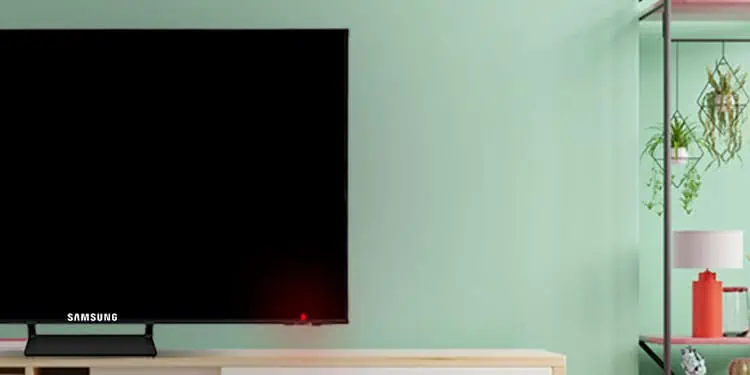
A red light blinking on your Samsung TV can indicate a hardware or software issue that is preventing the TV from streaming. You may encounter the problem after the TV boots up or between the streaming session. Or, the red light may start blinking when your TV shuts down randomly.
While there are many possible causes behind the problem, many users reported the issue after a power outage. It can also show up when you directly pull the power cord from the wall outlet without turning it off using a remote. Having said that, outdated TV firmware is also equally culpable.
This article will teach you how to sort out the red light blinking problem easily in a few steps. In the end, you will also learn how to replace a faulty power supply board on your Samsung TV.
How to Fix Samsung TV Red Light Blinking?
If a red light blinks on your Samsung TV, you should first perform a soft reset. Many people in the tech forum stated that they solved the issue after a soft reset, and I, myself, was able to sort out the problem using it.
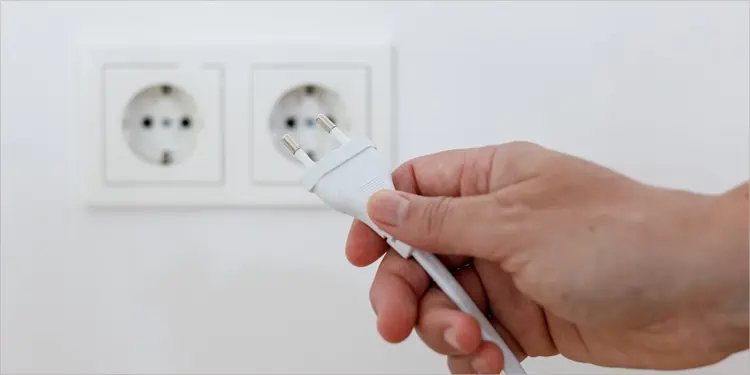
What you need to do is unplug the power cord of your TV and give it a rest for about an hour. It will help cool down the fragile components on your TV, like Integrated Circuits (ICs) and transistors. After an hour, press the power button on your TV for 2 minutes.
Plug the power cord back into the power supply and wait for another 2 minutes while you are still holding the power button.
It should solve the problem without further hassles. Otherwise, there are a few fixes discussed below you can follow easily.
Remove Voltage Control Devices
Samsung TV needs a constant voltage to operate, usually between 100V-240V. If the voltage fluctuates and goes above or below the specified level, the TV can not turn on due to the variation in voltage levels.
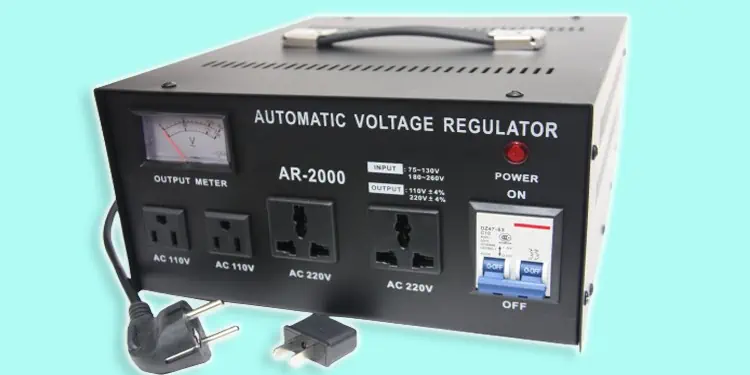
If you are using any voltage control devices like a surge suppressor or stabilizer, consider removing them. They can sometimes malfunction and output inappropriate voltage. As a result, the TV can not function properly, and the red light indicator starts blinking.
Solve HDMI Issues on TV
Next, you should choose the correct source for your TV. If you have connected the set-top box or any other device via HDMI1 port on your TV, set HDMI1 as a source. Setting the source to HDMI2 will prevent the input from the HDMI1 port and result in a black screen, including a red light blink.
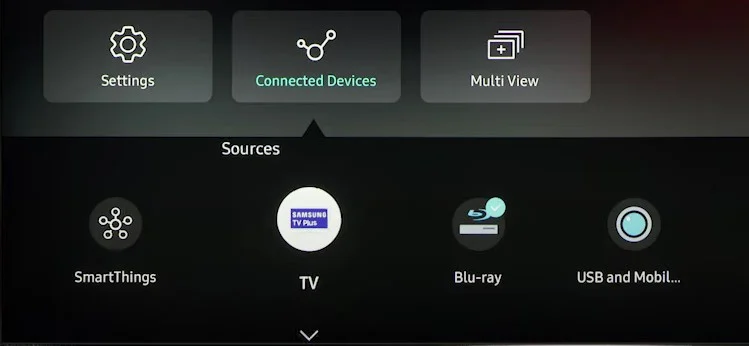
The red light blinking problem also arises due to the HDMI issue on your TV. HDMI devices like set-top boxes or gaming consoles should be properly turned off before unplugging them from the TV.
At the same time, make sure you change the source to a TV or USB before removing them. If the source is not changed before unplugging those HDMI devices, the TV will keep fetching the input from HDMI. It won’t find the input signal, and as a result, the red light starts blinking.
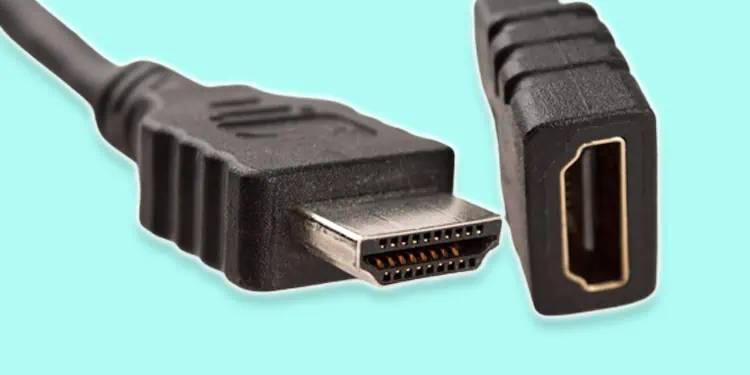
Moreover, sometimes, the HDMI cable can be faulty as well. Try changing the cable and see if the problem persists. Also, remove all the devices connected to the TV one by one. This way, you can know which device is causing the problem and troubleshoot it accordingly.
Update Your TV
Red light blinking can also be a symptom of outdated firmware. If your TV has outdated firmware, consider updating it to the latest version. The steps to update the firmware are similar in most Samsung TVs. If you own an Android TV from Samsung, follow the steps below to update it.
- Open Settings. You can open it directly using the Settings key on your remote or from the lower left corner of the home screen.
- Move down and choose Support.
- On the right pane, tap Software Update.

- Click Update Now.

Reset TV to Factory Defaults
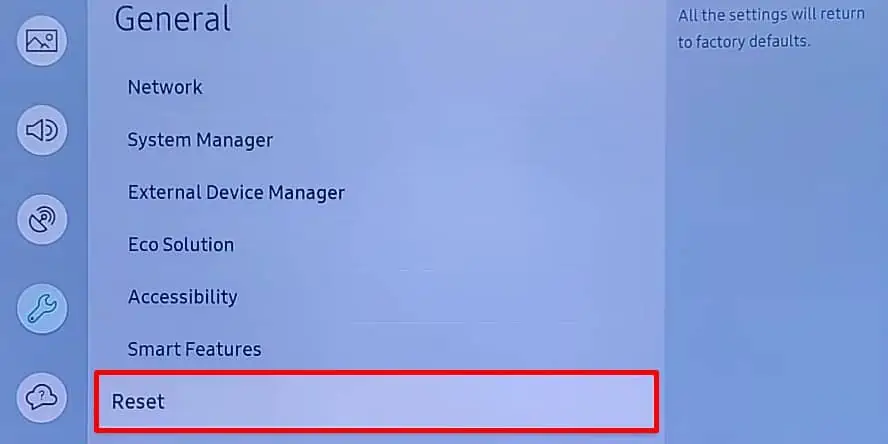
Resetting TV to factory settings is the last software fix you can apply to solve the red light blinking problem. If there are any software issues, most probably a corrupted OS or system files and drivers, resetting will help solve it.
- Launch your Samsung TV Settings.
- Go down and select General.
- Choose Reset.

- If prompted, enter PIN code to complete the reset process. The default PIN is 0000.
Fixing the Power Supply Board
Now that you have gone through the basic fixes, you must have figured out a solution. However, you probably have a bad power supply board if you are still encountering the issue.
There can be three cases when the power supply board stops working.
- Blown a fuse
- Capacitors are damaged
- No DC output from the power supply board.
You can quickly check the fuse and capacitors and do a power supply test on your TV. Please consult this detailed guide to diagnose issues with them.
If you find that the board has been fried up and you need a replacement, below is a step-by-step guide on how to replace the power supply board on your Samsung TV.
- First, get a replacement power supply board that matches the specifications of your TV from the market.
- Then, place your TV on a firm surface and remove the back panel using a screwdriver.
- Locate the PSU (Power Supply Unit) of your TV.

- Remove all the cables connected to the PSU. You can take a picture of your board so you won’t be confused about connections later.

- Remove the screws that fasten the board to the TV casing.

- Get the old board off the TV.

- Now take the replacement board and fit it in the proper position.
- Fasten the new board to the TV using screws.
- Reconnect all the cables to the proper ports.
- Put back the back panel of your TV, and you are all set.
If there was a power supply unit failure, replacing it should solve the problem, and you should no more face an issue. However, if you still encounter the red light blinking problem, there may be an issue with the main board. Consider taking your TV to the repair center and repairing it.

