SteamVR isn’t a virtual-reality device in and of itself. Instead, it lets users with VR headsets link up with games they have on Steam and play in the virtual environment.
Unfortunately, it can take a little elbow grease to get SteamVR working the right way unless you’re one of the players who get lucky enough to link in and start playing. There are a few different avenues to fixing SteamVR problems, depending on what issue you’re experiencing.
Why Won’t SteamVR Work?
SteamVR has different problems for different users, depending on the situation. Here are some common issues and causes you might face.
- Outdated Drivers: Your computer software and drivers are out of date. So often, problems with specific computer programs can be traced back to outdated drivers or uninstalled OS updates. Check whether you’re missing these if SteamVR won’t work with your VR headset.
- Corrupt Software: The SteamVR software itself is corrupt or missing necessary files. Sometimes even an often-used program experiences a problem that prevents it from working until the program is repaired. Steam does offer an option to try to fix the installation, but you can also reinstall it.
- Third-Party Application: Certain programs create conflicts that prevent SteamVR from operating the way it should. Finding and killing the conflicting programs should stop the issue from recurring.
- Incorrect System Settings: Depending on your specific issues, settings and selections in different menus may need to be changed.
- Device Lag: The headset can connect and work in SteamVR, but the lag can make it unplayable.
It’s impossible to narrow down the solution until you start trying a variety of fixes. Most of them should be easy enough to try so you can locate the problem, fix it, and get back to enjoying your games.
Fixing SteamVR Not Working
If SteamVR isn’t working for you at all, the following solutions might get it going again. Don’t give up on playing VR while linked into Steam when the fixes are generally super easy to perform.
Enable Unknown Sources
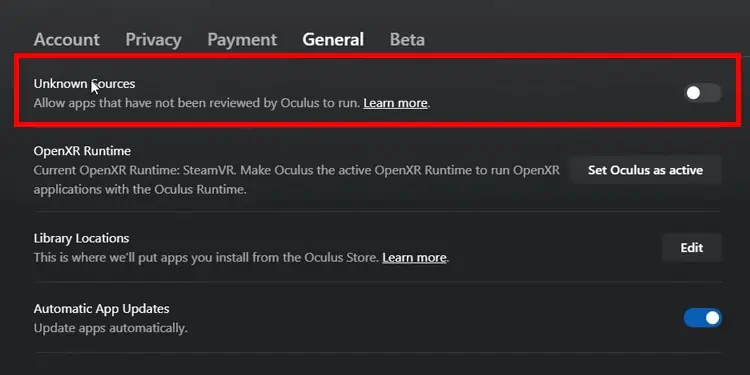
If your VR headset requires you to turn on unknown sources manually, you need to activate that setting before you can play SteamVR. For example, Oculus players will not be able to use the program until they do these steps in the desktop program.
- Launch the Oculus desktop software.
- Choose Settings from the left pane.

- Choose General.
- Turn on Unknown Sources.

- Close the program.
- Restart your headset.
- Restart SteamVR.
Now you can try to connect to the program again. If it still isn’t working, proceed to the next steps.
Check for Updates
Both your drivers and your operating system need to be updated. If you aren’t in the habit of keeping them current, it’s worth considering because it can cut down on issues you run into with your system.
To check for updates to Windows:
- Press the Windows Key + X.
- Choose Settings.
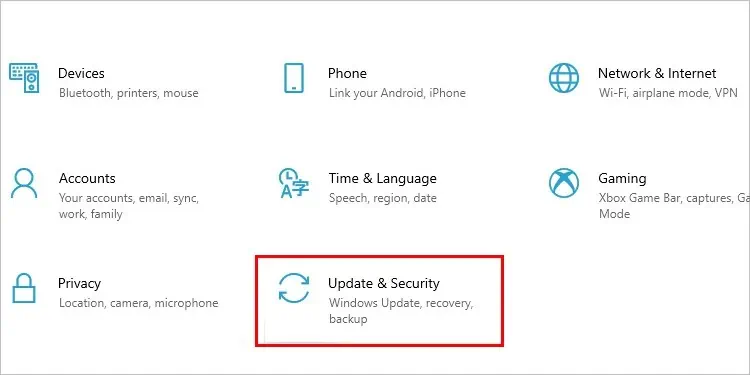
- Click Update & Security.

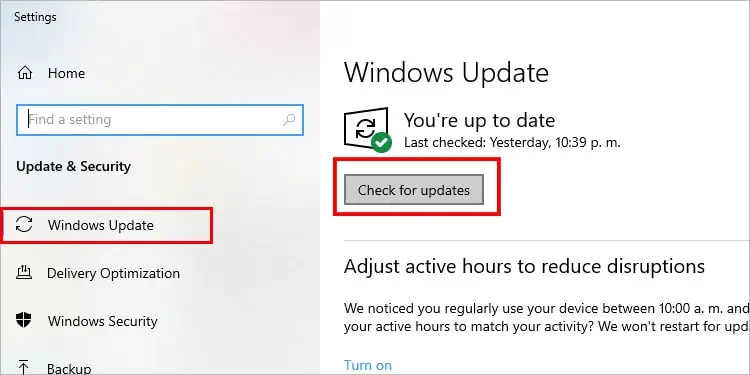
- Click Windows Update.
- Click Check for Updates. Windows should start downloading and installing them if they’re available.

Update Your Drivers
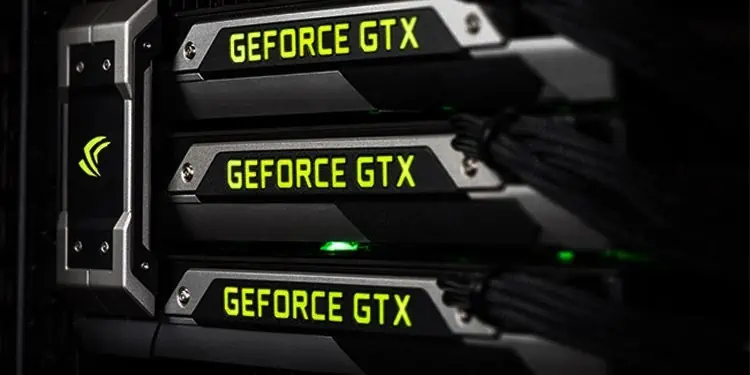
The most important drivers to update are your GPU drivers regarding issues with SteamVR. The best way to update your Graphics driver is through their respective management programs.
For NVIDIA
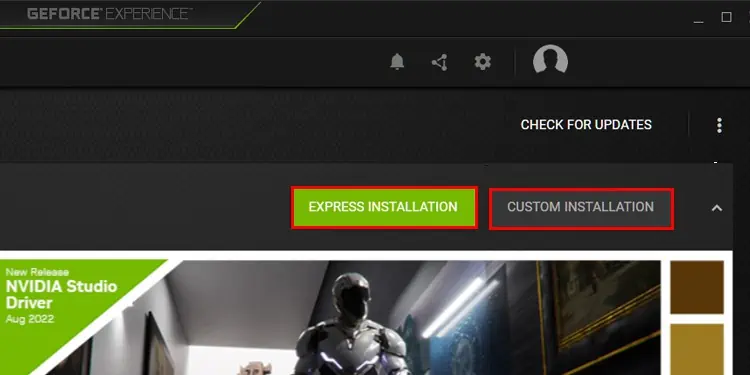
NVIDIA uses a program called GeForce Experience to manage its driver downloads.
- Launch the GeForce experience.
- Select the Drivers tab.

- Click Download if the button is available. It will only appear if an update is available, so if you’re up to date, you can close the program without making further changes.
- Wait for the update to download to your PC, assuming one is available.
- Start the installation process. Choose Custom or Express at your preference. Custom means you can choose which elements of the update are installed.

- Click Yes.
- Wait for the driver updates to install.
- Restart your computer.
- Restart your VR headset.
For AMD
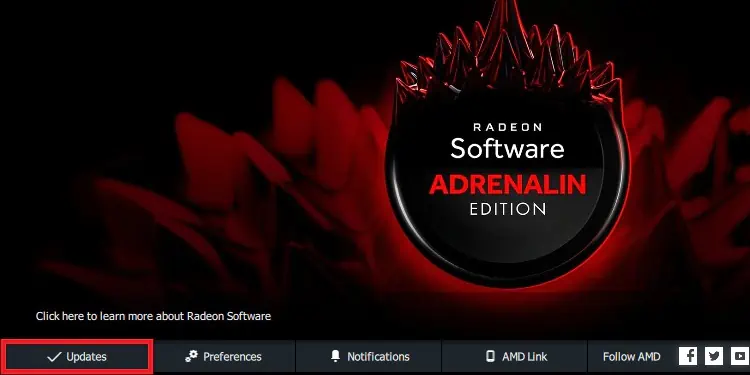
AMD uses the AMD Radeon Settings to manage its driver updates.
- Open AMD Radeon Settings.
- Choose the Updates option.

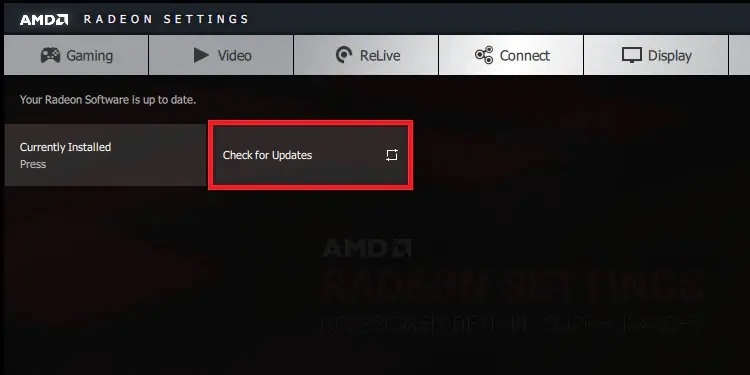
- Choose Check for Updates, and then select Update Now from the menu.

- Click Proceed, then click Upgrade.
- Wait for the driver updates to finish.
- Restart your computer.
- Restart your VR headset.
These operating system and driver updates may help SteamVR to work correctly again.
Power Cycle Your Router and Modem
Sometimes the issue with the connection isn’t the program or the headset. Sometimes it’s the connection the devices have to the internet. This is much more likely if you’re using a wireless connection between the computer and the headset.
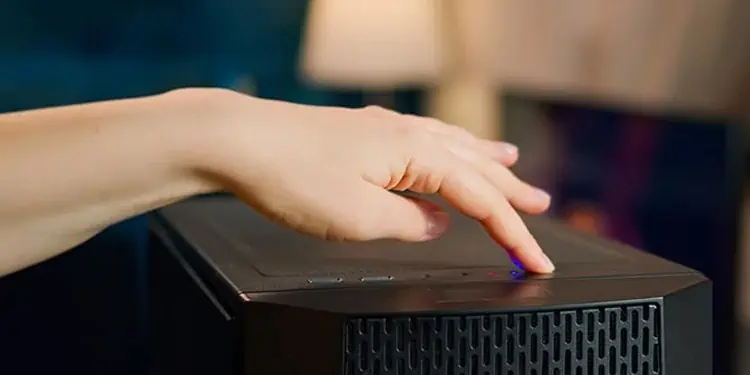
- Turn off the computer and the VR headset you’re using.

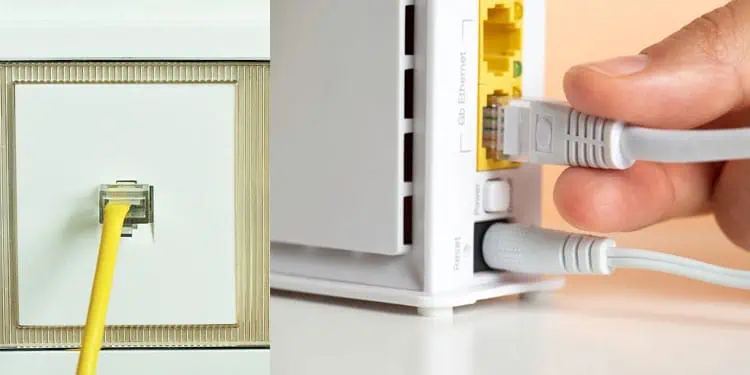
- Unplug both the router and the modem. If you’re using an all-in-one device, you’ll only need to do these steps once for the whole machine.

- Wait a few minutes.
- Plug the modem back in. Watch the lights on the unit to see that they’re all lit, indicating it’s operating correctly.
- Plug the router back in. Watch the lights on the unit until you know it’s working.
- Turn on your PC and launch SteamVR.
- Turn on the headset and connect to the computer with SteamVR.
If that solves the problem, you’re probably good to continue using SteamVR without making any other significant changes.
Change Steam and SteamVR Settings
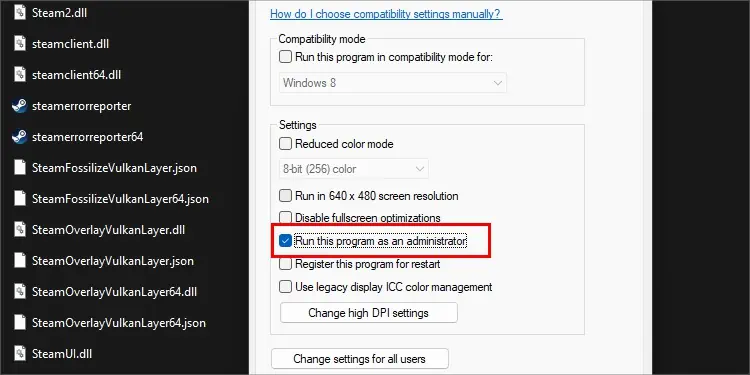
Sometimes running Steam as an administrator or disabling certain functions in the program settings for SteamVR can make it work again. Acting as an administrator means Steam has more access and control. Disabling settings that affect SteamVR’s performance can help fix problems running it.
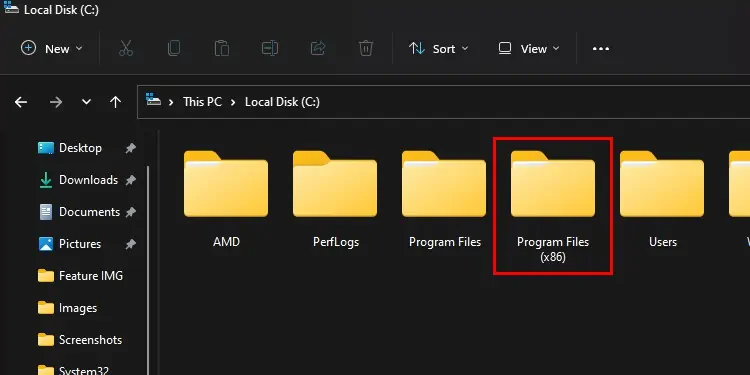
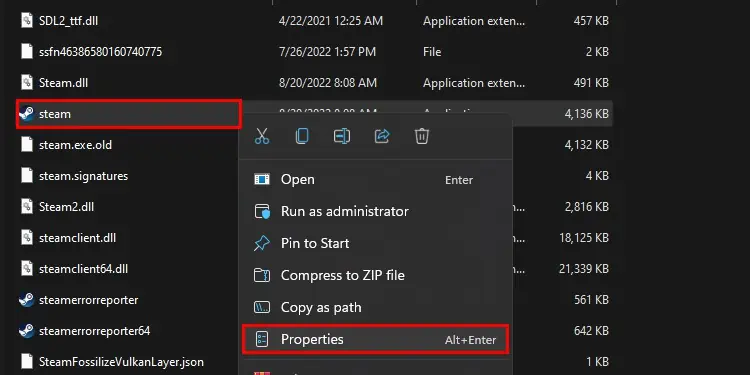
- Find your Steam executable file. For many people, it will be in your Program Files (x86)\Steam folder on the drive where Steam is installed.

- Right-click Steam.exe.
- Select Properties.

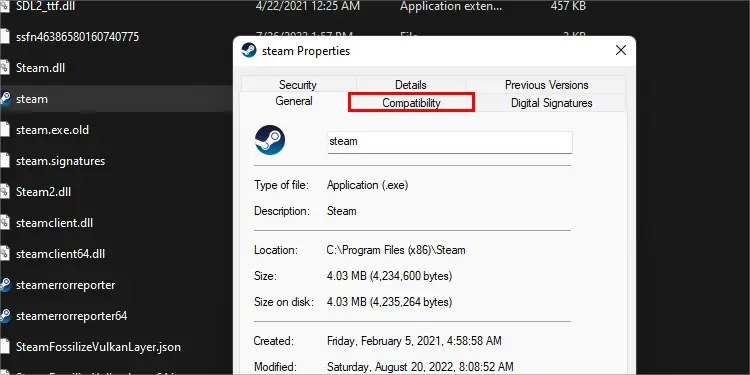
- Click the Compatibility tab.

- Click Run This Program as an Administrator.

- Click OK.
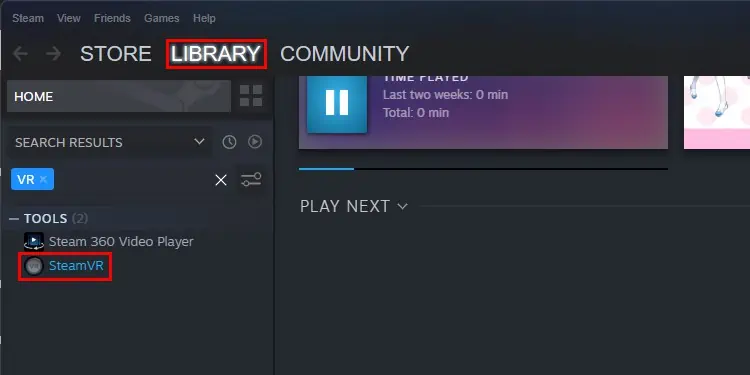
- Launch Steam and go to your Library.
- Right-click SteamVR.

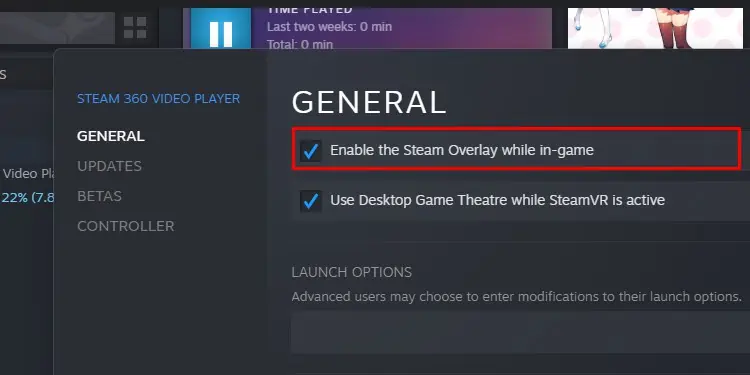
- Choose Properties.
- Choose General.
- Uncheck Enable the Steam Overlay While In-Game.

- Close the window.
Now restart your computer and try to run SteamVR again to see whether the problem is solved.
Repair SteamVR
Steam offers a process to repair software by scanning the files for missing or corrupted pieces, removing them, downloading fresh copies, and installing them. Running a repair operation on SteamVR may find no error, or it may see many. Either way, the tool can help you fix problems that keep the software from running.
- Open Steam and click Library to see a list of your owned games.
- Right-click SteamVR in the game entries. It may be under the Tools heading. You can also use the search function to find it more quickly if you own many games.

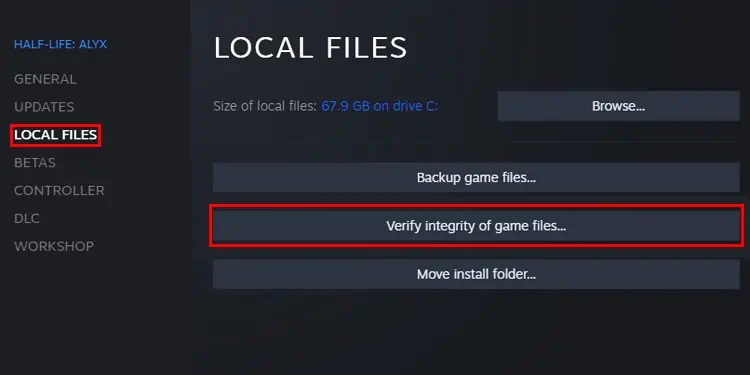
- Select Properties.
- Click Local Files.
- Click Verify Integrity of Game Files. The program will begin to check the files with a percentage telling you how much has been checked. Wait for it to finish before doing anything else.

- Wait for the program to reacquire and reinstall the pieces that were damaged or missing. If nothing is wrong with the SteamVR installation, it will tell you that all the files were successfully validated.
Steam returned no errors when I did this and said that 6083 files were successfully validated. If you get a message saying files couldn’t be fixed, you may need to go further.
Reinstall SteamVR
If your VR headset and SteamVR aren’t working together, consider completely reinstalling SteamVR. The repair process can fix many issues, but a complete reinstallation is a go-to solution for complex software.
Uninstalling SteamVR won’t remove it from your library. It will still be available to install and play again. The only caveat is that it’s a more than 5 GB download, so it may take some time to download it again, depending on your connection.
Fixing SteamVR Performance
If your problems with SteamVR are related to its performance, there are a few changes and tweaks you can make that might help it run better.
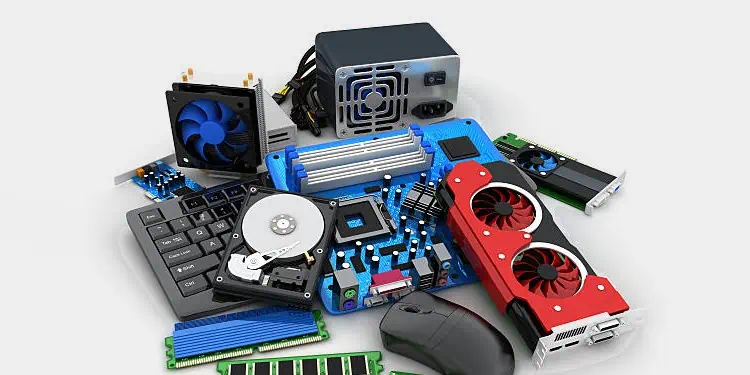
- Check your PC’s parts against the required and recommended parts to run SteamVR. Sometimes the performance issues are related to a lack of power because VR programs require powerful components to run at their best. If you’re below the recommended settings, you’ll need an upgrade for smoother performance.

- If you’ve made many changes to your VR headset, SteamVR, or the related software for your headset, try changing everything back to default settings.
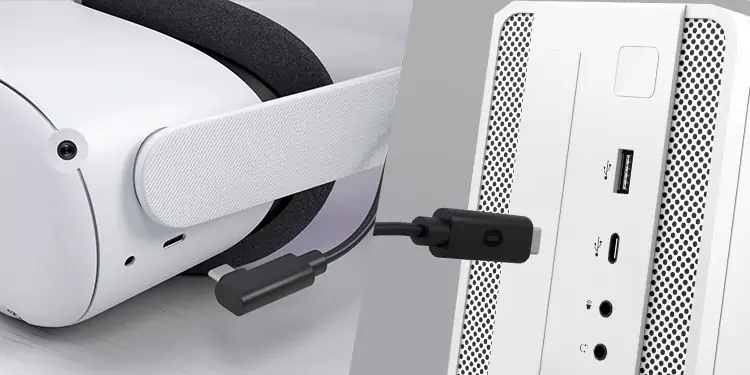
- Try using a wired connection if you aren’t yet. Wired connections can be more stable than wireless, leading to better performance. You can also switch from Wi-Fi to Ethernet for the PC’s internet connection. That can make the performance smoother too.

- If you aren’t using your best GPU in a multi-GPU setup or you aren’t using a high-performance power plan, make the switch before using SteamVR again.

- If you can’t access SteamVR and have add-ons installed, try reinstalling the program to see whether removing those helps fix the problem. You can also remove them from the program’s menu, if you have access.
- Close other programs that take up a lot of computer resources. You don’t want SteamVR to have to compete with others.
- Try changing the refresh rate on your headset. Some users had luck switching to 90 Hz on their Oculus headsets when SteamVR was particularly laggy.
