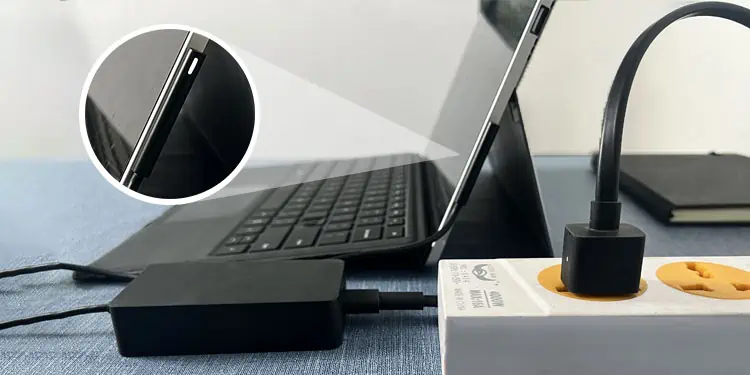
Surface charger includes an LED indicator which helps us know whether the charger is supplying power to the Surface battery. The indicator doesn’t glow if the charger is not providing any power and it blinks or flashes on or off if there is some connection issue.
If the charger indicator is off or flashing, the charger or power supply likely has some problems. But if the indicator is on, some other components might be responsible for the problem, not the charger. In this article, we go through all the possible ways you can troubleshoot the charger issue.
Check Power Source
The first thing you should do is make sure there are no issues with your power source.
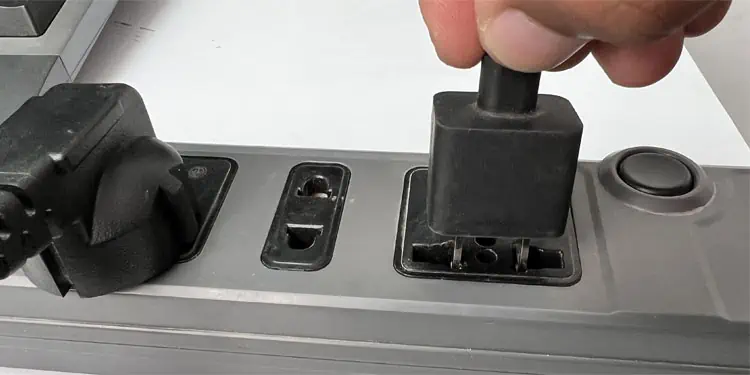
- Check if the wall socket or the power strip is on.
- Make sure that all connections on the power extensions are secure.
- Connect other devices to the same power supply and check if they work.
- You can also try using another power source or surge protector instead.

If there is any issue with the power supply, you may need to seek help from technicians to repair them. In the meantime, you can keep using different sockets or power strips.
Troubleshoot Charger Power and Connection Issues
The charger that works best with Surface is the original charger that comes with the packaging. If you can’t use such chargers, you need to make sure the other charger meets the power requirements of the device. The output voltage of the charger needs to match the input requirement of the Surface laptop. It’s also recommended to use the charger with the appropriate power output (Watt). You can look for the proper requirement on the official websites.
Other than that, there are a few things you should try to troubleshoot any potential temporary issues with the charger.
- Remove the charger from the power source and the Surface for 10-20 seconds and then try connecting it again.
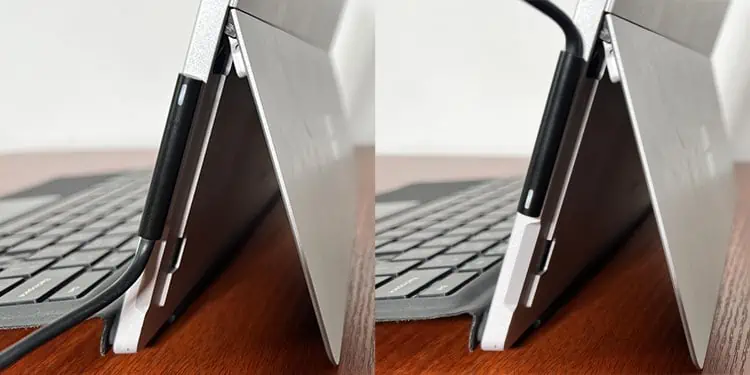
- The charger fits the port on the Surface device both ways. So, try connecting it the other way around.

- If applicable, you can use another Surface charger for the same model to check if your original one is functioning properly.
- If your Surface laptop comes with a USB-C charging port (PD – Power Delivery port), you can also try using an appropriate PD charger instead of the original one.
Clean Charger
The charger may not work properly if the connectors are not clean. Dust or dirt can block the connection between the charging port and the connector.
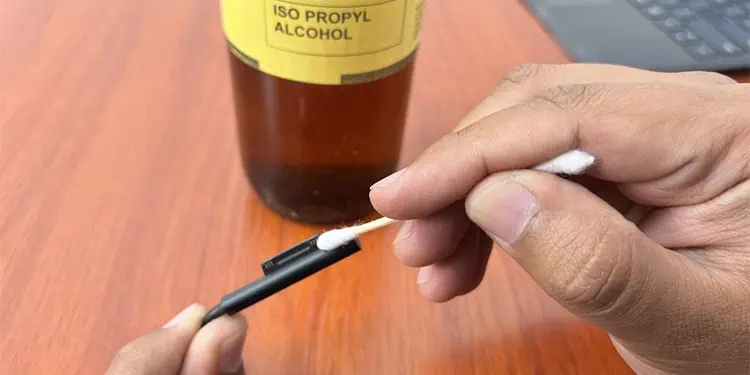
If it is dirty, you can take a microfiber or any lint-free swab, dip it in Isopropyl or rubbing alcohol and wipe the pins with it. You can also use a pencil eraser to remove any sticky gunk. After using the eraser, wipe it with the swab again to make sure the eraser dust doesn’t remain.

Then, reconnect the charger with the device and see if it works.
Don’t Use Surface Dock to Charge
Surface Docks won’t charge the Surface device if the battery is fully drained. You need to use the proper charger that came with the Surface in this scenario. You can switch to the Dock after some time.
Check Charger for Electrical Short
The main reason why the Surface charger fails is due to the shorting of the positive and the negative wires inside the charger. You can try opening the charger and repairing it in such cases.
- Use a precision knife/tweezer or any similar pointed object to pry out the slot on the end of the charger connector. You should be able to see the seams where you can insert the pointed object. The connector’s cap is fused with the slot, so it should come out as well.
- There is also a second magnetic slot inside held together by glue. Remove it as well and then scrape off the remaining glue.
- After that, slide out the inner connector along with its circuit from the outer casing by pushing out the cable and pulling in the case. Be careful not to break the wire.
- If the wiring on the other end of the connector is damaged, you may need to trim off the cable’s cover to make sure the cable gets inside the connector’s case.
- Remove the glue and any protective bracket on the connection point between the connector and the cable. If there is a spacer, remove it as well.
- Clean off any rubber or glue debris and separate any shorting between the two groups of wires coming out of the cable. You can use a toothpick to force them apart if necessary. If you break any connection during the process, you need to solder the wires to the appropriate pin on the connector circuit first.
- While making sure there is no short circuit, connect the charger pins to the Surface device and try charging, if it works, you simply need to create proper insulation and then reassemble the charger. If not, there may be some other damage to the charger.
- Then, use a hot glue gun to create insulation between the two groups of wires on the connection point. You can also use other kinds of quick-drying glue.
- Recap the connector case and push the connector all the way in.
- Reinsert the inner slots you took out earlier. Reapply the glue and then put back the cap (with the outer slot). Let the glue get dry.
Seek Help from Microsoft Support
If your Surface device is not charging but the charger’s LED glows, there may be some other reasons for the issue, not the charger. You can try force restarting the device or reinstalling the Battery controller driver in such cases.
But if the LED does not glow at all and the previous methods were not helpful, it’s likely that the charger is damaged. In such cases, we recommend you submit a service order to Microsoft to have them repair or replace the charger.

