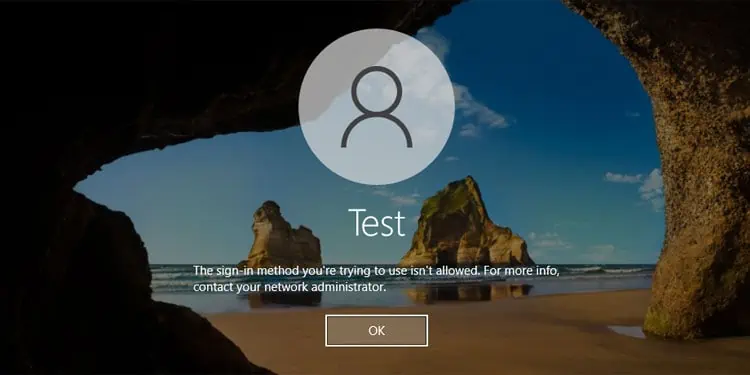
System administrators on a computer with multiple users or a network with multiple clients can restrict a user from accessing the domain. In such cases, the user will get the error message “The sign-in method you’re trying to use isn’t allowed.”
It is not supposed to be a system issue but a security and privacy feature. However, it is also possible that the admin unintentionally imposed such a restriction. Apart from that, some security software may also block the communication between a client and a domain controller in very rare cases.
How to Fix “The Sign-in Method You’re Trying to Use Isn’t Allowed”?
If you have access to the domain controller or an admin account, you can use it to remove the restriction. Otherwise, you need to contact the admin and have them perform the necessary solutions.
If you can’t log in to any accounts on your non-domain-joined computer, you need to perform a System Restore from Advanced Startup to revert your system back to the state when the issue hadn’t occurred yet.
Remove User from “Deny Log on Locally” Policy
The main policy that admins use to restrict user access is the “Deny log on locally”. By default, this policy only restricts Guest users. However, it is possible to add any other users or groups, except the Administrators group, to the policy.
Depending on whether the issue occurs for a local or domain-joined computer, follow the steps below:
For Local User
- Open Run by pressing Win + R.
- Type
gpedit.mscand press Enter to open the Local Group Policy Editor. - Go to Computer Configuration > Windows Settings > Security Settings > Local Policies > User Right Assignment.
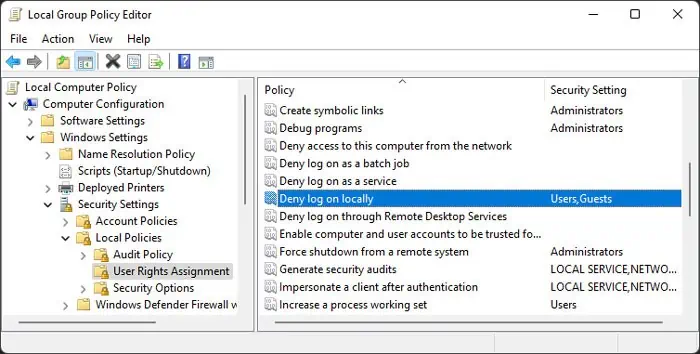
- Search for and check the setting of Deny log on locally.

- If the setting shows Users, or any user or group that you don’t want to have their access restricted,
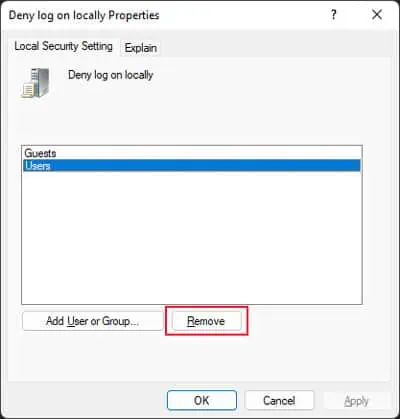
- Double-click on Deny log on locally.
- Select the user or group you wish to provide access to and click Remove.

- Hit Apply and OK.
For Domain User
- Open Run.
- Type
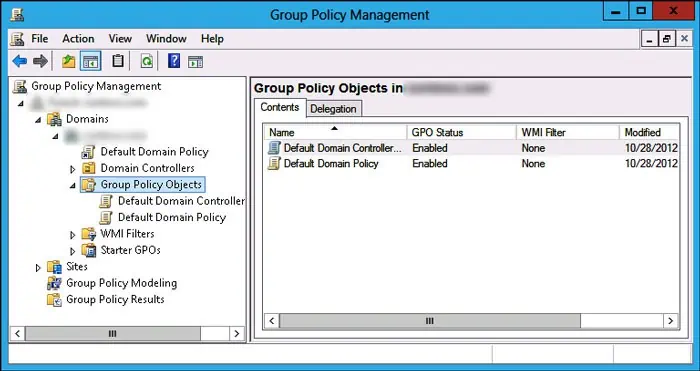
gpmc.mscand press Enter to open the Group Policy Management Console. - Expand “Domain name” > Domains > “Domain name” > Group Policy Objects.
- Right-click on the relevant GPO and select Edit.

- Go to Computer Configuration > Windows Settings > Security Settings > Local Policies > User Right Assignment.
- Check if Deny log on locally includes Users, or any user or group that do not need such restriction.
- If so, double-click on Deny log on locally, select the user or group and click Remove.
- Hit Apply and OK.
- Open Run again.
- Type
cmdand press Ctrl + Shift + Enter to open the Elevated Command Prompt. - Type the command
gpupdate /forceand press Enter to apply the change to the GPO across all users.
Add User to “Allow Log on Locally” Policy
You can also try adding the user to the “Allow log on locally” to bypass any restrictions denying access.
For Local User
- Open the Local Group Policy Editor.
- Go to Computer Configuration > Windows Settings > Security Settings > Local Policies > User Right Assignment.
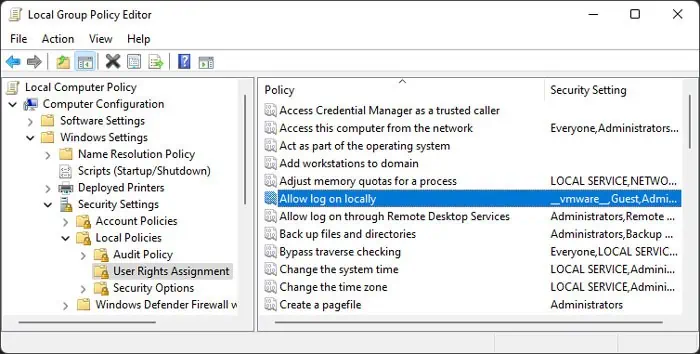
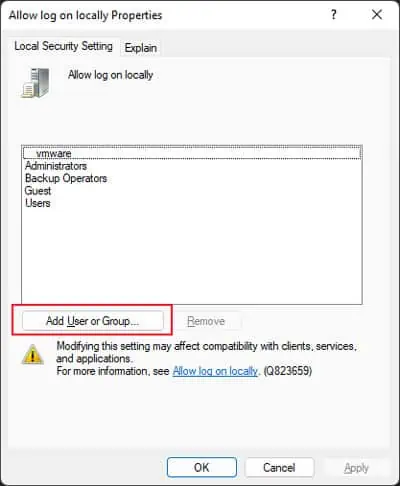
- Double-click on Allow log on locally.

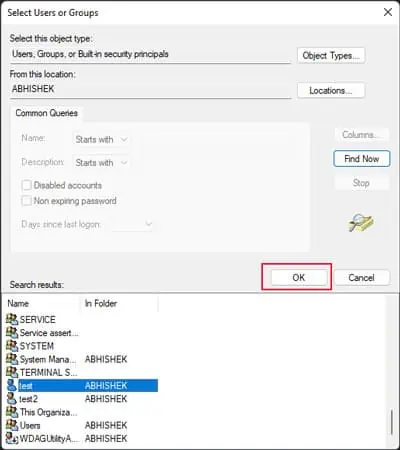
- Click on Add User or Group > Advanced.
- Select Object Types, tick all options, and click OK.
- Then, hit Find Now.
- Select the required user or group from the list and click OK > OK > OK.|

For Domain User
- Open the Group Policy Management Console.
- Expand “Domain name” > Domains > “Domain name” > Group Policy Objects.
- Double-click on Default Domain Controller Policy.

- Go to Computer Configuration > Windows Settings > Security Settings > Local Policies > User Right Assignment.
- Double-click on Allow log on locally.
- Click on Add User or Group > Advanced.

- Select Object Types. Then, tick all options and click OK.
- Click on Find Now and select the required user or group from the list.
- Click OK three times in a row to change the policy while closing the windows.
- Open Run again.
- Type
cmdand press Ctrl + Shift + Enter to open the Elevated Command Prompt. - Enter the command
gpupdate /forceto apply the change to the GPO across all users.
Allow Network Access
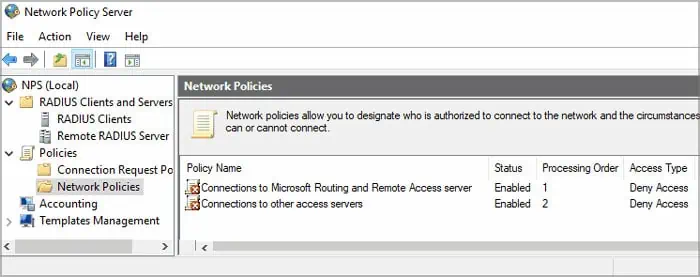
Some network systems also use Network Policy Server (NPS) as it provides more customized security options, including those to restrict access. So, the Active Directory settings related to accessing a remote device use the NPS policies by default.
If you don’t use Network Policy Server or want to bypass the permission setting imposed by that component, you can allow network access to the relevant Users from the Active Directory Users and Computers snap-in.
- Open Run.
- Type
dsa.mscand press Enter to open Active Directory Users and Computers. - Expand the domain name and select Users.
- Double-click on the user experiencing the issue to open their Properties.
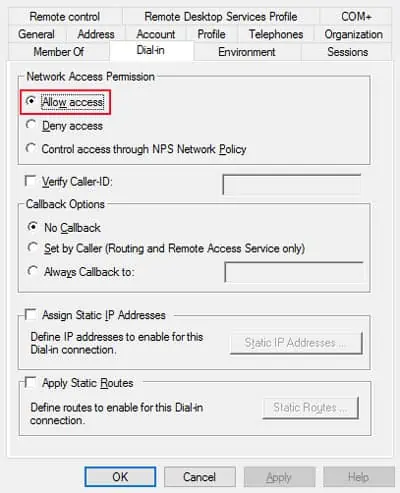
- Go to the Dial-in tab.
- Check Allow access and click OK.

However, we still recommend actually using the Network Policy Server. So, you need to make the necessary changes to its policy settings instead. To do so,
- Open Run.
- Type
nps.mscto open Network Policy Server. - Expand Policies > Network Policies and double-click on the relevant policy to open its Properties. If you don’t know which policy you need to check, click on each one and check the Conditions and the Settings.

- Then, make the necessary changes to allow the user or remove the user from the Deny Access policy by navigating through the options.
Reconfigure Security Applications
Some third-party firewalls or other security software may also be responsible for blocking a user from accessing the domain. So, if the above methods don’t work, you need to check your firewall and reconfigure it to allow access. You can also disable Firewall, but we don’t recommend doing so as it is a security feature for your protection.
