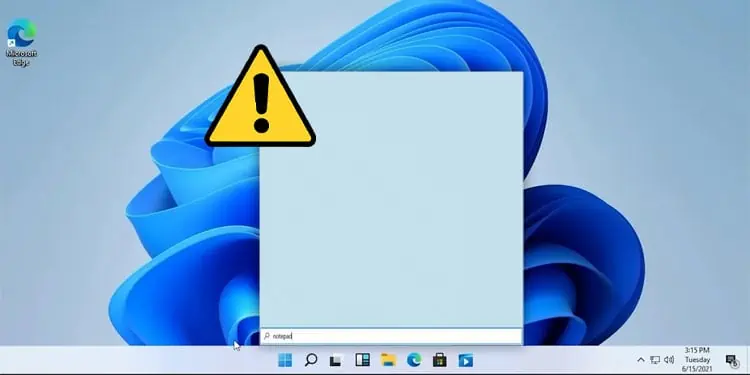
Windows Search is most effective when searching for specific items on your computer. However, there are instances where users run into situations where it fails to track down the desired item. At times, the search bar may not respond to the keyboard input.
Windows Search uses indexing to locate the items that you search. It requires several processes, services, and system files to function properly. If this component fails, the search bar either will not work or fail to load items.
Run Search and Indexing Troubleshooter
Windows allows you to check and pinpoint errors in the system using the Troubleshooting option. The troubleshooter checks the specific component and changes internal settings and configuration to fix the issue.
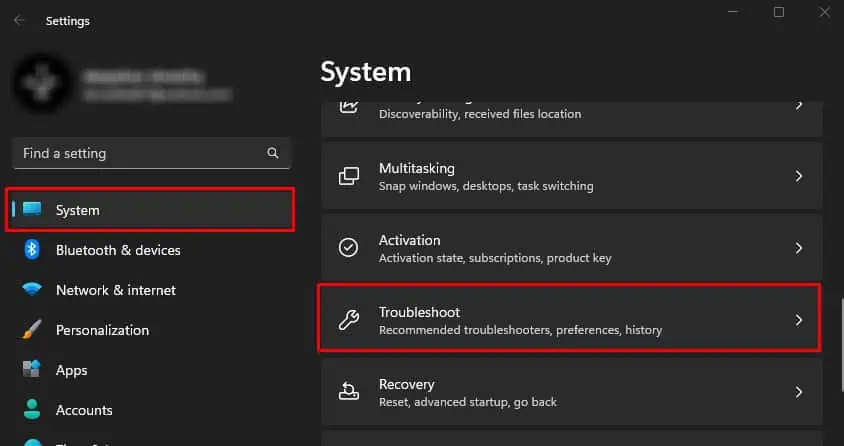
- Press the Windows + I key to open Settings.
- Navigate to System > Troubleshoot.

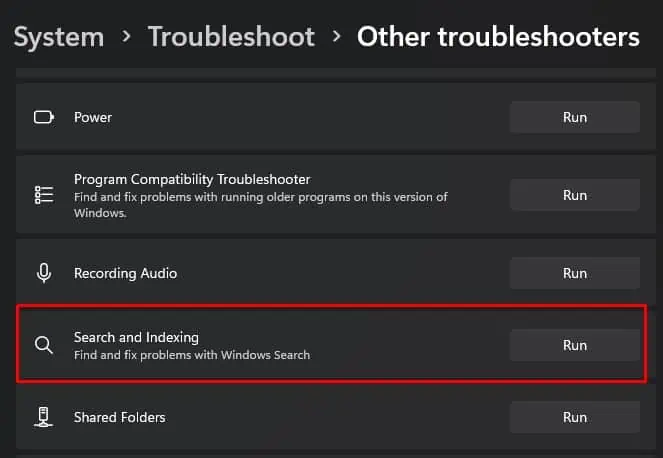
- Click on Other troubleshooters.

- Scroll down and run the Search and Indexing troubleshooter.

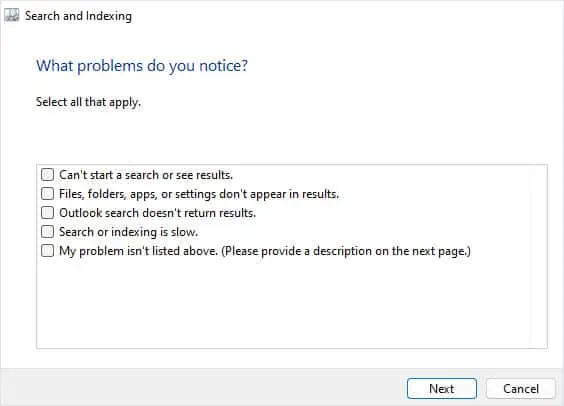
- Select the problems that you face when using the Search Bar.
- Click on Next.

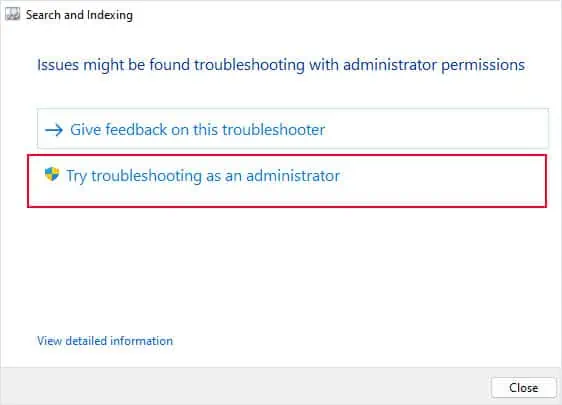
- If it cannot find the issue with the Search bar, click on Try troubleshooting as an administrator. The troubleshooter will have high privileges when in administrator mode and can access and change settings that were previously inaccessible.

- Again, select the problems that you face when using the Search bar.
- The troubleshooter will suggest some settings. Apply said settings and check if it fixed the problem.
Restart Search Related Process
Seachhost is one of the systems files which is a part of the Windows Search Indexer service. It is responsible for searching files and applications in Windows. Similarly, Windows Search uses another process named SearchIndexer to index files.
Restarting these processes should get rid of complications that is causing the issue with the search bar.
- Press the Ctrl + Shift + Esc key to open Task Manager.
- Go to Details tab.
- Right-click on
SearchHost.exeand click on End Task. - Click on End process.

- Again Right-click on
SearchIndexer.exeand click on End Task. - Click on End Process.
These processes will automatically start as its services are constantly running in the background.
Check Windows Search Services
Simply restarting search-related processes will not work if the Windows Search service itself is causing the issue. In such cases, you need to restart the Windows Search Service.
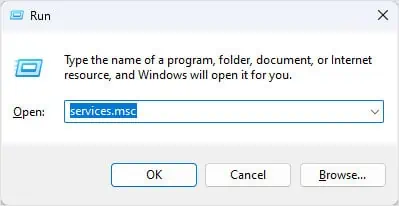
- Open Run.
- Type
services.mscand press Enter. This will open Services.
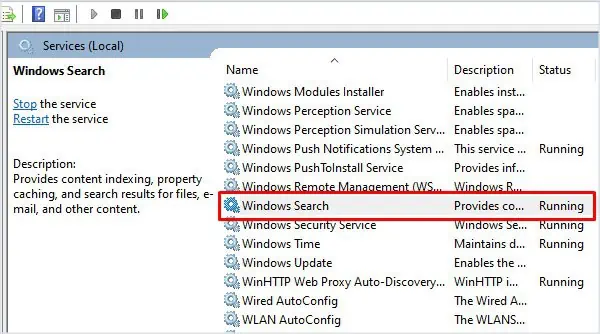
- Scroll down and double-click on Windows Search.

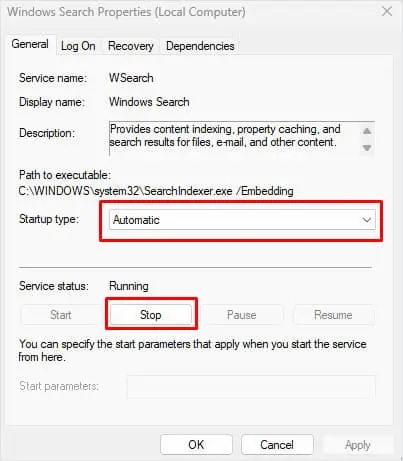
- Here, make sure that the Startup type is set to Automatic.
- In Service status, click on Stop.

- Click on OK.
- Wait for a few seconds and Start the service once again.
Enable Enhanced Search
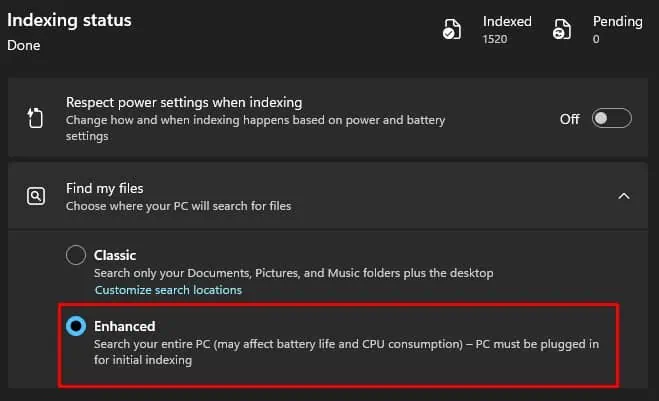
By default, Windows only searches Document, Pictures, Music folder, and the Desktop, unless customized. The OS will search the entire PC when you set Windows Search to Enhanced mode.
Enabling Enhanced search may also affect battery life and CPU power consumption. So we recommend only using Enhanced Search when the laptop is plugged in.
- Press Windows + I to open Settings.
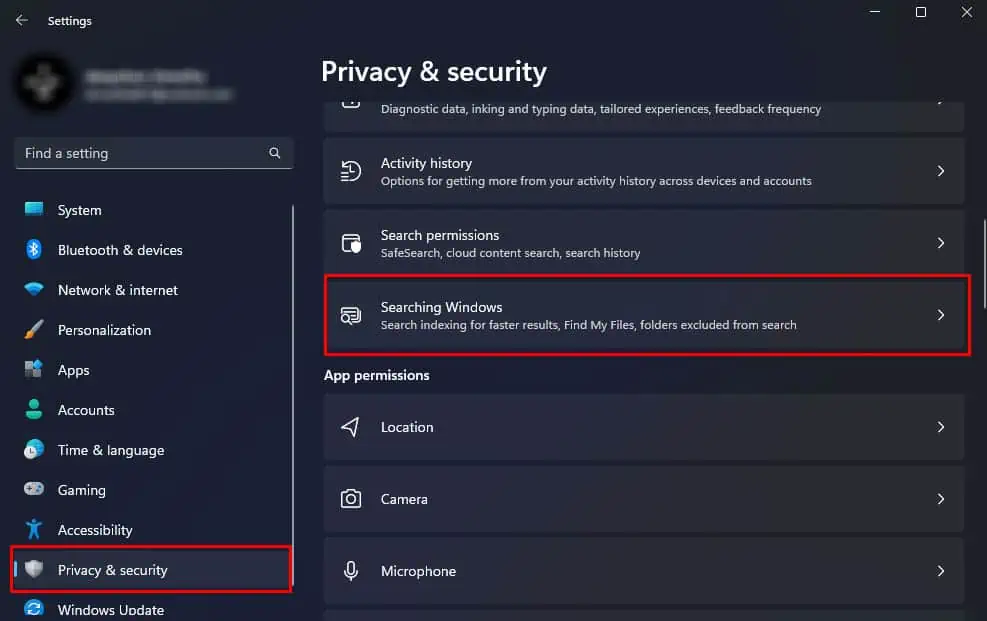
- Go to Privacy & security > Searching Windows.

- Check Enhanced.

- Now, try using the Search Bar.
Reset Windows Search
Resetting the Windows Search will reset the entire indexing on your system and reverts any registry and system configuration related to the Search Box to its default setting. By doing this, it gets rid of any possibility of error due to incorrect Search configuration.
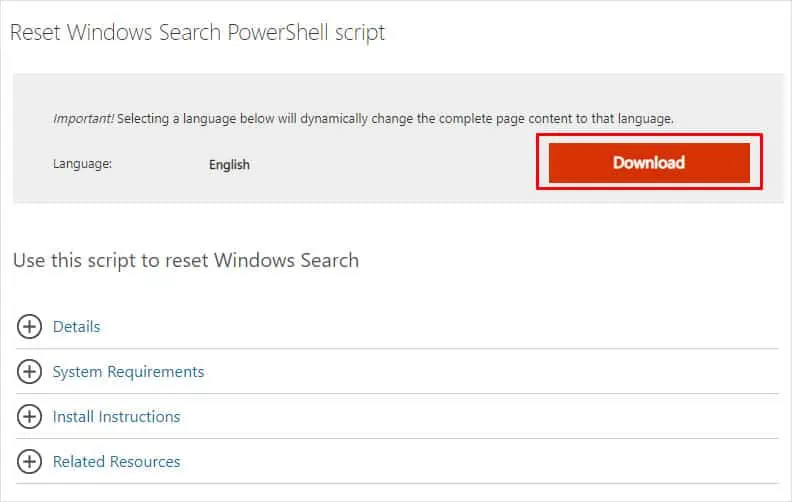
- Go to Microsoft’s official download center to get the Reset Windows Search PowerShell script.
- Scroll down and click on Download.

- Once the script downloads, open the download folder.
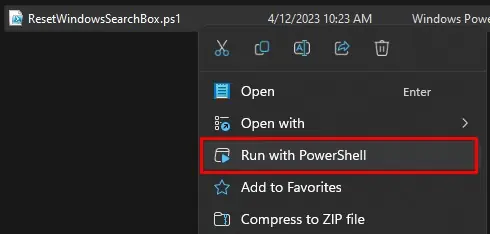
- Right-click on the downloaded script file and click Run with PowerShell.

- Click on Yes if it asks for any confirmation.
- Close PowerShell once the script is done compiling.
If the downloaded script does not run or gives you an error message “Cannot be loaded because running scripts is disabled on this system,” you need to set the script execution policy to unrestricted. To do this,
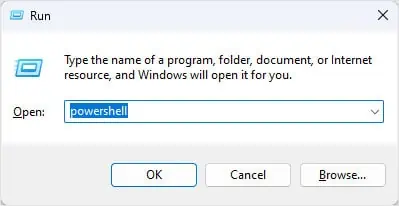
- Press the Windows + R key to open Run.
- Type
powershelland press Ctrl + Shift + Enter. This will open PowerShell as Administrator.
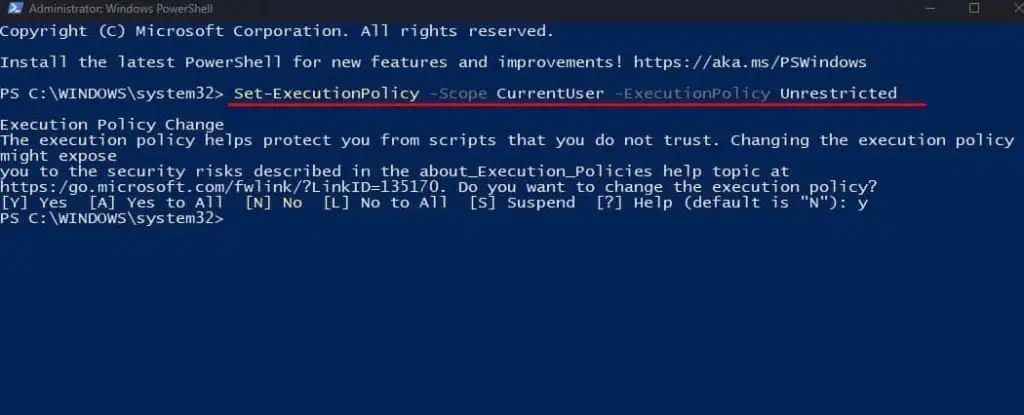
- Type
Set-ExecutionPolicy -Scope CurrentUser -ExecutionPolicy Unrestrictedand press Enter.
- Press Y and press Enter to change the execution policy.
- Close PowerShell.
- Now, right-click on the downloaded file and select Run With PowerShell.
- Type
Set-ExecutionPolicy -Scope CurrentUser -ExecutionPolicy Restricted. This will set the execution policy to its default state. - Press Y and press Enter.
Rebuild Windows Search Index
Windows Search uses indexing to locate and display dedicated items. Sometimes, Windows may have issues when indexing items. In such cases, rebuilding the Windows search index should fix any problem with the Search Bar.
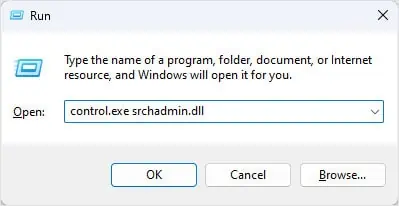
- Open Run.
- Type
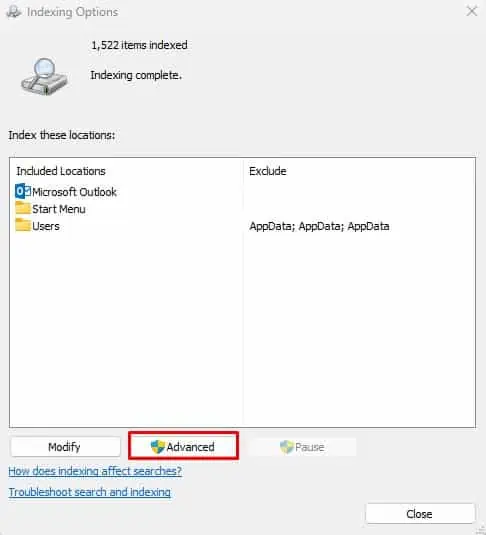
control.exe srchadmin.dlland then press Enter. This will open the Indexing option window.
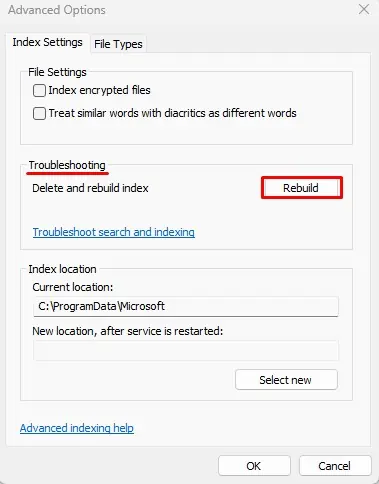
- Click on Advanced.

- Under Troubleshooting, click on Rebuild.

- Click on OK. Wait for the indexing process to complete.
- Try using the Search bar once all the items are indexed.
Check Touch Keyboard and Handwriting Panel
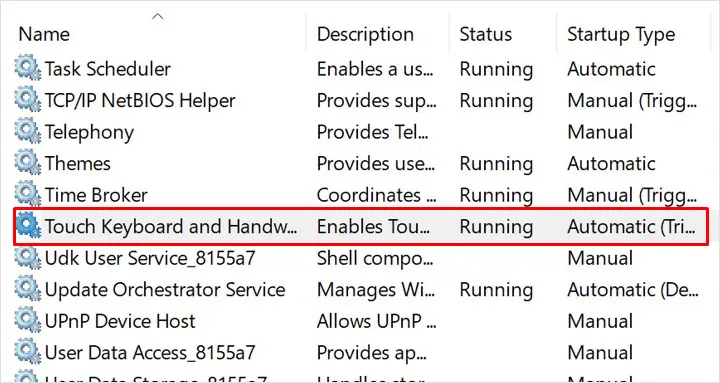
Service named Touch Keyboard and Handwriting Panel Service allows you to write on a screen with a stylus or other pointing devices. This service is also required to write in some text fields.
If this service is disabled, it restricts you from typing in the Search Box. Therefore, you need to make sure that the Touch Keyboard and Handwriting Panel Service is running.
- Open Run, type
services.msc, and press Enter.
- Scroll down and double-click on the Touch Keyboard and Handwriting Panel.

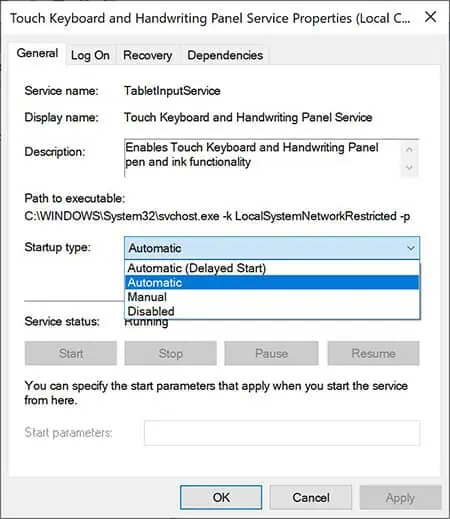
- Check the Service Status. Click on Start if it indicates Stopped.
- Make sure that you set the Startup type to Automatic.

- Click on Apply, then OK.
- Now, check if the Search Box works.
If it does not work, it could be that the service’s Startup type has reverted back to manual. To fix this, you need to add a new entry to the registry. Wrong changes to the registry may cause issues with the computer. Therefore, make sure that you backup the registry before you make any changes to it.
- Press the Windows + R key to open Run.
- Type
ctfmon.exeand press Enter. - Check if it fixed the issue.
- If it does not work, open Command Prompt as Admin and type
REG ADD "HKEY_LOCAL_MACHINE\SOFTWARE\Microsoft\Windows\CurrentVersion\Run" /T REG_SZ /D "%windir%\system32\ctfmon.exe" /v CTFMON /F
- Press Enter.
- Restart the PC.
Run DISM and SFC
Windows components that handle Windows Search are all system files located in the root folder of the primary drive on your PC. Corrupted or missing system files could stop the Search bar from working. To fix your system files, you can run the DISM and SFC commands.
The DISM command repairs the Windows Image. The SFC command, on the other hand, checks and repairs the system file using the cached version of the system files.
- Open Run.
- Type
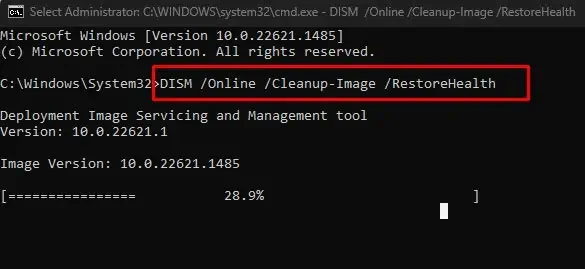
cmdand then press Ctrl + Shift + Enter. - Type
DISM /Online /Cleanup-Image /RestoreHealthand then press Enter to run the DISM command.
- Wait for the command to run.
- Now, type
sfc /scannowand press Enter to run the System File Checker.
- Once the process is complete, restart your PC.
Update/Reinstall Windows Update
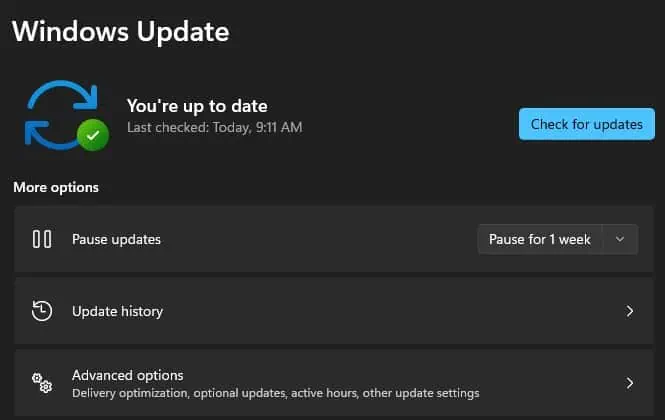
Another reason Windows 11 Search Box is not working could be due to problems in your current version of Windows. If you have not updated your Windows in a certain time, we recommend that you update it right away.
- Press the Windows + I key to open Settings.
- Click on Windows Update.
- Here, click on Check for updates to see if there is any pending Windows update.

- Click on Download and Install.
- Restart your computer once the update finishes with the installation.
If you are facing problems with the Search box after the Windows update, it could be due to complications during the update installation. To ensure this is not the case, you can try reinstalling the Windows Update. To reinstall, you first need to uninstall the latest Windows Update.
- Open Settings.
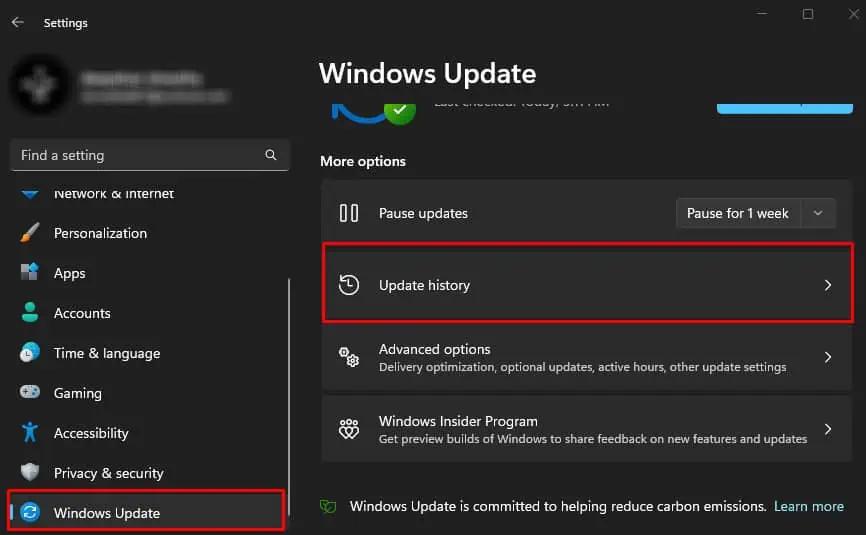
- Go to Windows Update > Update History.

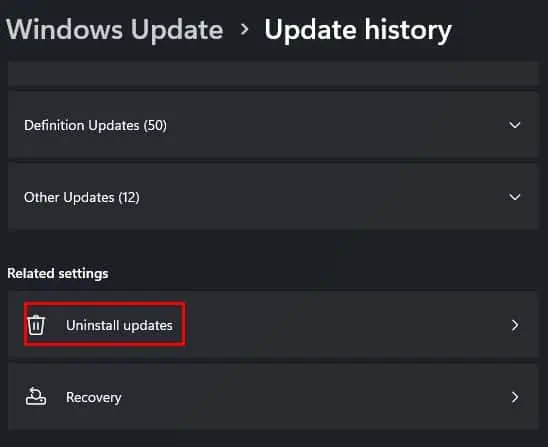
- Click on Uninstall updates.

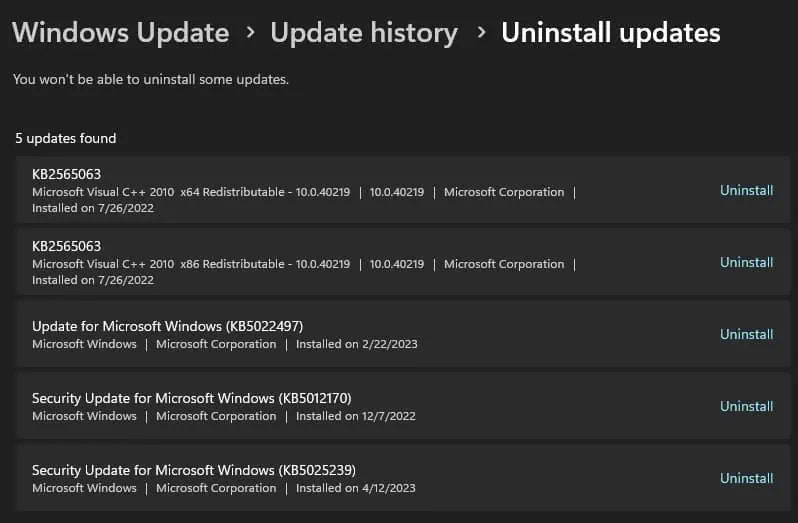
- Here, uninstall the latest Windows update and restart the PC.

- Again, install the latest Windows update.
- Check if the Search Box works. If the issue still persists, there could be an issue with the Windows update itself.
Perform System Restore
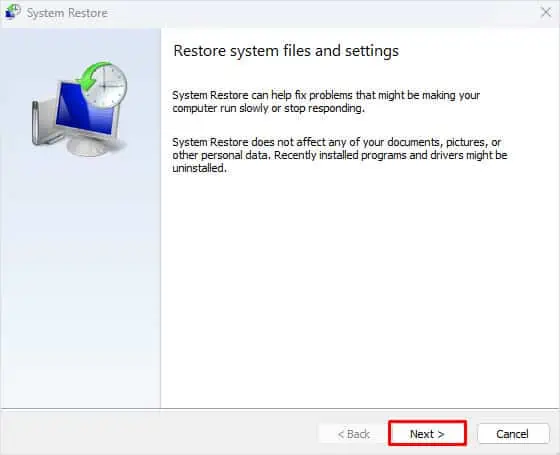
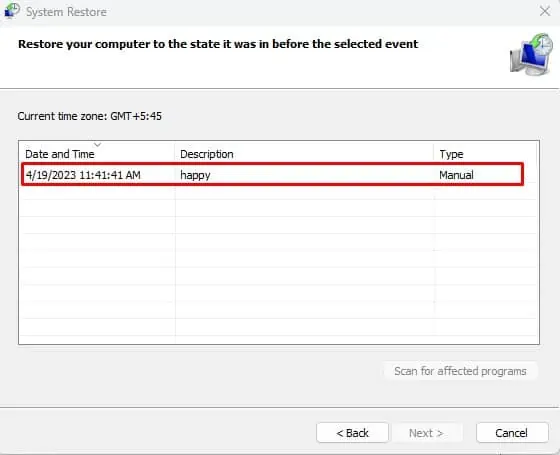
Performing a system restore reverts the current state of Windows to the Windows state saved on the restore point. A Restore Point saves the current state of Windows and all installed applications and saves it to a file.
You cannot perform a System Restore point if you do not have a previous state of Windows, i.e., the Restore Point.
- Open Run.
- Type
rstrui.exeand press Enter to open System Restore. - Click on Next.

- Select a Restore Point and click on Next.

- Click on Finish.
- Click on Yes once it asks for confirmation. The PC will now restart.

