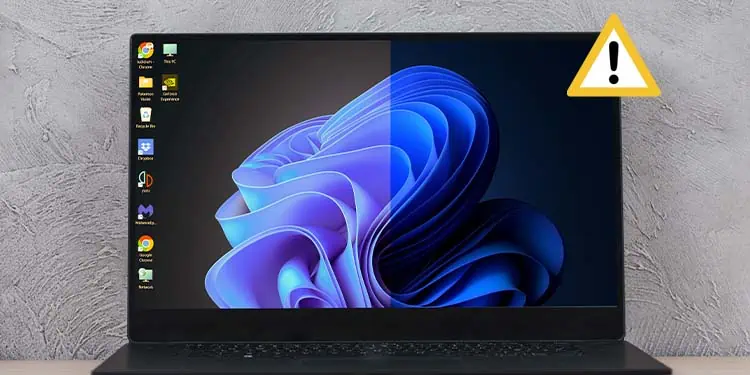
When you’re exposed to blue light at night, it tricks your brain into thinking it’s daytime. This disrupts your body’s natural sleep cycle and makes it harder for you to fall asleep. So, the Windows night light feature works by decreasing the emission of blue light from your display.
This feature is quite convenient when you want to use your computer at night. It lessens the strain on your eyes and also doesn’t disrupt your natural sleep cycle. However, the Windows night light feature can sometimes stop working due to various reasons like misconfigured settings, problematic drivers, or bugs and glitches.
In such cases, you can try out a variety of fixes to solve the issue of your Windows night light feature not working.
Check Night Light Strength
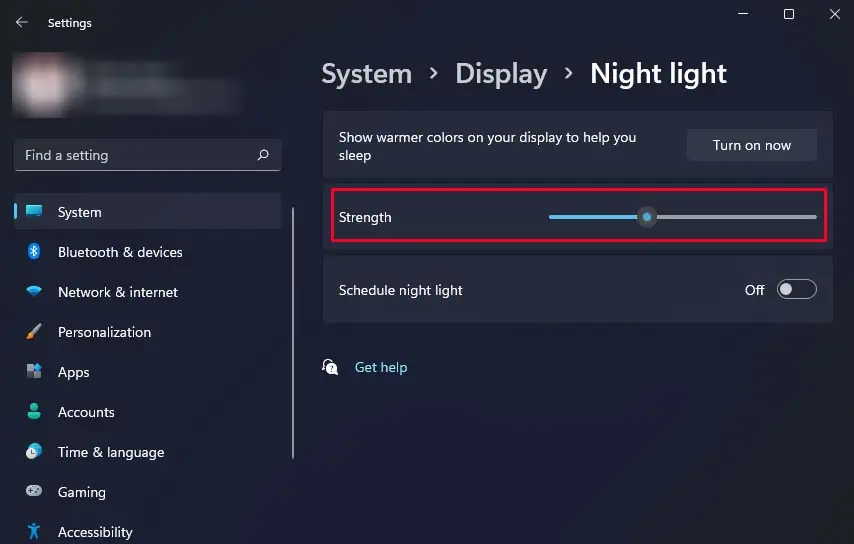
A pretty simple reason why your Windows night light is not working might be due to low night light strength. If you perceive only slight or no difference after enabling night light, you should check to make sure that the night light strength is set to an appropriate level.
- Launch Settings by using Windows + I shortcut key.
- Navigate to System > Display > Night light.
- Drag the Strength slider to the right, and set it to an appropriate level according to your choice.

Check Night Light Schedule
If your night light is not working according to the time you’ve set, you should check out your night schedule in settings. Other factors also affect your night light schedule settings, and you should have them all configured properly for your night light schedule to work.
- Right-click the start menu and select Settings.
- Go to System > Display > Night light.
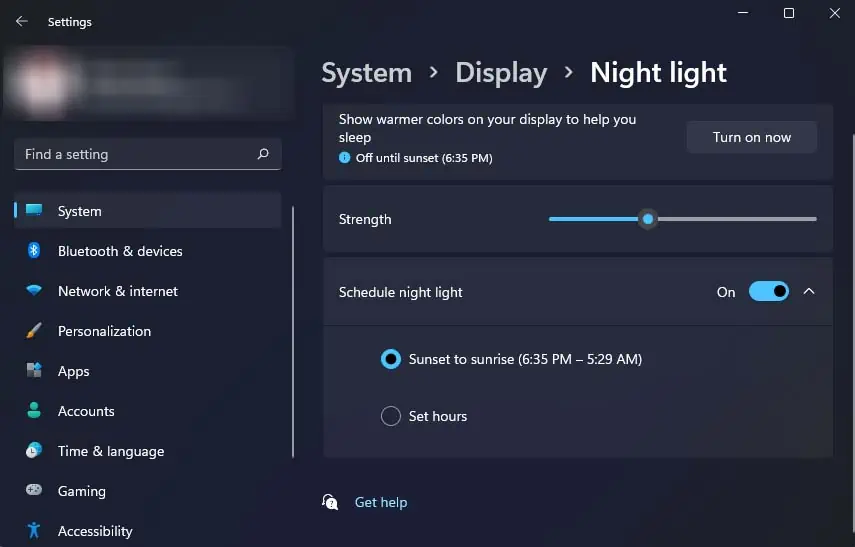
- Make sure Schedule Night light is toggled on.
- You can either choose from Sunset to sunrise (Generally 6:30 PM to 5:30 AM) or set custom hours when night light gets enabled.

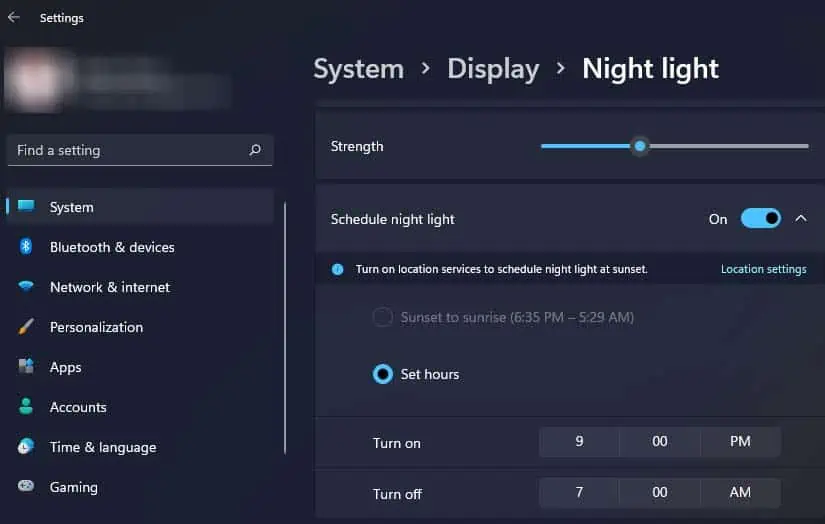
- If the Sunset to sunrise option is grayed out, it means you have Location services disabled. (You will need to allow apps to access your location to select this option.)

- If you choose the Set hours option, you can customize when the night light automatically turns on and off.
Manually Reinstall Graphics Drivers
Your Windows night light might also not work if your graphics driver is corrupted or outdated. So, to fix issues like this, you can try manually reinstalling your graphics driver, which will also update it to the latest version available.
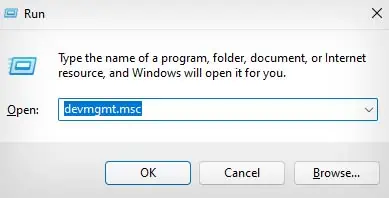
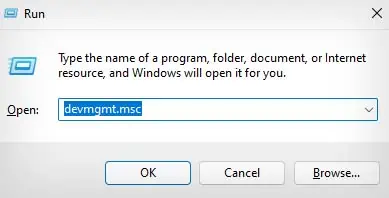
- Open the Run Utility by using Windows + R shortcut key.
- Type
devmgmt.msc. Press Enter to open Device Manager.
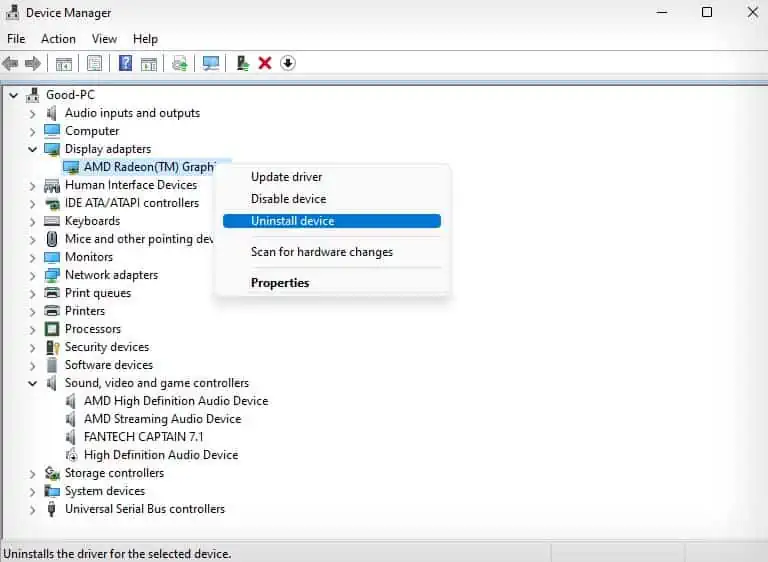
- Double-click on the Display adapters tab and right-click your graphics driver.

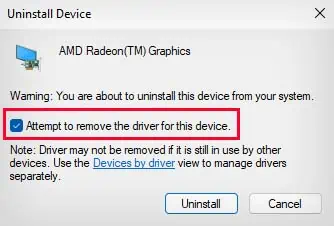
- Click on Uninstall device and select Attempt to remove the driver for this device.

- Select Uninstall.
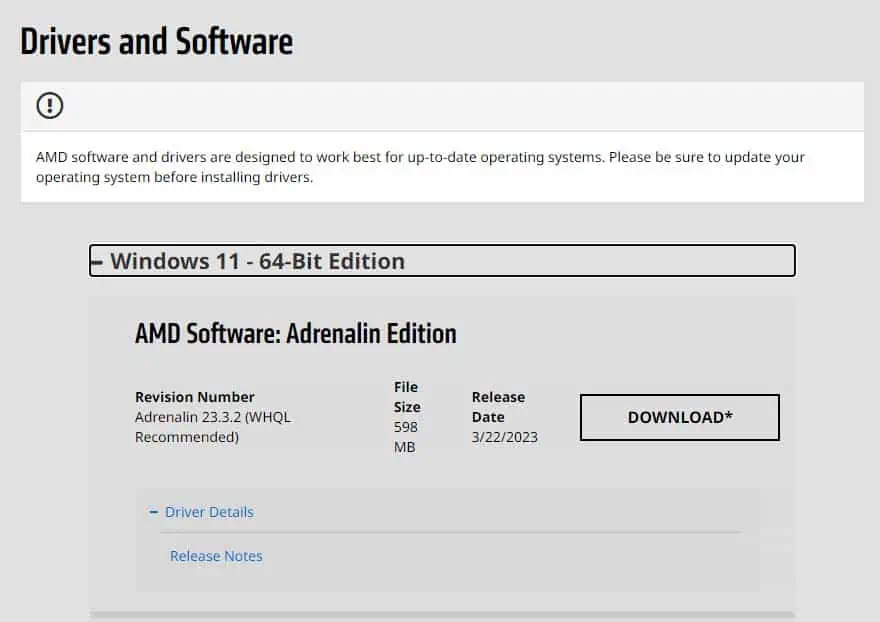
- Now, open a browser of your choice, and go to the official website of your GPU manufacturer. Your graphics driver should be one of the following three brands:
- Use the filter options to narrow down to your GPU device and download its corresponding driver.

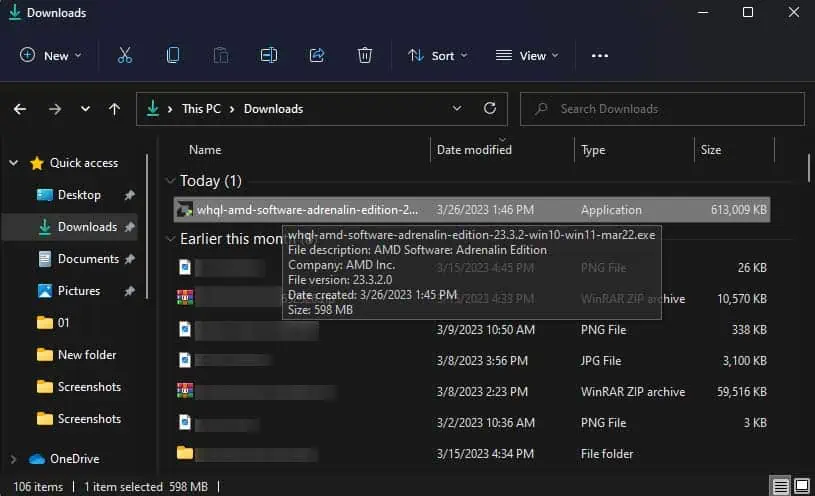
- After the download is complete, open File Explorer and navigate to the downloaded file. (The default location for downloaded files is the Downloads folder.)

- Click on the downloaded setup file to run it. (You might need to disable your antivirus software if the setup doesn’t start.)
- Follow the on-screen instructions to install the graphics driver.
- After the driver is installed, restart your computer.
Enable or Reinstall Monitor Driver
If your monitor driver is disabled or corrupted, you also will not be able to use the Windows night light feature. The monitor driver provides monitor configuration information to the system, so it is essential for the night light feature to work.
You can check to make sure the monitor driver is enabled, and also locally reinstall it to fix issues like corruption.
- Press Windows + R to open the Run dialog box.
- Type
devmgmt.mscand press Enter to open Device Manager.
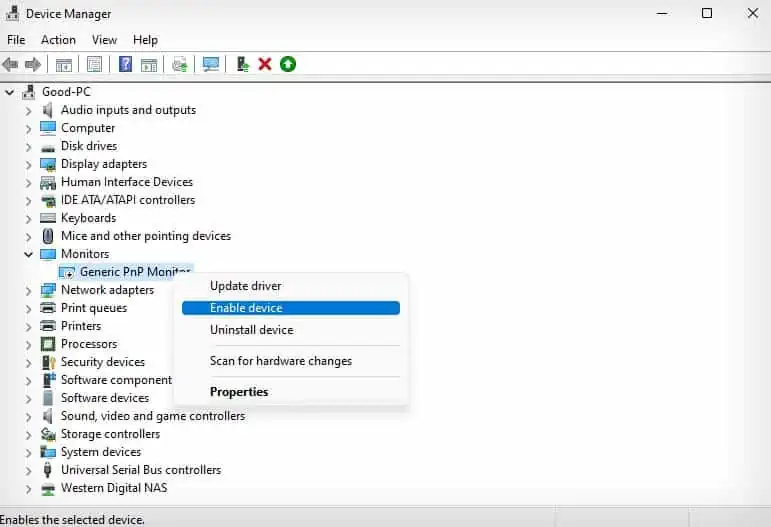
- Expand the Monitors tab, and right-click your monitor driver.
- Select Enable device if it is disabled. (The monitor driver will have a down arrow icon if it is disabled.)

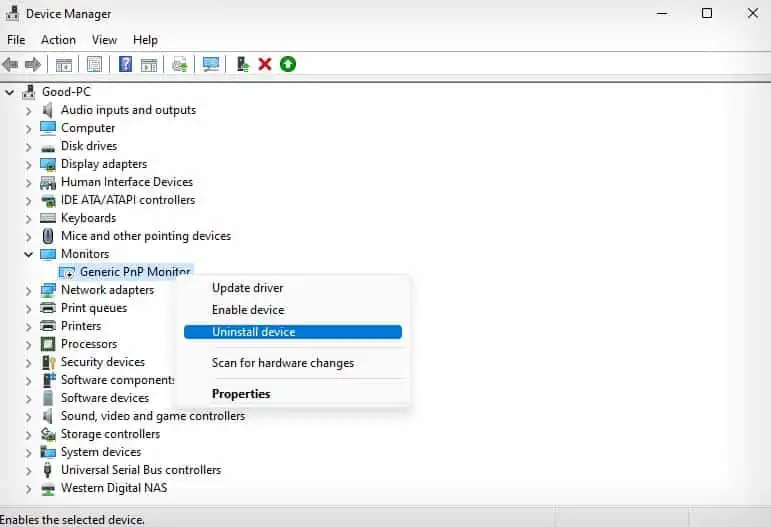
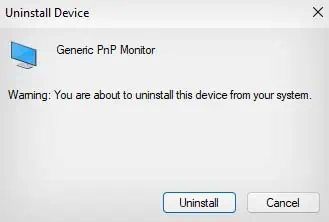
- Right-click the monitor driver, and select Uninstall device.

- Click on Uninstall again.

- Restart your computer.
After your system restarts, it will detect the missing driver and reinstall it automatically.
Reset Night Light Settings From Registry Editor
If the above methods do not work, you can try resetting your night light settings from Registry. This will clear all of your night light configurations and registry entries, and revert them to default configuration.
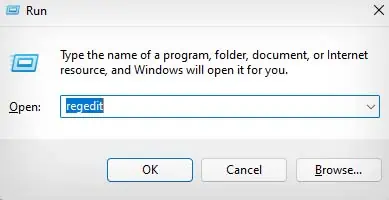
- Launch Run box by pressing Windows + R hotkey.
- Type
regeditand press Enter to open the Registry Editor.
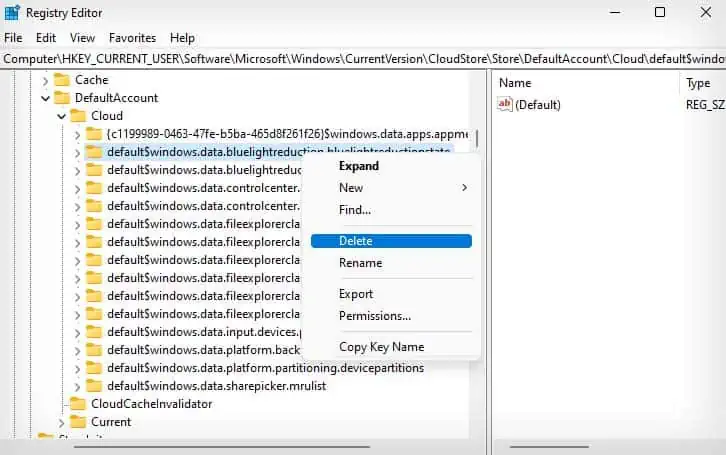
- Navigate to
Computer\HKEY_CURRENT_USER\Software\Microsoft\Windows\CurrentVersion\CloudStore\Store\DefaultAccount\Cloud. - Right-click the
default$windows.data.bluelightreduction.bluelightreductionstatefolder and select Delete.
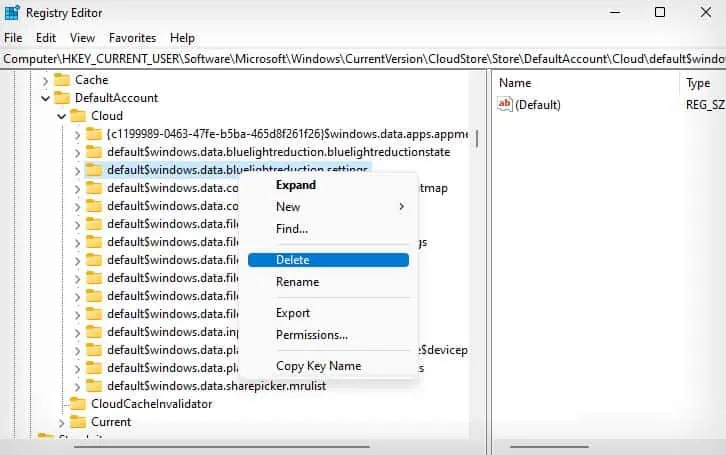
- Do the same for the
default$windows.data.bluelightreduction.settingsfolder.
- Exit Registry Editor and restart your computer.
Update Windows
Lastly, you can try updating your Windows to make sure it is not a bug with your version of Windows. It is always recommended to periodically update your Windows, as it makes your system more secure and keeps things from breaking.
Additionally, Windows update will also automatically update your monitor drivers if an update is available.
- Press Windows + I to open Settings.
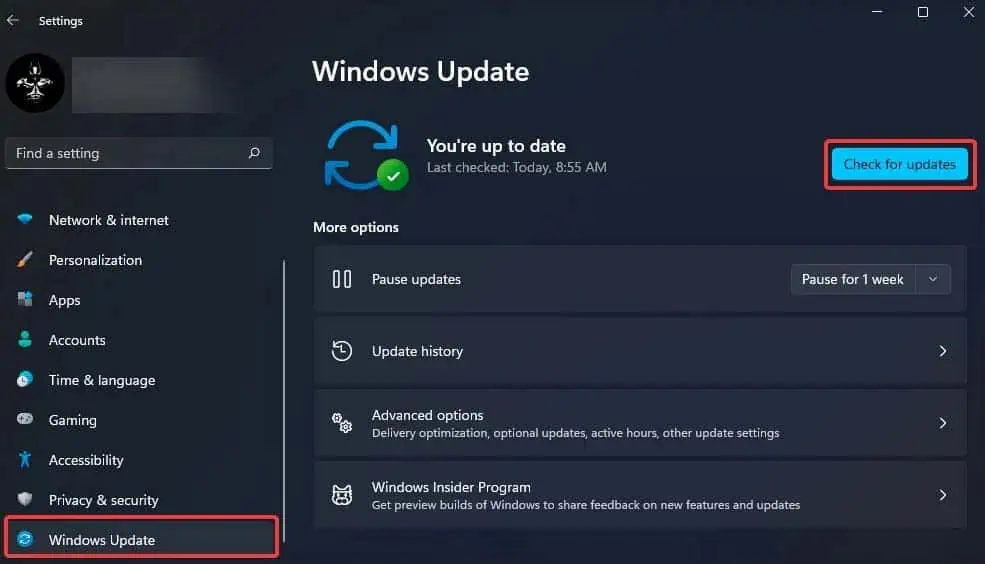
- Click on Windows Update in the left sidebar.
- Select Check for updates. (If an update is available, it should automatically start downloading.)

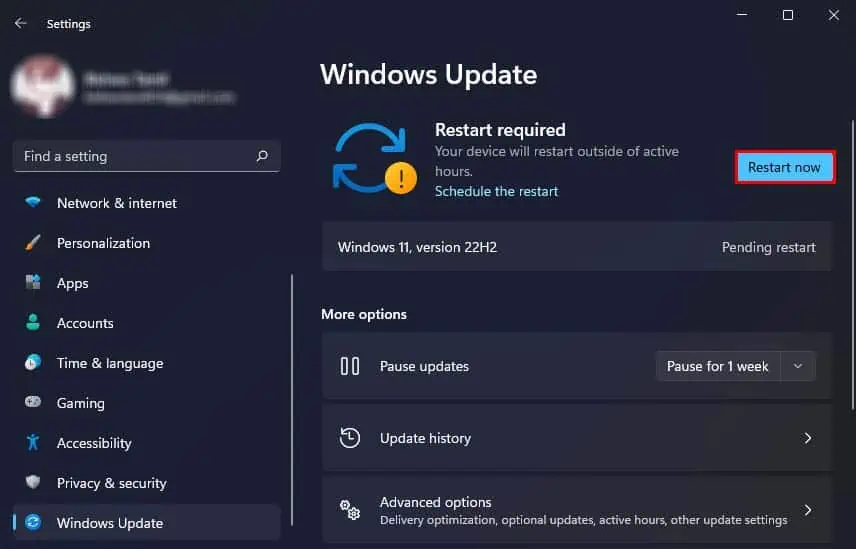
- Click on Restart now to install the updates on your device.


