BIOS updates introduce various changes from security patches and added features to improved hardware support. It can also be necessary in the event of BSODs/boot errors stemming from faulty firmware.
On Gigabyte motherboards, you have multiple ways to update the BIOS version. You can conveniently update from Windows with the @BIOS utility. Or if you prefer updating without booting to Windows, you can use Q-Flash.
Concerns regarding failed BIOS updates and bricked motherboards are also common. For Gigabyte owners, that’s less of a problem thanks to DualBIOS and Q-Flash Plus.
Do You Actually Need To Update
The standard approach to BIOS updates is – If it ain’t broke, don’t fix it. If your system is running fine, it’s best not to risk the potential problems you may have when updating, or after the update.
However, as mentioned earlier, there are scenarios where updating is necessary:
- Security vulnerability has gotten patched in a new update
- Update improves hardware compatibility or general performance
- Update introduces new features
- Currently unable to boot due to BIOS-related issues
Assuming you have valid reasons to update, here are some important dos and don’ts:
- Ensure the BIOS update completes without interruption. Gigabyte has DualBIOS as a failsafe in case of failed updates, so you likely won’t need to worry about bricking your motherboard. But it’s best to use a power backup like a UPS nonetheless.
- Use the official source to download files and official methods to update the BIOS as we’ve done here. Third-party sources and methods are not recommended.
- To stay on the safe side, you could also verify file integrity by comparing the checksum of the downloaded BIOS file to that provided on the Gigabyte downloads page.
Update with Q-Flash
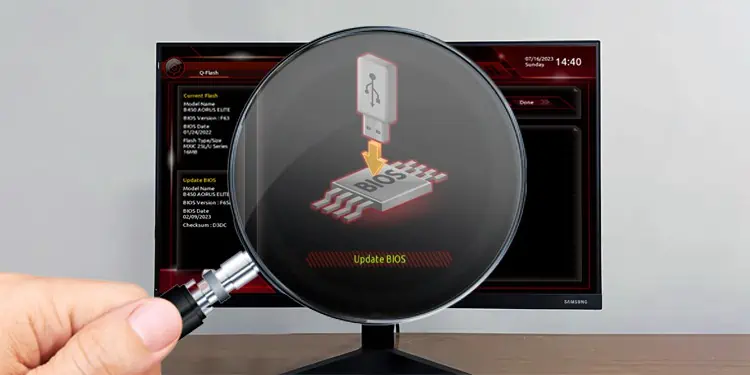
The recommended way to update the BIOS version is from the BIOS/UEFI interface itself. In this case, you can update using Gigabyte’s Q-Flash utility.
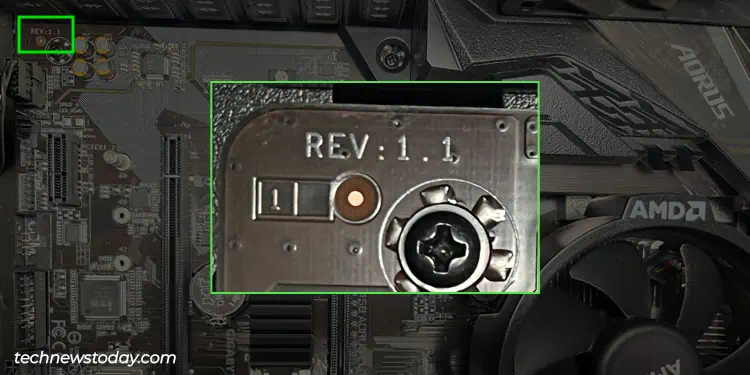
- Start by identifying your motherboard revision.

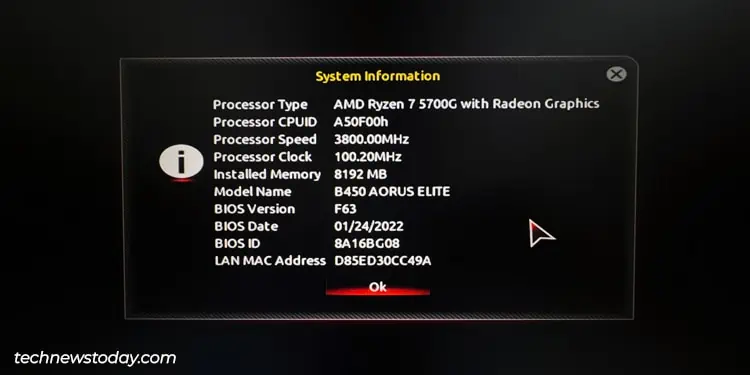
- Power on your PC and repeatedly press F9 to view your System Information. Note the motherboard model and the current BIOS version.

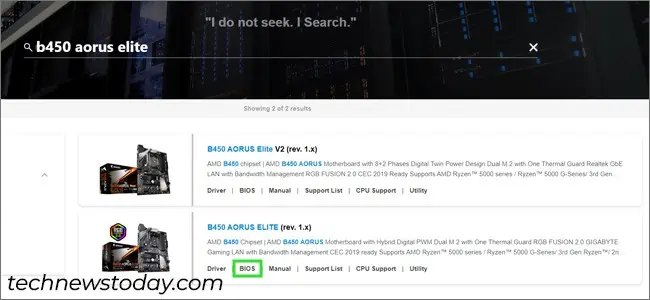
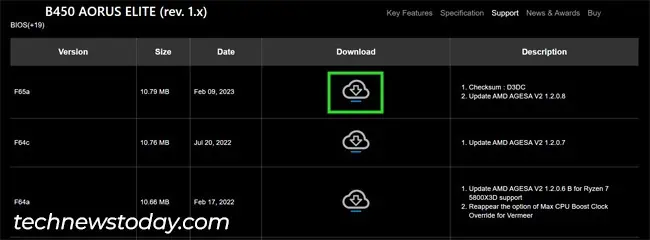
- Search for your motherboard model on the Gigabyte Products page. Once you find the exact model and revision, click on BIOS.

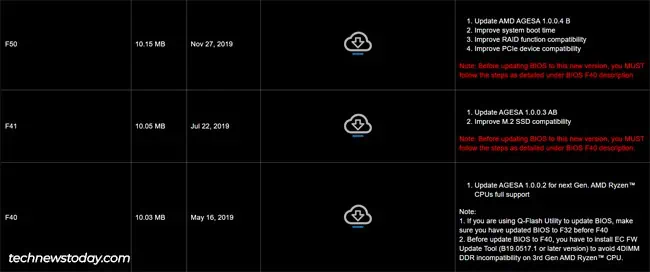
- Compare your BIOS version noted in Step 2 to the versions available here. Make sure to read the descriptions carefully. Some versions require incremental updates, meaning you can’t jump from a very old BIOS version to the latest one at once. Others may require you to install update tools.

- After reading the description and deciding on the version to install, click on Download.

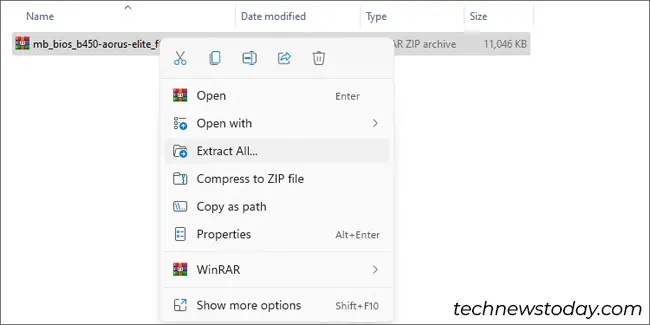
- Right-click the downloaded archive and select Extract all.

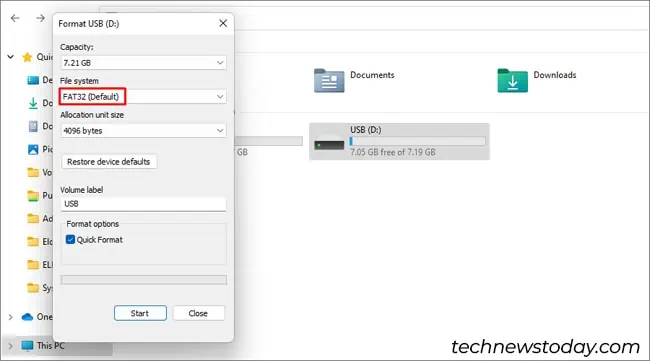
- Connect a USB drive to the PC and format it as FAT32.

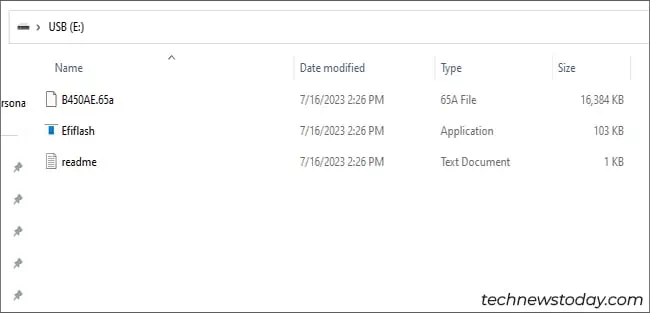
- Copy the extracted files from Step 6 to the root directory of this drive.

- Restart your PC and press Del/F2 when booting to enter BIOS Setup again.
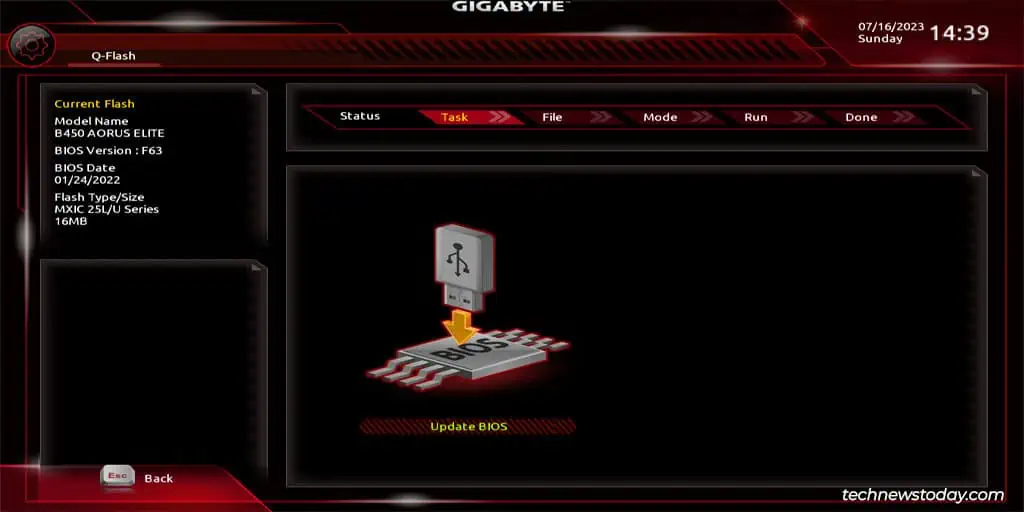
- Press F8 to load Q-Flash and select the Update BIOS option.

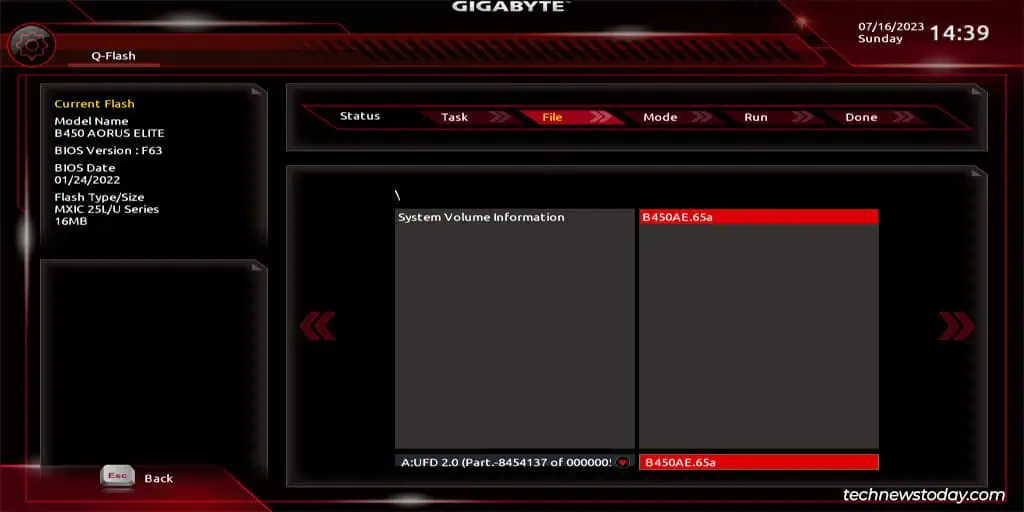
- Select the BIOS update to install and click on Yes if prompted to verify the update files.

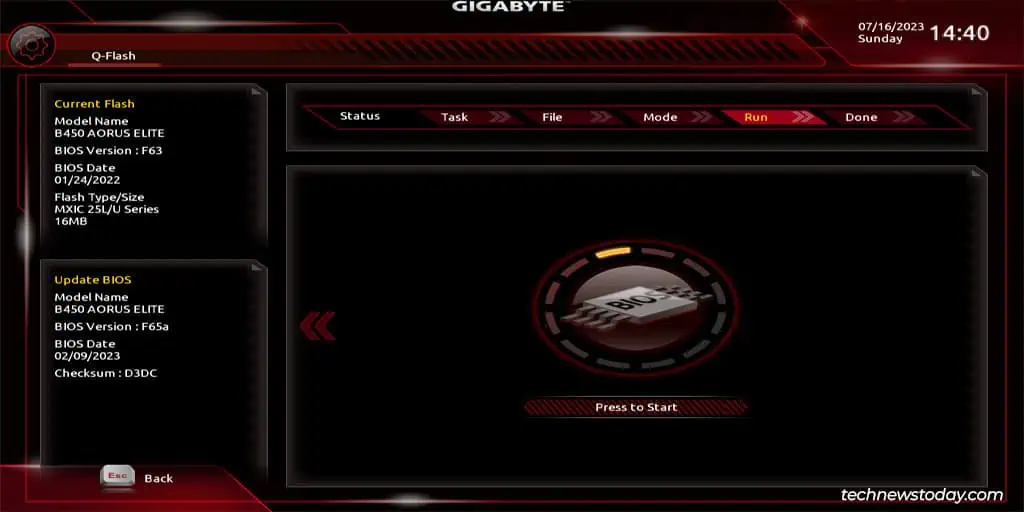
- Finally, click on the Press to Start button to begin the update. It’ll take a few minutes to complete, and your PC will restart afterward.

Update from Windows (@BIOS)
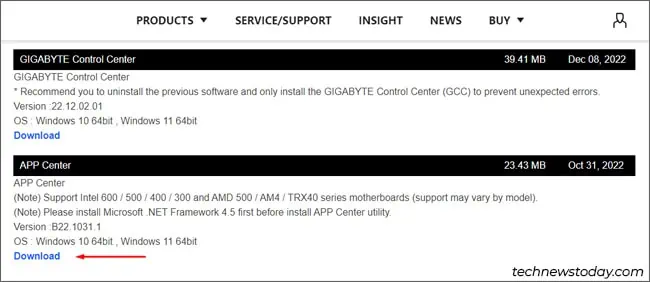
Gigabyte also has a Windows-based BIOS update utility called @BIOS that you can download from the Gigabyte app center. If you can boot to Windows and your installation is stable, this utility can be a user-friendly way to update the BIOS directly from the live Windows environment.
- Download, extract, and install Gigabyte App Center.

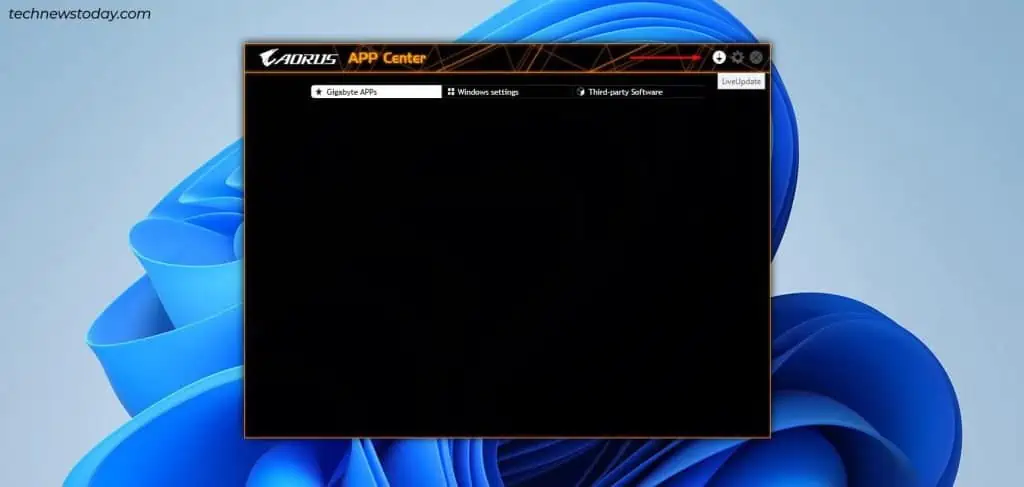
- Launch the App Center and click on the LiveUpdate button.

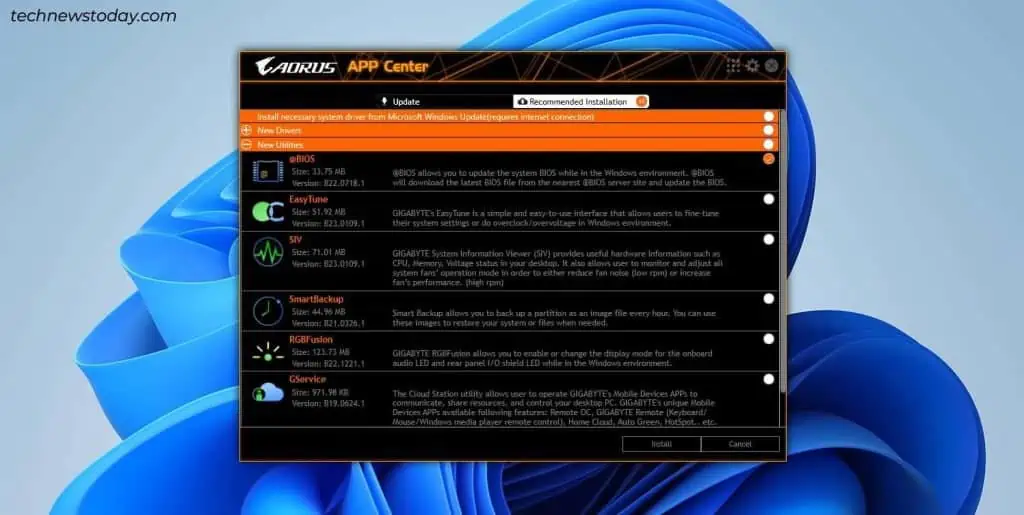
- In the Not Installed tab, select the @BIOS utility and press Install. You can uncheck any updates that you don’t want to install.

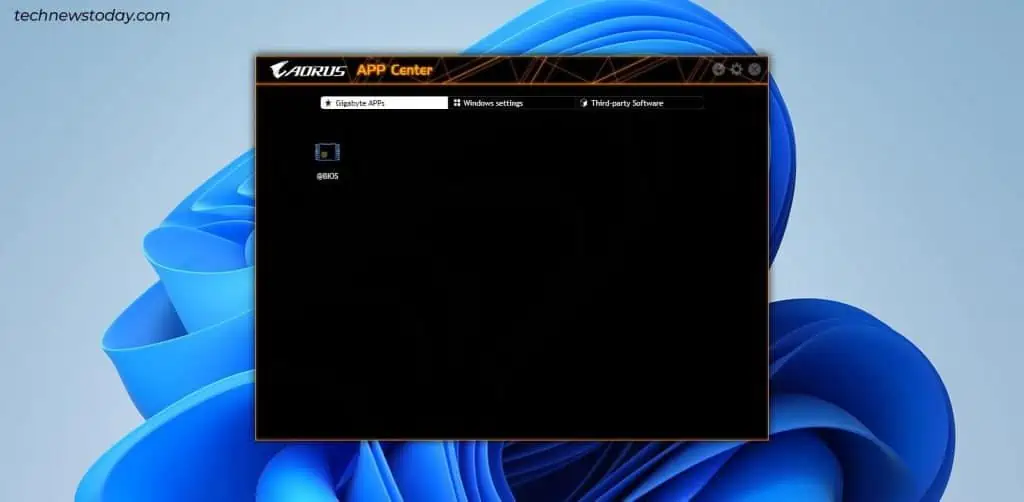
- Switch back to the home page and launch the @BIOS utility.

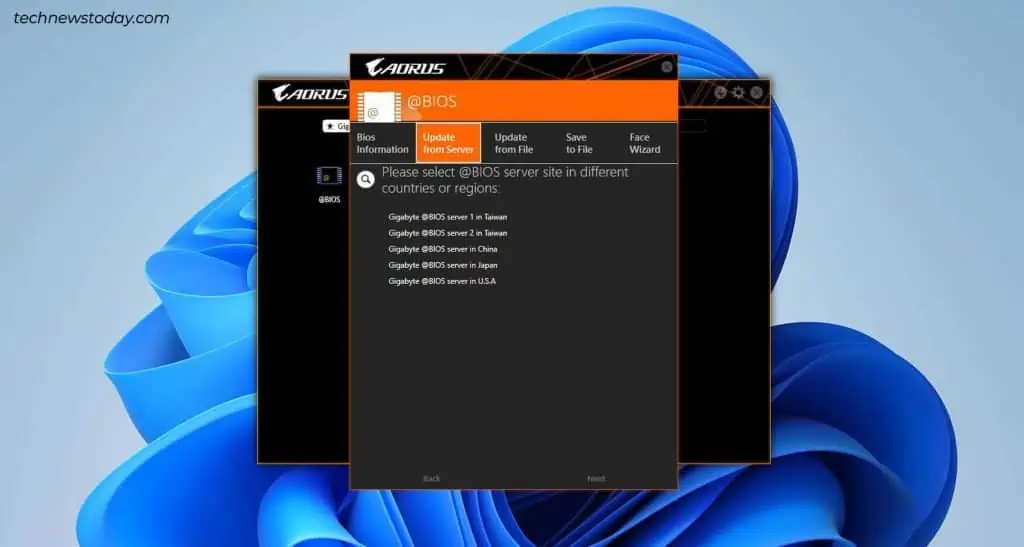
- Switch to the Update from Server tab and select a server location. Then, select the BIOS update to install.

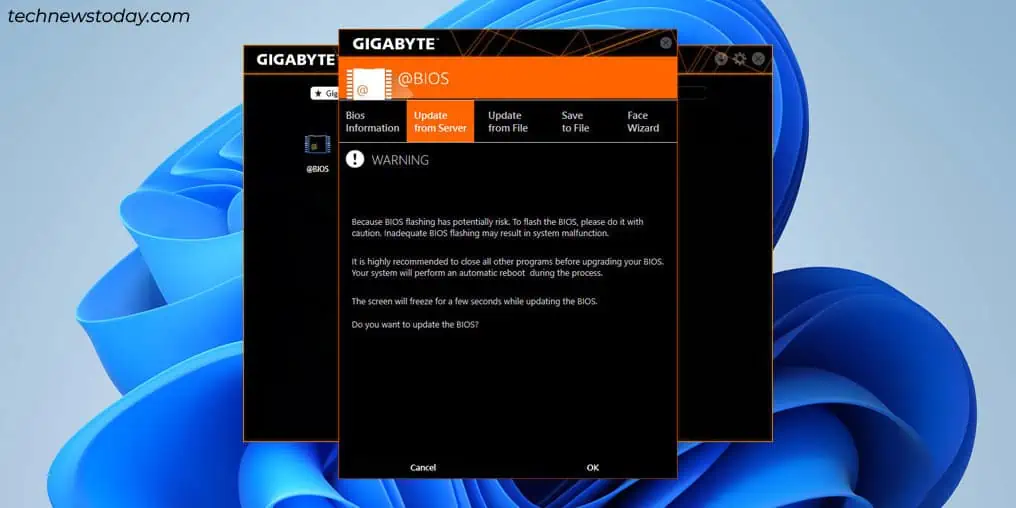
- You can ignore the Face-Wizard screen and just press Next. Then, select OK on the next screen to accept the confirmation prompt and proceed with the update.

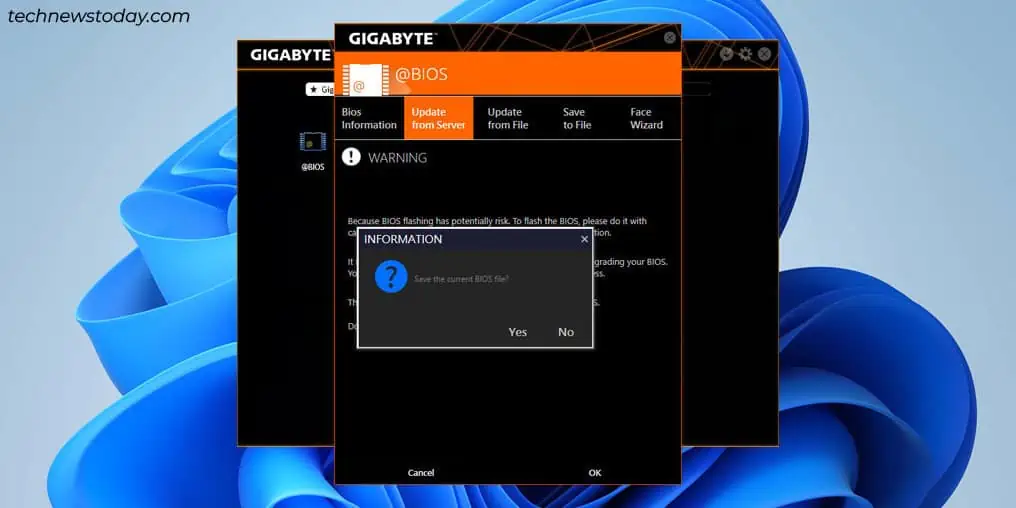
- Accept the prompt to save the current BIOS file. This can come in handy if you need to roll back the BIOS.

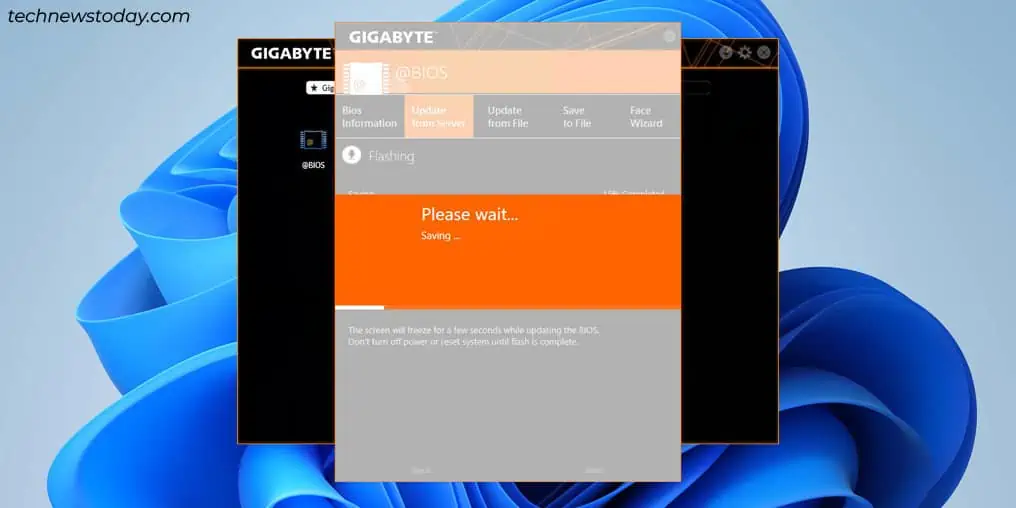
- Once the backup completes, the BIOS update will start. The update should finish in a minute or two, at which point your PC will reboot.

BIOS Recovery with Q-Flash Plus
Gigabyte motherboards can have two BIOS onboard through the DualBIOS feature. Even if you flash an incorrect BIOS version or the update gets interrupted, the board will load the backup BIOS and you can continue using your system as usual.
Thanks to this, you can use the steps covered so far to reflash the BIOS properly this time or fix any other problems with the main BIOS. But what if both the main and backup BIOS aren’t working?
For such situations, higher-end Gigabyte boards have an additional failsafe called Q-Flash Plus. It’s a method for flashing the BIOS when a system cannot boot. Assuming your board supports this, you won’t even need a CPU or RAM.
- Check Steps 1-8 from the previous section to download and move the BIOS update files to a FAT32 USB drive.

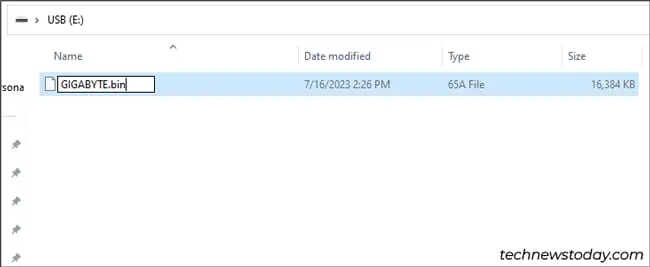
- Rename the main BIOS file including the extension to
GIGABYTE.binand delete the other files.
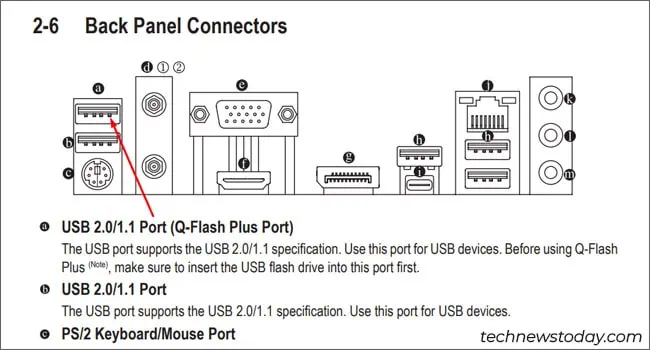
- Connect this USB to the Q-Flash Plus USB port on your PC. You can refer to the motherboard manual to identify the exact port.

- Power on your PC. After around 20 seconds, Q-Flash Plus will start flashing the BIOS automatically. This’ll be indicated by the blinking BIOS or Q-Flash Plus LED on the motherboard. If your USB has an LED, that’ll blink too. The LEDs will stop flashing in a few minutes, meaning the update is complete.

