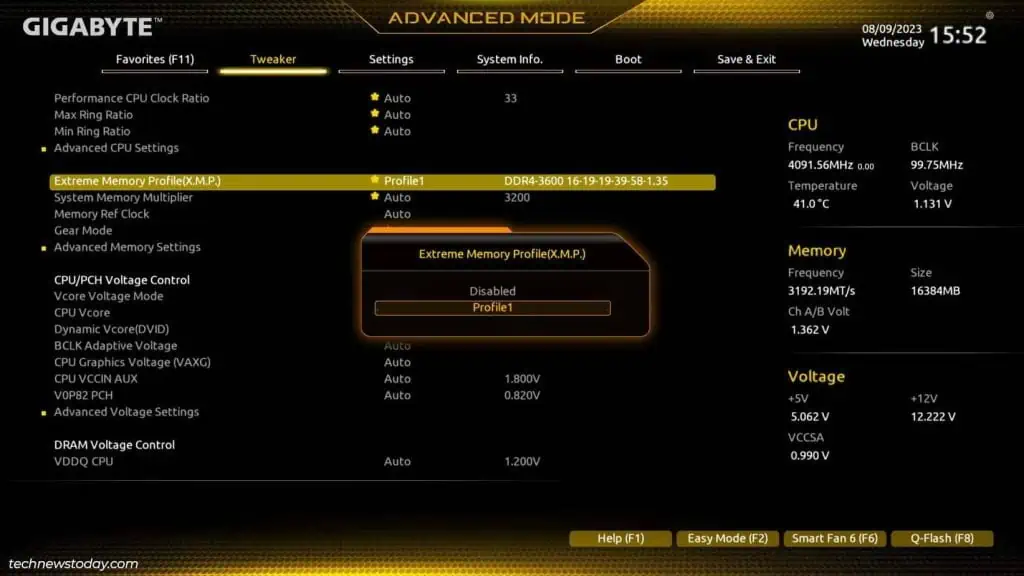
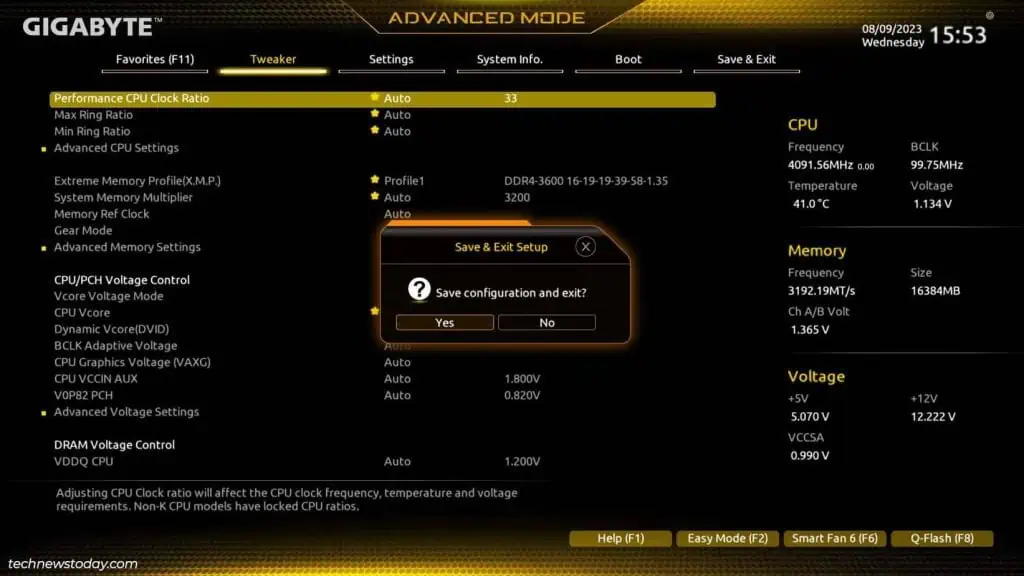
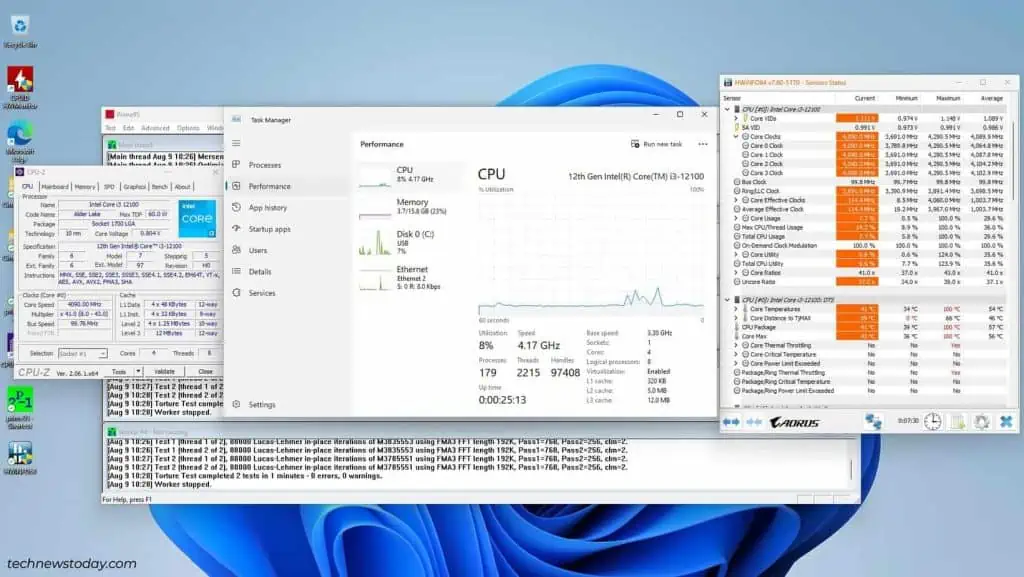
The overclocking scene has changed a lot in the last few years. Back in the day, you had to manually test and figure out your system’s optimal overclock config. There were automatic OC tools like Gigabyte’s EasyTune or Aorus Engine, but they were very unreliable.
Things are starkly different now. You can use Intel Turbo Boost Technology on Gigabyte’s Intel boards, or Precision Boost Overdrive on AMD boards to automatically get near-max performance from your CPU.
These are safe, convenient, and make overclocking accessible to most users. And for any enthusiasts looking to squeeze out that extra 100MHz, I’ll also cover the steps to manually overclock Gigabyte systems.
Note: Overclocking, regardless of the tool/method you use, will void your warranty. Additionally, your components must support overclocking, to begin with.
Most AMD processors can be overclocked, whereas Intel processors with the K or X suffix are the only ones that are unlocked. For the locked processors, the level of OC you can achieve will depend on the motherboard.
Automatic Overclocking with PBO (AMD)
For the average user, Ryzen processors are not worth manually overclocking. The reason for this is simple; AMD’s Precision Boost (PB) tech is just that good.
It takes various factors like the CPU temp, workload, active cores, etc. into account and adjusts the frequency and voltage accordingly. It automatically does this up to a thousand times per second which makes it very effective at maximizing CPU performance at any given time.
Precision Boost Overdrive (PBO) is an extension of this tech that safely raises the PB power limits in favor of performance (meaning higher auto clock speeds). In practice, PBO’s results tend to be within 150MHz of manual overclocking.
For instance, I was able to manually overclock my Ryzen 7 5700G to 4300MHz. It took a lot of time and effort to find this stable setup, while PBO got me to almost 4200MHz with the click of a button. That’s pretty incredible if you ask me.
If you want to try out PB/PBO, I recommend using benchmarking tools like Cinebench or recording your system performance during typical usage (e.g., monitoring your FPS in-game). This’ll establish a baseline for measuring performance improvement after overclocking.
Afterward, follow the steps listed below to enable PBO:
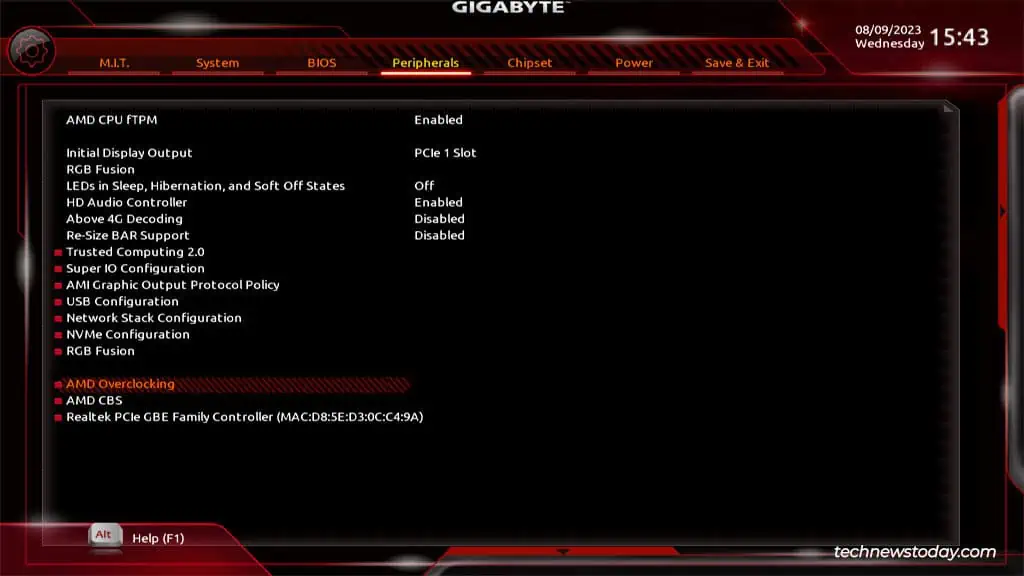
- Power on your PC and press F2/Del to enter the Gigabyte BIOS.
- If required, press F2 to switch to Advanced Mode.

- Depending on whether your board uses the old or new BIOS UI, go to the following locations:
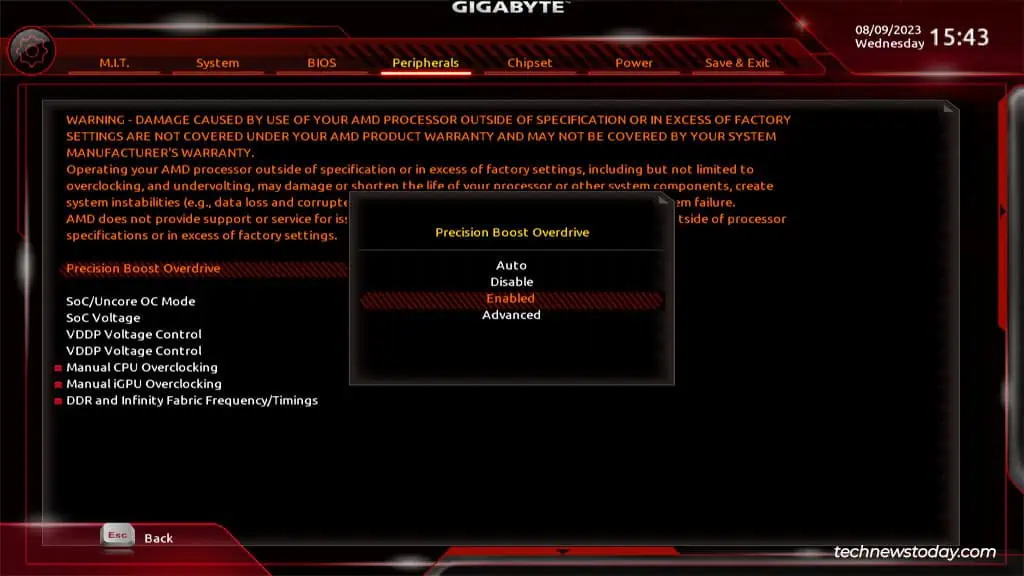
- Peripherals > AMD Overclocking > Precision Boost Overdrive
- Settings > AMD Overclocking > Precision Boost Overdrive
- Set PBO to Enabled.

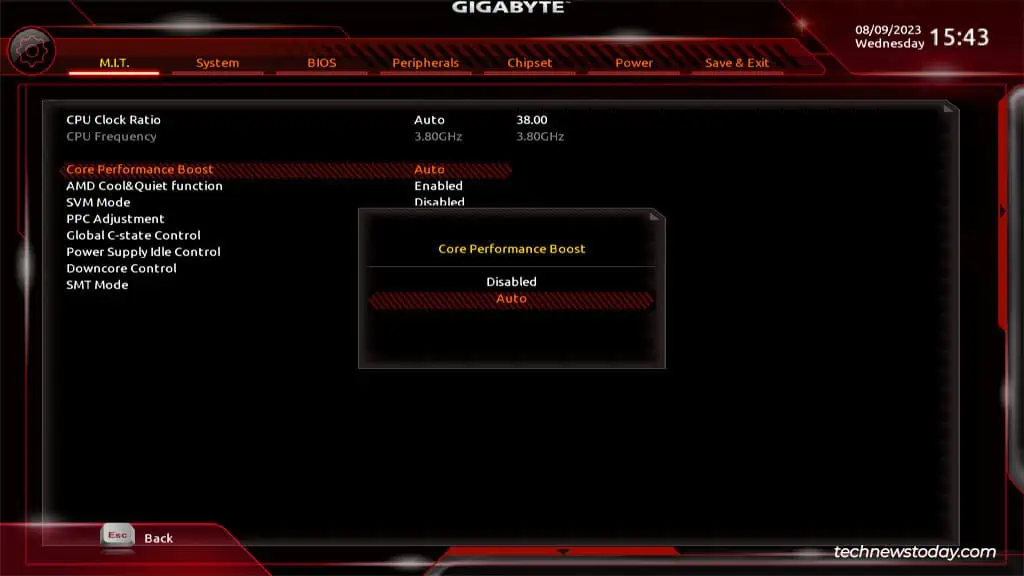
- Then, enable the Core Performance Boost option. This’ll allow your processor to run at speeds higher than the base clock if the power and temp requirements are fulfilled.
- Tweaker > Advanced CPU Settings > Core Performance Boost
- M.I.T > Advanced Frequency Settings > Advanced CPU Settings > Core Performance Boost

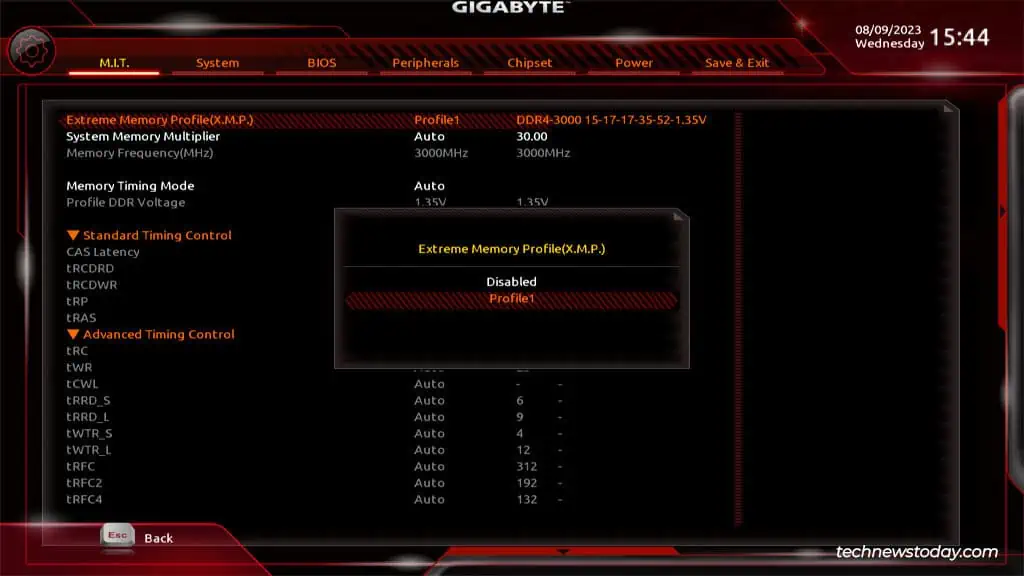
- If you haven’t already done so, I also recommend enabling XMP to run your RAM at a predefined high speed.
- Tweaker > XMP
- M.I.T. > Advanced Memory Settings > XMP

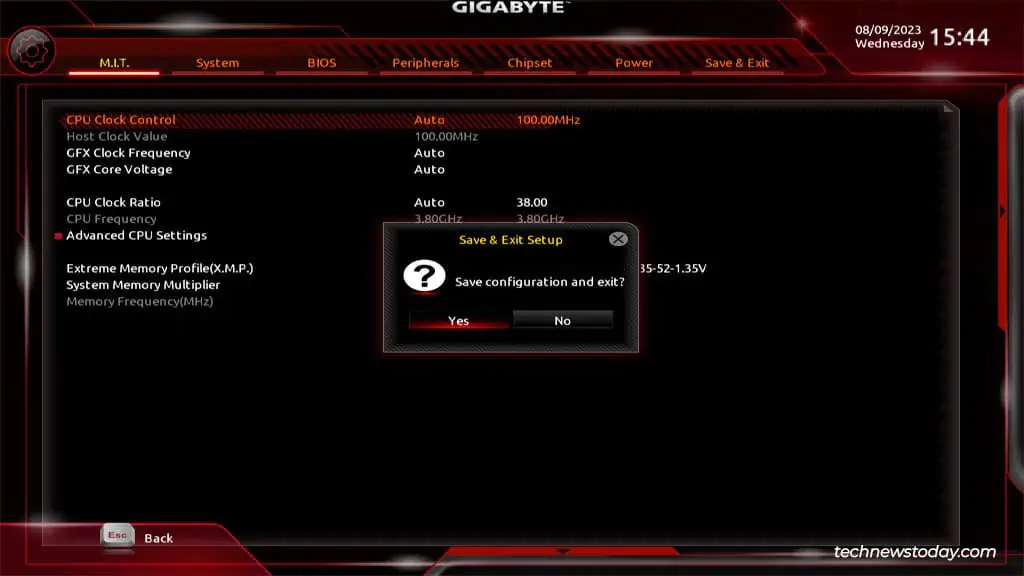
- Assuming you haven’t modified the BCLK (clock) and ratio (multiplier) values, they should be set to Auto. Press F10 to save these changes and exit the BIOS.

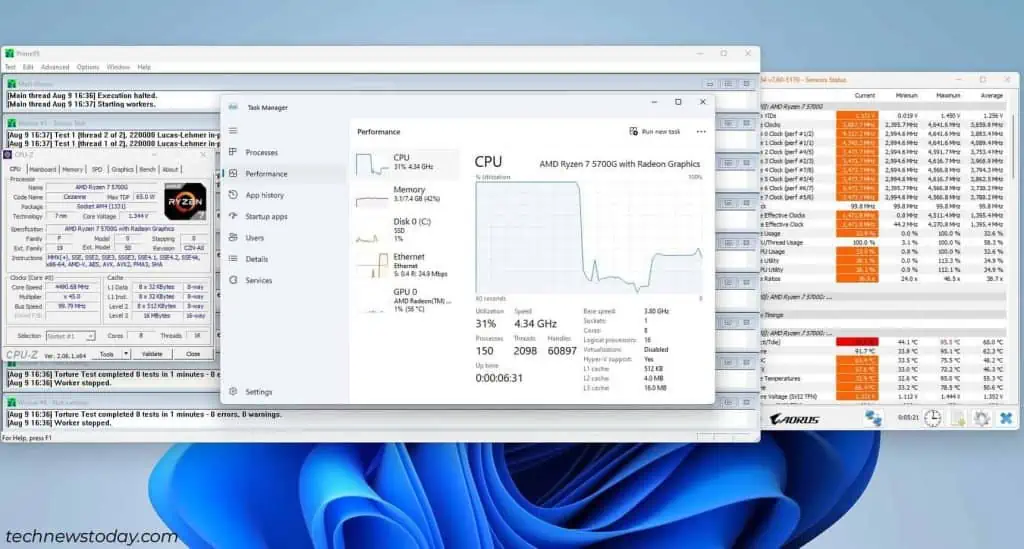
- As PBO autoregulates the frequency and voltage, your system should be stable. You should perform a stress test using tools like Prime95 or Cinebench to confirm this. You should also use tools like HWiNFO to monitor your CPU frequency, voltage, and temp in real-time.

Using Intel Turbo Boost Technology
Intel® Turbo Boost Technology is Intel’s proprietary dynamic overclocking feature. It lets the CPU run at the base clock for light workloads and raises the clock speed in increments of 100MHz or 133MHz for heavier workloads.
Depending on factors like the workload, active cores, current/power consumption, and CPU temperature, it can safely boost the CPU speeds up to the Max Turbo Frequency.
I verified this with my own i3-12100 processor by successfully boosting the frequency from the base clock (3300MHz) to the max turbo frequency (4300MHz). That’s an entire GHz of improvement. That’s impressive on its own, but even more so considering I was auto-overclocking a locked processor.
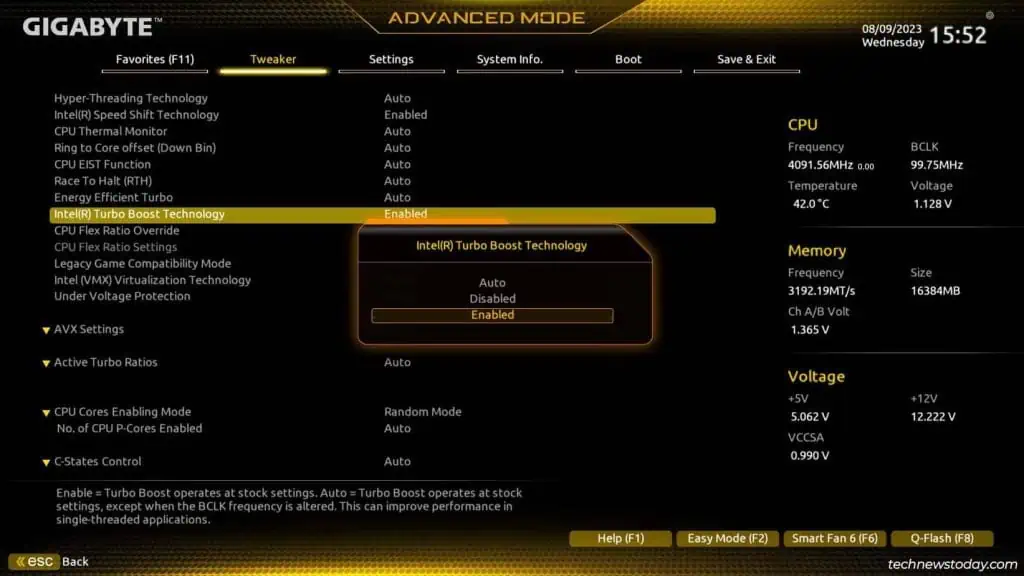
Usually, this feature is enabled by default. But if you notice that your CPU frequency doesn’t go above the base clock, you can manually enable it with the following steps:
- Power on your PC and press F2/Del to get to the Gigabyte BIOS.
- Press F2 (if required) to switch to Advanced Mode. Go to Tweaker > Advanced CPU Settings and enable Intel Turbo Boost Max Technology.

- In the Tweaker tab, you can also enable an XMP profile for your RAM if you haven’t already done so.

- As we haven’t modified any other OC settings, the CPU Base Clock, Ratio, and Vcore should be set to Auto (default). Press F10 to save this config and exit the BIOS.

- After booting to Windows, you can use tools like Prime95 or Cinebench to stress test the processor and tools like HWiNFO to monitor the CPU stats during this process.

Manual Overclocking in Gigabyte BIOS
With how good automatic overclocking has gotten, most people will prefer the convenience of the methods covered above. But there are still some valid reasons to prefer manual overclocking:
- Some older Gigabyte boards may not support PBO or Turbo Boost. Or they might support older versions of these technologies, meaning the performance gain may not be satisfactory.
- Tying into the previous point, a manual overclock usually lets you run the CPU at higher speeds compared to automatic. So, when absolute performance is the priority, manual overclocking is the way to go.
- Auto-overclocking might get the CPU to max speeds but sometimes the voltage also gets to levels that a lot of people aren’t comfortable with. In such cases, you may be able to get similar performance at lower voltage/temperatures.
If you do decide to manually overclock your CPU, I’ll cover the entire process in the next few sections and outline the key points at the end. If you want to overclock the RAM as well, I recommend referring to the linked guide as it covers this topic in detail.
Preliminary Steps & Jargon
Overclocking is a balancing act of three things – Frequency, Voltage, and Temperature. You want to get the highest stable frequency at the lowest voltage and temperature.
You’ll find overclock configs for your CPU model used by other people online. You should absolutely put enough time into researching these configs and find your CPU’s limits.
But at the same time, the silicon lottery exists. No two CPUs are the same, even if they’re of the same product line. If you want to find the best config for your exact CPU, experimenting is the only way.
To get started, I’ll explain frequency and use my own CPU to help you understand the process. If you’re new to overclocking, all the jargon might look intimidating at a glance, but it’s all very easy to understand.
You should first use tools like Prime95 or Cinebench to run stress tests/benchmarks and record the CPU frequency, voltage, temperature, and benchmark score. You can even run these tests multiple times to get average values. This will give you an accurate initial baseline.
Frequency
My CPU’s base frequency is 3300MHz, which is our starting point. Like most CPUs, its base clock speed (BLCK) is set to 100MHz by default. Each of my CPU cores also has a core multiplier.
Here’s the important part – The CPU frequency is calculated by multiplying the BCLK with the core multipliers.
BCLK * Multiplier = Frequency100MHz * 33 = 3300MHz or 3.3GHz
And here’s the fun part – to increase your CPU’s frequency, you simply increase the multiplier (ideally in increments of 1 or smaller). So, in my case, I could set the multiplier to 34, which would bump my base frequency up by a hundred to 3400MHz.
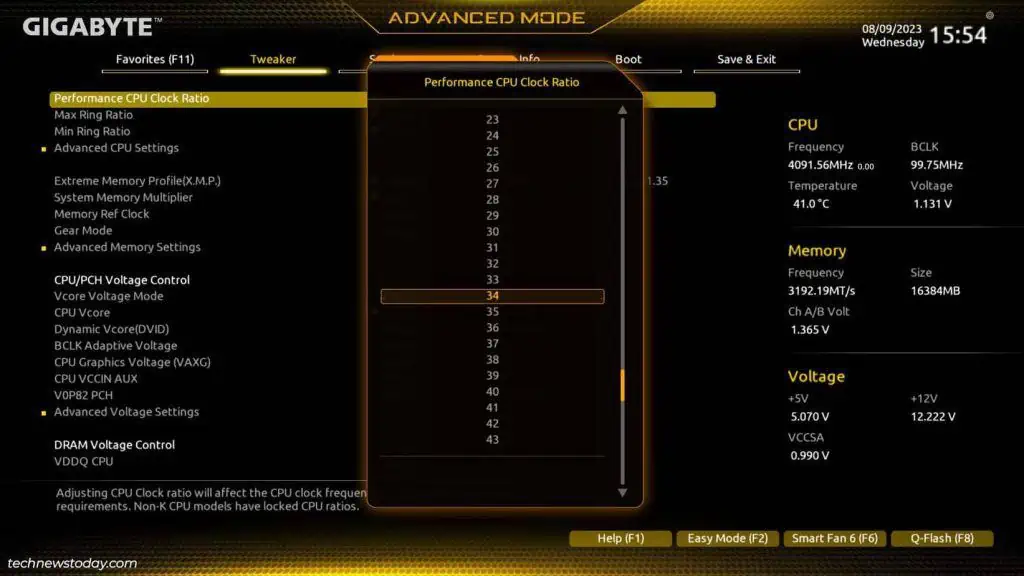
Now, you note down this config and press F10 to save it and exit the BIOS. You perform the same stress tests/benchmarks you did earlier and compare the results. If your system remains stable, you’ve successfully overclocked your CPU. Great job!
You can repeat this process a few more times to increase your frequency. Eventually, your system will freeze, stutter, or simply crash during one of the tests. This is normal and it’s happening because your CPU can’t handle this frequency at the set voltage.
Voltage
At this point, you can use the last stable config. Or, you can go to the BIOS and increase the CPU Vcore (voltage) in increments of 0.02 – 0.05V. Save this config and stress-test it.
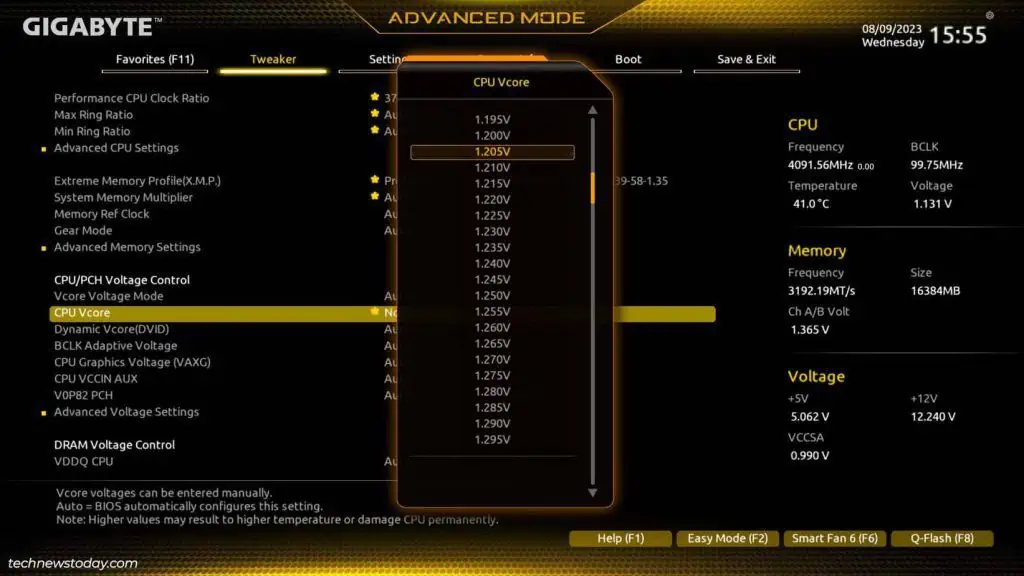
You must not increase the voltage to above 1.35V – 1.4V though, depending on how safe you want to play things. CPUs are components that last a long time, but high voltage over the long term will undoubtedly decrease their lifespan.
You get the gist of it now. Increase frequency, test. Increase voltage if required, and test till you find a stable overclock. This brings us to the third factor – temperature.
Temperature
More voltage supplied to the CPU means higher temperatures. Hopefully, you’ve been monitoring the CPU temperature as recommended earlier.
- At idle, the temp should be under 40°C.
- During stress testing, 85-100°C is normal. We’ve gone as high as 118°C when stress-testing some of our systems here at TNT, but this is an extreme case. If you value your components’ long-term health, you shouldn’t let the temp get above 100°C.
- During actual real-world intensive usage, 75-85°C is normal. Temps higher than this are not great either in the long term.
Besides component lifespan, the reason I’m talking about temperature here is that it can become the bottleneck in your overclock.
For instance, I was able to get one of our Gigabyte systems to 4300MHz at 1.27V. This was a very tame config, but that system had some major heating issues. Launch any CPU-intensive program and the temp would rocket up to 90°C+. The system would either eventually crash, or I’d be slowly chipping away at my components’ lifespan.
The fix was simple here. I cleaned the system, upgraded to an AIO cooler (which likely had the biggest impact), and reapplied the thermal paste. Now that the CPU temp was no longer the bottleneck, I was able to further increase the overclock to a stable 4400MHz at 1.3V, with temperatures not exceeding 80°C.
Key Points for Manually Overclocking
All in all, here is a summary of what we’ve discussed so far with some additional things worth knowing:
- Start by stress testing your system to establish a baseline. Monitor the CPU frequency, voltage, and temperature during this process.
- Increase your CPU core multiplier in small increments (1 or lower). Save the changes and stress test to verify that the new config is stable.
- For locked Intel processors, the multiplier is locked (unconfigurable). You can modify the BCLK in this case, but you won’t be able to increase this value a lot if your board doesn’t have an external clock generator (limited to high-end boards).
- Either way, as you keep increasing the frequency, your system will eventually become unstable. Increase the voltage in small increments (under 0.05V) and test until you find a stable config. Don’t go above 1.4V.
- Monitor the CPU temperature. It shouldn’t go above 100°C when testing, and above 80-85°C during real-world intensive usage. Any higher than this and you’ll either need to resolve the overheating issue or tone down the overclock.
- Finally, if you want to disable the overclock, you can set the settings back to Auto. Or, you can also reset the BIOS and load the default settings.

