Thermal Paste on a GPU usually lasts for 5+ years, but with time, it will eventually dry out. This degradation process accelerates when you overclock your GPU or run it under a high workload. If your GPU’s temperature stays above 70°C most of the time, it’s best to replace its thermal paste.
To apply thermal paste to your GPU, detach the heatsink from the graphics card, clean the paste, and apply a new layer. It’s also a good idea to replace the thermal pads for the VRMs and VRAMs if they are damaged.
However, you should take a few precautions before applying thermal paste to a GPU. It’s a little different from doing it on a CPU because you have to take the card apart.
Make sure you understand how to take your card apart before you start. You may have to look up a teardown video or check your manual. Don’t follow the instructions from another card or one made by a different manufacturer.
Now let’s move on to the actual process.
Prepare Necessary Materials
You have to have certain materials and equipment ready beforehand to clean and apply thermal paste to your GPU properly.
- Isopropyl Alcohol (70%-90%), 91%+ if you use liquid metal
- Microfiber or lint-free cloth
- Q-tips or cotton swabs
- Compressed air spray can (to clean the heatsink and GPU fans)
- Appropriate screwdrivers
- Good quality thermal paste
Make sure you use an Anti-static wristband to ground yourself and prevent any electrostatic discharge damage to the computer hardware. Alternatively, you can also discharge any built-up static charge by occasionally touching a metal surface.
Then you can start with taking out the graphics card or separating its heat sink.
Remove the Graphics Card from the PC
If you want to replace the thermal paste on a dedicated graphics card you have already installed, you have to first take out the card from its PCIe slot. To do so,
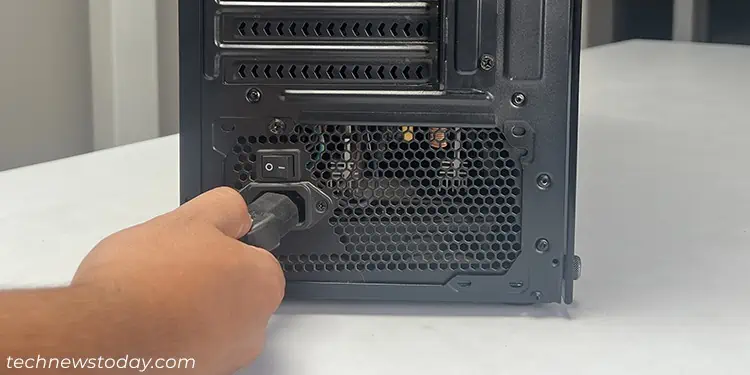
- Shutdown your PC and remove the power cable. Disconnect all other peripherals as well.

- Press and hold the power button for a few seconds to power cycle the PC and drain any excess charge.
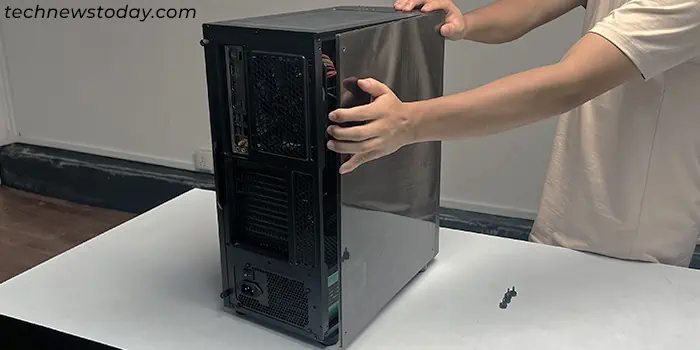
- Now open your PC Case. For that, remove the side panel. You need to unscrew and slide it out for most PCs.

- Place the PC case on its other side to make it easier to remove the graphics card.
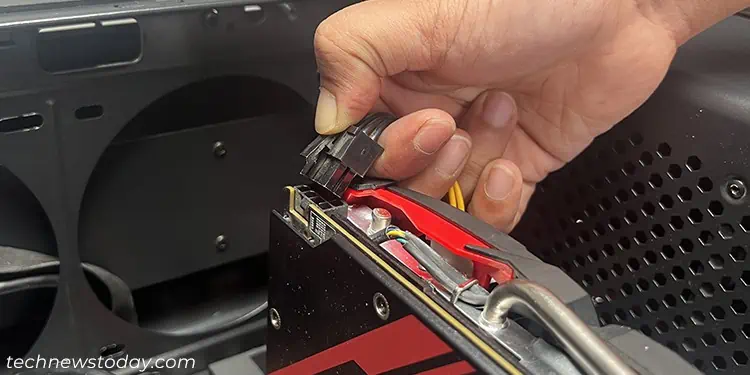
- Disconnect the power connector cable from the graphics card.

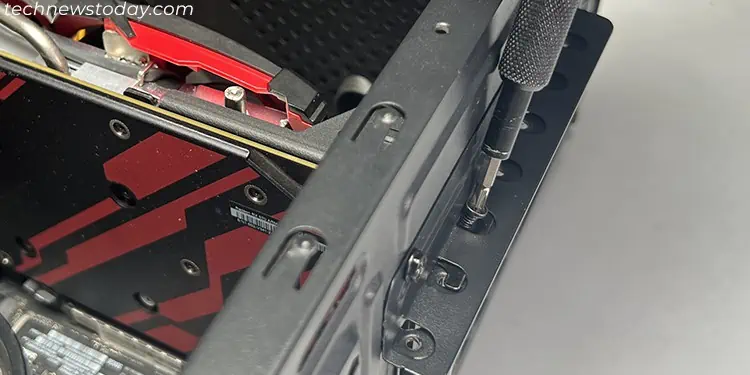
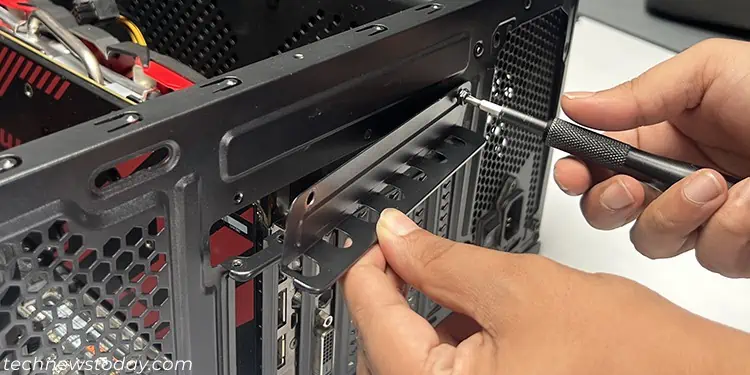
- Now, unscrew the graphics card’s mounting bracket from the rear panel of the PC case.

- Most PC cases also use an additional bracket to secure the PCIe devices. You need to unscrew and remove it first.

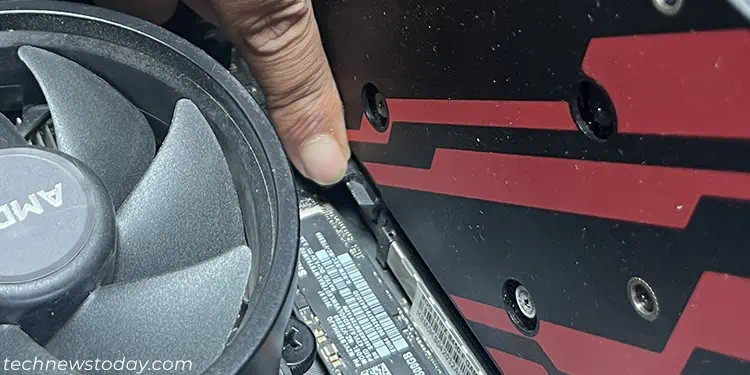
- Pull down the locking clip on the PCIe slot with the graphics card.

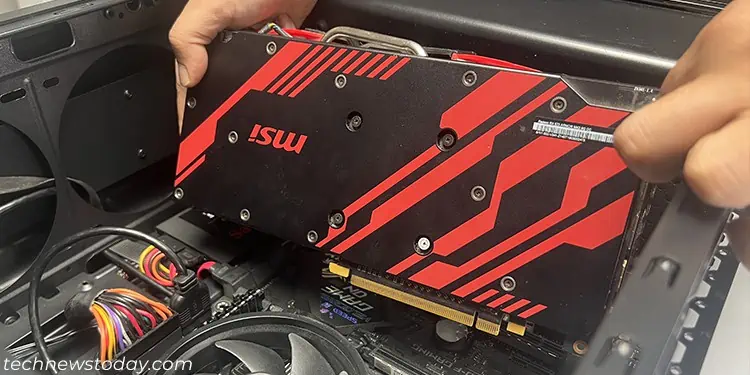
- Pull out the graphics card from the slot.

Detach the Heatsink and Graphics Card
Now that you have taken out the graphics card, you need to detach its heatsink to expose the graphics processor. For that,
- Take your graphics card to a clean workspace where you can place the parts and screws without losing or damaging them.
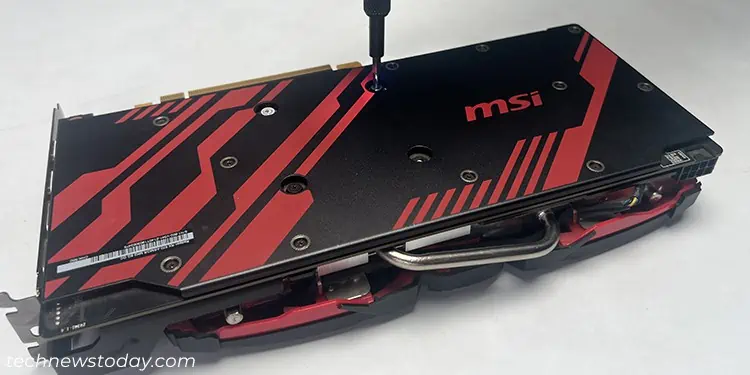
- Use a screwdriver to remove all the retaining screws that are attaching the heatsink and the heatsink cover to the graphics card. Keep the following things in mind while doing so:
- The number of screws you need to remove depends on the model of the graphics card.
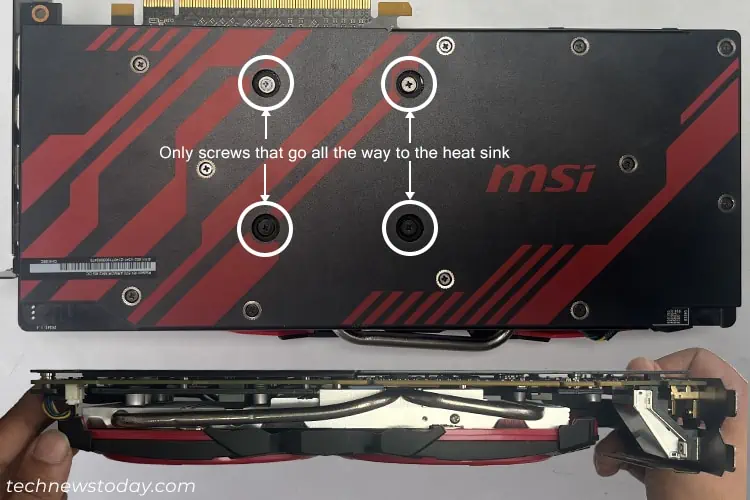
- For some, you only need to remove the four screws in the middle. For others, more screws may have been used, so remove them all.

- Just Keep in mind that one of the four main screws is covered by a sticker, and removing it might void the warranty. It’s better to check the official warranty details to confirm this information.
- You don’t need to remove the screws connecting the card to the shield plates on the inside.
- For most video cards, the screws on the front are only connecting the heatsink to its cover, so you won’t need to unscrew them.
- Also, some graphics cards have a separate backplate that you may need to remove before you can access the retaining screws.
- You can look at the GPU from the sides and try checking where all the screws go to determine which ones you need to remove. Alternatively, you can check the card’s user manual to get this information.

- Some models also use plastic clips to attach the heatsink to the card. You can use needle nose pliers to unlock them.
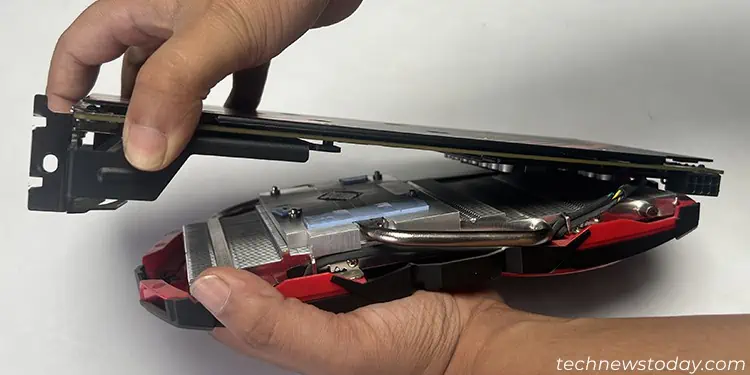
- Slowly pull apart the card from the heat sink. Make sure not to use too much force, as the GPU fan cables are still connected. You may also rip out the thermal pads or other internal components if you are forceful.

- If the card is stuck to the heatsink, gently try pulling it out from one side while wiggling the card. Take your time and be patient.
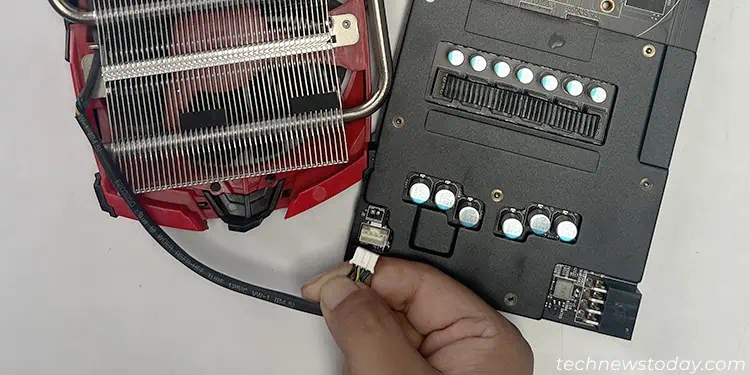
- When the video card comes somewhat loose, and you can access the fan cables, disconnect them from the card’s fan header. Then, finish detaching the card.
If you have only one fan cable, you can remove it afterward as well.
Clean Thermal Paste
You have to clean the old paste properly before applying a new layer. If the old paste has dried, it will have large pockets of air that can’t be filled. Even when not dry, it won’t retain its proper structure, and some air pockets will still remain.
These air pockets will increase the overall thermal resistivity of the interface and affect the cooling process, thus the need for cleaning. To do it,
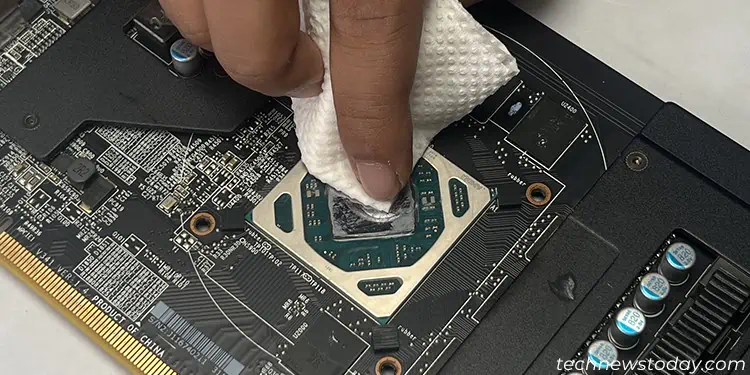
- Soak a microfiber cloth or any lint-free cloth on isopropyl alcohol and use it to clean the paste off of the GPU and the heatsink.
You can also use a paper towel as long as you are careful not to leave behind any lint. Just make sure to spray compressed air on the graphics card afterwards to account for unintentional lints.
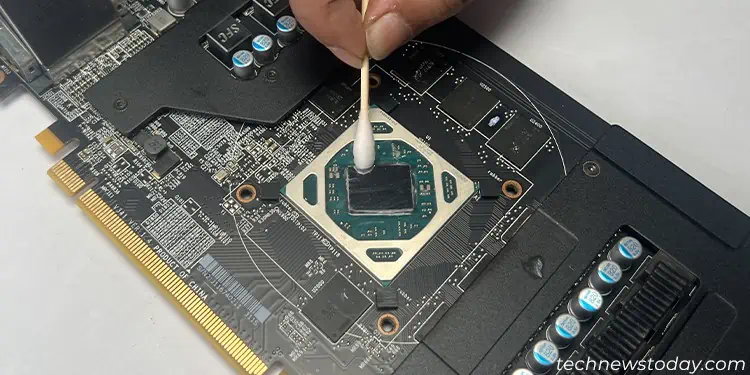
- Then use cotton swabs dipped in isopropyl alcohol to clean all the excess paste on the sides of the processor and the circuit.

- Let the isopropyl alcohol on the CPU and heatsink dry out properly before applying the new paste.
- If the GPU fans and the heatsink are dusty, you can also clean them by giving a few sprays of compressed air. Make sure to keep the air can in an upright position without shaking it too much, and use multiple angles to blow the air.
Replace Thermal Pads (Optional)
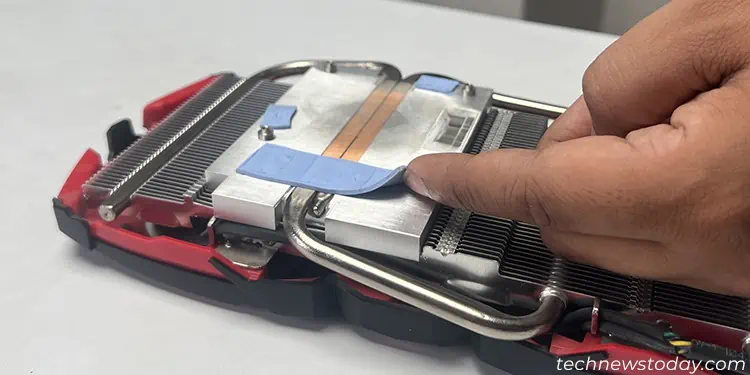
If you see some deformations on the thermal pads, you should replace them as well. You won’t need to do so if they are in good condition unless your GPU starts overheating, even with proper thermal paste.
Regardless, here’s what you should do:
- You will usually find thermal pads for the Voltage Regulator Module (VRM) and Video Random Access Memory (VRAM). If some shield plates are covering the thermal pads, you need to remove them.
- Peel out one of the thermal pads while remembering its thickness. You can use an electronic caliper to measure the thickness.

- Then, cut out a new thermal pad with the same thickness and use it there. You can also check official sources or online forums to confirm the exact thermal pad thickness you need.
- Do so for all the pads. You can also take a picture of the pads, remove all of them, and reapply new ones according to the photo.
- Sometimes, second-hand graphics cards or those you got from third-party suppliers may not have the necessary thermal pads in certain spots. You can check on the official sources and add the appropriate pads if necessary.
- Reattach the shield plate if you had removed it earlier.
Apply Thermal Paste
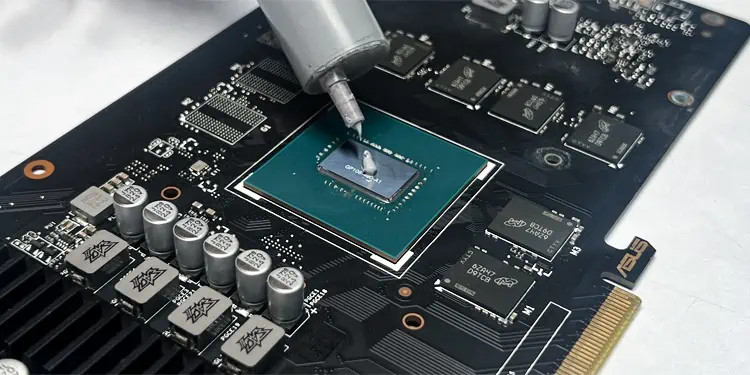
The GPU processor is usually much smaller than a CPU (unless it comes with an IHS), so you only need a small amount of paste. Most of the patterns you can use for a CPU are also not recommended in this case.
The bottom line is that you need enough paste to spread all over the processor chip but not into the surrounding circuit.
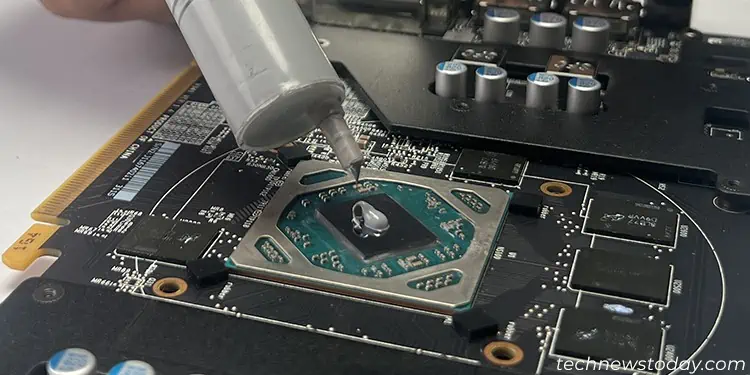
I actually recommend spreading it with a spreader before reattaching the heatsink to it if you are new to this.
But if you are experienced enough to be able to eyeball the amount of paste necessary, you can place it as a single dot in the middle. Installing the heatsink will spread it better compared to a spreader.
You should also use a good quality paste as they last much longer and are more efficient.
Reassemble Everything
Now that you are done with replacing the paste, it’s time to reinstall the graphics card and reassemble your PC back together. Simply reverse all the steps above. You can also clean your PC before reassembling it, just in case.
After replacing the paste, you should find a significant improvement in your gaming or any other GPU-intensive activities.
For example, when I got my 1080 TI from EVGA, I ordered it from the B Stock because I knew I could probably fix any issues with it.
When it arrived, a test revealed that it would shut down when trying to play games like ARK on high graphics. The GPU temperatures would zoom up to over 85 degrees before the game shut down – all within moments of starting the game.
After replaing the thermal paste, we ran a stress test and confirmed that it would work. When playing the same game, the temperatures remained under 80 degrees, and I had no heat-related issues with it.
It isn’t my primary GPU anymore, but I still use it occasionally, and it works fantastically years after applying that thermal paste.
