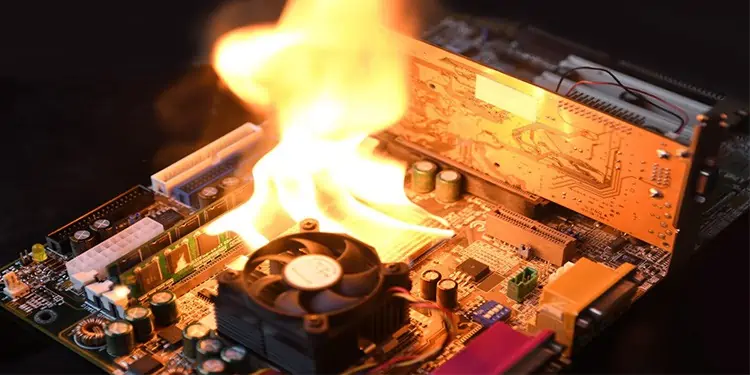
When your graphics card isn’t working, the problem might feel a little overwhelming at first, simply because there are so many aspects to a working graphics card.
However, figuring out the source of the problem will be simpler than you think. Certain things are likely to go wrong with graphics cards, and the chances are that one of those is the fault.
What Stops a Graphics Card from Working?
Graphics cards usually stop working for one of a few common reasons. While there are always outliers you might not expect, you can fix most graphics card issues by addressing these problems.
- The graphics card could be hooked up incorrectly. A problem with the connecting ports is another issue that can stop a graphics card from performing to its fullest or even working at all.
- The GPU might have faulty drivers or ones in need of an update. Problems with components like graphics cards are usually fixed with driver updates – and sometimes those updates create their own issues.
- The graphics card might be dirty or have trouble with heat management. You can take a few steps to improve its thermals and help it run more efficiently.
- Custom settings may be creating issues that seem to be a problem with the card. Overclocking a GPU can lead to problems even if the changes appear stable when you implement them.
- The card itself could be damaged or broken. Unfortunately, they have a finite lifetime and sometimes go bad. However, many problems can be fixed for less than the cost of buying a new card.
Whatever the problem with your card, the best thing to do is start trying to find the cause so you can fix the issue or start shopping for something new.
How Can I Fix My Graphics Card?
Always start by examining the easiest things to look at when you decide to fix your graphics card. Of course, this isn’t always easy to do – a lot of the problems a graphics card can have might make it stop working entirely.
If you can’t see your screen or access the card, there are fewer and different options for troubleshooting. Only do the ones that will work for your situation.
Diagnose the Card
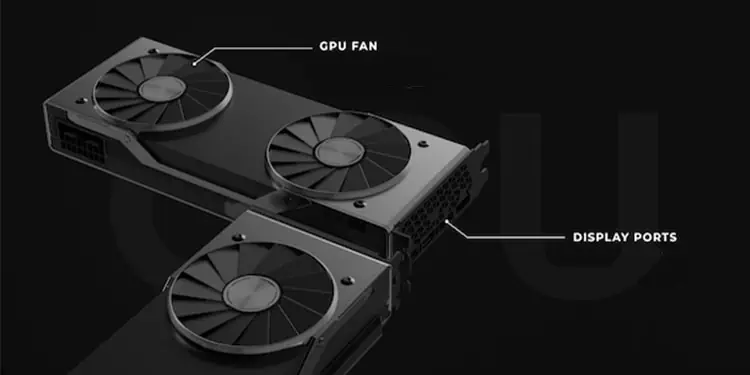
One of the best ways to get started is to list what’s wrong with the card. Knowing the problems can help you figure out which solutions might work. For example, a rapidly heating card might benefit from having the thermal paste reapplied.
One that is causing crashes and glitches in games but holds the temperature steadily might require software changes.
- If there is no image on the screen, but you can see the card turning on, you need to look at the physical card, its power connections, and whether the display or cables are damaged.
- If the card is overheating, it may need to be cleaned, reseated, or you may need to add additional cooling in the case. The thermal paste could also be dry, or the heatsink might be damaged. Focus on these issues if that’s your problem.
- If the card causes issues in games or other programs, focus on cleaning the card and ensuring all your software is updated. Both programs and GPU drivers are regularly updated to solve problems or add features, and delaying installation can create problems.
Once you have a good idea of your card’s problems, you’re ready to get started fixing them.
Check the Connection
When using a dedicated GPU, there are ports on the back to plug your screens into. If you aren’t connected to these ports, then you aren’t able to use the card. (You may still be able to see images if you’re plugged into the motherboard, assuming it has onboard graphics.)
Unplug your monitor from the back of the computer, and then plug in a different display with a different cable into a different port on the GPU. If it works, there might be a problem with the cord, port, or display. That helps you skip removing the GPU or updating your software.
A couple of months ago, I thought my new GPU was broken because I couldn’t get an image on my monitor. So I plugged in another monitor with a different cable, and it worked, alerting me that my GPU was okay.
Next, I used a different HDMI cable into the original monitor, which worked. So I knew the problem was the HDMI cable, discarded the old one, and started using another.
Clean the Card
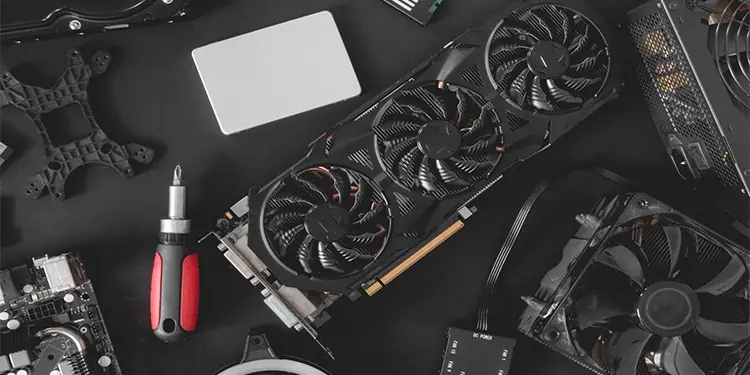
The next few steps are more manageable if you remove the card from the computer. If you don’t want to check the physical card first, move to the software troubleshooting steps and perform those before removing it. However, if you can’t get an image from the card or it isn’t working, these must be done first.
- Turn off your computer, and flip the switch on your PSU if you have one. It’s essential to wait a minute after the computer powers down to open it. Go ahead and unplug the computer from the wall, then move it into a clear and clean workspace. This will help as you go through the card.
- Unscrew the card from the case and set it down on a flat surface.
- Use compressed air to blow away any dust collected on the card. If it’s exceptionally messy and the air pressure won’t remove it, you can use a swab damp with 99 percent pure isopropyl alcohol to clean it.
- Let the card dry if needed.
It’s not hard to clean your GPU, but it can help it manage heat and assist the fans in a smooth rotation. Sometimes just cleaning it is enough to fix an issue.
Check the Card for Damage
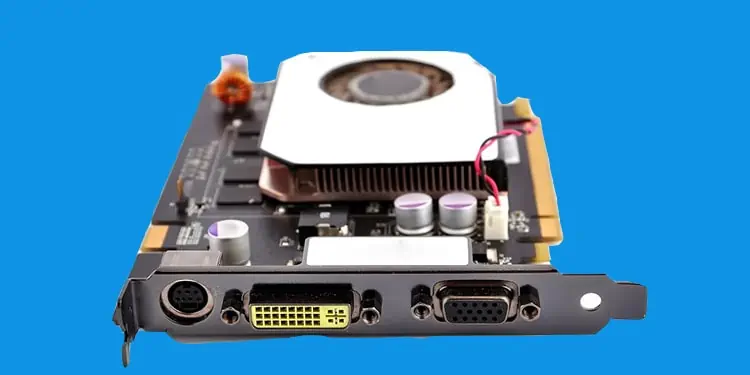
Carefully examine the card and check for damage. Certain types of issues can inhibit its ability to work stably.
Look at the ports where it plugs into other parts of the computer. They should be clean, free of debris, and undamaged. Search for burns or marks that you aren’t expecting.
Check the fans and heat sink for damage. You don’t want to see shredding, burning, or other problems that might prevent it from working correctly.
Reseat the Card
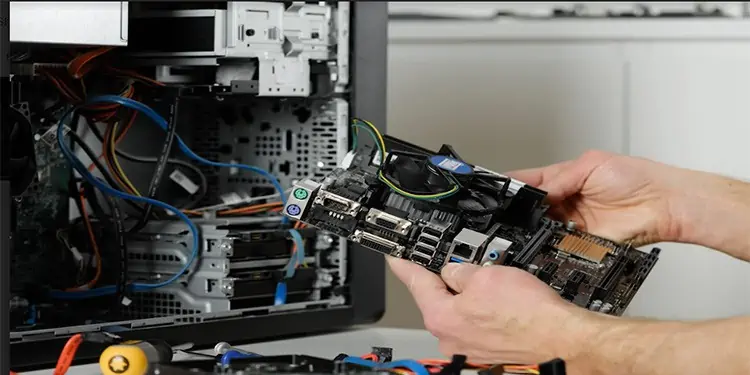
You can track many problems with GPUs to how the card is sitting in the computer. Since you already have it out, put it back in carefully and ensure it’s stable and not bent. Over time, hefty graphics cards can bend and take damage.
Check the Power Supply
You can also check to ensure the power supply and card are connected correctly. Some GPUs come with two power plugs you have to connect. Though it will work with one of the plugs connected, it won’t work to its full power. You might see lower frames, problems with games crashing, or specific graphics errors.
One way to see whether it’s adequately connected is to look at your manual to know the power requirements. It should tell you how it has to be hooked up.
Check Your Drivers
Most graphics cards come with a specific program to update your drivers. You can use these to keep aware of updates, download, and install them very quickly, depending on your internet speed.
Pull up the GeForce Experience for NVIDIA cards or Radeon Settings for AMD cards. They should walk you through updating your drivers quickly.
If you haven’t, update your Windows, BIOS, and any program you’re using that’s experiencing issues.
Check Your Overclock
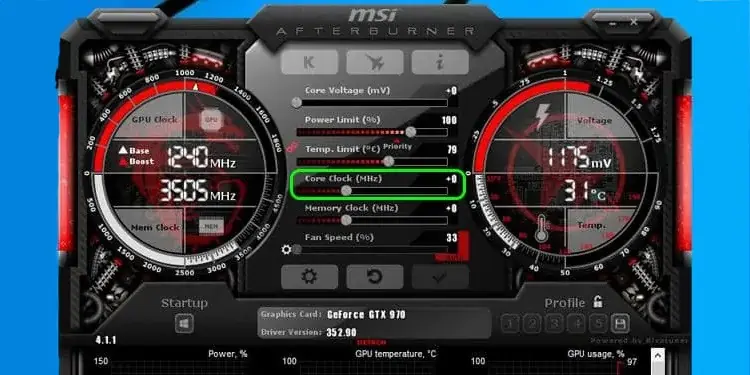
An overclock that isn’t quite right can also create issues for your GPU.
Check to see whether it’s working on an overclock. If it is, try resetting it and removing any overclock, including the core clock, memory clock, and voltage. You want everything to reset to the standard settings.
Look at your fan curve, too, especially if you’re having trouble with temperature. Sometimes you want to increase your fan speed a little sooner than the default because the higher speed setting will reduce the temperature of the graphics card more efficiently.
Replace your Thermal Paste
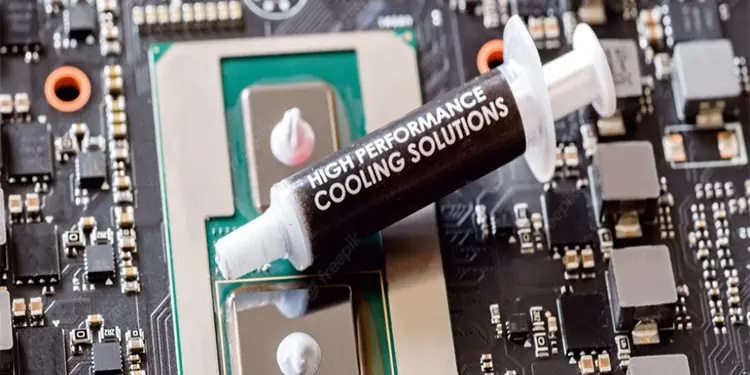
Over time, the thermal paste dries and is less effective at moving heat from away from the GPU chip. You want it to remain moist but time and airflow take their toll until it’s dry and inefficient.
To replace your thermal paste, you must be comfortable taking apart your card.
- Remove the card from the computer altogether. The way it’s put together varies by model, so refer to your manual for information about how to remove it before you start.
- Take the card apart. There are screws at different places among its body that you’ll have to remove. Make sure to set them aside where they’re easy to find. You want to remove what you must until the chip is exposed.
- Clean the old thermal paste with a cotton swab soaked in 99-percent pure isopropyl alcohol. You do not want the swab to be dripping. Instead, gently wipe away what’s there and let it dry.
- Apply a dot of new thermal paste to the center.
- Put the card back together. Take care that you screw the parts together firmly. Screws that are too loose might prevent it from functioning.
- Put the card back into the PC, plug it into the motherboard and power, and then turn it on to see whether it works.
You don’t need to replace the thermal paste on a new card unless it’s having temperature problems. Usually, it should last for several years before you need to swap it out.
